前提
Docker, Docker Composeはインストールされている
バージョン情報
Django 3.0
Djangorestfremework 3.12.4
Docker 20.10.8(build 3967d7d)
Python 3.8
ホスト端末: Windows10 (64bit)
1.とりあえず環境作る
1.1 フォルダ構成とファイル内容
フォルダ構成
フォルダ:restapifw-sample
F:..restapifw-sample
│ docker-compose.yml
│ Dockerfile
│ requirements.txt
└─workspace(フォルダ)
ファイル内容
# Compose.ymlファイル書式のバージョン
version: '3'
services:
  # サービス名定義
  django-restapi:
    # ComposeFileを実行しビルドされるときのルートパス
    # このフォルダにDockerファイルを置く
    build: .

    # Docker 起動
    # command: python manage.py runserver 0.0.0.0:8000

    # コンテナ名
    container_name: 'django-sample.v1.0.0'

    # コンテナ内のワーキングディレクトリ
    # working_dir: '/workspace/tutorial'

    # コンテナを終了させたくない場合に設定
    tty: true
    ports:
      - 8082:8000

    # ローカルフォルダとコンテナ内のマウントディレクトリの関連づけ
    volumes:
      - ./workspace:/workspace
FROM python:3.8
USER root

RUN apt-get update
RUN apt-get -y install locales && \
    localedef -f UTF-8 -i ja_JP ja_JP.UTF-8
ENV LANG ja_JP.UTF-8
ENV LANGUAGE ja_JP:ja
ENV LC_ALL ja_JP.UTF-8
ENV TZ JST-9
ENV TERM xterm
# コンテナ側へコピー
COPY requirements.txt requirements.txt
# python ライブラリインストール
RUN pip install -r ./requirements.txt
# viインスト
RUN apt-get install -y vim less
setuptools
pip
django==3.0
djangorestframework==3.12.4
1.2 Docker起動
プロジェクトフォルダのカレントで実施
docker-compose build
docker-compose up -d
# 起動確認
docker-compose ps
docker-compose ps
Name           Command   State                    Ports
---------------------------------------------------------------------------------
django-sample.v1.0.0   python3   Up      0.0.0.0:8082->8000/tcp,:::8082->8000/tcp
1.3 Docker内でDjango設定
Docker内に入る(そんなイメージで通じる?)
マウントしているworkspaceフォルダ配下にDnagoプロジェクトを作ります
docker exec -it django-sample.v1.0.0 /bin/bash
cd workspace
ここからは、下記URLを参照に実施
https://www.django-rest-framework.org/tutorial/quickstart/
# Create the project directory
mkdir tutorial
cd tutorial

# Create a virtual environment to isolate our package dependencies locally
# 既にDocker内にインストール済みなので不要
# python3 -m venv env
# source env/bin/activate  # On Windows use `env\Scripts\activate`

# Install Django and Django REST framework into the virtual environment
# 既にDocker内にインストール済みなので不要
# pip install django
# pip install djangorestframework

# Set up a new project with a single application
# Note the trailing '.' character
django-admin startproject tutorial .
cd tutorial
django-admin startapp quickstart
cd ..

# 作成されたファイルを確認(やらなくてもOK)
find .
.
./manage.py
./tutorial
./tutorial/asgi.py
./tutorial/quickstart
./tutorial/quickstart/admin.py
./tutorial/quickstart/apps.py
./tutorial/quickstart/migrations
./tutorial/quickstart/migrations/__init__.py
./tutorial/quickstart/models.py
./tutorial/quickstart/tests.py
./tutorial/quickstart/views.py
./tutorial/quickstart/__init__.py
./tutorial/settings.py
./tutorial/urls.py
./tutorial/wsgi.py
./tutorial/__init__.py
Django内部のSqliteのデータベース作成
python manage.py migrate

Operations to perform:
  Apply all migrations: admin, auth, contenttypes, sessions
Running migrations:
  Applying contenttypes.0001_initial... OK
  Applying auth.0001_initial... OK
  Applying admin.0001_initial... OK
  Applying admin.0002_logentry_remove_auto_add... OK
  Applying admin.0003_logentry_add_action_flag_choices... OK
  Applying contenttypes.0002_remove_content_type_name... OK
  Applying auth.0002_alter_permission_name_max_length... OK
  Applying auth.0003_alter_user_email_max_length... OK
  Applying auth.0004_alter_user_username_opts... OK
  Applying auth.0005_alter_user_last_login_null... OK
  Applying auth.0006_require_contenttypes_0002... OK
  Applying auth.0007_alter_validators_add_error_messages... OK
  Applying auth.0008_alter_user_username_max_length... OK
  Applying auth.0009_alter_user_last_name_max_length... OK
  Applying auth.0010_alter_group_name_max_length... OK
  Applying auth.0011_update_proxy_permissions... OK
  Applying sessions.0001_initial... OK
Djangoプロジェクト内のスーパユーザ作成
パスワードは自由だけどここでは、admin にしちゃった
(サイトでは、admin:password123かな)
python manage.py createsuperuser --email admin@example.com --username admin
ここからは、サイト通りDjango内のソースや設定ファイルをいじる
(Windowsからフォルダを参照して直接作成してもOK。コンテナ内で作業する必要なし。但し文字コードはUTF-8で保存)
from django.contrib.auth.models import User, Group
from rest_framework import serializers

class UserSerializer(serializers.HyperlinkedModelSerializer):
    class Meta:
        model = User
        fields = ['url', 'username', 'email', 'groups']


class GroupSerializer(serializers.HyperlinkedModelSerializer):
    class Meta:
        model = Group
        fields = ['url', 'name']
from django.contrib.auth.models import User, Group
from rest_framework import viewsets
from rest_framework import permissions
from tutorial.quickstart.serializers import UserSerializer, GroupSerializer


class UserViewSet(viewsets.ModelViewSet):
    """
    API endpoint that allows users to be viewed or edited.
    """
    queryset = User.objects.all().order_by('-date_joined')
    serializer_class = UserSerializer
    permission_classes = [permissions.IsAuthenticated]


class GroupViewSet(viewsets.ModelViewSet):
    """
    API endpoint that allows groups to be viewed or edited.
    """
    queryset = Group.objects.all()
    serializer_class = GroupSerializer
    permission_classes = [permissions.IsAuthenticated]
from django.urls import include, path
from rest_framework import routers
from tutorial.quickstart import views

router = routers.DefaultRouter()
router.register(r'users', views.UserViewSet)
router.register(r'groups', views.GroupViewSet)

# Wire up our API using automatic URL routing.
# Additionally, we include login URLs for the browsable API.
urlpatterns = [
    path('', include(router.urls)),
    path('api-auth/', include('rest_framework.urls', namespace='rest_framework'))
]
量が多いのでかいつまんで

28行目付近
ALLOWED_HOSTS = ['*']

40行目付近
INSTALLED_APPS = [
    'django.contrib.admin',
    'django.contrib.auth',
    'django.contrib.contenttypes',
    'django.contrib.sessions',
    'django.contrib.messages',
    'django.contrib.staticfiles',
    'rest_framework', ←これ追加
]

52行目あたりに追加
REST_FRAMEWORK = {
    'DEFAULT_PAGINATION_CLASS': 'rest_framework.pagination.PageNumberPagination',
    'PAGE_SIZE': 10
}
1.4 Django手動起動
Dockerコンテナ内で実行
cd /workspace/tutorial
python manage.py runserver

# うまく動作するとこんな感じ
Watching for file changes with StatReloader
Performing system checks...

System check identified no issues (0 silenced).
October 09, 2021 - 02:08:21
Django version 3.0, using settings 'tutorial.settings'
Starting development server at http://127.0.0.1:8000/
Quit the server with CONTROL-C.
確認
もう一つコンソールを起動してDockerコンテナ内に入り稼働確認
パスワードは自分で作成したスーパユーザのパスワード
(サイトでは、admin:password123かな)
cd ...作成したプロジェクトのrestapifw-sampleフォルダへ移動

docker exec -it django-sample.v1.0.0 /bin/bash
curl -H 'Accept: application/json; indent=4' -u admin:admin http://127.0.0.1:8000/users/
こんなのが出たら起動している
{
    "count": 1,
    "next": null,
    "previous": null,
    "results": [
        {
            "url": "http://127.0.0.1:8000/users/1/",
            "username": "admin",
            "email": "admin@example.com",
            "groups": []
        }
    ]
}
1.5 Django停止
CTRL + C で終わらせる
2.Docker自動起動 + ホストからのアクセス設定
環境が作成出来たのでコンテナを起動したらDjangoを自動起動するように設定する
Docker停止(exit でコンテから抜けてから実行)
docker-compose down
Docker-compose.ymlファイルのコメントを2つ外す(Docker起動と、コンテナ内のワーキングディレクトリ)
※Djangoの 0.0.0.0で起動するのが肝これをやらないと外からアクセスは出来ないらしい?本当はnginx立ててリバースプロキシ経由でやりたかったけど出来なかったのでこれで…
# Compose.ymlファイル書式のバージョン
version: '3'
services:
  # サービス名定義
  django-restapi:
    # ComposeFileを実行しビルドされるときのルートパス
    # このフォルダにDockerファイルを置く
    build: .

    # Docker 起動
    command: python manage.py runserver 0.0.0.0:8000

    # コンテナ名
    container_name: 'django-sample.v1.0.0'

    # コンテナ内のワーキングディレクトリ
    working_dir: '/workspace/tutorial'

    # コンテナを終了させたくない場合に設定
    tty: true
    ports:
      - 8082:8000

    # ローカルフォルダとコンテナ内のマウントディレクトリの関連づけ
    volumes:
      - ./workspace:/workspace
再ビルド
# 再ビルド
docker-compose build
# 起動
docker-compose up -d
# 起動確認
docker-compose ps

Name                      Command               State                    Ports
--------------------------------------------------------------------------------------------------------
django-sample.v1.0.0   python manage.py runserver ...   Up      0.0.0.0:8082->8000/tcp,:::8082->8000/tcp
Windows10のコンソールから実行
結果が返って来る(レイアウトは少々悪いけど)
curl -H 'Accept: application/json; indent=4' -u admin:admin http://127.0.0.1:8082/users/

curl: (6) Could not resolve host: application
curl: (6) Could not resolve host: indent=4'
{"count":1,"next":null,"previous":null,"results":[{"url":"http://127.0.0.1:8082/users/1/","username":"admin","email":"admin@example.com","groups":[]}]}
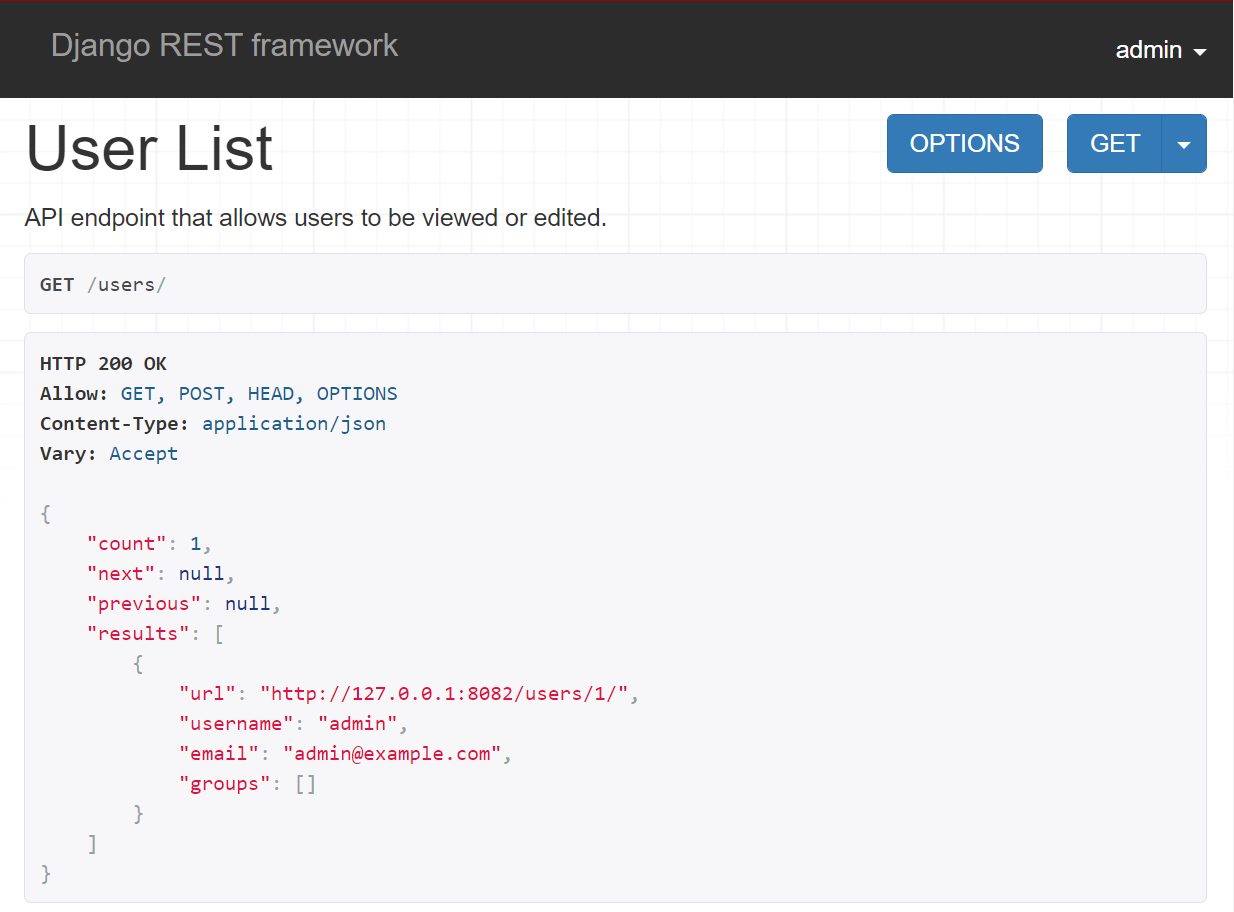
ブラウザから確認 http://127.0.0.1:8082/users/
下記画面が表示されればOK
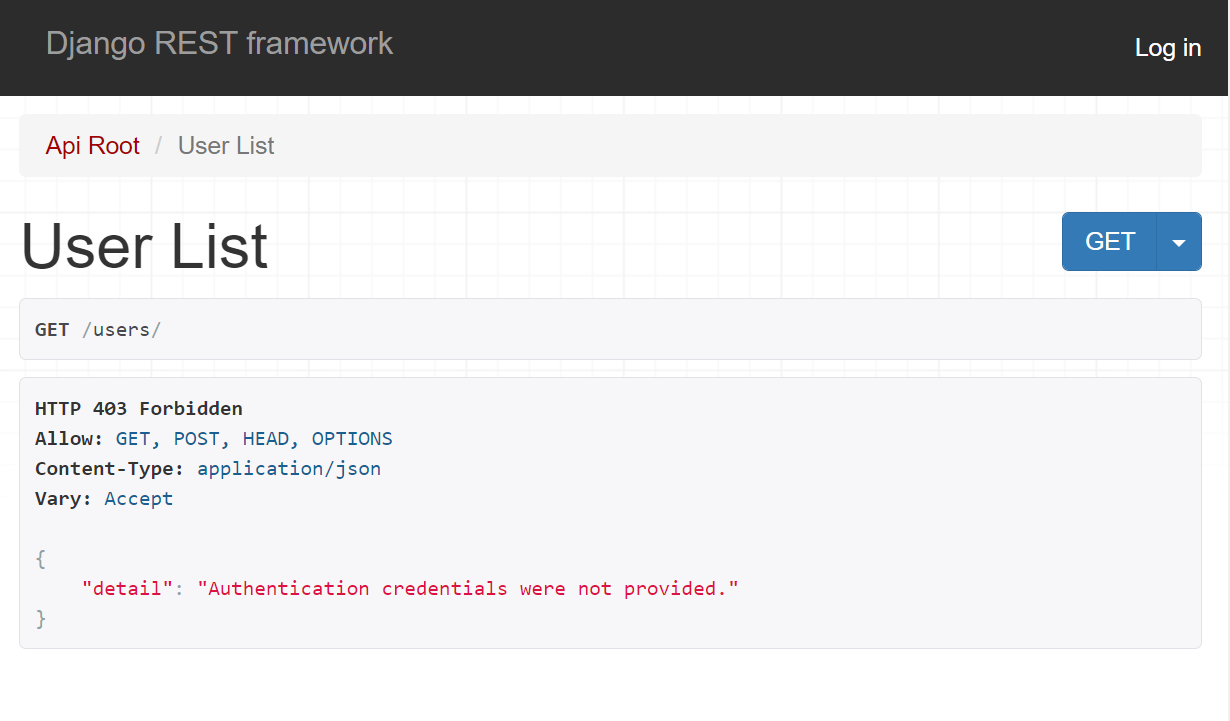
右上のLoginから遷移した画面
最後に
以前AWSでRestapi作って見たけど本当に運用を考えると維持費が高い・・。
もっと安いクラウドサービスなどで簡単にRestApiアプリを作れる方法を検討してDjangoのRestfremeworkに辿り着いた。
またDjango付属のサーバは開発用簡易サーバなはずだから本番ではやはりNginx経由などで構築しないとダメなのかな。
参照リンク
https://www.django-rest-framework.org/tutorial/quickstart/
https://tech.mokelab.com/infra/docker/tips/empty_reply_from_server.html
リバースプロキシの仕組みとは?nginxを使った設定