はじめに
以前django-warrantでAWS CognitoでDjangoログインをやってみた
記事 (別サイト)
が!このライブラリはどうも更新がストップされているため、
今回django-allauthを使ってのログインを試みてみたメモとなります。
OAuth2なのでいろいろなサービスで利用出来るようです。
余談ですが今回の設定でAWSの追加課金は無さそうです?。
今回の環境
端末:windows10
Python 環境
python: 3.78.5
django: 3.2.8(LTS)
django-allauth: 0.45.0
pip list
Package            Version
------------------ ---------
asgiref            3.4.1
certifi            2021.10.8
cffi               1.15.0
charset-normalizer 2.0.7
cryptography       35.0.0
defusedxml         0.7.1
Django             3.2.8
django-allauth     0.45.0
idna               3.3
oauthlib           3.1.1
pip                21.3.1
pycparser          2.20
PyJWT              2.3.0
python3-openid     3.2.0
pytz               2021.3
requests           2.26.0
requests-oauthlib  1.3.0
setuptools         47.1.0
sqlparse           0.4.2
urllib3            1.26.7
前提
下記はインストール、設定済み
Python、上記Python環境、AWS Cognito:作成済み
1. AWS Cognito設定
まずは、AWS CognitoでOAuth2が利用できるよう設定します。
Cognito サービスで利用するユーザプールを選択します。
1.1 左メニューのアプリの統合->アプリクライアント
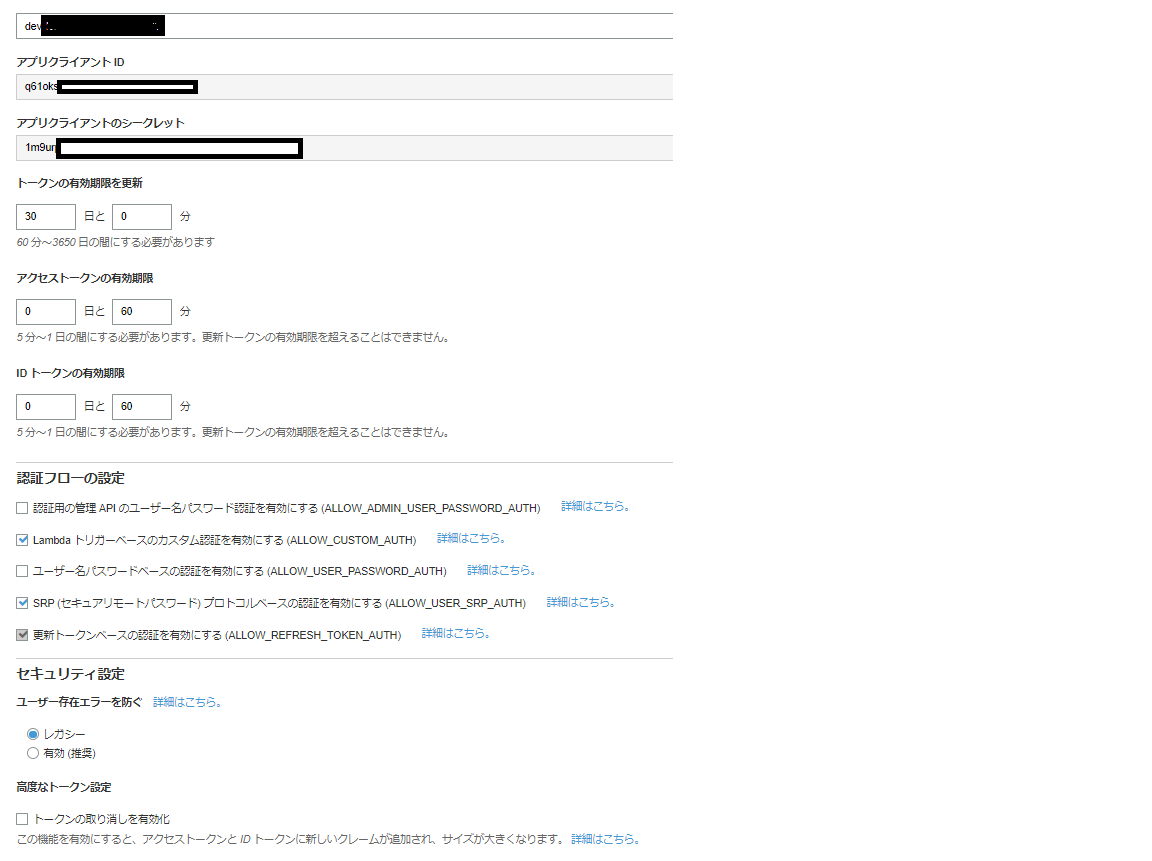
既に作成済みのアプリクライアントのシークレットが無しとなっているなら下段の「別のアプリクライアントの追加」を押して新規に追加する
※アプリクラアントIDと、アプリクラアントシークレットはのちに使うのでメモしておく
自分が設定したのはこんな感じ
1.2 左メニューのアプリの統合->アプリクラアントの設定
テスト環境時はコールバックURLは両方とも下記を設定する
後方のスラッシュを忘れるとエラーとなるので注意
http://localhost:8000/accounts/amazon-cognito/login/callback/
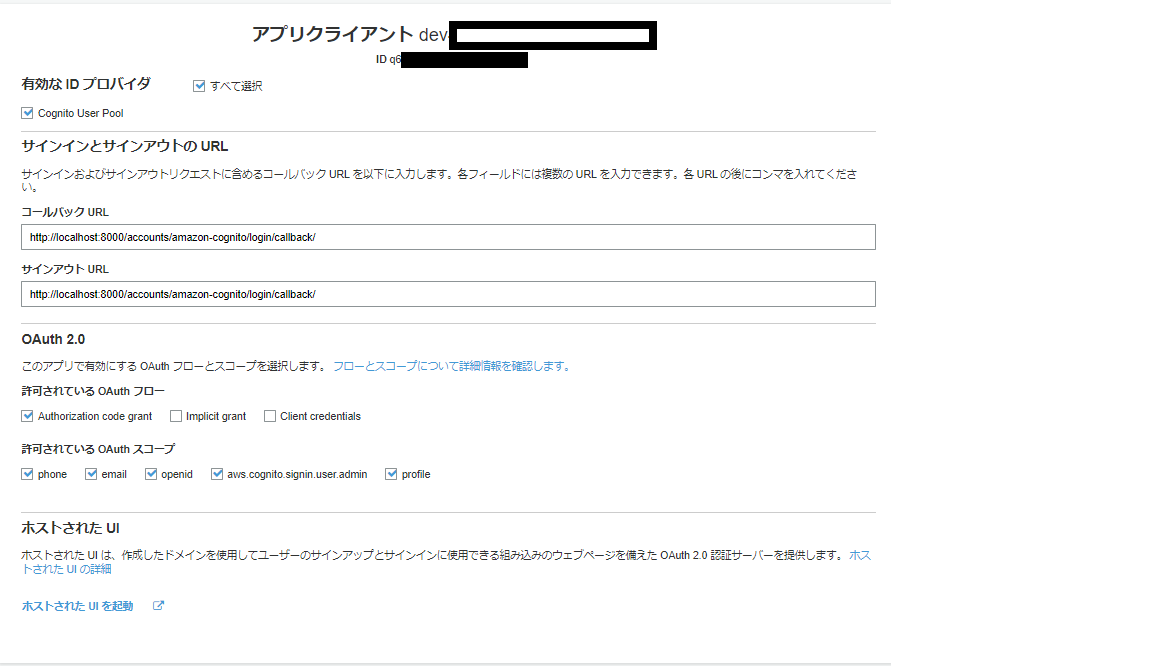
下段のホストされたUIを起動をクリックしログインを確認できます
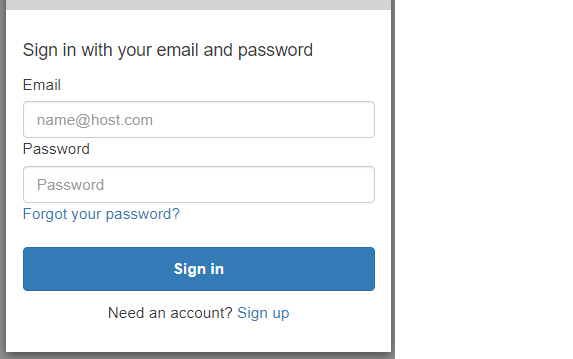
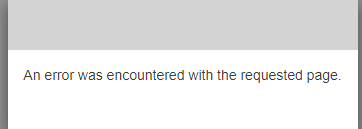
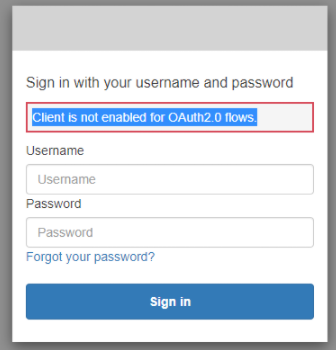
後の作業で下記のようなエラーが出た場合はコールバックURLを確認してみて下さい
1.3 左メニューのアプリの統合->ドメイン名
ドメインURLをあとで利用するのでこちらもメモ
(プレフィックスは自由です)
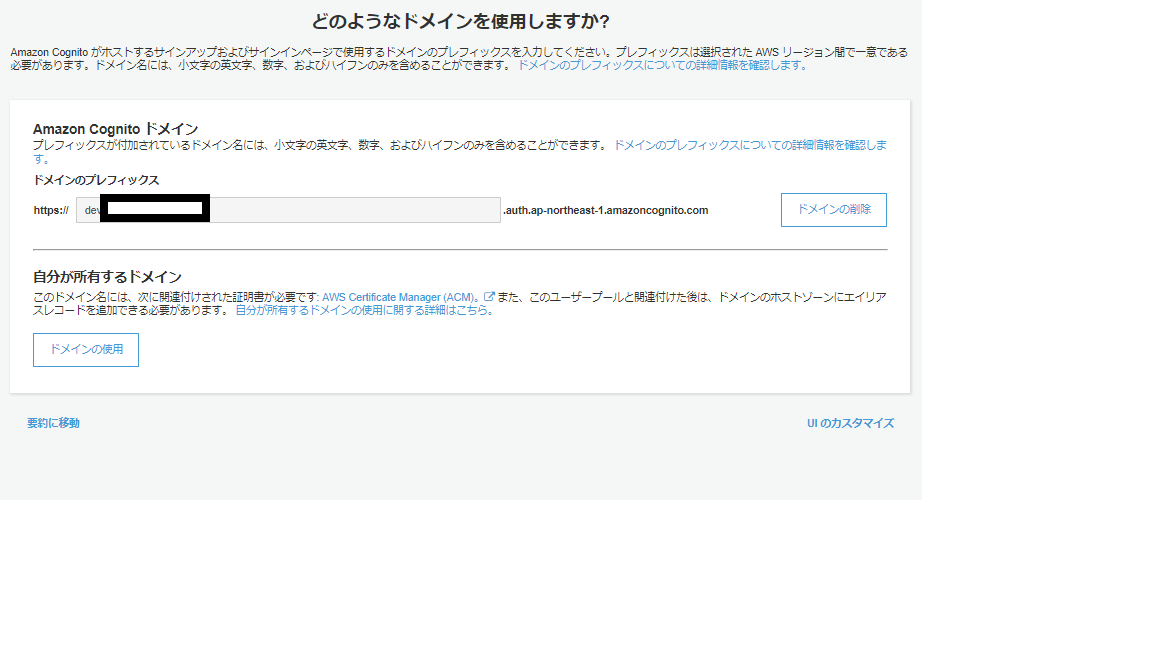
ドメイン指定するとお金を取られるかと思ったが大丈夫のよう?
違ってたら誰か教えて・・。
2 Django
2.1 プロジェクト作成
普通に立ち上がるか確認。下記コマンド実行後
http://localhost:8000 で確認しDjango画面が立上ればOK
django-admin startproject allauth_prj
cd allauth_prj
python manage.py runserver
setting.pyファイルの編集です。myapp はのちに作成するアプリ名です
INSTALLED_APPS = [
    .........
    #ADD
    'django.contrib.sites',
    'allauth',
    'allauth.account',
    'allauth.socialaccount',
    # ADD Amazon Cognito
    'allauth.socialaccount.providers.amazon_cognito',
]


TEMPLATES = [
    {
        'BACKEND': 'django.template.backends.django.DjangoTemplates',
        'DIRS': [],
        'APP_DIRS': True,
        'OPTIONS': {
            'context_processors': [
                ........
                # ADD
                # `allauth` needs this from django
                'django.template.context_processors.request',
            ],
        },
    },
]
AUTHENTICATION_BACKENDS = [
    # Needed to login by username in Django admin, regardless of `allauth`
    'django.contrib.auth.backends.ModelBackend',
    # `allauth` specific authentication methods, such as login by e-mail
    'allauth.account.auth_backends.AuthenticationBackend',
]
SITE_ID = 1
SOCIALACCOUNT_PROVIDERS = {
    'amazon_cognito': {
        'DOMAIN': '<<Cognito設定時にメモしたドメインURL>>',
        'APP': {
            'client_id': '<<Cognito設定時にメモしたアプリクラアントID>>',
            'secret': '<<Cognito設定時にメモしたシークレット>>',
            'key': ''
        }
    }
}
ACCOUNT_LOGOUT_ON_GET = True
"""allauth_prj URL Configuration

The `urlpatterns` list routes URLs to views. For more information please see:
    https://docs.djangoproject.com/en/3.2/topics/http/urls/
Examples:
Function views
    1. Add an import:  from my_app import views
    2. Add a URL to urlpatterns:  path('', views.home, name='home')
Class-based views
    1. Add an import:  from other_app.views import Home
    2. Add a URL to urlpatterns:  path('', Home.as_view(), name='home')
Including another URLconf
    1. Import the include() function: from django.urls import include, path
    2. Add a URL to urlpatterns:  path('blog/', include('blog.urls'))
"""
from django.contrib import admin
# Add
# from django.urls import path
from django.urls import include, path

urlpatterns = [
    path('admin/', admin.site.urls),
    # ADD
    path('accounts/', include('allauth.urls')),
]
2.2 DB構築反映
python manage.py migrate
(venv) python manage.py migrate
on manage.py migrate
Operations to perform:
  Apply all migrations: account, admin, auth, contenttypes, sessions, sites, socialaccount
Running migrations:
  Applying contenttypes.0001_initial... OK
  Applying auth.0001_initial... OK
  Applying account.0001_initial... OK
  Applying account.0002_email_max_length... OK
  Applying account.0003_auto_20211023_1544... OK
  Applying admin.0001_initial... OK
  Applying admin.0002_logentry_remove_auto_add... OK
  Applying admin.0003_logentry_add_action_flag_choices... OK
  Applying contenttypes.0002_remove_content_type_name... OK
  Applying auth.0002_alter_permission_name_max_length... OK
  Applying auth.0003_alter_user_email_max_length... OK
  Applying auth.0004_alter_user_username_opts... OK
  Applying auth.0005_alter_user_last_login_null... OK
  Applying auth.0006_require_contenttypes_0002... OK
  Applying auth.0007_alter_validators_add_error_messages... OK
  Applying auth.0008_alter_user_username_max_length... OK
  Applying auth.0009_alter_user_last_name_max_length... OK
  Applying auth.0010_alter_group_name_max_length... OK
  Applying auth.0011_update_proxy_permissions... OK
  Applying auth.0012_alter_user_first_name_max_length... OK
  Applying sessions.0001_initial... OK
  Applying sites.0001_initial... OK
  Applying sites.0002_alter_domain_unique... OK
  Applying socialaccount.0001_initial... OK
  Applying socialaccount.0002_token_max_lengths... OK
  Applying socialaccount.0003_extra_data_default_dict... OK
  Applying socialaccount.0004_auto_20211023_1544... OK
super user作成し、super userでログインしてみる
python manage.py createsuperuser
python manage.py runserver
python manage.py createsuperuser

自由にユーザ情報作成


python manage.py runserver
(venv) F:\DocumentMakoto\Job\Project\Django\allauth\allauth_prj>python manage.py runserver
Watching for file changes with StatReloader
Performing system checks...

System check identified no issues (0 silenced).
October 23, 2021 - 19:45:34
Django version 3.2.8, using settings 'allauth_prj.settings'
Starting development server at http://127.0.0.1:8000/
Quit the server with CTRL-BREAK.
ブラウザからアクセスしログインしてみる
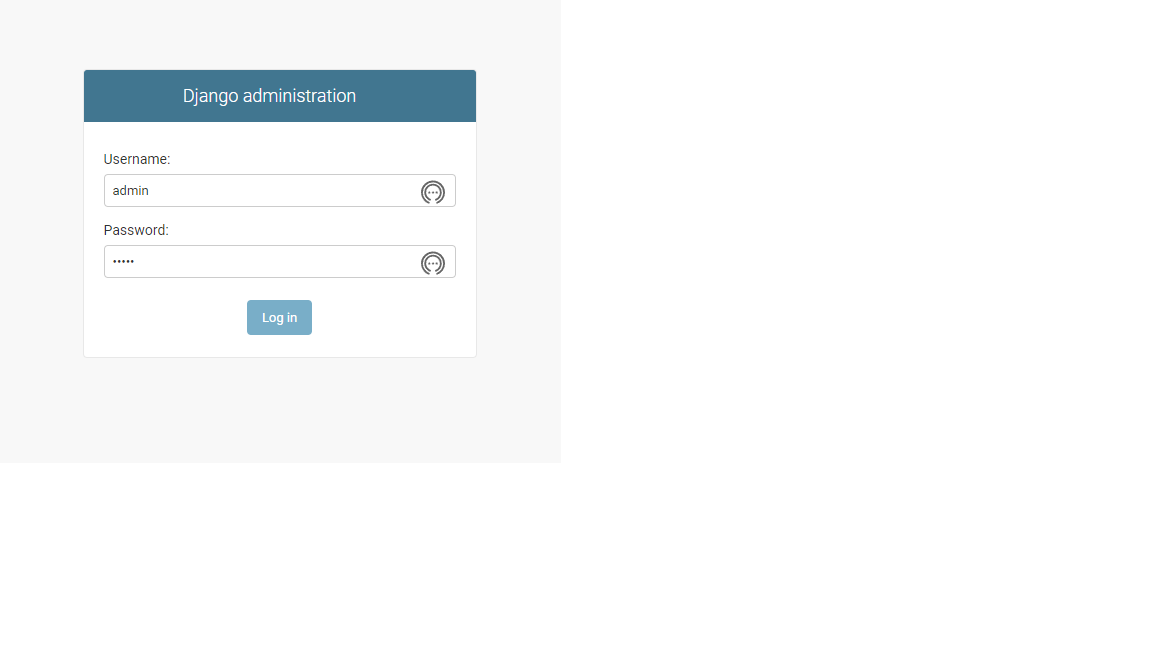
http://localhost:8000/admin/
ログイン後userをみるとsuper userのみ存在しているのが確認できる
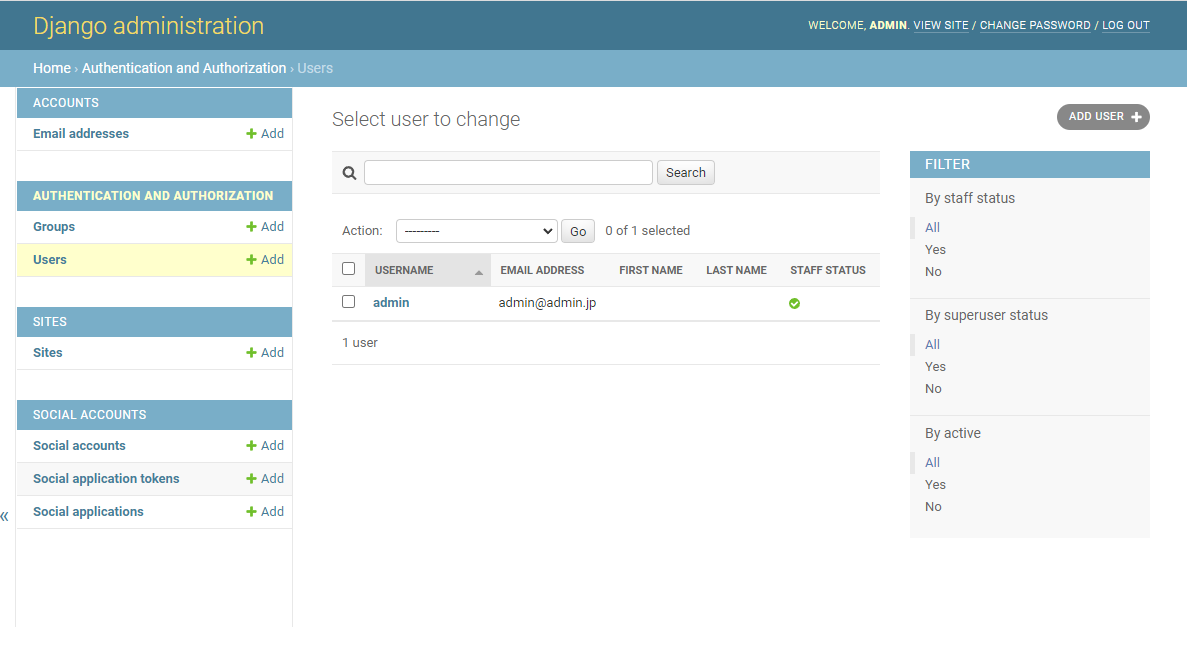
2.3 myappアプリ作成
ログインした時とログアウトした時の画面を myappアプリを作り用意する
python manage.py startapp myapp
myappプロジェクトをsetting.pyに追加します
INSTALLED_APPS = [
    .....
    # ADD
    'myapp',
]

LOGIN_REDIRECT_URL = '/myapp'
LOGOUT_REDIRECT_URL = '/myapp'
from django.contrib import admin
# Add
# from django.urls import path
from django.urls import include, path

urlpatterns = [
    path('admin/', admin.site.urls),
    # ADD
    path('accounts/', include('allauth.urls')),
    path('myapp/', include('myapp.urls')),
]
myapp アプリ側の修正
from django.contrib import admin
from django.conf.urls import url
from django.urls import include, path
from . import views

app_name='myapp'
urlpatterns = [
    url( r'^', views.index, name='index'),
]
from django.shortcuts import render
from django.http.response import HttpResponse
from django.contrib.auth.decorators import login_required

# Create your views here.
@login_required
def index(request):
    #return HttpResponse('Login Success')

    context = {}
    return render(request, 'myapp/index.html', context )

# def logout(request):
#    return HttpResponse('Bye')
login画面
<html>
<body>
<h1>Login Success</h1>
 Hi {{ user.username }}!
<p><a href="/accounts/logout/">Log Out</a></p>
</body>
</html>
起動 python manage.py runserver
(venv) >python manage.py runserver
Watching for file changes with StatReloader
Performing system checks...

System check identified no issues (0 silenced).
October 23, 2021 - 20:08:55
Django version 3.2.8, using settings 'allauth_prj.settings'
Starting development server at http://127.0.0.1:8000/
Quit the server with CTRL-BREAK.
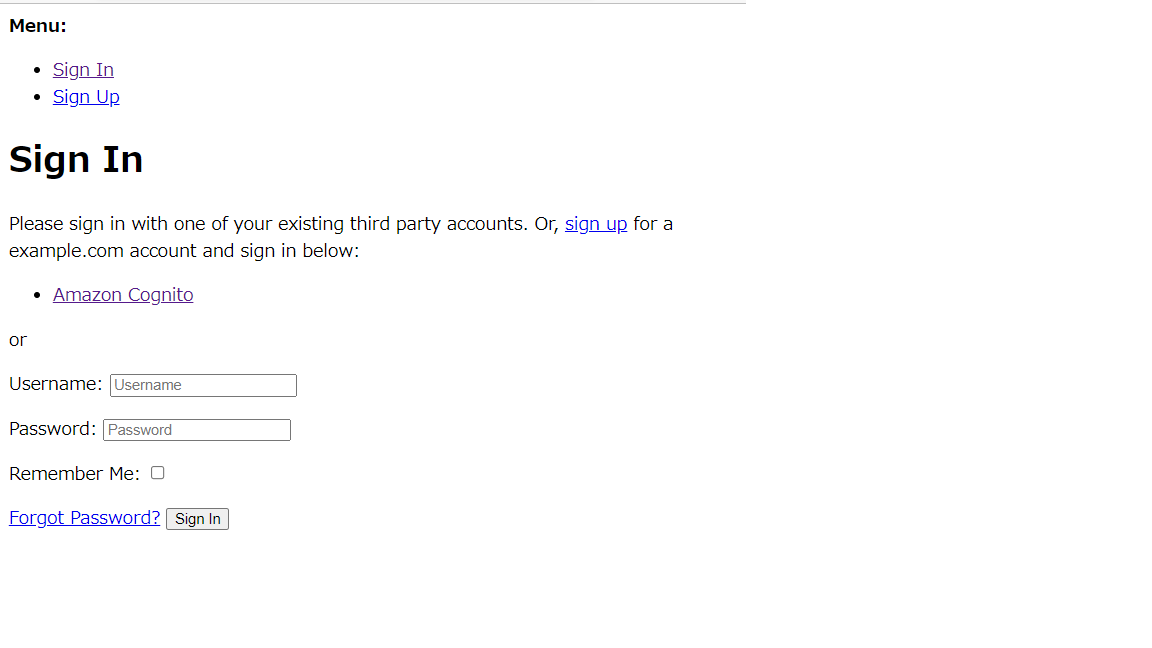
http://localhost:8000/accounts/login/
もしadminでログインしていたらlogoutしてアクセスしてから下さい
そうすると下記画面が出ます。
Amazon Cognitoのリンクをクリック
この画面が出るのCognitoのアカウント情報を入れてSign inをクリック
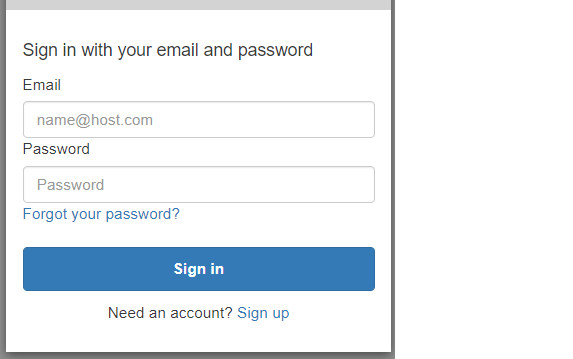
ログインが成功すればmysaite/index.htmlが表示される

2.4 アカウントユーザ確認
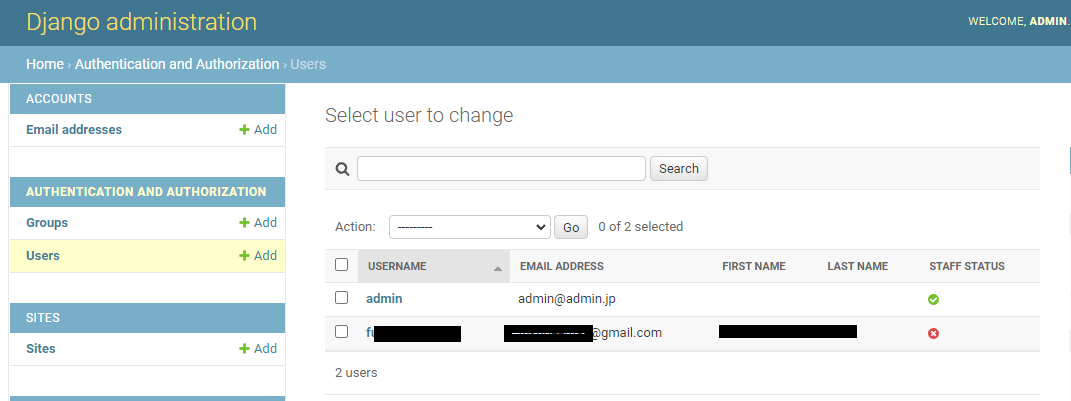
adminサイトで確認するとAWS Cognitoユーザが追加されています
http://localhost:8000/admin/
最後に感想
特にあまりはまることもなく作成できた。他のサイトとの連携も簡単そうですね。
AWS Cognitoは、Serverless Frameworkで作っているから、
ここも考慮してスクリプトを作らないとかな・・。

