はじめに
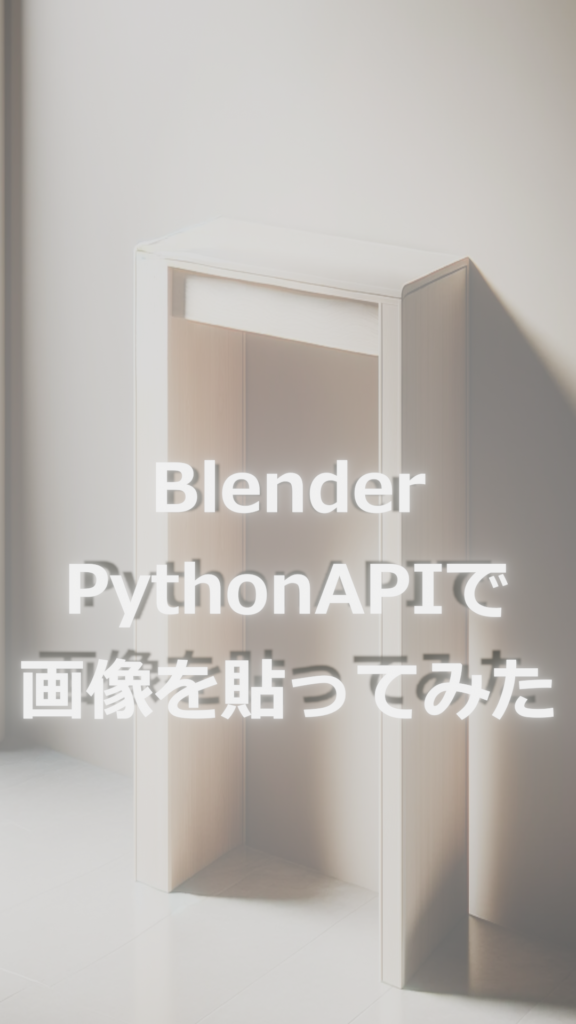
この記事では、Blender 4.0でPython APIを使用して平面のメッシュに画像を貼り付ける方法を説明します。このプロセスは、コマンドラインからBlenderを操作し、自動化タスクを実行する際に役立ちます。
こちらの記事もおすすめ
必要なツール
- Blender 4.0
- 基本的なPythonの知識
クリプトの準備
background_job_image.py
import bpy
import os
import sys
import argparse
import addon_utils

def set_object_scale(obj, scale_x, scale_y, scale_z):
    obj.scale.x = scale_x
    obj.scale.y = scale_y
    obj.scale.z = scale_z

def set_object_location(obj, loc_x, loc_y, loc_z):
    obj.location.x = loc_x
    obj.location.y = loc_y
    obj.location.z = loc_z

def create_text_object(text, font_path):
    txt_data = bpy.data.curves.new(name="Text", type='FONT')
    txt_data.body = text
    txt_data.align_x = 'CENTER'

    if os.path.exists(font_path):
        txt_data.font = bpy.data.fonts.load(font_path)
    else:
        print(f"Font file not found: {font_path}")

    return bpy.data.objects.new(name="TextObject", object_data=txt_data)

def setup_scene(scene, image_path, font_path, text):
    scene.render.resolution_x = 1080
    scene.render.resolution_y = 1920
    scene.render.engine = 'BLENDER_EEVEE'
    scene.eevee.use_bloom = True

    text_obj = create_text_object(text, font_path)
    scene.collection.objects.link(text_obj)
    apply_emission_material_to_text(text_obj)

def configure_camera(scene):
    cam_data = bpy.data.cameras.new("Camera")
    cam_obj = bpy.data.objects.new("Camera", cam_data)
    scene.collection.objects.link(cam_obj)
    scene.camera = cam_obj
    cam_obj.location = (0.0, 0.0, 14.0)

def configure_lighting(scene):
    light_data = bpy.data.lights.new("Light", 'SUN')
    light_obj = bpy.data.objects.new("Light", light_data)
    scene.collection.objects.link(light_obj)
    light_obj.location = (2.0, 2.0, 5.0)
    light_obj.data.energy = 5.0

def create_emission_material():
    mat = bpy.data.materials.new(name="EmissionMaterial")
    mat.use_nodes = True
    nodes = mat.node_tree.nodes
    nodes.clear()  # clear all the nodes
    emission = nodes.new(type='ShaderNodeEmission')
    emission.inputs[0].default_value = (1, 1, 1, 1)  # white color
    emission.inputs[1].default_value = 5.0  # strength
    output = nodes.new(type='ShaderNodeOutputMaterial')
    links = mat.node_tree.links
    links.new(emission.outputs[0], output.inputs[0])
    return mat

def apply_emission_material_to_text(text_obj):
    emission_mat = create_emission_material()
    text_obj.data.materials.append(emission_mat)

def save_and_render(scene, save_path, render_path):
    if save_path:
        bpy.ops.wm.save_as_mainfile(filepath=save_path)

    if render_path:
        scene.render.filepath = render_path
        bpy.ops.render.render(write_still=True)

def enable_addon(addon_name):
    loaded_default, loaded_state = addon_utils.check(addon_name)
    if not loaded_state:
        addon_utils.enable(addon_name, default_set=True)
        print(f"Addon '{addon_name}' enabled.")
    else:
        print(f"Addon '{addon_name}' already enabled.")

def import_image_as_plane(image_path):
    if os.path.exists(image_path):
        bpy.ops.import_image.to_plane(files=[{"name": image_path}])
        print(f"Image imported as plane: {image_path}")
    else:
        print(f"Image file not found: {image_path}")

def parse_arguments(argv):
    parser = argparse.ArgumentParser()
    parser.add_argument(
        "-t", "--text", dest="text", type=str, default="Blender\nPythonAPIで\n画像を貼ってみた",
        help="This text will be used to render an image",
    )
    parser.add_argument(
        "-s", "--save", dest="save_path", metavar='FILE', default="/tmp/hello.blend",
        help="Save the generated file to the specified path",
    )
    parser.add_argument(
        "-r", "--render", dest="render_path", metavar='FILE', default="/tmp/hello4",
        help="Render an image to the specified path",
    )
    parser.add_argument(
        "-f", "--font", dest="font_path", type=str,
        default="C:\\Windows\\Fonts\\meiryob.ttc",  # Replace this with the correct path on your system
        help="The path to the font file to use for rendering the text",
    )
    parser.add_argument(
        "-b", "--background", dest="background_path", type=str,
        default=r"D:\Prj\VideoPortraitMaker\image\background01.png",  # Replace with the correct path to the background image
        help="The path to the background image file to use",
    )
    # 引数をパース
    args = parser.parse_args(argv)

    return args

def setup_background(args):
    enable_addon("io_import_images_as_planes")
    import_image_as_plane(args.background_path)

    obj = bpy.data.objects.get('background01')
    set_object_scale(obj, 10.8, 21.6, 1)
    set_object_location(obj, 0, 0, -1)

def main():

    argv = sys.argv

    # "--"の後の引数のみを取得
    if "--" in argv:
        argv = argv[argv.index("--") + 1:]
    else:
        argv = []

    args = parse_arguments(argv)

    if not args.text:
        parser.print_help()
        return


    scene = bpy.context.scene
    setup_scene(scene, args.background_path, args.font_path, args.text)
    setup_background(args)
    configure_camera(scene)
    configure_lighting(scene)
    save_and_render(scene, args.save_path, args.render_path)

if __name__ == "__main__":
    main()
リポジトリ
参考サイト
