この記事で説明すること
今日は、主に UITableView の使い方を見ていきます。
-
UITabeViewDelegateとUITableViewDataSourceクラスを作成して、現在のコードを単純化します - このカスタムクラスを使用して、2つ以上のテーブルビューを1つの
UIViewControllerに埋め込みます。
通常の構造
通常、既存の UIViewController に UITableView を追加する場合は、次のように行います。
@IBOutlet weak var tableView: UITableView!
extension ViewController: UITableViewDelegate, UITableViewDataSource {

    func tableView(_ tableView: UITableView, numberOfRowsInSection section: Int) -> Int {
        //やること:テーブルビューの行数を返す
    }

    func tableView(_ tableView: UITableView, cellForRowAt indexPath: IndexPath) -> UITableViewCell {
        //やること:テーブルビューセルを生成する
    }

}
UITableViewDelegate と UITableViewDataSource にある関数を別のクラスに抽出することができます
class tableDataSource: NSObject, UITableViewDelegate, UITableViewDataSource {

    var items = ...

    func tableView(_ tableView: UITableView, numberOfRowsInSection section: Int) -> Int {
        return items.count
    }

    func tableView(_ tableView: UITableView, cellForRowAt indexPath: IndexPath) -> UITableViewCell {
        let item = items[indexPath.row]
        ...
        return cell
    }

}
これにより、画面に表示する UITableView ごとに1つの tableDataSource を作成できます。したがって、このコードを使用して複数のUITableView を作成できます
ここではデフォルトのシステムが作り出す UITableViewCell を使用できます:
タイトルのみ
let cell = UITableViewCell(style: .default, reuseIdentifier: nil)
cell.textLabel?.text = item.title
return cell
タイトルとサブタイトル
let cell = UITableViewCell(style: .default, reuseIdentifier: nil)
cell.textLabel?.text = item.title
cell.detailTextLabel?.text = item.subtitle
return cell
画像込みで
let cell = UITableViewCell(style: .subtitle, reuseIdentifier: nil)
cell.textLabel?.text = item.title
cell.detailTextLabel?.text = item.subtitle
cell.imageView?.image = UIImage(systemName: "person.circle.fill")
return cell
例
そして、tableDataSource を使用して、2つの UITableView を1つの UIViewController に追加します。
オブジェクトの構造
struct Item {
    var title: String
    var subtitle: String
}
テーブルビューのデータソース
class tableDataSource: NSObject, UITableViewDelegate, UITableViewDataSource {

    var items = [Item]()

    func tableView(_ tableView: UITableView, numberOfRowsInSection section: Int) -> Int {
        return items.count
    }

    func tableView(_ tableView: UITableView, cellForRowAt indexPath: IndexPath) -> UITableViewCell {
        let item = items[indexPath.row]
        let cell = UITableViewCell(style: .subtitle, reuseIdentifier: nil)
        cell.textLabel?.text = item.title
        cell.detailTextLabel?.text = item.subtitle
        return cell
    }

}
変数
@IBOutlet weak var tableView1: UITableView!
var tableView1Data = tableDataSource()

@IBOutlet weak var tableView2: UITableView!
var tableView2Data = tableDataSource()
データ
サンプルデータ
//Sample items
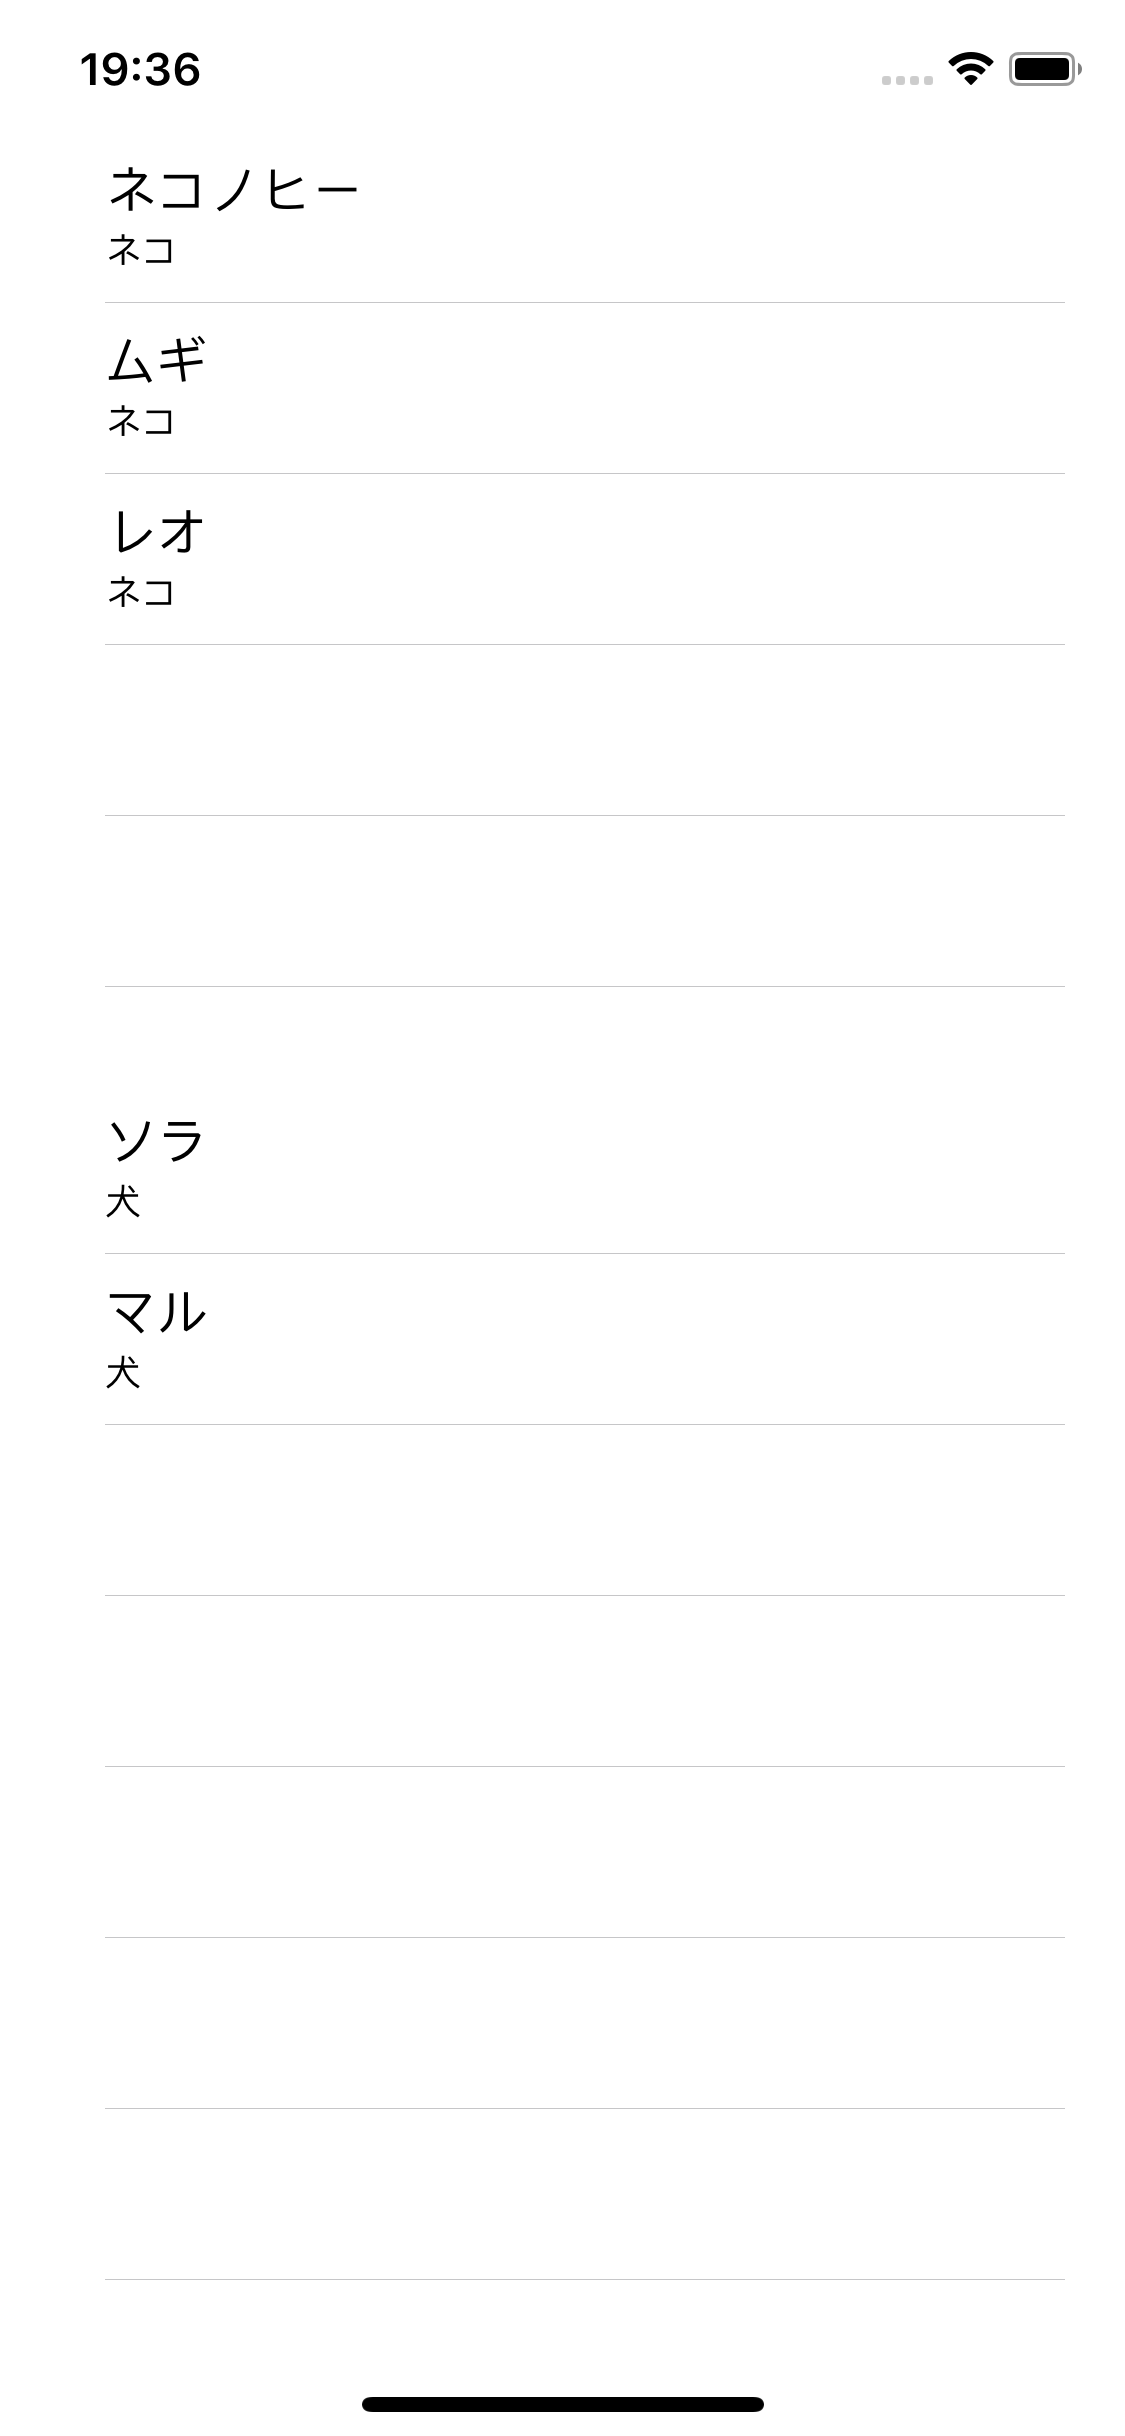
let cat1 = Item(title: "ネコノヒー", subtitle: "ネコ")
let cat2 = Item(title: "ムギ", subtitle: "ネコ")
let cat3 = Item(title: "レオ", subtitle: "ネコ")
let dog1 = Item(title: "ソラ", subtitle: "犬")
let dog2 = Item(title: "マル", subtitle: "犬")
//Set the data
tableView1Data.items = [cat1, cat2, cat3]
tableView2Data.items = [dog1, dog2]
テーブルビューの設定
//tableView1
tableView1.delegate = tableView1Data
tableView1.dataSource = tableView1Data
//tableView2
tableView2.delegate = tableView2Data
tableView2.dataSource = tableView2Data
プログラム実行時のスクリーンショットはこちら:
次のステップ
これで tableDataSource を再利用できるので、複数の UITableView を表示するのに書くコードを減らせます。

