前提
- AWS CLI設定済み
環境構築
VS Code
- C# for Visual Studio Code
C#開発環境
dotnet系
-
.NET6 SDK
公式からインストーラー落としてきて入れる。
https://dotnet.microsoft.com/ja-jp/download/visual-studio-sdks -
lambda開発用のテンプレート
dotnet new -i Amazon.Lambda.Templates
- デバッグツール
dotnet tool install -g Amazon.Lambda.TestTool-6.0
- デプロイツール
dotnet tool install -g Amazon.Lambda.Tools
やってみる
プロジェクト作成
dotnet new lambda.EmptyFunction --name MyFunction
設定ファイルを編集
{
  "Information": [
    "This file provides default values for the deployment wizard inside Visual Studio and the AWS Lambda commands added to the .NET Core CLI.",
    "To learn more about the Lambda commands with the .NET Core CLI execute the following command at the command line in the project root directory.",
    "dotnet lambda help",
    "All the command line options for the Lambda command can be specified in this file."
  ],
  "profile": "default", // ← 自分の設定しているプロファイル名
  "region": "ap-northeast-1", // ← 好きなリージョン
  "configuration": "Release",
  "function-runtime": "dotnet6",
  "function-memory-size": 256,
  "function-timeout": 30,
  "function-handler": "MyFunction::MyFunction.Function::FunctionHandler"
}
デバッグ用設定ファイルを設定
launch.jsonを作成。
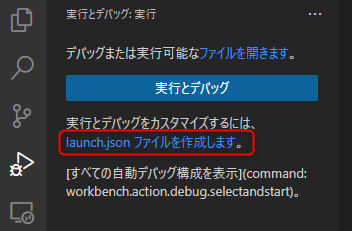
以下のように編集。
{
    // IntelliSense を使用して利用可能な属性を学べます。
    // 既存の属性の説明をホバーして表示します。
    // 詳細情報は次を確認してください: https://go.microsoft.com/fwlink/?linkid=830387
    "version": "0.2.0",
    "configurations": [
        {
            "name": ".NET Core Launch (console)",
            "type": "coreclr",
            "request": "launch",
            "preLaunchTask": "build",
            "program": "C:/Users/${env:USERNAME}/.dotnet/tools/dotnet-lambda-test-tool-6.0.exe", // ← 変更
            "args": [],
            "cwd": "${fileDirname}\\bin\\Debug\\net6.0", // ← 変更
            "console": "internalConsole",
            "stopAtEntry": false,
            "internalConsoleOptions": "openOnSessionStart" // ← 追加(デバッグするごとに新しいコンソールを開く)
        },
        {
            "name": ".NET Core Attach",
            "type": "coreclr",
            "request": "attach"
        }
    ]
}
nugetの復元
コマンドパレットを開いて(Ctrl + Shift + P)、.NET: Restore All Projectsを選ぶ。
デバッグしてみる
F5を押すとlocalhost:5050でブラウザが開き、GUIからAPIを実行することができる。
VS Codeにブレークポイント張れば止まるし、ステップ実行もできる。
実装
ごりごり実装する。
nuget管理画面とかないのでパッケージ追加はコマンドで。
dotnet add package hogehoge
と思ったら神拡張作られてた NuGet Package Manager GUI
引数をかえる ※任意
デフォルトではFunctionHandler関数の引数はこんな感じ。
public string FunctionHandler(string input, ILambdaContext context)
これだとクエリパラメータとか受け取れない(というかどうやって渡すのかわからん)ので第一引数を変える。
- パッケージを追加
dotnet add package Amazon.Lambda.APIGatewayEvents
- using句を追加
using Amazon.Lambda.APIGatewayEvents;
- 引数を変更
public string FunctionHandler(APIGatewayHttpApiV2ProxyRequest request, ILambdaContext context)
これで、request.QueryStringParametersとかが使えるようになる。
テスト
test/MyFunction.Tests/FunctionTest.csにテストが用意されている。
このディレクトリまで移動してからdotnet testで実行できる。ディレクトリ構造どうにかならんか。
nugetは本体とは別管理(プロジェクト自体が分かれている)なので、パッケージを追加した際はこちらにも追加する必要がある。
デプロイ
dotnetコマンドでいける。
$ dotnet lambda deploy-function

PS E:\develop\MyFunction\src\MyFunction> dotnet lambda deploy-function
Amazon Lambda Tools for .NET Core applications (5.4.5)
Project Home: https://github.com/aws/aws-extensions-for-dotnet-cli, https://github.com/aws/aws-lambda-dotnet

Executing publish command
Deleted previous publish folder
... invoking 'dotnet publish', working folder 'E:\develop\MyFunction\src\MyFunction\bin\Release\net6.0\publish'
... dotnet publish --output "E:\develop\MyFunction\src\MyFunction\bin\Release\net6.0\publish" --configuration "Release" --framework "net6.0" /p:GenerateRuntimeConfigurationFiles=true --runtime linux-x64 --self-contained false
... publish: .NET 向け Microsoft (R) Build Engine バージョン 17.2.0+41abc5629
... publish: Copyright (C) Microsoft Corporation.All rights reserved.
... publish:   復元対象のプロジェクトを決定しています...
... publish:   E:\develop\MyFunction\src\MyFunction\MyFunction.csproj を復元しました (186 ms)。
... publish: C:\Program Files\dotnet\sdk\6.0.300\Sdks\Microsoft.NET.Sdk\targets\Microsoft.NET.Sdk.targets(1114,5): warning NETSDK1179: '--runtime' を使用する場合は、'--self-contained' または '--no-self-contained' オプションのいずれかが必要です。 [E:\develop\MyFunction\src\MyFunction\MyFunction.csproj]
... publish:   MyFunction -> E:\develop\MyFunction\src\MyFunction\bin\Release\net6.0\linux-x64\MyFunction.dll
... publish:   MyFunction -> E:\develop\MyFunction\src\MyFunction\bin\Release\net6.0\publish\
Zipping publish folder E:\develop\MyFunction\src\MyFunction\bin\Release\net6.0\publish to E:\develop\MyFunction\src\MyFunction\bin\Release\net6.0\MyFunction.zip
... zipping: Amazon.Lambda.APIGatewayEvents.dll
... zipping: Amazon.Lambda.Core.dll
... zipping: Amazon.Lambda.Serialization.SystemTextJson.dll
... zipping: MyFunction.deps.json
... zipping: MyFunction.dll
... zipping: MyFunction.pdb
... zipping: MyFunction.runtimeconfig.json
... zipping: HtmlAgilityPack.dll
... zipping: Newtonsoft.Json.dll
Created publish archive (E:\develop\MyFunction\src\MyFunction\bin\Release\net6.0\MyFunction.zip).
Enter Function Name: (AWS Lambda function name)
MyFunction # ← AWS上で付けたい名前を入力
Creating new Lambda function
Select IAM Role that to provide AWS credentials to your code:
    1) MyFunction-role-8wn3kfd2fd
    2) *** Create new IAM Role ***
1 # 1でいい
New Lambda function created
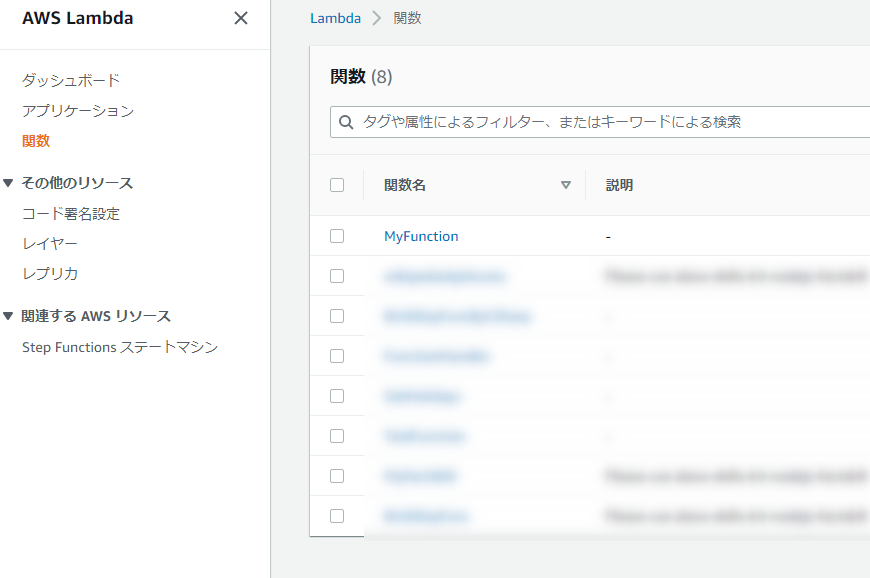
ブラウザからAWSを確認すると追加できている。
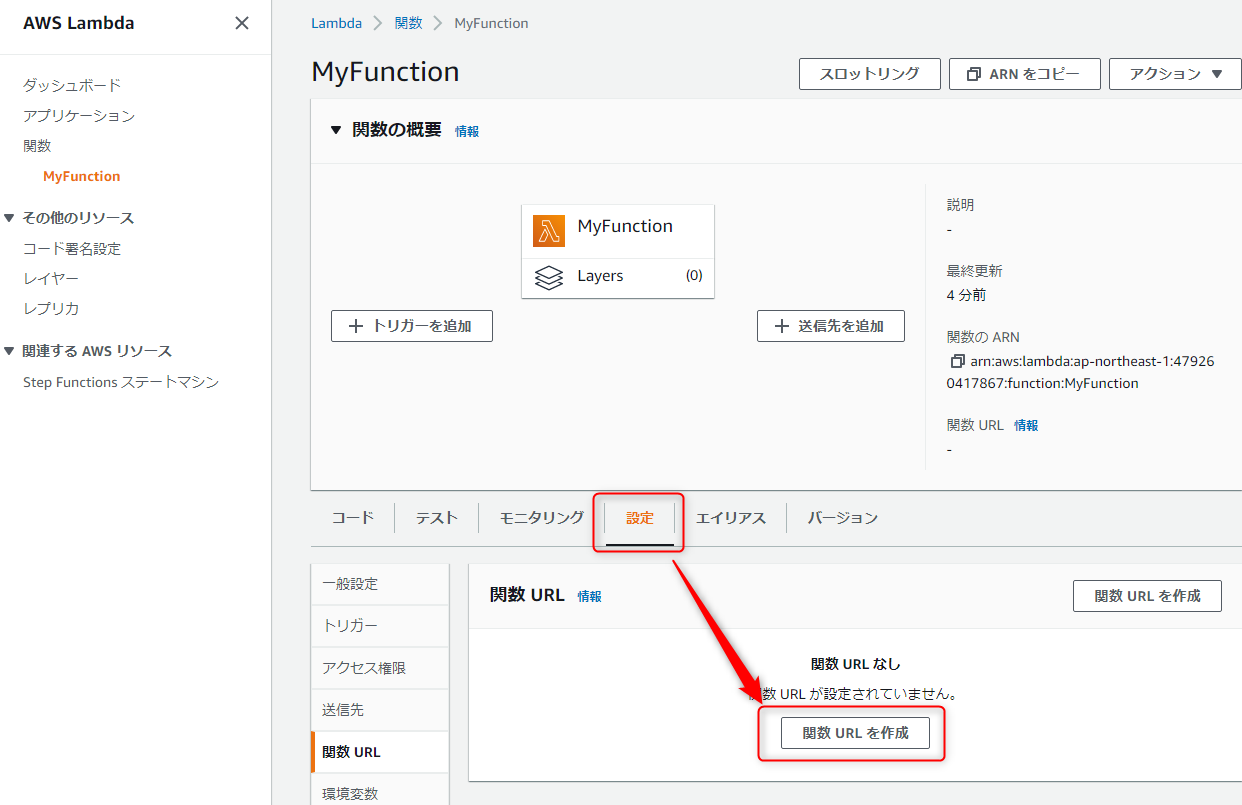
関数URLの作成
今年の春にLambdaに直接URLを付与できるようになった(それまではAPI Gatewayとか併用してた)
-
デプロイした関数を開いて、設定タブから「関数 URL を作成」を押す。
-
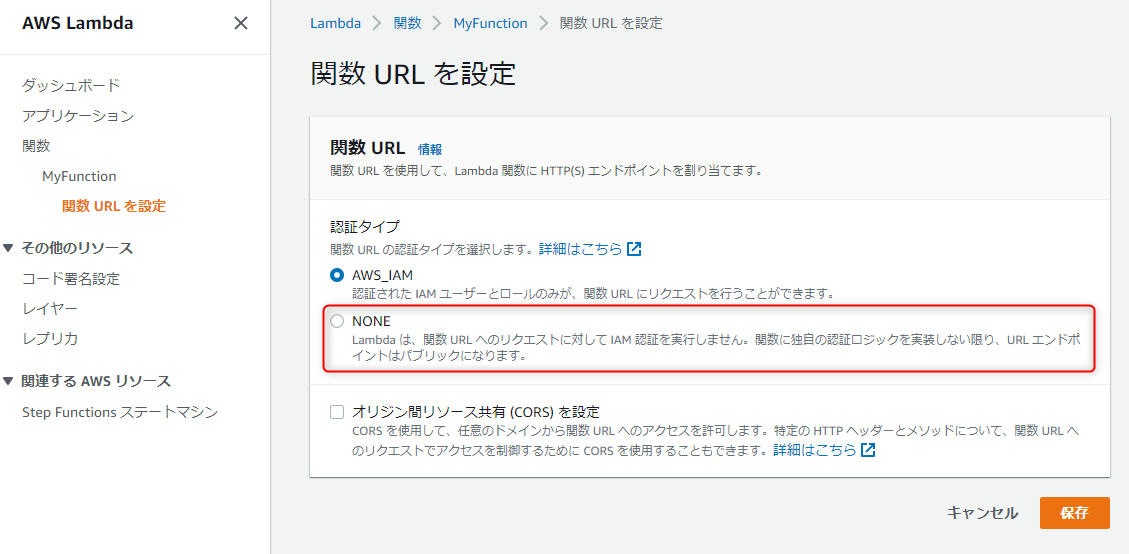
とりあえず認証なしで作成
-
URLが付与された
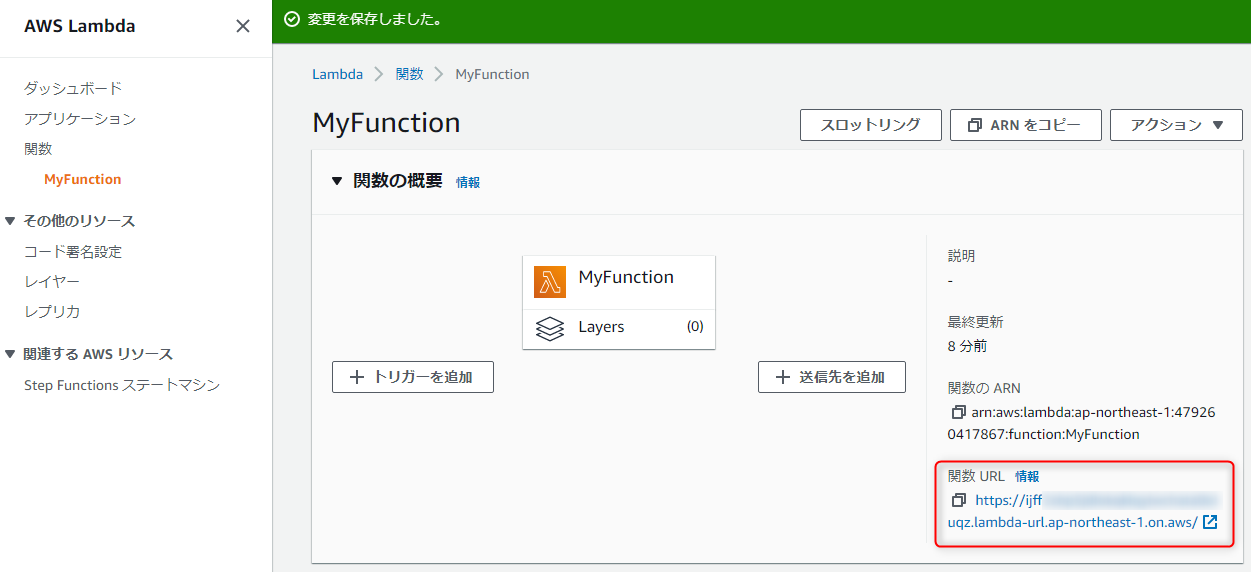
-
アクセスできた
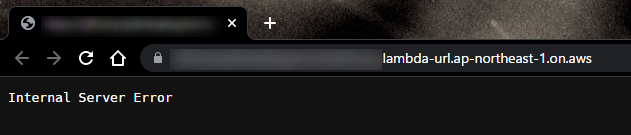
Internal Server Errorなのは気にしない -
注意事項
- 認証がNONEだと誰でもアクセスできてしまうので、IAMを使って認証するか独自で認証を実装する必要がある
- カスタムドメインとかスロットリングとかそういう機能使いたいならおとなしくAPI Gateway使う
デプロイされた関数をローカルから実行
dotnet lambda invoke-function MyFunction --payload "ここに引数を入力"
おわりに
慣れたら数分でデプロイまでいけた。
めちゃくちゃ便利だけど、.NET6の情報はほとんどないのでメモとして残す。