はじめに
UiPathは2024.10リリースで、新たにAutopilot for everyoneをリリースしました。こちらは全従業員を対象とした機能で、自動化の恩恵をいままで以上に実感することができるものになっています。
この機能は、UiPath Assistant内に実装されています。

お知らせ
機能解説の記事は、別途投稿予定です。
0.インストール環境の確認
インストール作業をする前に、まずは以下の条件を満たしているか確認が必要です。
・Automation Cloudでエンタープライズプランを利用していること
・UiPath AssistantおよびRobotのバージョン2024.10.5以上であること
・Enterpriseエディションがマシンにインストールされていること
・Automation Developer、Citizen Developer、Automation Express、Attended Userを利用する事
・アカウントの個人用ワークスペースが有効になっていること
1.Autopilotをインストールする
Automation Opsで使用するAIモデルを有効化する
まずは、Autopilot for everyoneで使用する生成AIのモデルを有効化する必要があります。
-
Automation Cloudにアクセスし、Automation Opsの製品ポリシーを追加をクリック

-
AI Trust Layerを選択し、追加

3.Anthropicを選択し、保存
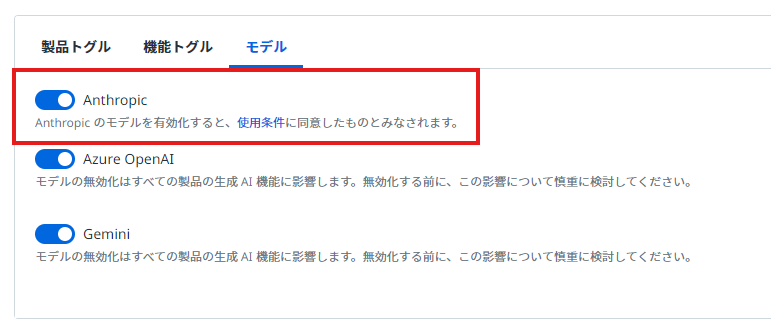

Autopilot for everyoneは現在、Anthropic社のClaude 3.5 Sonnetを利用しています。
(2024/10/22時点)
Document Understandingを有効化する
Autopilot for everyoneでは、一部の画像のデジタイズにDocument Understandingを利用することができます。
- Automation Cloudの管理>テナント>サービスから、サービスを追加を選択してDocument Understandingを追加

AI Unitを割り当てる
Autopilot for everyoneの利用には、AI Unitが必要になります。
- Automation Cloudの管理>テナント>ライセンスから、割り当てを編集を選択して、AI Unitを割り当てます。

作成したポリシーを対象のテナントに紐づける
先ほど作成したAnthropicを有効化したポリシーに対して、Autopilot for everyoneをインストールする対象のテナントに紐づけます
-
管理> AI Trust Layer> 設定から、フィードのデプロイを管理を選択

-
対象のテナントの編集ボタンから、AI Trust Layerに対して作成したポリシーを紐づけ、保存

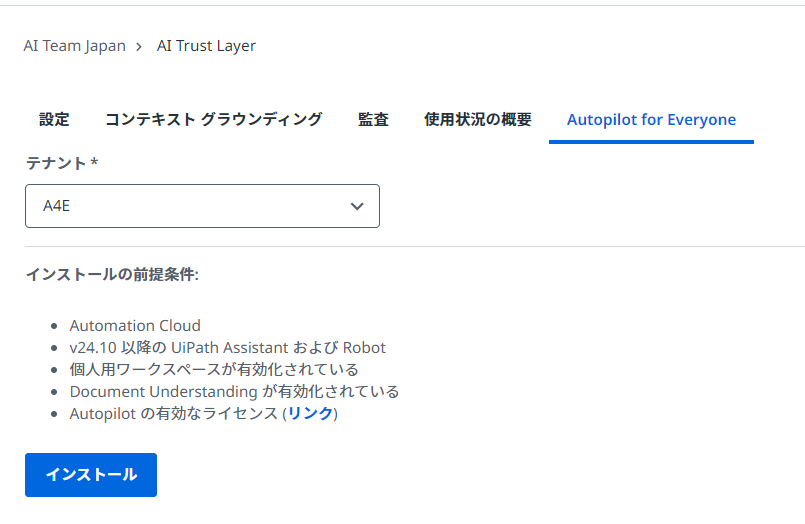
Autopilot for everyoneをインストール
Automation Cloudの管理> AI Trust Layer> Autopilot for everyoneから、インストールしたい対象のテナントを選択し、インストールボタンをクリック
2.インストールの完了を確認する
インストールが完了すると、以下のメニューが表示されるようになります。
後ほど環境設定の際に、こちらを利用します。

またOrchestrator上には、「Autopilot」というフォルダーが作成され、複数のプロセスが追加されています。

3.環境をセットアップする
マイクロオートメーションを追加する
マイクロオートメーションはUiPathが事前に構築したAPIベースのオートメーション群です。例えばメールを送信する、などのオートメーションが大量に含まれています。これらを利用するには以下の設定が必要になります。
スターティングプロンプトを設定する
Autopilotですぐにできるプロンプトのメニューを設定します。
Autopilotフォルダーを選択します。今回は既定のプロンプトを翻訳した、こちら のCSVファイルをアップロードします。

1.開始プロンプトからアップロードをクリック

-
ダウンロードしたCSVファイルを添付

-
プロンプトが反映されていることを確認して、変更を保存をクリック

コンテキストグランディングを設定する
コンテキストグラウンディングは、Autopilotに任意の質問を渡すことで、社内データを参考情報としてそれをベースにAutpilotが回答を生成してくれる仕組みです。
設定方法に関しては以下をご覧ください。
オートメーションのプロパティを設定する
オートメーションのプロパティ設定に関しては以下をご覧ください。。
詳細を設定する
こちらではAutopilot for everyoneの詳細な設定ができます。
デフォルトではファイルのアップロードが無効になっているため、画像などの分析や読み込みを行う場合はこちらを有効化してください。
- ファイルのアップロードを有効化し、変更を保存

Autopilot for everyoneを利用するユーザーを追加する
Autopilotにアクセスしたいユーザーが他にいる場合は、「Autopilot」フォルダーに、対象のユーザーライセンスを保持したアカウントを追加する必要があります。

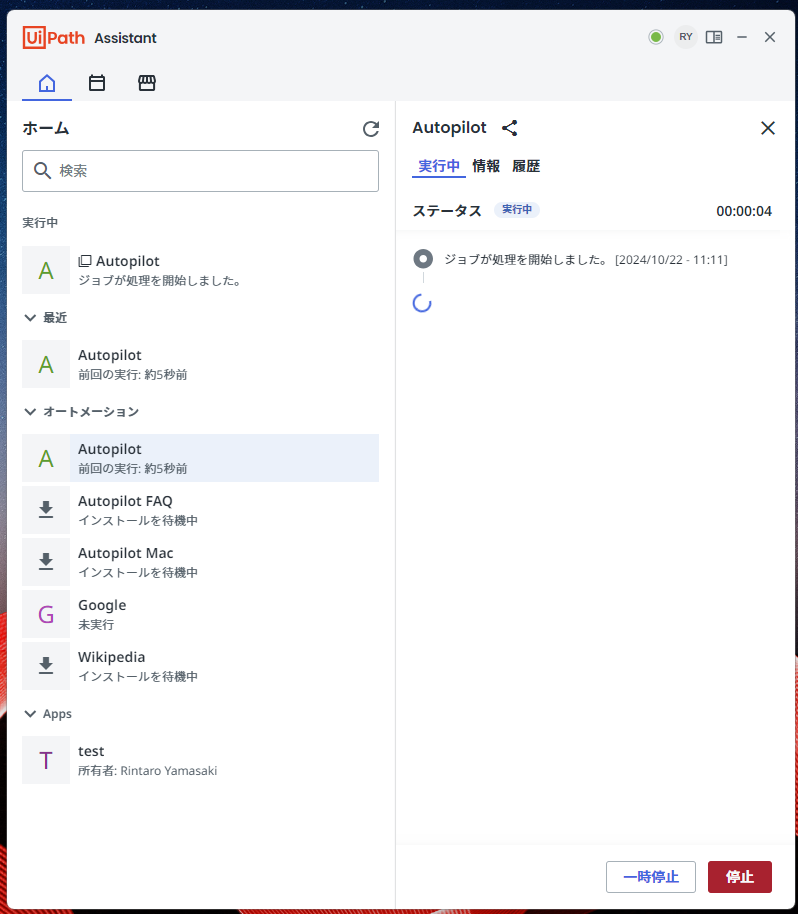
4.Autopilotを開始する
-
Assistantを開き、Autopilotのプロセスを開始
-
プロフィールを設定し、次へをクリック

-
Autopilotの画面から、任意のプロンプトで利用を開始

さいごに
本記事ではAutopilot for everyoneのインストール方法や環境設定、利用開始までを解説しました。
次回の記事では、カスタムプロンプトの編集や、ファイルの分析、カスタムオートメーションの設定など応用的な利用方法の解説を行います。