はじめに
アプリの画面をキャプチャし、画像として保存する方法を調べましたので記事にします。
パッケージの追加
下記の二つのパッケージをプロジェクトに追加してください
→ 一時的に画像を保存する必要があるため、上記のパッケージで一時フォルダのパスを取得します。
→ 画像を端末のアルバムに保存するため上記のパッケージを使用します。
準備
iOS
Info.plstに下記を追記してください。
	<key>NSPhotoLibraryUsageDescription</key>
    <string>ライブラリに保存します</string>
Android
android/app/src/main/AndroidManifest.xmlに下記を追加。
(場所はapplicationタグの上でいいと思います)
<uses-permission android:name="android.permission.WRITE_EXTERNAL_STORAGE" />
android/app/src/build.gradleのminSdkVersionを21に変更
defaultConfig {
  ...
  minSdkVersion 21
 targetSdkVersion flutter.targetSdkVersion
 versionCode flutterVersionCode.toInteger()
 versionName flutterVersionName
}
コード全文
最初に、画像を保存するためのコードを載っけておきます。
Flutterでプロジェクト作成時のコードを変更しただけなので、対象部分を差し替えてパッケージなどをimportすればお手元でも確認が簡単かと思います。
class MyHomePage extends StatefulWidget {
  const MyHomePage({super.key, required this.title});
  final String title;

  @override
  State<MyHomePage> createState() => _MyHomePageState();
}

class _MyHomePageState extends State<MyHomePage> {
  final int _counter = 0;
  final _globalKey = GlobalKey();

  void _takeSnapshot() async {
    final boundary =
        _globalKey.currentContext!.findRenderObject()! as RenderRepaintBoundary;
    if (boundary.debugNeedsPaint) {
      await Future.delayed(const Duration(milliseconds: 300));
    }
    final image = await boundary.toImage();
    final byteData = await image.toByteData(format: ImageByteFormat.png);
    final pngBytes = byteData!.buffer.asUint8List();

    final directory = (await getTemporaryDirectory()).path;
    final imgFile = File('$directory/test_screen_shot.png');
    await imgFile.writeAsBytes(pngBytes);

    await GallerySaver.saveImage(imgFile.path, albumName: "Sample");

    await imgFile.delete();
  }

  @override
  Widget build(BuildContext context) {
    return RepaintBoundary(
      key: _globalKey,
      child: Scaffold(
        appBar: AppBar(
          title: Text(widget.title),
        ),
        body: Center(
          child: Column(
            mainAxisAlignment: MainAxisAlignment.center,
            children: <Widget>[
              const Text(
                'You have pushed the button this many times:',
              ),
              Text(
                '$_counter',
                style: Theme.of(context).textTheme.headline4,
              ),
            ],
          ),
        ),
        floatingActionButton: FloatingActionButton(
          onPressed: _takeSnapshot,
          tooltip: 'Snapshot',
          child: const Icon(Icons.photo_camera),
        ), // This trailing comma makes auto-formatting nicer for build methods.
      ),
    );
  }
}
画像を取得するための手順
実装を細かく見る前に、大まかな手順を説明します。
- GlobalKeyを指定したRepaintBoundaryで画像化したいWidgetを囲う
- 上で指定したGlobalKeyで、UIの描画を行なっているオブジェクトを取得
- 上で取得したオブジェクトから画像を取得しバイトデータに変換
- バイトデータをキャッシュに保存
- キャッシュに保存したデータを端末のアルバムに保存
具体的な説明
GlobalKeyを指定したRepaintBoundaryで画像化したいWidgetを囲う
下記の抜粋コードのように、RepaintBoundaryで画像にしたいWidgetを囲います。
この時、GlobalKeyを指定することを忘れないでください。
class _MyHomePageState extends State<MyHomePage> {
  // GlobalKeyを作成
  final _globalKey = GlobalKey();

  @override
  Widget build(BuildContext context) {
    // 画像として保存したいWidgetをRepaintBoundaryで囲み、GlobalKeyを設定
    return RepaintBoundary(
      key: _globalKey,
      child: Scaffold(
        ...
      ),
    );
  }
}
RepaintBoundaryは再描画範囲を制限するために使用できるクラスのようです。
下記の動画がわかりやすかったですが、今回の使い方では画像にする反映を囲う使い方となります。
UIの描画を行なっているオブジェクトを取得
ここからの説明は以下のメソッドを抜粋して説明していきます。
  void _takeSnapshot() async {
    final boundary =
        _globalKey.currentContext!.findRenderObject()! as RenderRepaintBoundary;
    if (boundary.debugNeedsPaint) {
      await Future.delayed(const Duration(milliseconds: 300));
    }
    final image = await boundary.toImage();
    final byteData = await image.toByteData(format: ImageByteFormat.png);
    final pngBytes = byteData!.buffer.asUint8List();

    final directory = (await getTemporaryDirectory()).path;
    final imgFile = File('$directory/test_screen_shot.png');
    await imgFile.writeAsBytes(pngBytes);

    await GallerySaver.saveImage(imgFile.path, albumName: "Sample");

    await imgFile.delete();
  }
さて、この項の本題ですが、描画を行なっているオブジェクトは下記で取得しています。
ここでGlobalKeyが必要なため、buildメソッド内で指定しました。
    final boundary =
        _globalKey.currentContext!.findRenderObject()! as RenderRepaintBoundary;
描画オブジェクトから画像を取得しバイトデータに変換
ここは順番に変換しているだけだんですが、一つ注記すると、if文の中です。
debugNeedsPaintがtrueの状態だと、toImageメソッドを実行するとエラーになったので、trueなら少し待つように実装しています。
if (boundary.debugNeedsPaint) {
  await Future.delayed(const Duration(milliseconds: 300));
}
final image = await boundary.toImage();
final byteData = await image.toByteData(format: ImageByteFormat.png);
final pngBytes = byteData!.buffer.asUint8List();
バイトデータをキャッシュに保存
一旦画像を保存しないと端末のアルバムに保存できないので、キャッシュに保存します。
getTemporaryDirectoryメソッドはpath_providerのメソッドで、キャッシュに使うフォルダパスを取得できます。
    final directory = (await getTemporaryDirectory()).path;
    final imgFile = File('$directory/test_screen_shot.png');
    await imgFile.writeAsBytes(pngBytes);
キャッシュに保存したデータを端末のアルバムに保存
キャッシュに保存したファイルパスとアルバム名を指定し、ギャラリーに保存します。
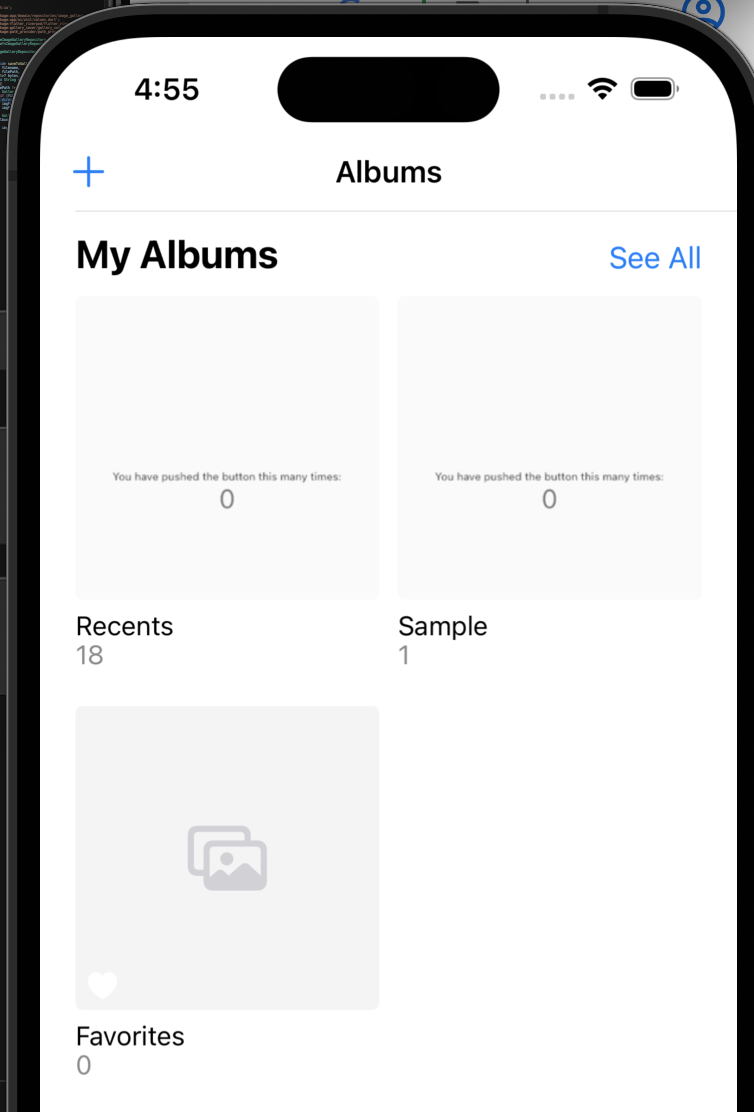
    await GallerySaver.saveImage(imgFile.path, albumName: "Sample");

    await imgFile.delete();
AndroidだとGoogleフォトに保存され、
(Android詳しくないのでわかりませんが、端末や設定で違うかもです)
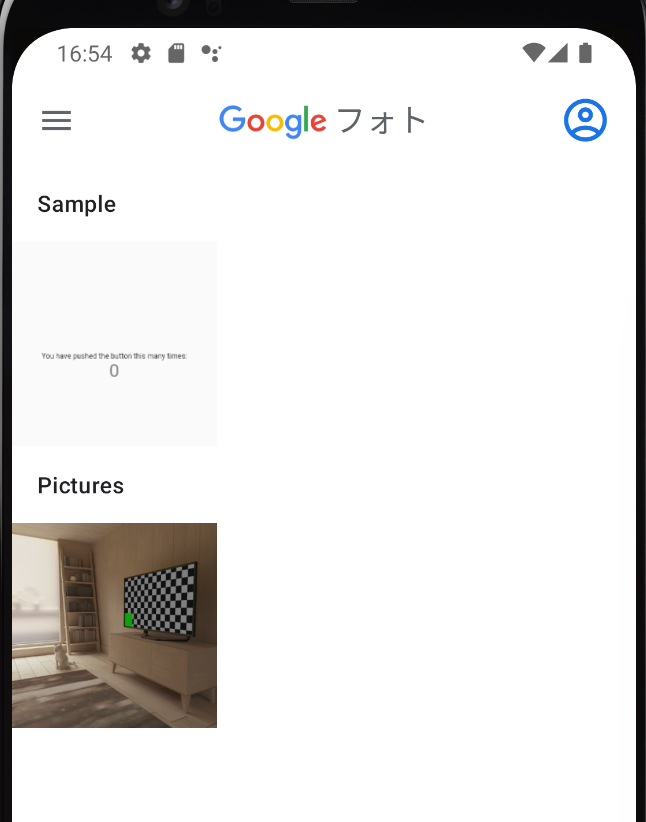
iOSは写真に保存されます。