JSON Serverとは?
REST APIのモック。
コーディング無しで30秒もかからずに作れます(マジで)
Get a full fake REST API with zero coding in less than 30 seconds (seriously)
インストールから起動まで
Node.jsが導入されていることが前提です。
起動までならたった3ステップ。
1. json-serverのインストール
npm install -g json-server
2. db.jsonの作成
用意したディレクトリへ、db.jsonファイルを作成。
{
  "posts": [
    { "id": 1, "title": "json-server", "author": "typicode" }
  ],
  "comments": [
    { "id": 1, "body": "some comment", "postId": 1 }
  ],
  "profile": { "name": "typicode" }
}
※ルート直下のkey項目がそのままResource urlとなります
3.json-serverの起動
json-server --watch db.json
起動確認
テンション高めな顔文字が表示されたら起動成功です。
  \{^_^}/ hi!

  Loading db.json
  Done

  Resources
  http://localhost:3000/posts
  http://localhost:3000/comments
  http://localhost:3000/profile

  Home
  http://localhost:3000

  Type s + enter at any time to create a snapshot of the database
  Watching...
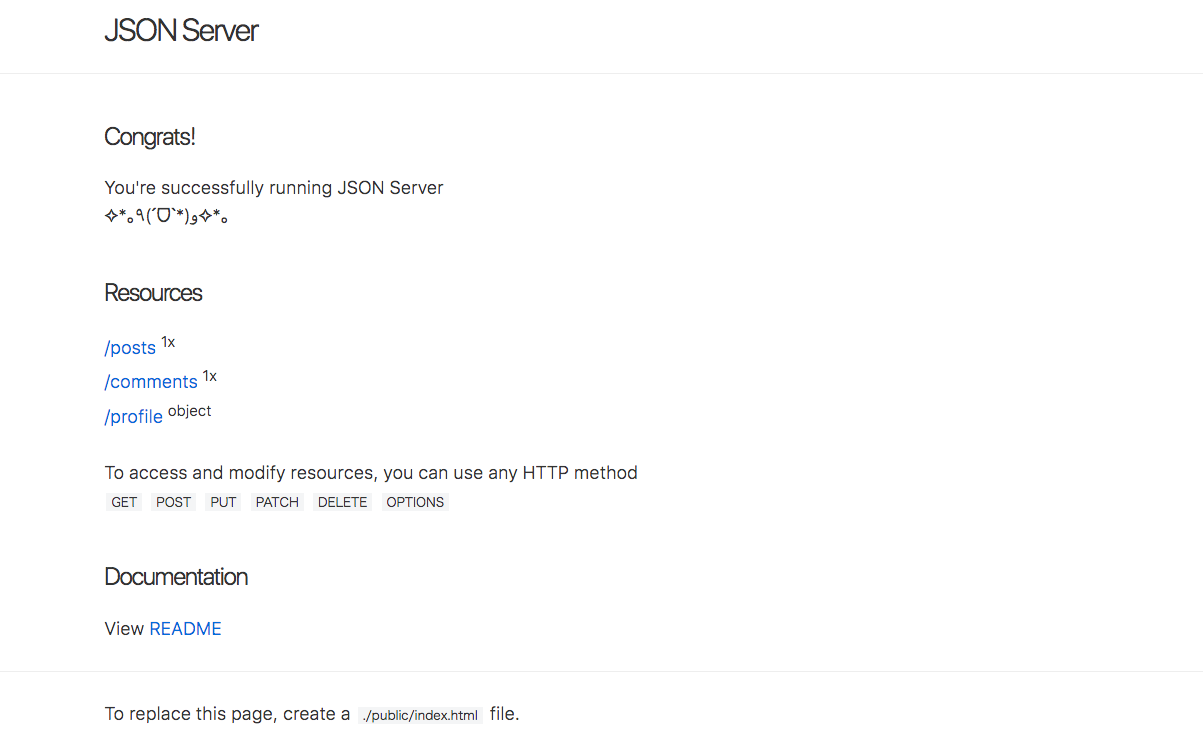
*http://localhost:3000*へブラウザからアクセスすると、
JSON Serverのホーム画面が表示されます。

あとはResourceに対してAPIcallしまくりましょう。
注意
Resourcesに対し、GET/POST/PUT/DELETE(取得/更新/挿入/削除)をすると、
db.jsonが命令によって書き換わります。
「せっかく作ったdb.jsonを、DELETEしてテスト不可能に……」なんてことにならないよう注意してください。
backupは、コンソールへs + enterを入力すると取得できます。適宜使用しましょう。
JSON Serverをカスタマイズする
POSTでGETの内容が返却されるように
json-serverで用意されている、middlewareモジュールを利用します。
まずはmiddleware.jsを作成します。
module.exports = function (req, res, next) {
  if (req.method === 'POST') {
    // Converts POST to GET and move payload to query params
    // This way it will make JSON Server that it's GET request
    req.method = 'GET'
    req.query = req.body
  }
  // Continue to JSON Server router
  next()
}
次に、起動時の引数で、middleware.jsを指定しましょう。
json-server --watch db.json -m middleware.js
db.jsonを複数ファイルに分けたい
json-serverでエンドポイント毎にjsonファイルを分割する - Qiita