9
8

Delete article

Deleted articles cannot be recovered.

Draft of this article would be also deleted.

Are you sure you want to delete this article?

More than 5 years have passed since last update.

さくらのIoT Platform βをArduinoと繋げてWebSocketサービスに連携するまで

Last updated at Posted at 2016-11-15

0.はじめに

2016年11月11日から発送開始した、さくらのIoT Platform βをArduinoと接続しサンプルプログラムを動かすまでの手順をまとめました。
公開されているドキュメント(一部間違い発見)でなんとかなりますが、自分はあまりドキュメントを読まずに感覚でやる人(知らねー)なので、少しハマったので記事に残します。

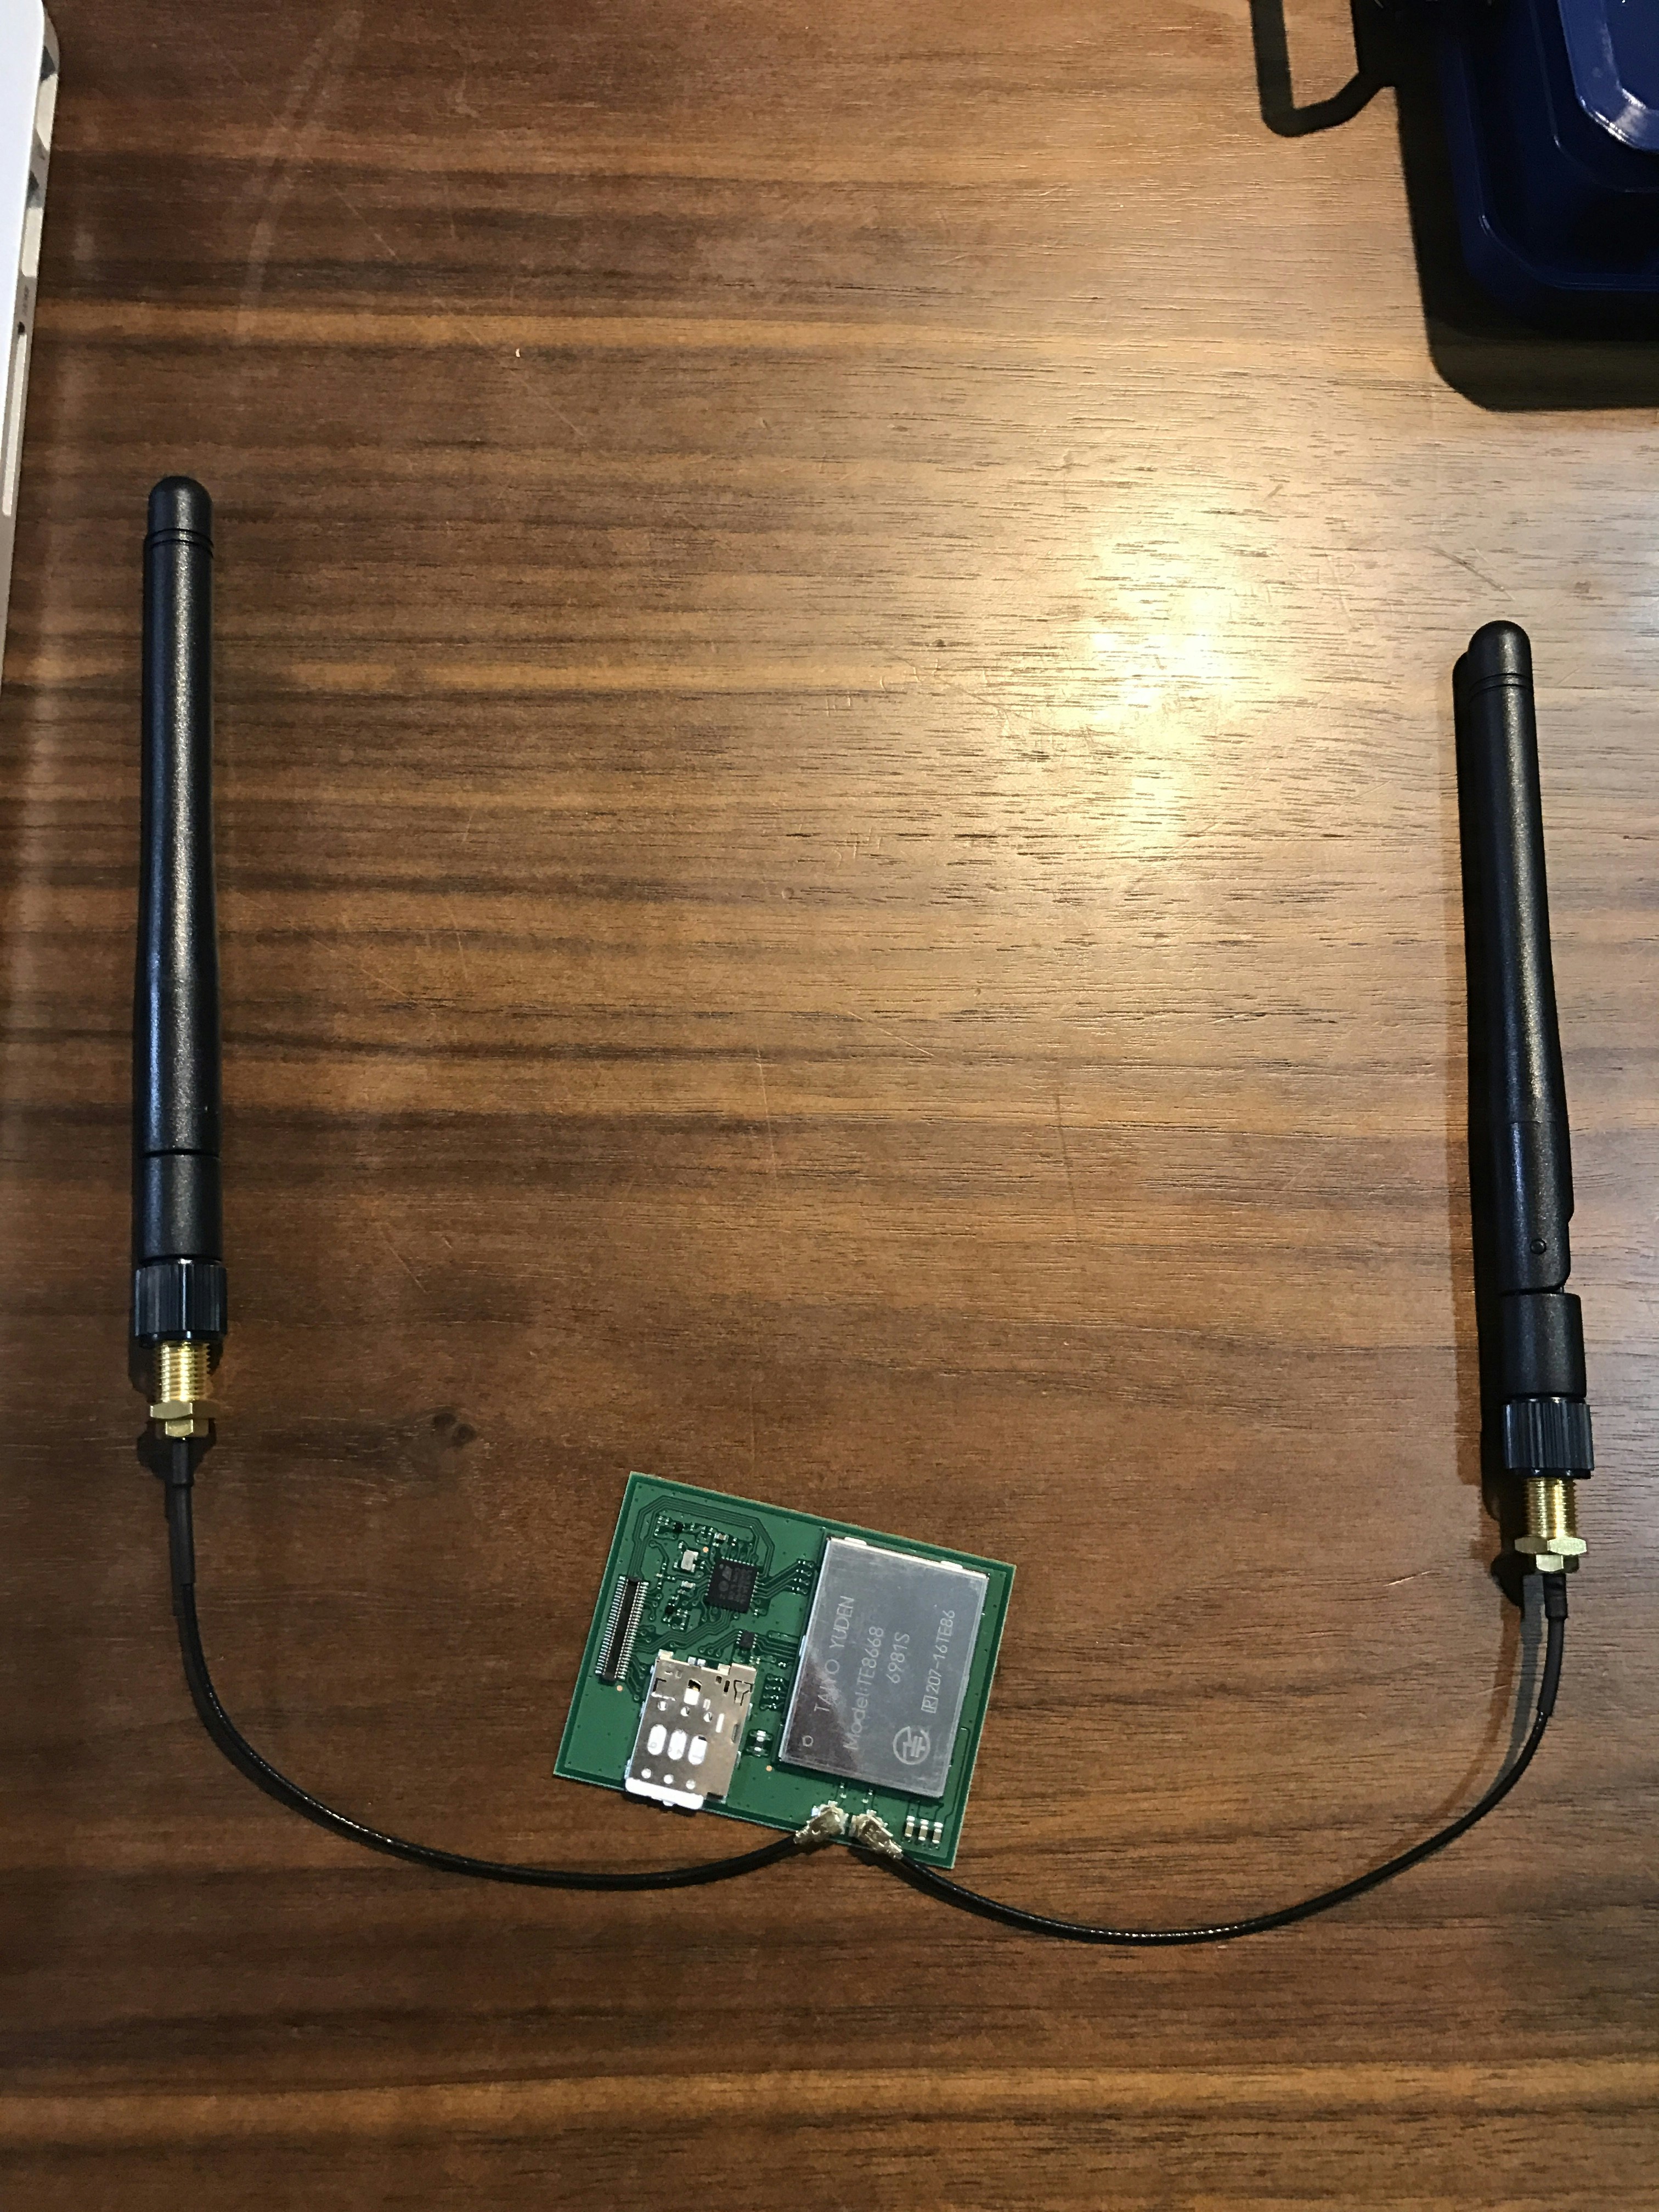
1.さくらの通信モジュールを組み立てる

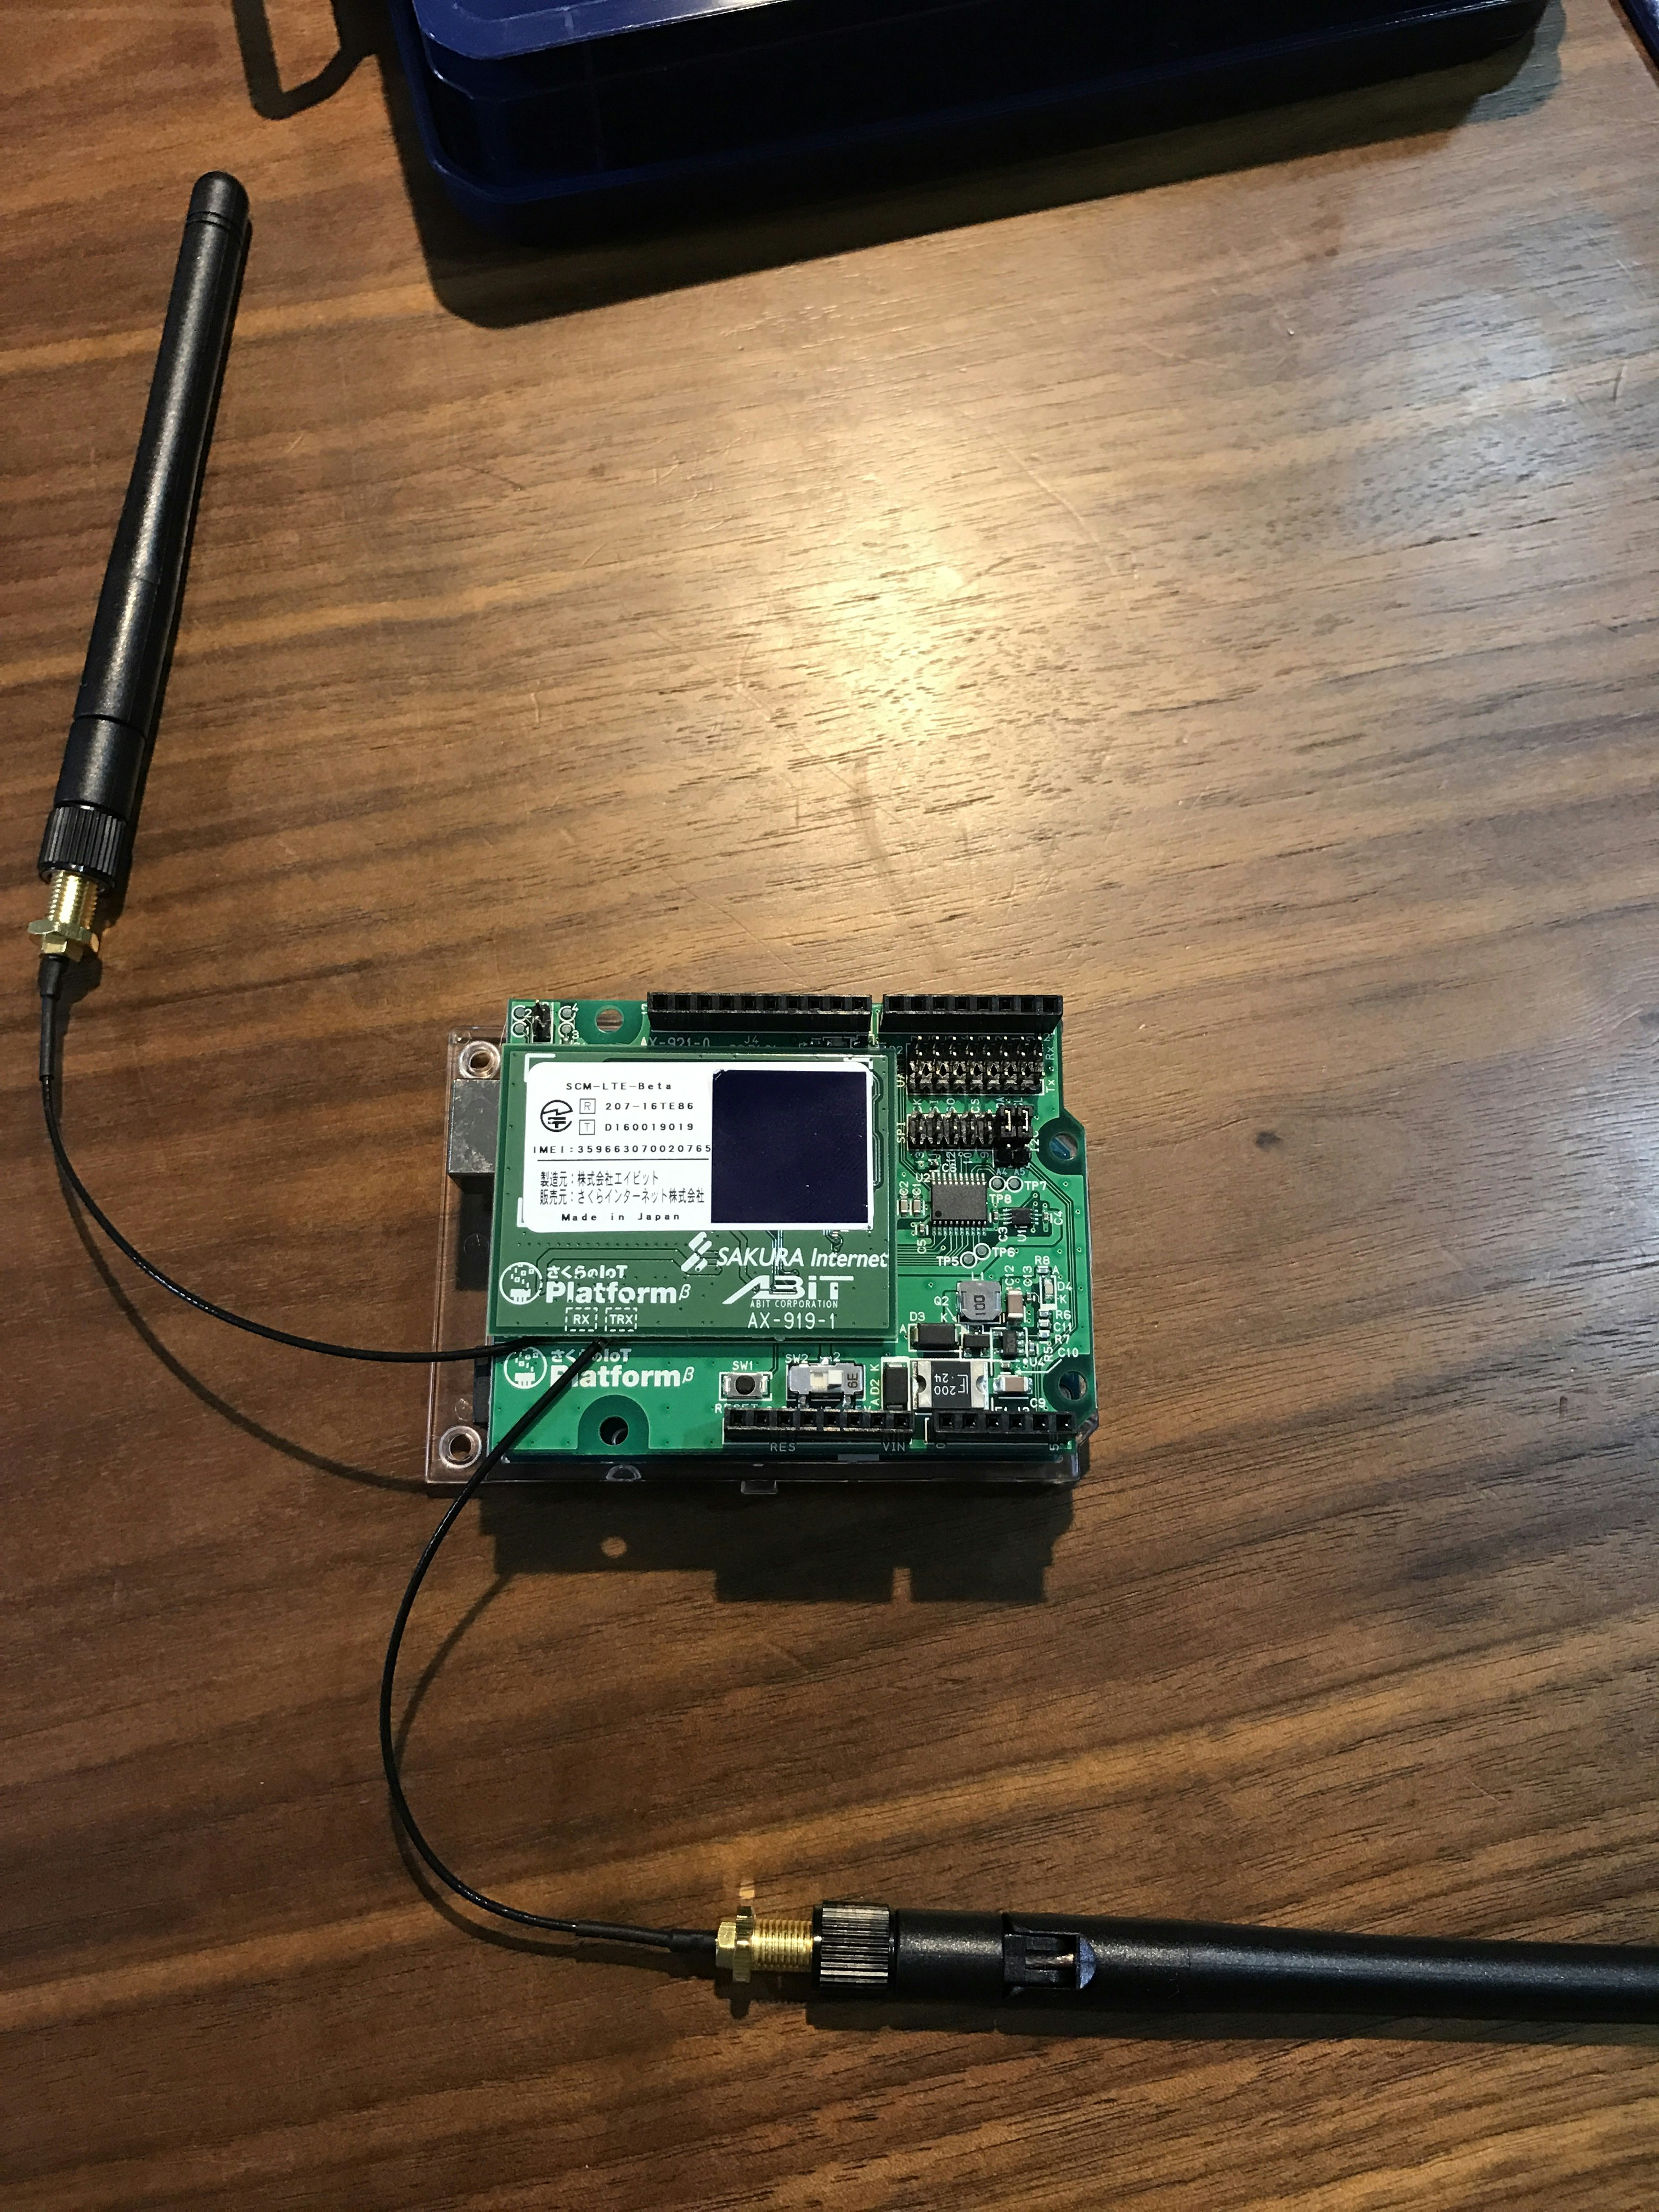
以下のようにアンテナを接続します。
IMG_1728.JPG

2.Arduinoシールドを組み立てる

I2Cを使うので、矢印のジャンパーピンを接続(SDA,SCLの2ヶ所)します。
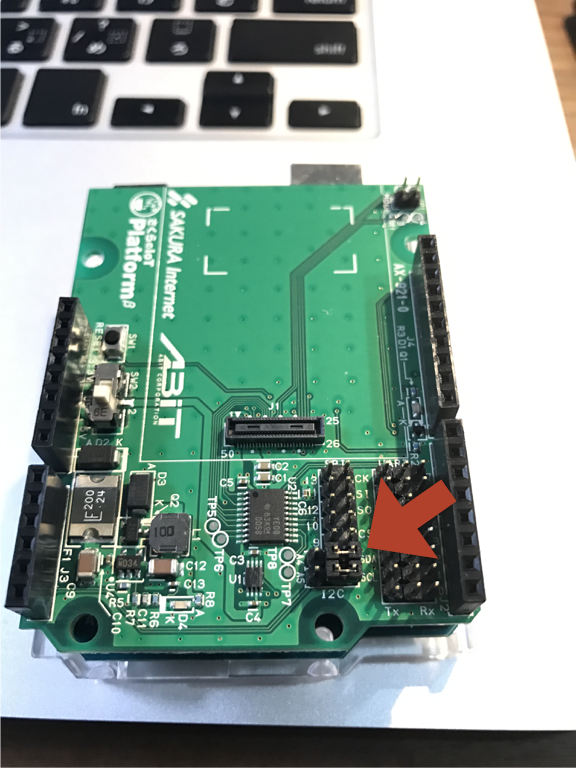
Arduino.png

3.さくらの通信モジュールとArduinoシールドを接続します。

IMG_1730.JPG

4.さくらの IoT プラットフォームを設定する

マニュアルの通りにコントロールパネルにてモジュールを登録し、WebSocketサービスを追加します。
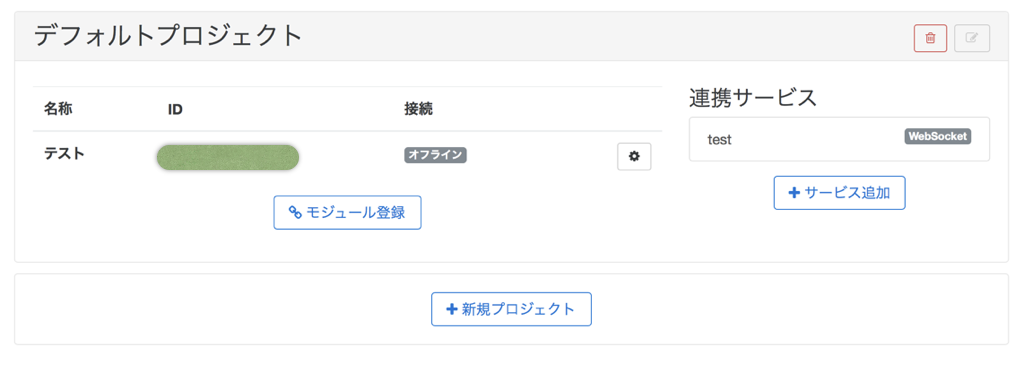
さくらのiotplatform.png

5.Arduinoにサンプルプログラムを書き込む

https://github.com/sakura-internet/SakuraIOArduino
上記 URL で開く Git を 「~/Documents/Arduino/libraries/」へ clone もしくはzipダウンロードし、Arduino IDE で SakuraIOArduino-master/examples/Standard/Standard.ino を 開きます。このプログラムをコンパイルして Arduino に書き込むと、さくらの 通信モジュールを利用するためのサンプルプログラムが起動します。

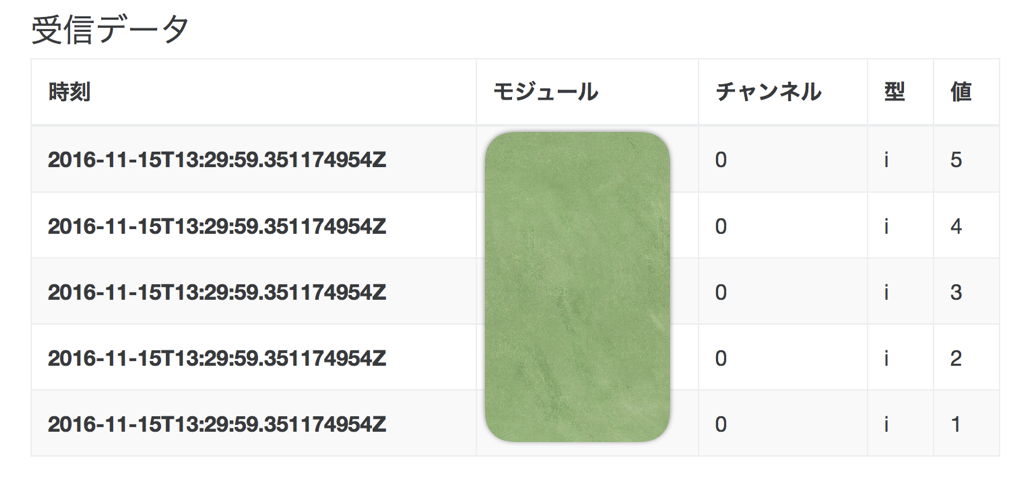
サンプルプログラムではインクリメントするカウンター値が送信されるので以下のようになります。
iotresult.png

9
8
0

Register as a new user and use Qiita more conveniently

  1. You get articles that match your needs
  2. You can efficiently read back useful information
  3. You can use dark theme
What you can do with signing up
9
8

Delete article

Deleted articles cannot be recovered.

Draft of this article would be also deleted.

Are you sure you want to delete this article?