Flutterのセットアップ
flutterのセットアップは終わっている前提。
firebaseの設定
firebaseにログイン
下記にアクセス
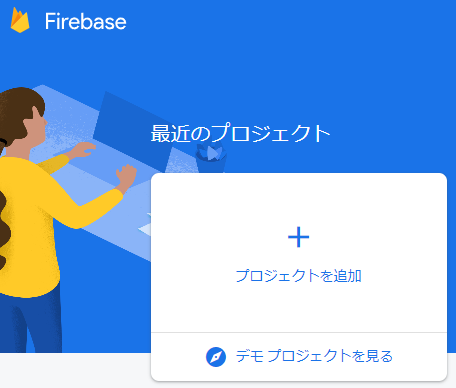
今回のflutterアプリで使うプロジェクトを作成しておく。
プロジェクトを追加
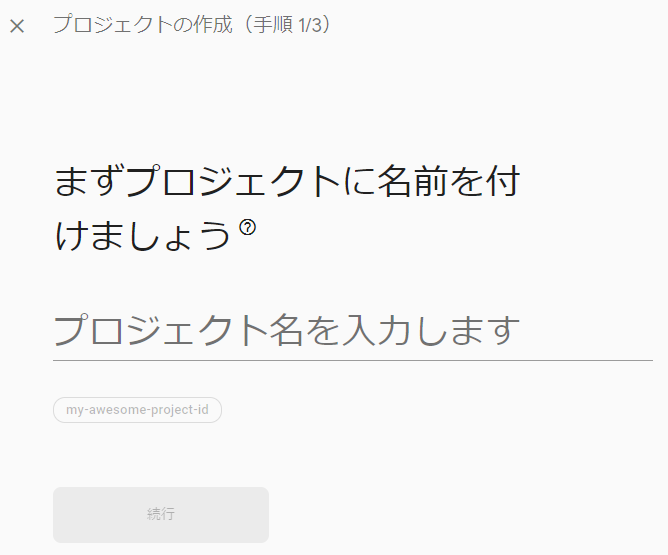
お好みのプロジェクト名を付ける。flutterのプロジェクト名と一致している必要はない。
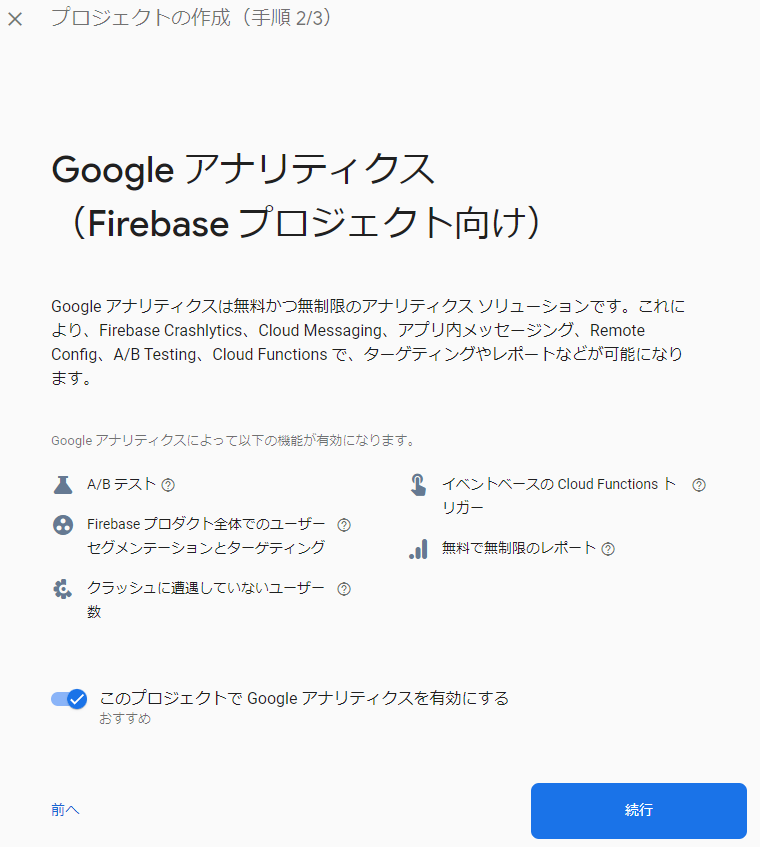
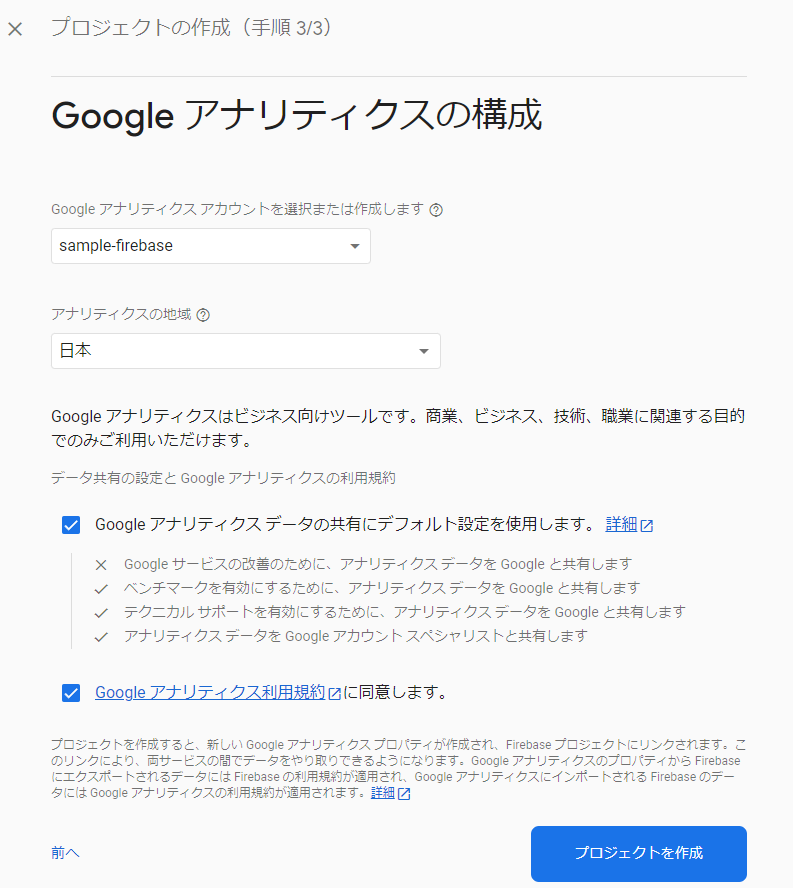
GAを有効化するかどうかもお好み。よく分からなければ有効化。無料だし特に害はない。
GAを有効化する場合は、GAアカウントと紐づけ。特に意思がなければ、新たにアカウントを作る。
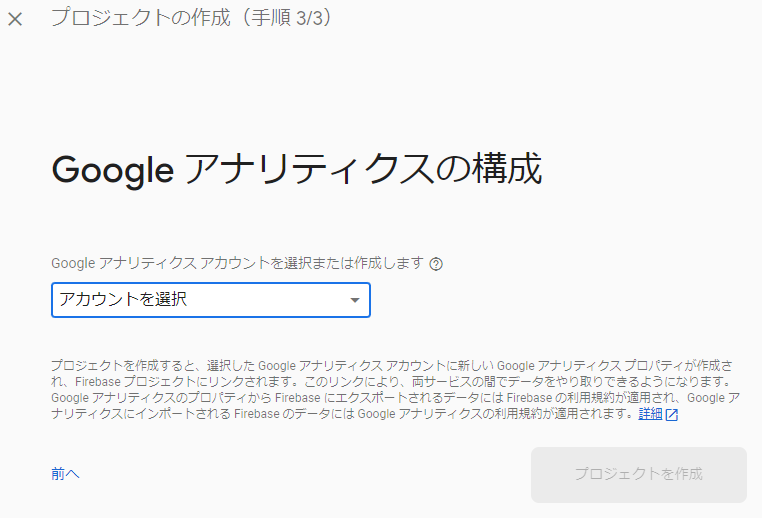
お好みのGAアカウント名を付ける。あとから変更するのが大変なので、ちゃんとした名前を付ける。よく分からなければアプリ名(flutterプロジェクト名)と同じで良い。
地域は日本。
→ プロジェクトを作成。
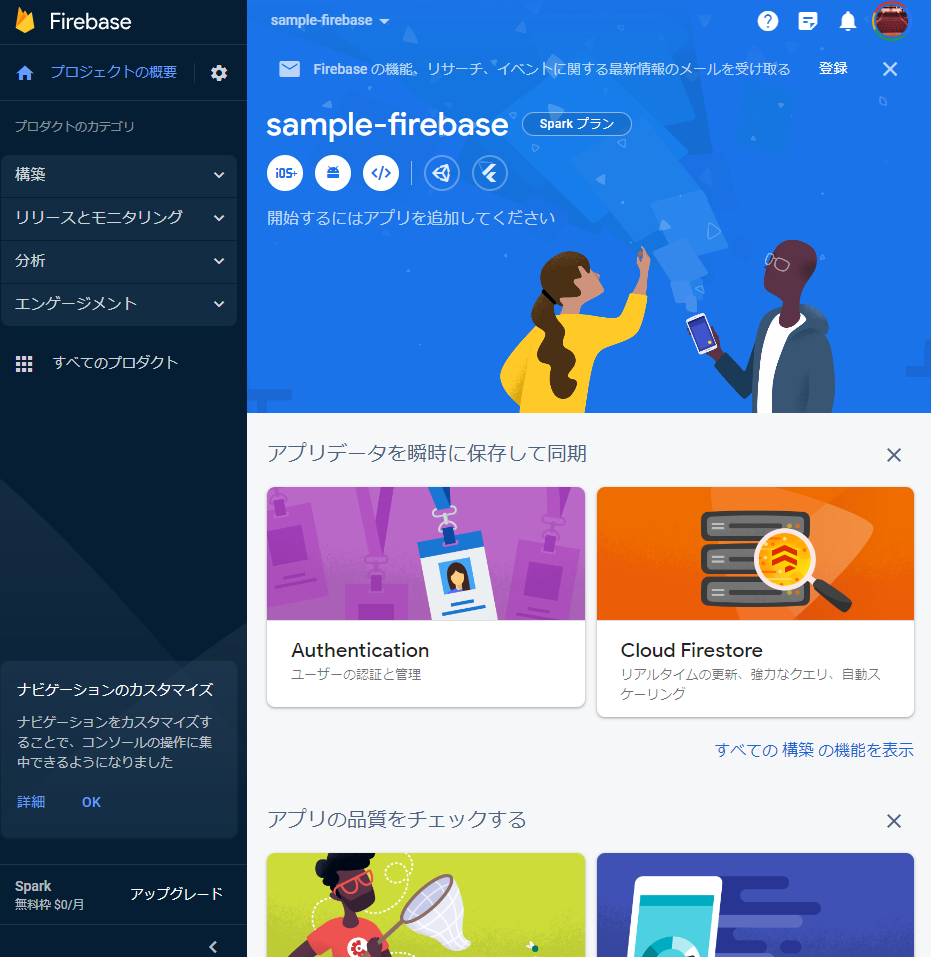
少し待つとfirebaseプロジェクトが作成される。
firebase CLI, fireflutter CLIのインストール
公式ドキュメントはここ:
Node.jsのインストール
まず、Node.jsがwinにインストールされているかを確認。
node -v
バージョンが表示されればインストール済み。
そうでなければ、Node.jsをインストール。推奨版と最新版とあるが、推奨版で良い。
インストーラにしたがってインストール。途中、
Automatically install the necessary tools. Note that this will also install Chocolatey. The script will pop-up in a new window after the installation completes.
というチェックボックスがある箇所はONで良い。(デフォルトはOFF)
見過ごしてOFFのままインストールしても特に問題はない。
インストール後、再起動が必要。(pathをインストーラが通してくれているはず。pathを有効にするために再起動が必要。)
再起動後、コンソールでインストールがうまく行っているか確認。
node -v
Forebase CLIのインストール
公式ドキュメント:
firebase CLIをインストール。
npm install -g firebase-tools
インストール後、ログイン。
firebase login
FlutterでFirebaseを使えるようにするために、FlutterFire CLIをインストール。実行する場所はどこでも良い。
dart pub global activate flutterfire_cli
flutterアプリとfirebaseを連携
公式:
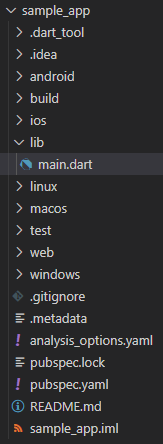
以下、プロジェクトディレクトリと呼んでいるものは、Flutterプロジェクトを作成した場所のこと。
下記の例だとsample_appディレクトリ。
flutterアプリを構成
プロジェクトディレクトリで下記を実行。
flutterfire configure
こんな感じの事を聞かれ、プロジェクトを選択させられるが、先程作ったfirebaseプロジェクトを選択。

下記はすべてチェックされた状態のままEnter。(デフォルトで全部選択されているので、そのままEnter)

暫く待つと、android, iOS, ,macOS, webと一通りのプラットフォームがfirebaseプロジェクトに登録される。
同時に、Flutterプロジェクト内にも各プラットフォームとfirebaseがやり取りするのに必要なファイルが作成される。
アプリ側でFirebaseを初期化
flutterのfirebaseプラグインを追加。
flutter pub add firebase_core
再び下記のコマンドで構成を最新に。
flutterfire configure
firebaseの基本的な設定は以上。
Firebase Emulatorをセットアップ
firebase emulatorの初期化
flutterのプロジェクトディレクトリで、下記を実行。
firebase init
この際、
You're about to initialize a Firebase project in this directory:
  C:\your\flutter_project\directory\

Before we get started, keep in mind:
  * You are currently outside your home directory

? Are you ready to proceed?
と言われますが、YでOK。(現在ホームディレクトリの外にいる、と言われる理由は不明。お詳しい方、教えていただけたら幸いです。)
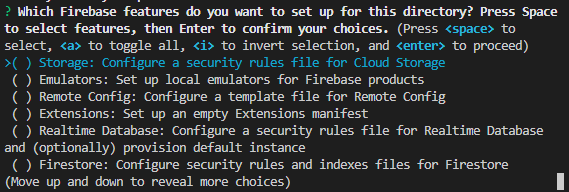
続いて、セットアップするFirebaseのサービスを選択します。ここではこの先、Authenticationのセットアップを説明しますが、ついでに使う予定のサービスを選択しておきます。
特に決まっていなければ、すべて選択しても良いです。あとから同じ手順で追加できるので、とりあえずAuthenticationだけ選択しても良いです。
続いて、プロジェクトを選択。先程作ったfirebaseプロジェクトを選択するので、
Use an existing project > 先程作ったプロジェクト名を選択

以降、各サービスのセットアップが続きます。適宜質問に答えてセットアップを続けます。
下記のようなリージョン選択が必要な箇所では、基本的にasia-southeastやasia-northeastを選んでおけばOK。
? Please choose the location for your default Realtime Database instance:
us-central
asia-southeast1
......
下記のような、ファイル名を指定する箇所では、そのままEnter。(デフォルトのファイル名が使われる)

◯ Cloud Firestoreについて
先に別途セットアップが必要。本記事の末尾にFirestoreのセットアップ方法を記載。
◯ Storageについて
先にセットアップが必要なケースがある。やり方はほぼCloud Firestoreと一緒。
◯ Cloud Functionsについて
途中の選択は下記のように選ぶ:
What language would you like to use to wriite Cloud Functions?
→ TypeScript
Do you want to use ESLint to catch probable bugs and enforce style?
→ n
Do you want to install dependencies with npm now?
→ Y
◯ Hostingについて
Configure as a single-page app (rewrite all urls to /index.html)?
→ N
Set up automatic builds and deploys with GitHub?
→ N
◯ Emulatorsについて
【重要】セットアップしたいエミュレータを選択します。
今回はAuthenticationの説明をするので、Authenticationのみ必須。他はお好みでセットアップしてください。
特にこだわりがなければ、ここも全て選択でOK。
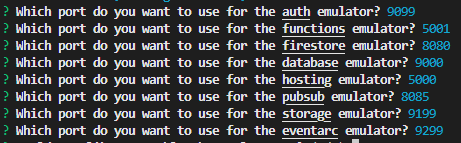
ポート番号を指定する箇所は、基本的にデフォルトでOK。
Emulatorsについて、その後:
Would you like to enable the Emulator UI?
→ Y
Which port do you want to use for the Emulator UI (leave empty to use any available port)?
→ そのままEnter
Would you like to download the emulators now?
→ Y
以上でEmulatorのセットアップは完了。
コケても心配しないでOK
もしfirebase initが途中でエラーした場合にも、焦らずもう一度firebase initすれば良い。上書き確認等を聞かれるが、基本的にYesで良い。)
Flutterの依存関係を設定
pubspec.yamlに、「このFirebaseサービスを使うよ」と明示する。バージョンは適宜変更。
ちなみにバージョンを未指定にすれば、自動で最新バージョンがインストールされる。バージョンの依存関係が明確に無いのであれば、未指定でもOK。
/your_project_name/pubspec.yaml
...
dependencies:
  flutter:
    sdk: flutter
  cupertino_icons: ^1.0.2
  firebase_core:
  firebase_auth:
...
AndroidのHTTP通信を許可する
Flutterに於いて、Androidのデフォルトの設定では、HTTP通信が遮断されてる(セキュリティ上、HTTP通信は危険なため。もちろんHTTPS通信はOK)。
ところが、EmulatorのAuthenticationはHTTP通信を必要とする。
そのため、ローカル通信に於いてHTTP通信を許可する必要がある。
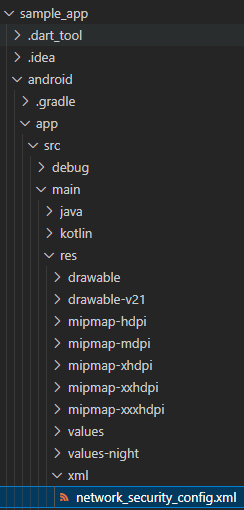
Flutterプロジェクトディレクトリで、以下の場所にxmlフォルダを作り、その中にnetwork_security_config.xmlを新規作成する。
/your_project_name/android/app/src/main/res/xml/network_security_config.xml
ファイルの内容は以下。今回、AndroidアプリからローカルのAPIサーバーへのHTTPアクセスを許可するため、タグの要素に10.0.2.2を定義している。
<?xml version="1.0" encoding="utf-8"?>
<network-security-config>
    <domain-config cleartextTrafficPermitted="true">
        <domain includeSubdomains="true">10.0.2.2</domain>
    </domain-config>
</network-security-config>
次に、/your_project_name/android/app/src/main/AndroidManifest.xmlを変更。
<?xml version="1.0" encoding="utf-8"?>
<manifest xmlns:android="http://schemas.android.com/apk/res/android">
    <uses-permission android:name="android.permission.INTERNET" />
    <application
        ...
        android:networkSecurityConfig="@xml/network_security_config"
        ...>
        ...
    </application>
</manifest>
一旦以上
以上で、Firebase Emulator Authenticationのセットアップは終了。
あとはFlutter側でFirebaseを利用するコードを書いていけば良い。
FlutterでEmulatorのFirebase Authenticationを使う
一般論
Flutter側でFirebase Authenticationを使うには、main.dartのmain()を以下のように書き換える。
9099はAuthenticationのポート番号なので、自身が設定したものに書き換える。(デフォルトは9099)
import 'package:firebase_auth/firebase_auth.dart';
import 'package:firebase_core/firebase_core.dart';
import 'firebase_options.dart';
import 'package:flutter/material.dart';

Future<void> main() async {
  // Firebase初期化
  WidgetsFlutterBinding.ensureInitialized();
  await Firebase.initializeApp(
    options: DefaultFirebaseOptions.currentPlatform,
  );
  await FirebaseAuth.instance.useAuthEmulator('localhost', 9099);
  runApp(MyApp());
}
具体的な読み書きの方法などは次節のサンプルコードを参考にしてください。
サンプルコード
import 'package:firebase_auth/firebase_auth.dart';
import 'package:firebase_core/firebase_core.dart';
import 'firebase_options.dart';
import 'package:flutter/material.dart';

Future<void> main() async {
  // Firebase初期化
  WidgetsFlutterBinding.ensureInitialized();
  await Firebase.initializeApp(
    options: DefaultFirebaseOptions.currentPlatform,
  );
  await FirebaseAuth.instance.useAuthEmulator('localhost', 9099);
  runApp(MyApp());
}

class MyApp extends StatelessWidget {
  // This widget is the root of your application.
  @override
  Widget build(BuildContext context) {
    return MaterialApp(
      title: 'Flutter Demo',
      theme: ThemeData(
        primarySwatch: Colors.blue,
      ),
      home: MyAuthPage(),
    );
  }
}

class MyAuthPage extends StatefulWidget {
  @override
  _MyAuthPageState createState() => _MyAuthPageState();
}

class _MyAuthPageState extends State<MyAuthPage> {
  // 入力されたメールアドレス
  String newUserEmail = "";
  // 入力されたパスワード
  String newUserPassword = "";
  // 登録・ログインに関する情報を表示
  String infoText = "";

  @override
  Widget build(BuildContext context) {
    return Scaffold(
      body: Center(
        child: Container(
          padding: EdgeInsets.all(32),
          child: Column(
            children: <Widget>[
              TextFormField(
                // テキスト入力のラベルを設定
                decoration: InputDecoration(labelText: "メールアドレス"),
                onChanged: (String value) {
                  setState(() {
                    newUserEmail = value;
                  });
                },
              ),
              const SizedBox(height: 8),
              TextFormField(
                decoration: InputDecoration(labelText: "パスワード(6文字以上)"),
                // パスワードが見えないようにする
                obscureText: true,
                onChanged: (String value) {
                  setState(() {
                    newUserPassword = value;
                  });
                },
              ),
              const SizedBox(height: 8),
              ElevatedButton(
                onPressed: () async {
                  try {
                    // メール/パスワードでユーザー登録
                    final FirebaseAuth auth = FirebaseAuth.instance;
                    final UserCredential result =
                        await auth.createUserWithEmailAndPassword(
                      email: newUserEmail,
                      password: newUserPassword,
                    );

                    // 登録したユーザー情報
                    final User user = result.user!;
                    setState(() {
                      infoText = "登録OK:${user.email}";
                    });
                  } catch (e) {
                    // 登録に失敗した場合
                    setState(() {
                      infoText = "登録NG:${e.toString()}";
                    });
                  }
                },
                child: Text("ユーザー登録"),
              ),
              const SizedBox(height: 8),
              Text(infoText)
            ],
          ),
        ),
      ),
    );
  }
}
付録:Firestoreのセットアップ
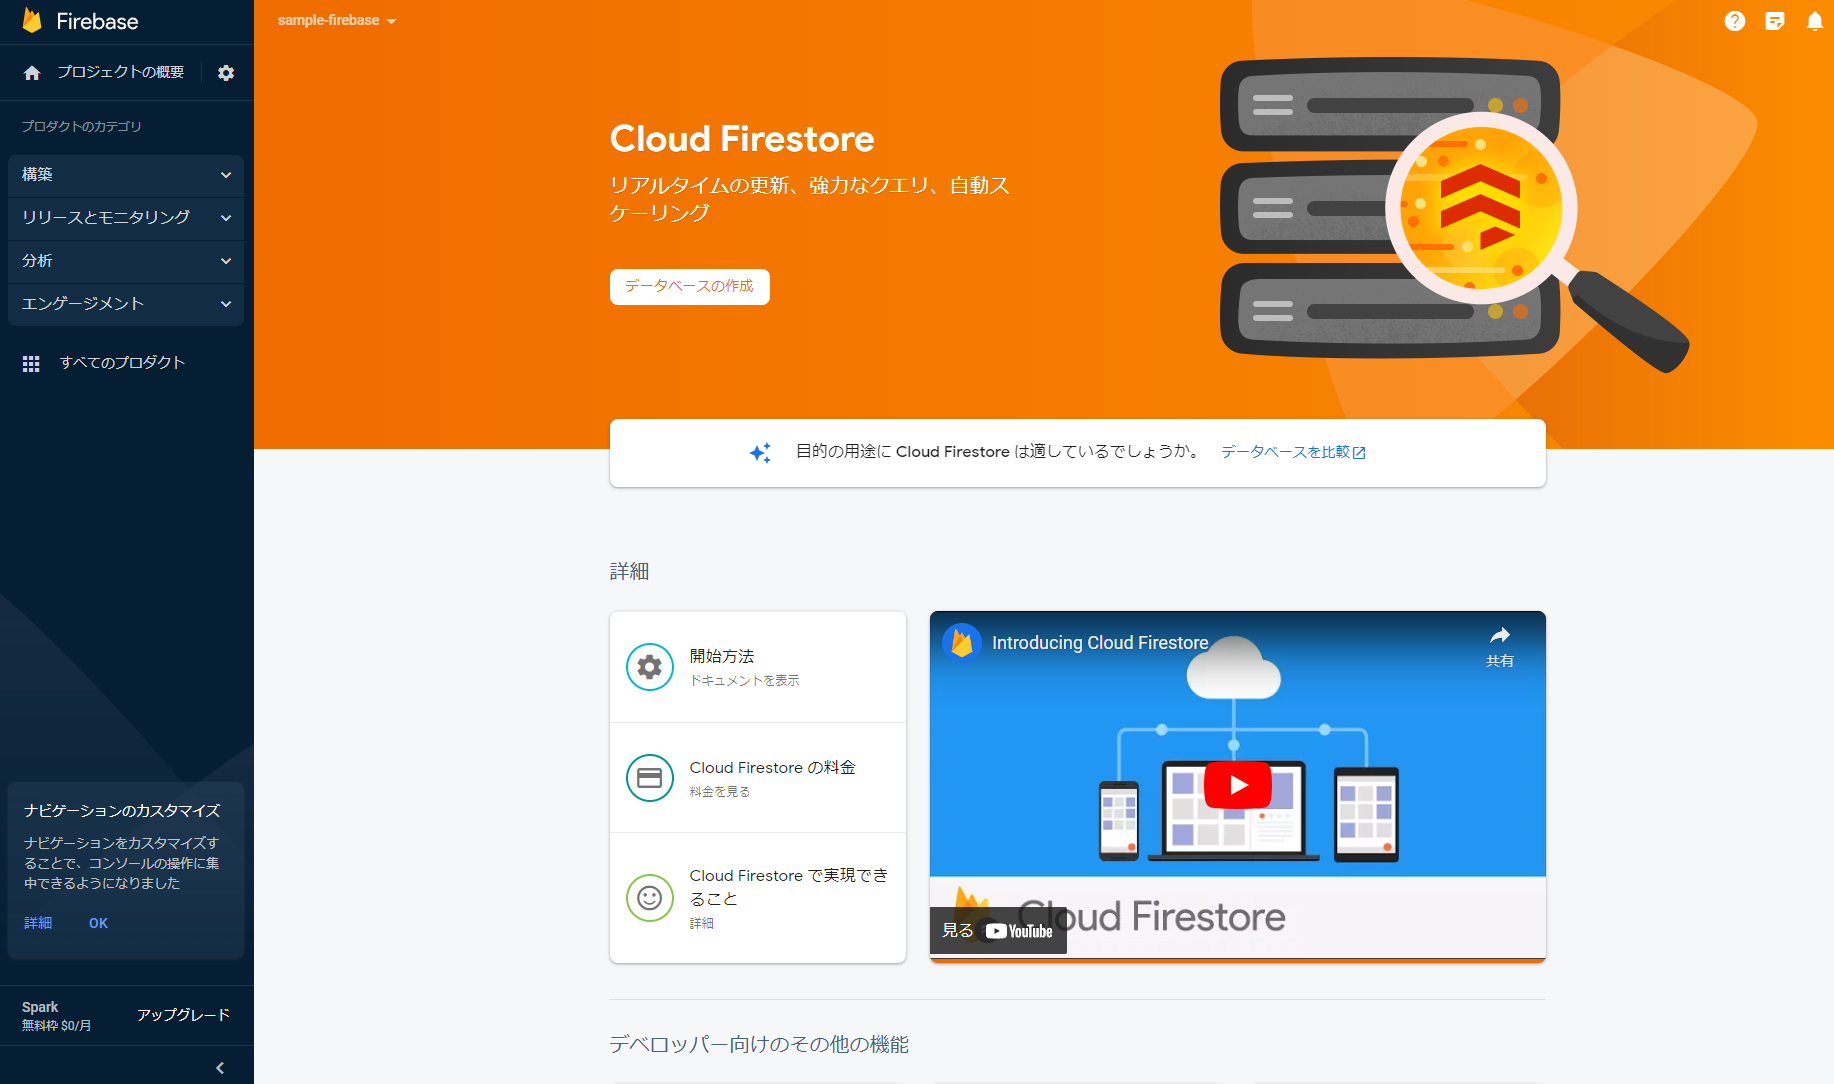
コンソールにアクセス > 「構築」から「Firestore」を選択 > データベースの作成
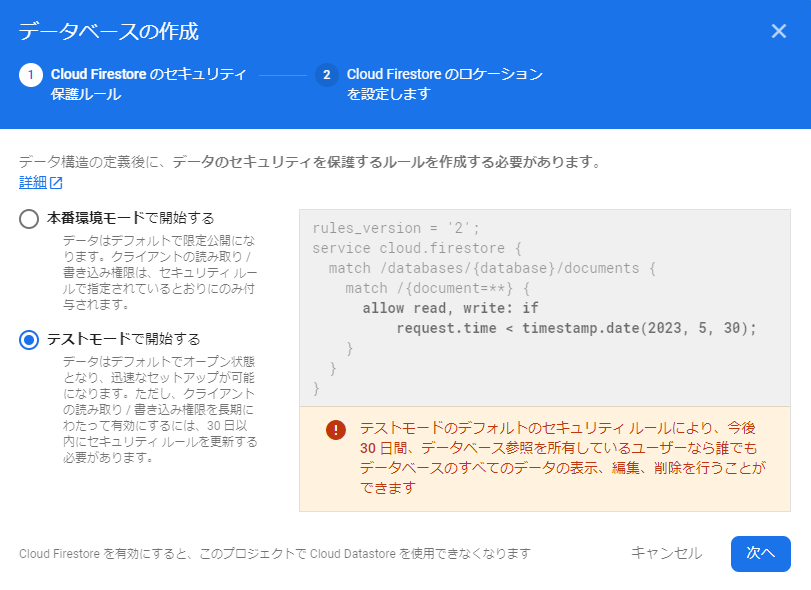
テストモードで開始
※あくまで開発中のみ。リリース時には本番環境で再度セットアップしてください。(セキュリティ上の理由)
ロケーションを選択。基本的にasia-northeast1(Tokyo)で良い。
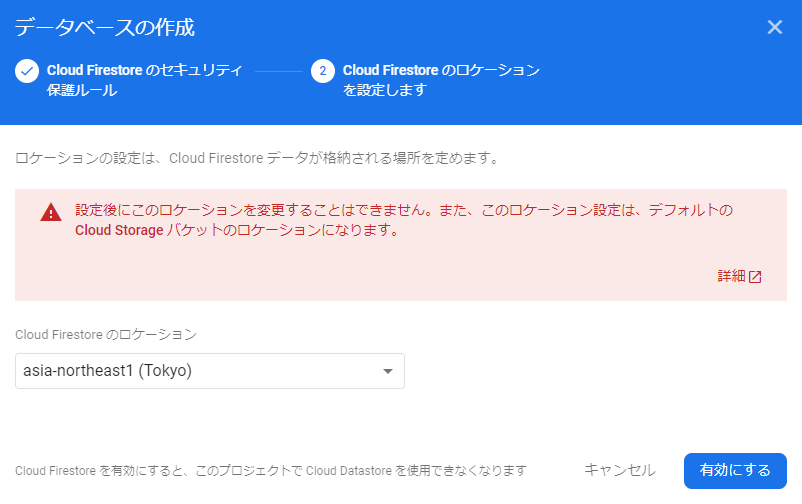
有効にして完了。
参考