はじめに
私にしては珍しくPythonを使います。仕事でPythonでWebアプリを作成しなければならず、Djangoを使いました。
Djangoは初めてだったんですが、思いのほか使いやすいフレームワークだと感じました。優れたフレームワークと親切なチュートリアルがあると、言語仕様の違いはあまり気にならないものです。
仕事で構築したのはHTTPでしたが、Let's EncryptでHTTPS化をやってみようと思い、この稿を立ち上げました。
サーバーの構築
AWSのEC2サーバーを作成する
今回はUbuntuにしました。Amazon LinuxはCentOSベースだと思うのですが、sqliteのバージョンが低くてDjangoが起動できないので。
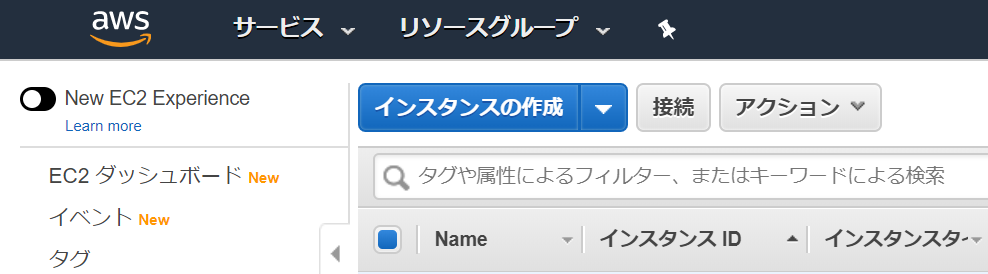
- AWSコンソールにサインインし、「インスタンスの作成」を実行します。
- AMIタイプにUbuntu 18.04 LTSを選択します。

- インスタンスタイプは最小限でOK

このあと設定の確認があり、「起動」をクリックして起動します。
- ここでキーペアを作成し、秘密鍵をダウンロードします。
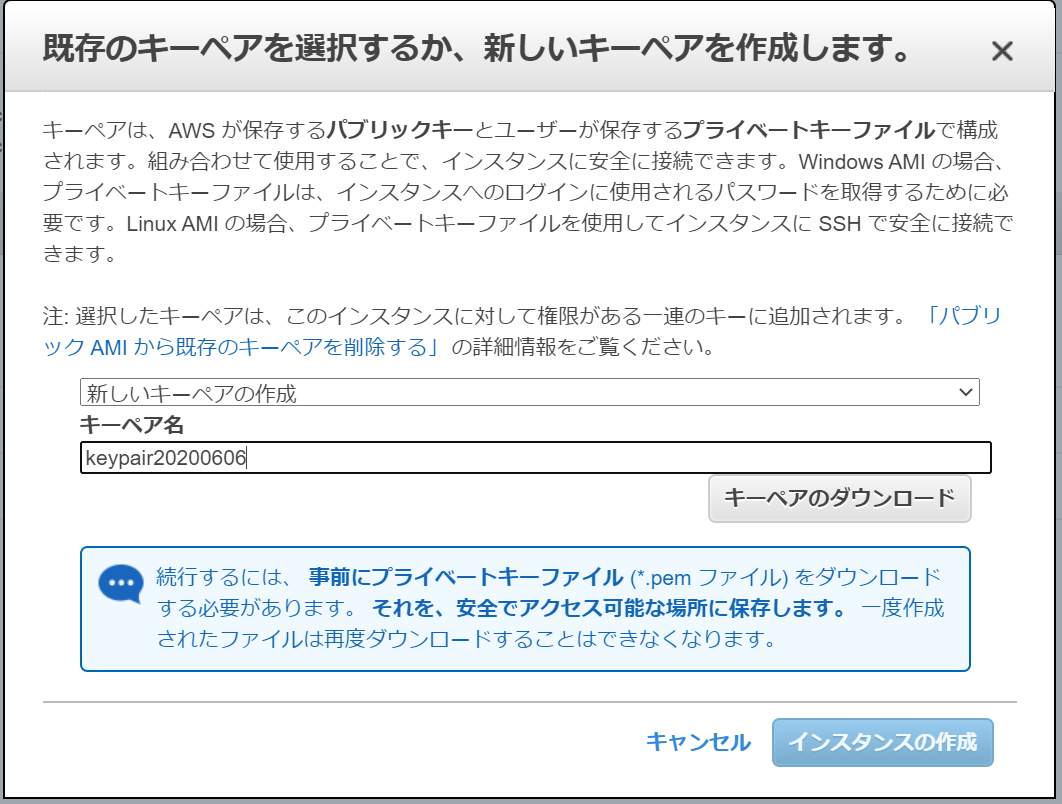
秘密鍵はここでしかダウンロードできず、これがないとサーバーにログインできなくなります。
- インスタンスのページのセキュリティグループを選択します。

- 「インバウンドルールの編集」をクリックします。

- 「ルールの追加」をクリックしてHTTPとHTTPSをそれぞれ「任意の場所」からアクセスできるように追加します。また、もう一つ「カスタムTCP」を追加し、ポート番号8000を追加してください。

-
Tera TermにパブリックIPアドレスを指定してログインします。SSH認証では、「ユーザ名」に ubuntu を指定します。パスフレーズは不要です。4の手順でダウンロードした秘密鍵ファイルを指定します。
-
ログインしたら、パッケージをアップデートしておきましょう。
sudo apt update
sudo apt -y upgrade
grubメニューが新しくなったよと出るので、「install the package maintainer's version」を選びましょう。

- Apache HTTP Server をインストールしておきます。
sudo apt -y install apache2
sudo systemctl start apache2
サーバー名を設定します。
sudo vi /etc/apache2/sites-available/000-default.conf
<VirtualHost *:80>
        # The ServerName directive sets the request scheme, hostname and port that
        # the server uses to identify itself. This is used when creating
        # redirection URLs. In the context of virtual hosts, the ServerName
        # specifies what hostname must appear in the request's Host: header to
        # match this virtual host. For the default virtual host (this file) this
        # value is not decisive as it is used as a last resort host regardless.
        # However, you must set it for any further virtual host explicitly.
        ServerName my.domain.jp

        ServerAdmin webmaster@localhost
        DocumentRoot /var/www/html

        # Available loglevels: trace8, ..., trace1, debug, info, notice, warn,
        # error, crit, alert, emerg.
        # It is also possible to configure the loglevel for particular
        # modules, e.g.
        #LogLevel info ssl:warn

        ErrorLog ${APACHE_LOG_DIR}/error.log
        CustomLog ${APACHE_LOG_DIR}/access.log combined

        # For most configuration files from conf-available/, which are
        # enabled or disabled at a global level, it is possible to
        # include a line for only one particular virtual host. For example the
        # following line enables the CGI configuration for this host only
        # after it has been globally disabled with "a2disconf".
        #Include conf-available/serve-cgi-bin.conf
</VirtualHost>
ドメイン取得
サーバー証明書を取得するので、ドメイン取得が必要です。
私の場合はMyDNSというDDNSサービスを利用しています。情報が必要な方は以下をどうぞ。
Let's Encryptによるサーバー証明書の作成
certbot をインストールします。
sudo apt -y install certbot python3-certbot-apache
Let's Encrypt の自動化シェル certbot を実行します。
sudo certbot --apache
以下のように、対話的にメールアドレスやサーバー名を入力し、証明書が作成されます。
Saving debug log to /var/log/letsencrypt/letsencrypt.log
Plugins selected: Authenticator apache, Installer apache
Enter email address (used for urgent renewal and security notices) (Enter 'c' to
cancel): myname@my.domain.jp

- - - - - - - - - - - - - - - - - - - - - - - - - - - - - - - - - - - - - - - -
Please read the Terms of Service at
https://letsencrypt.org/documents/LE-SA-v1.2-November-15-2017.pdf. You must
agree in order to register with the ACME server at
https://acme-v02.api.letsencrypt.org/directory
- - - - - - - - - - - - - - - - - - - - - - - - - - - - - - - - - - - - - - - -
(A)gree/(C)ancel: a

- - - - - - - - - - - - - - - - - - - - - - - - - - - - - - - - - - - - - - - -
Would you be willing to share your email address with the Electronic Frontier
Foundation, a founding partner of the Let's Encrypt project and the non-profit
organization that develops Certbot? We'd like to send you email about our work
encrypting the web, EFF news, campaigns, and ways to support digital freedom.
- - - - - - - - - - - - - - - - - - - - - - - - - - - - - - - - - - - - - - - -
(Y)es/(N)o: n

Which names would you like to activate HTTPS for?
- - - - - - - - - - - - - - - - - - - - - - - - - - - - - - - - - - - - - - - -
1: my.domain.jp
- - - - - - - - - - - - - - - - - - - - - - - - - - - - - - - - - - - - - - - -
Select the appropriate numbers separated by commas and/or spaces, or leave input
blank to select all options shown (Enter 'c' to cancel): 1
Obtaining a new certificate
Performing the following challenges:
http-01 challenge for my.domain.jp
Enabled Apache rewrite module
Waiting for verification...
Cleaning up challenges
Created an SSL vhost at /etc/apache2/sites-available/000-default-le-ssl.conf
Enabled Apache socache_shmcb module
Enabled Apache ssl module
Deploying Certificate to VirtualHost /etc/apache2/sites-available/000-default-le-ssl.conf
Enabling available site: /etc/apache2/sites-available/000-default-le-ssl.conf

Please choose whether or not to redirect HTTP traffic to HTTPS, removing HTTP access.
- - - - - - - - - - - - - - - - - - - - - - - - - - - - - - - - - - - - - - - -
1: No redirect - Make no further changes to the webserver configuration.
2: Redirect - Make all requests redirect to secure HTTPS access. Choose this for
new sites, or if you're confident your site works on HTTPS. You can undo this
change by editing your web server's configuration.
- - - - - - - - - - - - - - - - - - - - - - - - - - - - - - - - - - - - - - - -
Select the appropriate number [1-2] then [enter] (press 'c' to cancel): 2
Enabled Apache rewrite module
Redirecting vhost in /etc/apache2/sites-enabled/000-default.conf to ssl vhost in /etc/apache2/sites-available/000-default-le-ssl.conf

- - - - - - - - - - - - - - - - - - - - - - - - - - - - - - - - - - - - - - - -
Congratulations! You have successfully enabled https://my.domain.jp

You should test your configuration at:
https://www.ssllabs.com/ssltest/analyze.html?d=my.domain.jp
- - - - - - - - - - - - - - - - - - - - - - - - - - - - - - - - - - - - - - - -

IMPORTANT NOTES:
 - Congratulations! Your certificate and chain have been saved at:
   /etc/letsencrypt/live/my.domain.jp/fullchain.pem
   Your key file has been saved at:
   /etc/letsencrypt/live/my.domain.jp/privkey.pem
   Your cert will expire on 2020-09-04. To obtain a new or tweaked
   version of this certificate in the future, simply run certbot again
   with the "certonly" option. To non-interactively renew *all* of
   your certificates, run "certbot renew"
 - Your account credentials have been saved in your Certbot
   configuration directory at /etc/letsencrypt. You should make a
   secure backup of this folder now. This configuration directory will
   also contain certificates and private keys obtained by Certbot so
   making regular backups of this folder is ideal.
 - If you like Certbot, please consider supporting our work by:

   Donating to ISRG / Let's Encrypt:   https://letsencrypt.org/donate
   Donating to EFF:                    https://eff.org/donate-le
ブラウザで確認
https://my.domain.jp/ にアクセスすると、apache2のデフォルト画面が表示され、Let's Encryptから発行されたサーバー証明書がインストールされていることが判ります。

Djangoアプリケーションの作成
Djangoを使用してWebアプリケーションを作成します。
Djangoインストール
pythonはデフォルトでインストールされているのでpipとsqlite3をインストールします。
sudo apt -y install python-pip sqlite3
OpenSSLのpython拡張をインストールします。
pip install pyOpenSSL
次にDjangoをインストールします。
sudo pip install Django
Django Extensions
Django開発サーバーをHTTPSに対応させるため、Django Extensionsをインストールします。
pip install django-extensions
Werkzeug のインストール
pip install Werkzeug
Djangoプロジェクトの作成
プロジェクトを作成します。
django-admin startproject letsencrypt
cd letsencrypt
Let's Encryptのサーバー証明書と秘密鍵をプロジェクトフォルダにコピーします。
sudo cp /etc/letsencrypt/live/my.domain.jp/fullchain.pem .
sudo cp /etc/letsencrypt/live/my.domain.jp/privkey.pem .
sudo chown ubuntu:ubuntu *.pem
Django Extensions を有効にします。
vi letsencrypt/settings.py
INSTALLED_APPSの最後に'django_extensions'を追加します。
また、サーバー名でのアクセスを許可する必要があるのでALLOWED_HOSTSにホスト名を追加します。
# 前略
ALLOWED_HOSTS = ['my.domain.jp']

# Application definition
INSTALLED_APPS = [
    'django.contrib.admin',
    'django.contrib.auth',
    'django.contrib.contenttypes',
    'django.contrib.sessions',
    'django.contrib.messages',
    'django.contrib.staticfiles',
    'django_extensions',
]
# 後略
サーバー起動
Djangoの開発サーバーは通常 runserver で起動しますが、HTTPSのサーバーはrunserver_plusで起動します。引数にはサーバー証明書ファイルと秘密鍵ファイルを指定します。
python manage.py runserver_plus --cert-file ./fullchain.pem --key-file ./privkey.pem 0:8000
動作確認
ブラウザで https://my.domain.jp:8000/ にアクセスして、HTTPSで正しく接続できることを確認して下さい。

確認環境
Ubuntu 18.04.4 LTS (Amazon EC2)
Python 2.7.17
参考にしたサイト
Django 開発サーバ Runserver を SSL/HTTPS 化する | CentOS 7