はじめに
この章では以下の内容について説明します。
- GitHubの登録方法
- ローカルレポジトリとリモートレポジトリを同期するための手順
「GitHubに登録する」という作業はこの記事をご覧のエンジニアの大多数の方はおそらく済んでいることでしょう。
しかし「非エンジニアに自分作ったレポジトリへ招待するためにGitHubの登録を行ってもらう」というケースが発生する可能性はあると思うので、2024年11月現在のGitHubの登録はどう行うのかの確認も兼ねて紹介してみます。
1. GitHubに登録する
以下にアクセスします。
「Sign up」をクリックします。
上から順に
- メールアドレス
- パスワード
- GitHubで利用するユーザ名
を入力して「Continue」をクリックします。
その後ロボットかどうかの確認があるので乗り越えてください。
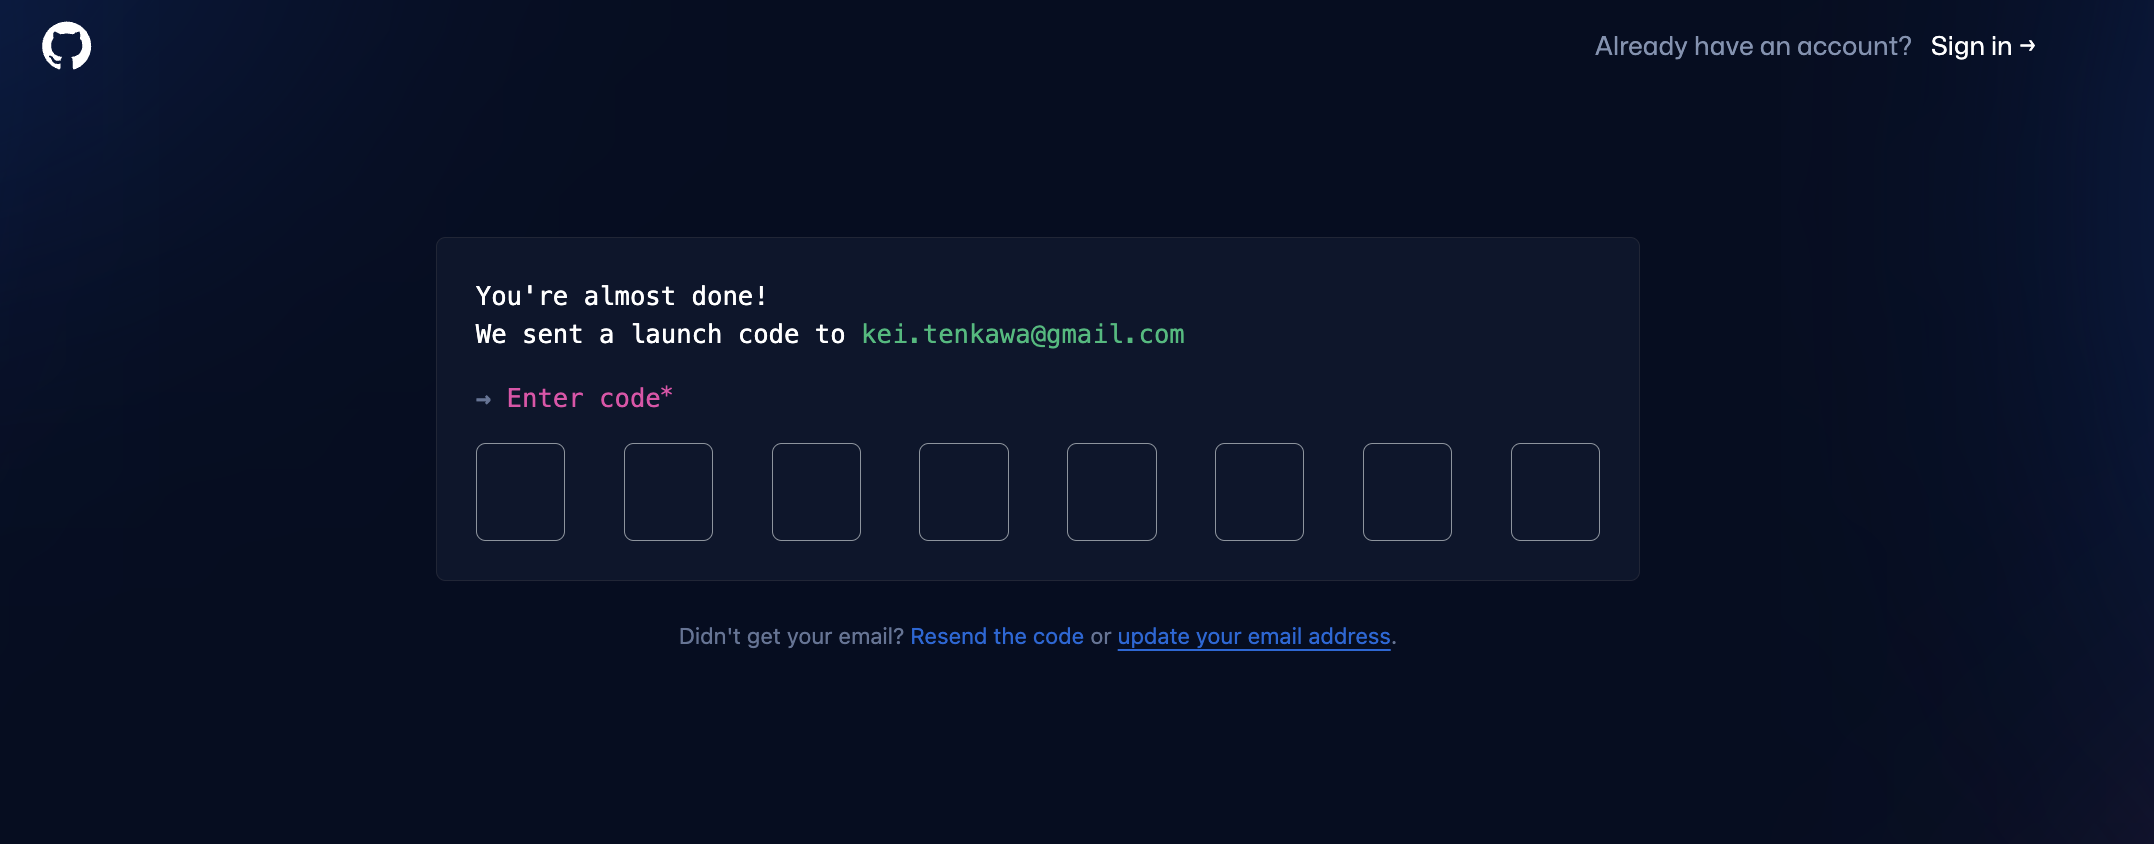
成功すると先ほど入力したメアドにコードが送られてくるので、そのコードを入力してください。
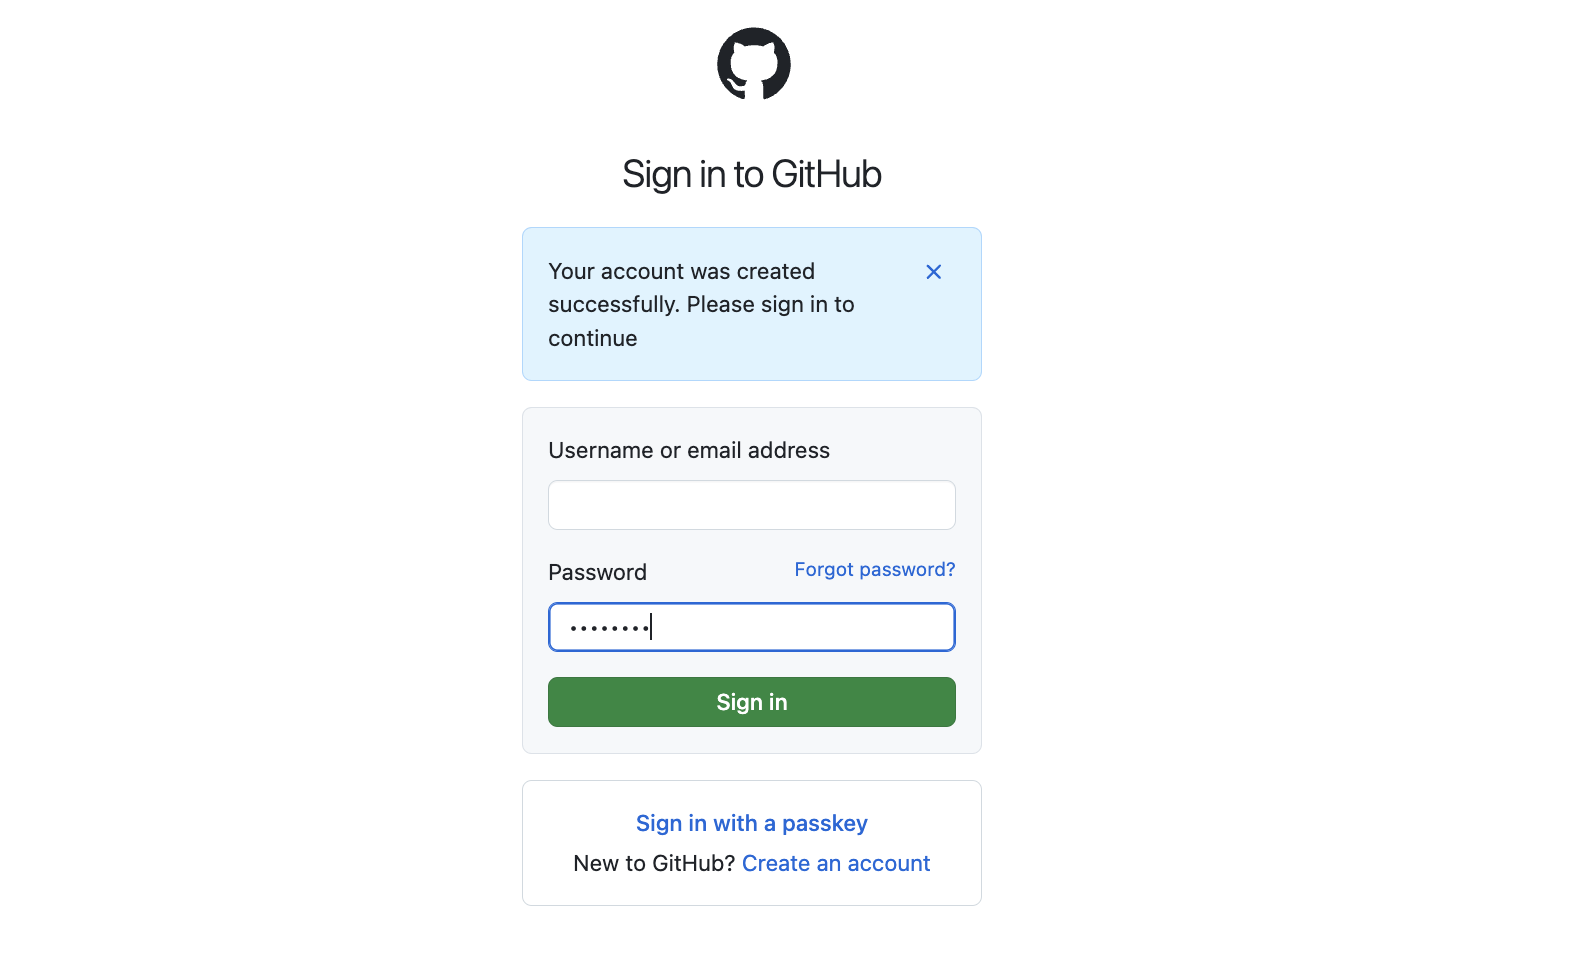
成功していたら「Your account was created successfully. Please sign in to continue」と表示されているので、先ほどのメールアドレスとパスワードを入力してください。
成功すると個人情報みたいなのを3回くらい聞いてくるので、入力してください。
選択肢終わるとプランを聞かれるので「Free」の方の「Continue for free」を押します。
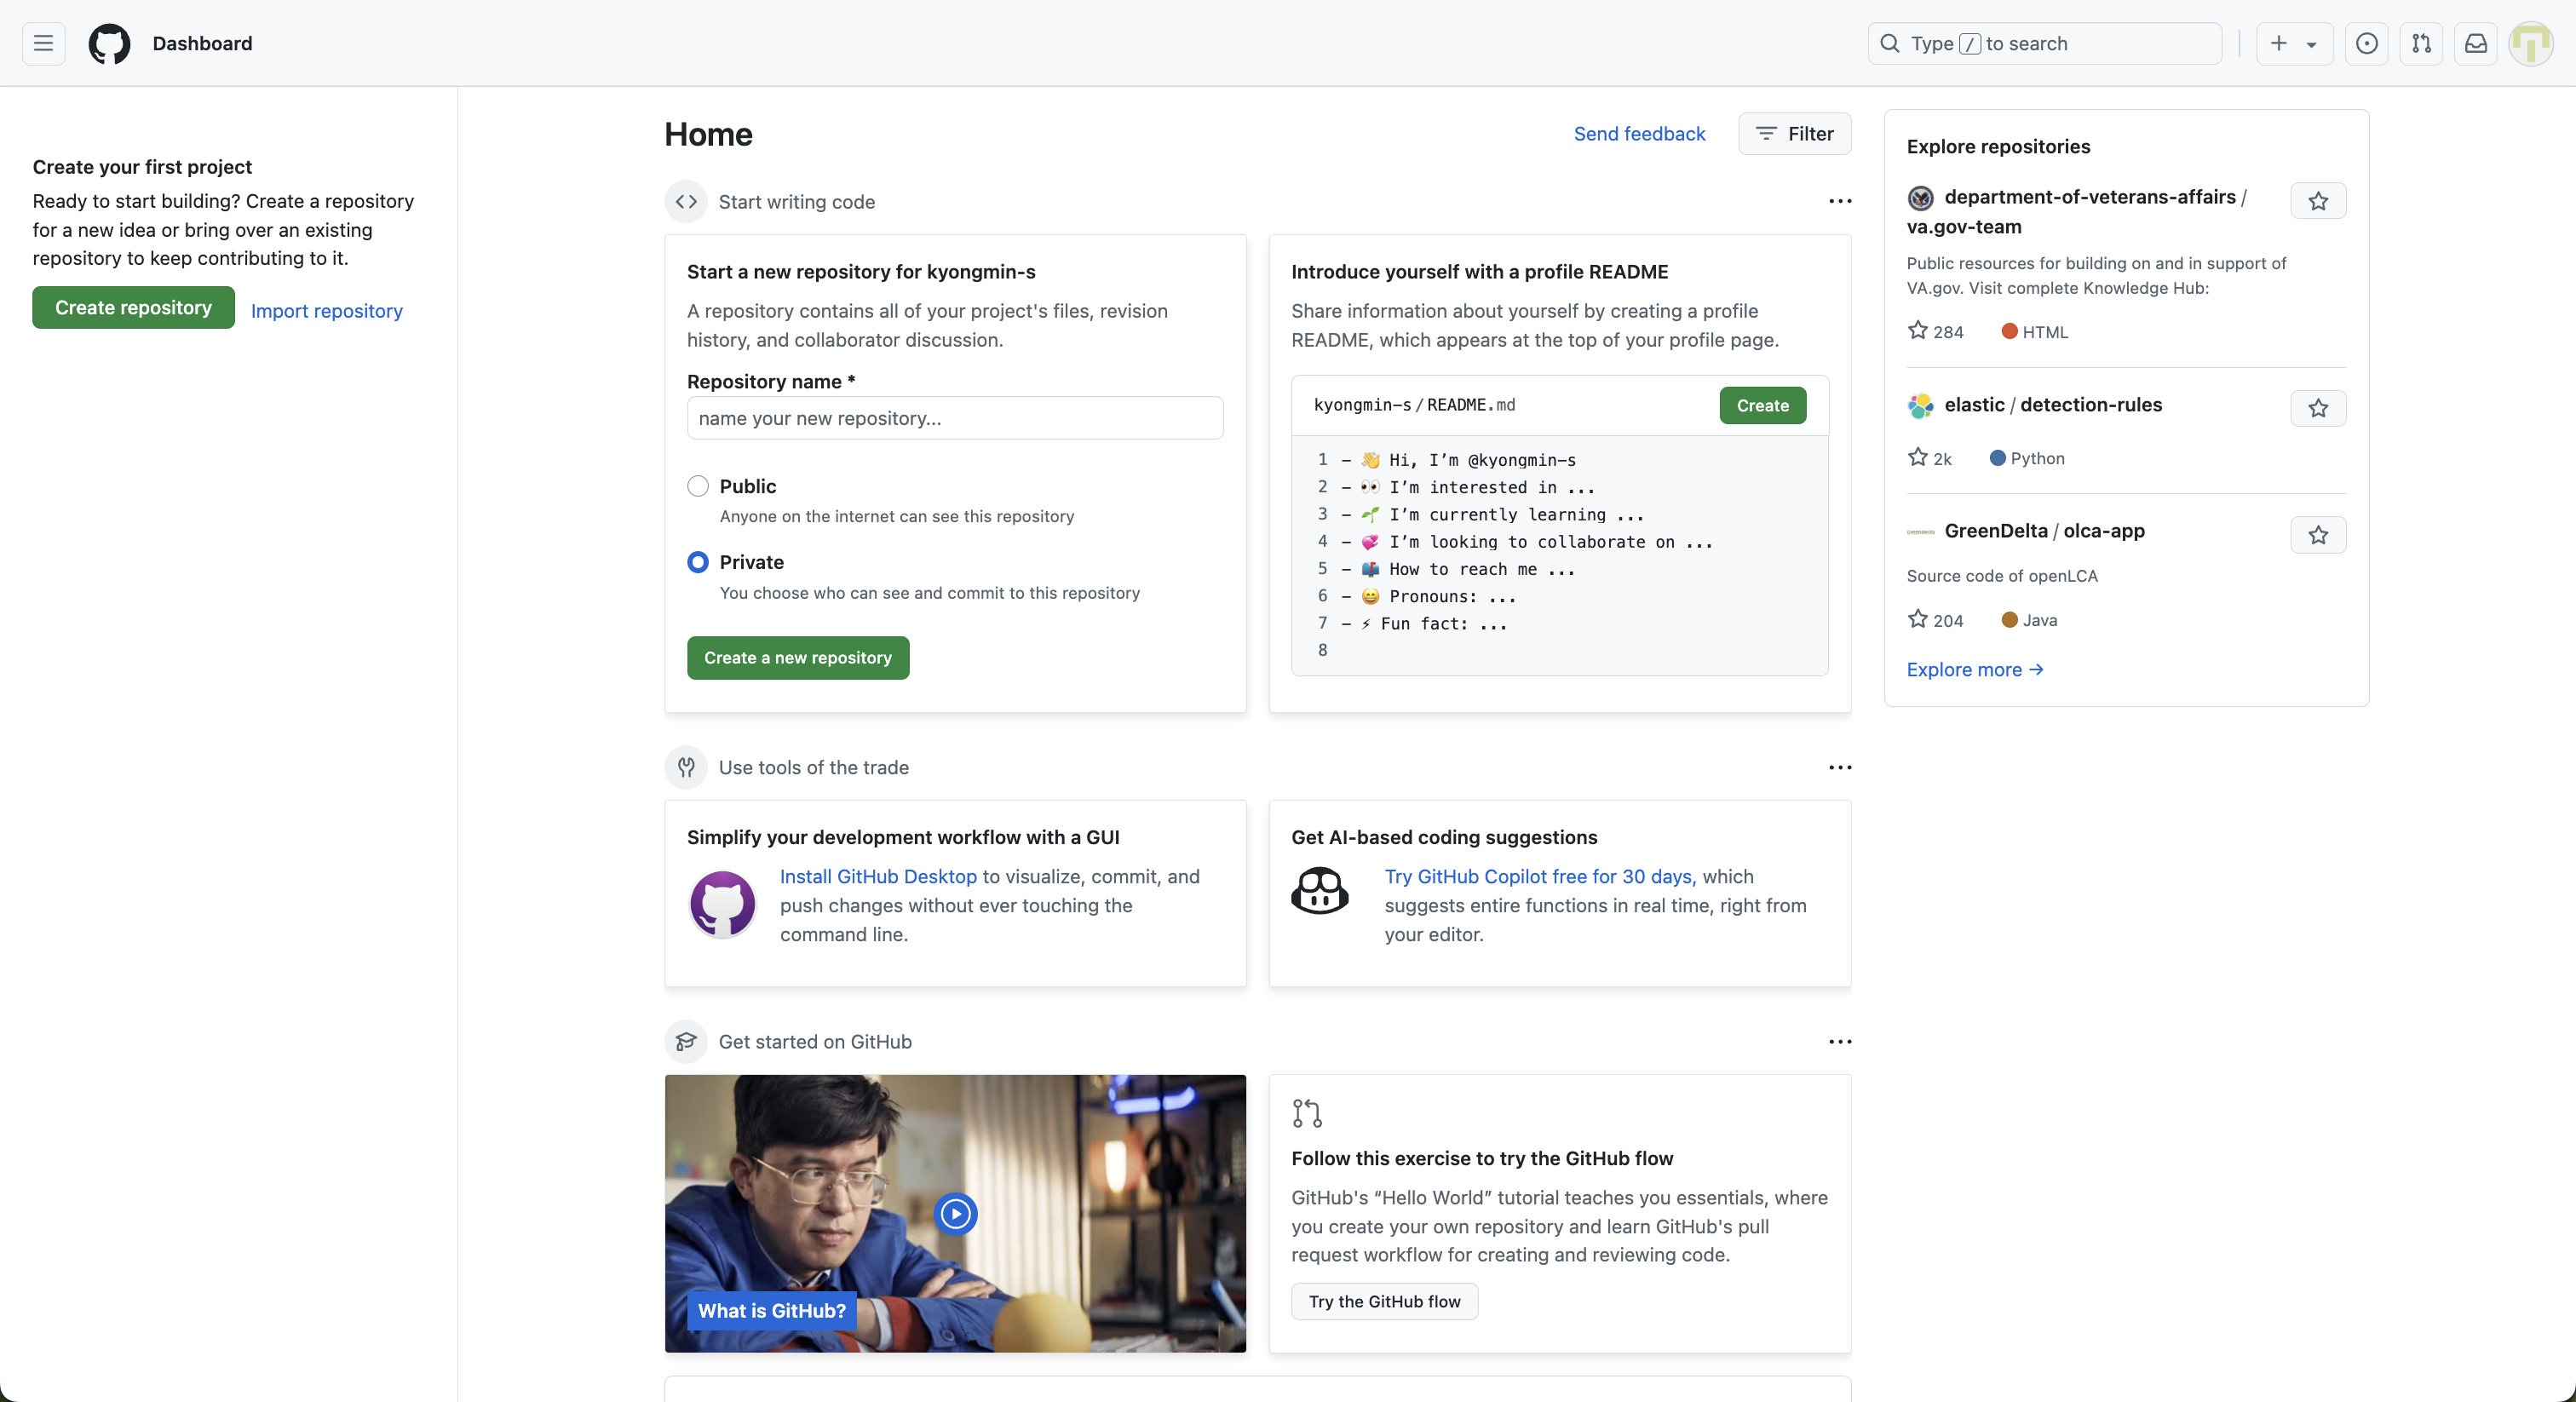
しばらく待つとGitHubのトップページに遷移します。これで登録完了です。
(ここまでが非エンジニア向けGitHub登録のリファレンスになります。この後の流れはエンジニアにお任せしましょう。)
2. GitHubのレポジトリを作成する
レポジトリが何かは詳しく説明しません。簡単に説明すると「GitHub(というサービス)上に自分のパソコンで編集したファイルを置いておける場所」です。
公開設定も出来て「Public」にするとどんな人でもそのファイルの中身を見ることができ、「Private」にしておくと自分と共同作業者だけが見られるようになります。
というわけでレポジトリを作ります。「Create repository」を押します。
以下の項目を好きなものに設定して「Create repository」を押します。他はデフォルト設定で問題ないです。
- レポジトリ名
- 公開設定
これでレポジトリが作成されました。真ん中の「HTTPS/SSH」は「SSH」を選択しておきましょう。
3. レポジトリに置いておくディレクトリを作成する
以下のディレクトリ構成を想定します。
└── advent-calendar-2024
   └── README.md
このディレクトリをGitでバージョン管理できるようにします。
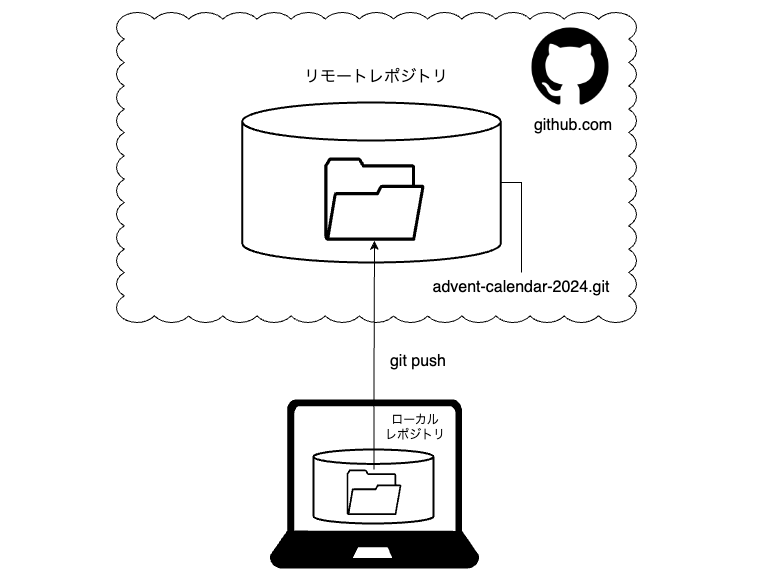
今から行いたいことのイメージです。
このディレクトリをレポジトリ化するにあたり、Gitのアカウント設定を行っておきます。つまり「レポジトリを編集するアカウントの設定」を行います。
レポジトリを作成したアカウントの情報で設定します。
この時いきなり設定するのはやめましょう。
- 確認
- 設定
- 確認
の手順を踏みましょう。
# 確認
git config --local user.name
git config --local user.email

# レポジトリを作ったアカウントではなかったら以下を実行して設定
git config --local user.name "ユーザ名"
git config --local user.email "メールアドレス"

# 設定できているか確認
git config --local user.name
git config --local user.email
設定できているのを確認できたら、レポジトリ作成後のリファレンスに従って以下を実行します。
echo "# advent-calendar-2024" >> README.md
git init
git add README.md
git commit -m "first commit"
git branch -M main
git remote add origin git@github.com:xxx/advent-calendar-2024.git
git push -u origin main
(余談)昔のデフォルトブランチ名は master でしたが、人権運動の背景によって現在は main に変わっているようです。
ここでも注意ですが、コマンドの脳死実行はやめましょう。
コマンドの意味をひとつずつ確認して行います。
-
# advent-calendar-2024という内容でREADME.mdファイルに追記します。README.mdが存在しなければ新規作成して追記します - Git管理できるようにします。これにより「ローカルレポジトリ」が出来上がります
- 変更した
README.mdをステージングに置きます(変更の確定を行うものの選択) - ステージングに置いた変更を「
first commit」というメッセージ付きでcommitをします(変更の確定) - メインブランチを「
main」に設定します - ここまで作成した「ローカルレポジトリ」を
git@github.com:xxx/advent-calendar-2024.gitという「リモートレポジトリ」と「同期」するように設定します - 同期を実行します(
git push)
最後のコマンドを実行しようとするとエラーが発生すると思われます。
git push -u origin main
ERROR: Permission to xxx/advent-calendar-2024.git denied to ユーザ名.
fatal: Could not read from remote repository.

Please make sure you have the correct access rights
and the repository exists.
どうやら何か権限が足りなさそうです。
1.の手順の最後に「SSH」を選択しました。これを選択した場合、ローカルレポジトリをGitHubに置いてあるリモートレポジトリと同期する際に「公開鍵」での認証を行う必要があります。この鍵の設定をしていません。
というわけで行います。GitHubは結構親切で、全部やり方が書いてあります。
鍵の生成
生成した鍵をGitHubに配置する
既存の鍵をGitHubに配置する
...手抜きしようと思いましたが、以下のケースで考えます。
例: 新しく名前を指定したキーを作成して、そのキーをGitHub上に置いておくケース
cd ~/.ssh
ssh-keygen -t ed25519 -C "xxx@gmail.com"
Generating public/private ed25519 key pair.
Enter file in which to save the key (/Users/xxxx/.ssh/id_ed25519): id_github_ed25519
Enter passphrase (empty for no passphrase):
Enter same passphrase again:
Your identification has been saved in id_github_ed25519
Your public key has been saved in id_github_ed25519.pub
The key fingerprint is:
SHA256:w0bcGbz/gowMdA0rASejiCVeasfT8e7SP7TCfMXyL1Y xxx@gmail.com
The key's randomart image is:
+--[ED25519 256]--+
|...........      |
|...........      |
|...........      |
|...........      |
|     . +S ..     |
|      +. + o.E   |
|     .o=.o=...   |
|      .+++o+. .  |
|        o.o oo   |
+----[SHA256]-----+
pbcopy < ~/.ssh/id_github_ed25519.pub
eval "$(ssh-agent -s)"
# Agent pid 81385 とか表示されるはず
Host github.com
  AddKeysToAgent yes
  UseKeychain yes                       # ここがポイント
  IdentityFile ~/.ssh/id_github_ed25519 # ここは秘密鍵
ssh-add --apple-use-keychain ~/.ssh/id_github_ed25519
# パスフレーズを求められるので入力する
ssh-add コマンドを --apple-use-keychain オプションを指定して実行すると秘密鍵がキーチェーンに登録されます。
~/.ssh/config で UseKeychain を yes にすると、そのキーチェーンに登録された秘密鍵を勝手に参照してくれるので、いちいちパスフレーズを入力する必要がなくなります。便利。
ssh -T git@github.com
Hi ユーザ名! You've successfully authenticated, but GitHub does not provide shell access.
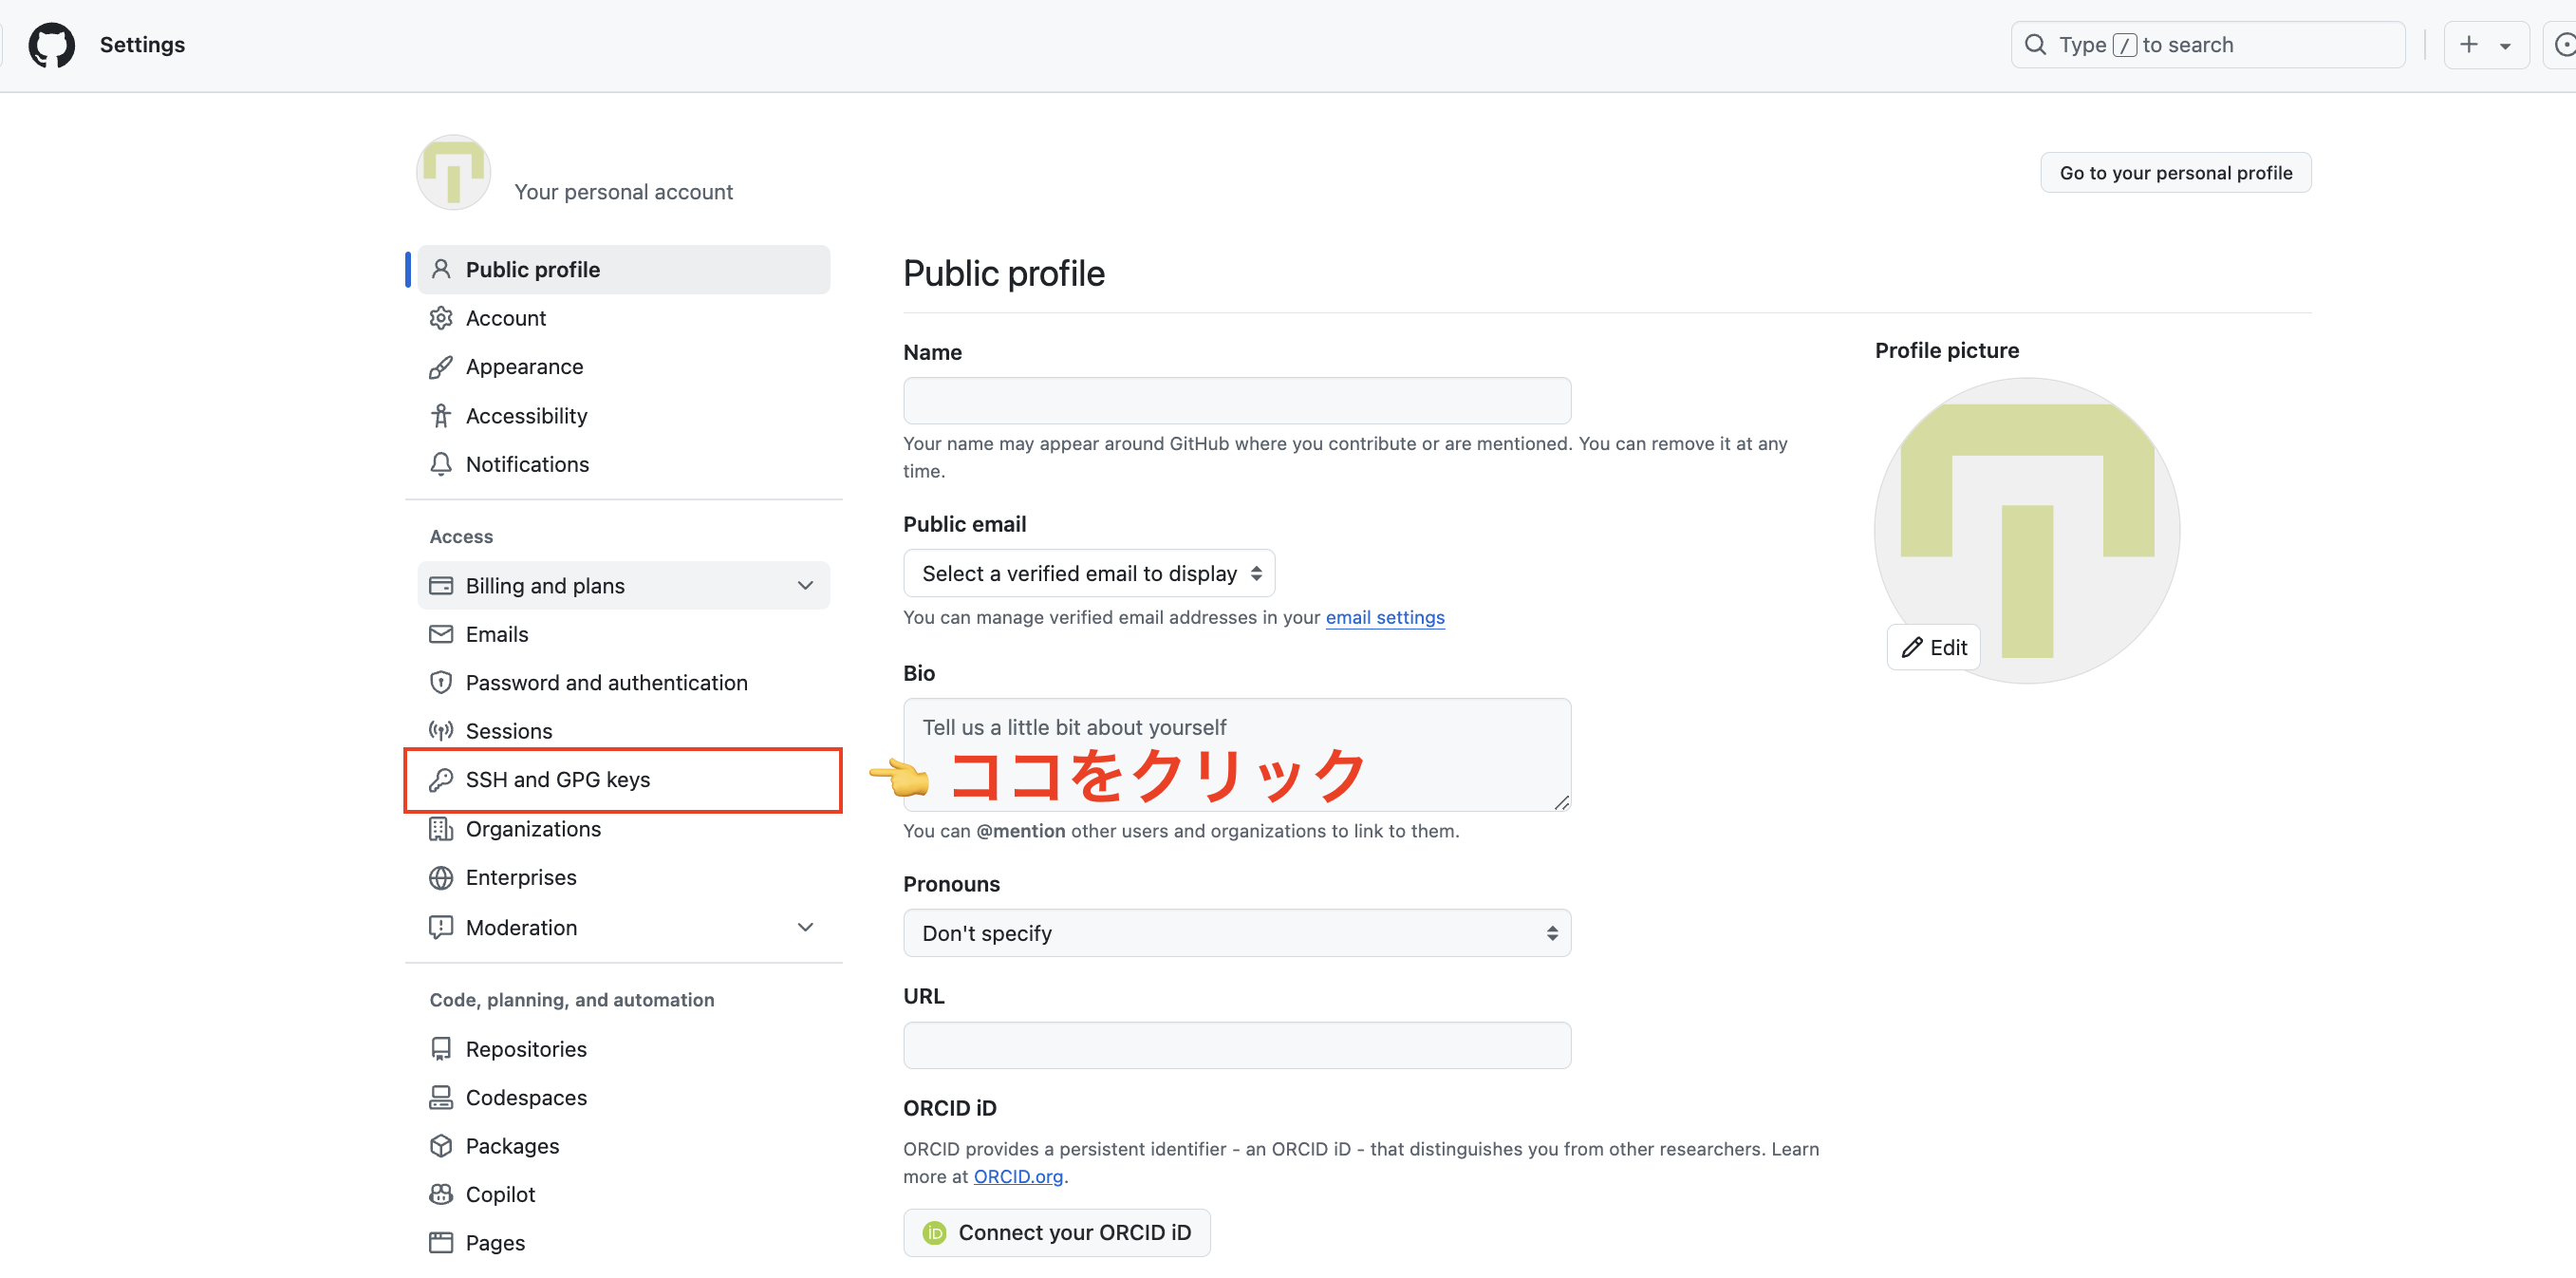
ここまで行った後、GitHubの右上のユーザアイコンを押して「Settings」を押します。
「SSH and GPG keys」を選択。
「New SSH Key」をクリック。
pbcopy < ~/.ssh/id_github_ed25519.pub の結果を貼り付け。わかりやすいようにラベルも任意で入力。今回は「github」としました。
登録されたら以下のように表示されます。
ここまで来てやっと以下のコマンドが成功するはずです。
git push -u origin main
Enumerating objects: 3, done.
Counting objects: 100% (3/3), done.
Writing objects: 100% (3/3), 241 bytes | 241.00 KiB/s, done.
Total 3 (delta 0), reused 0 (delta 0), pack-reused 0
To github.com:xxx/advent-calendar-2024.git
 * [new branch]      main -> main
branch 'main' set up to track 'origin/main'.
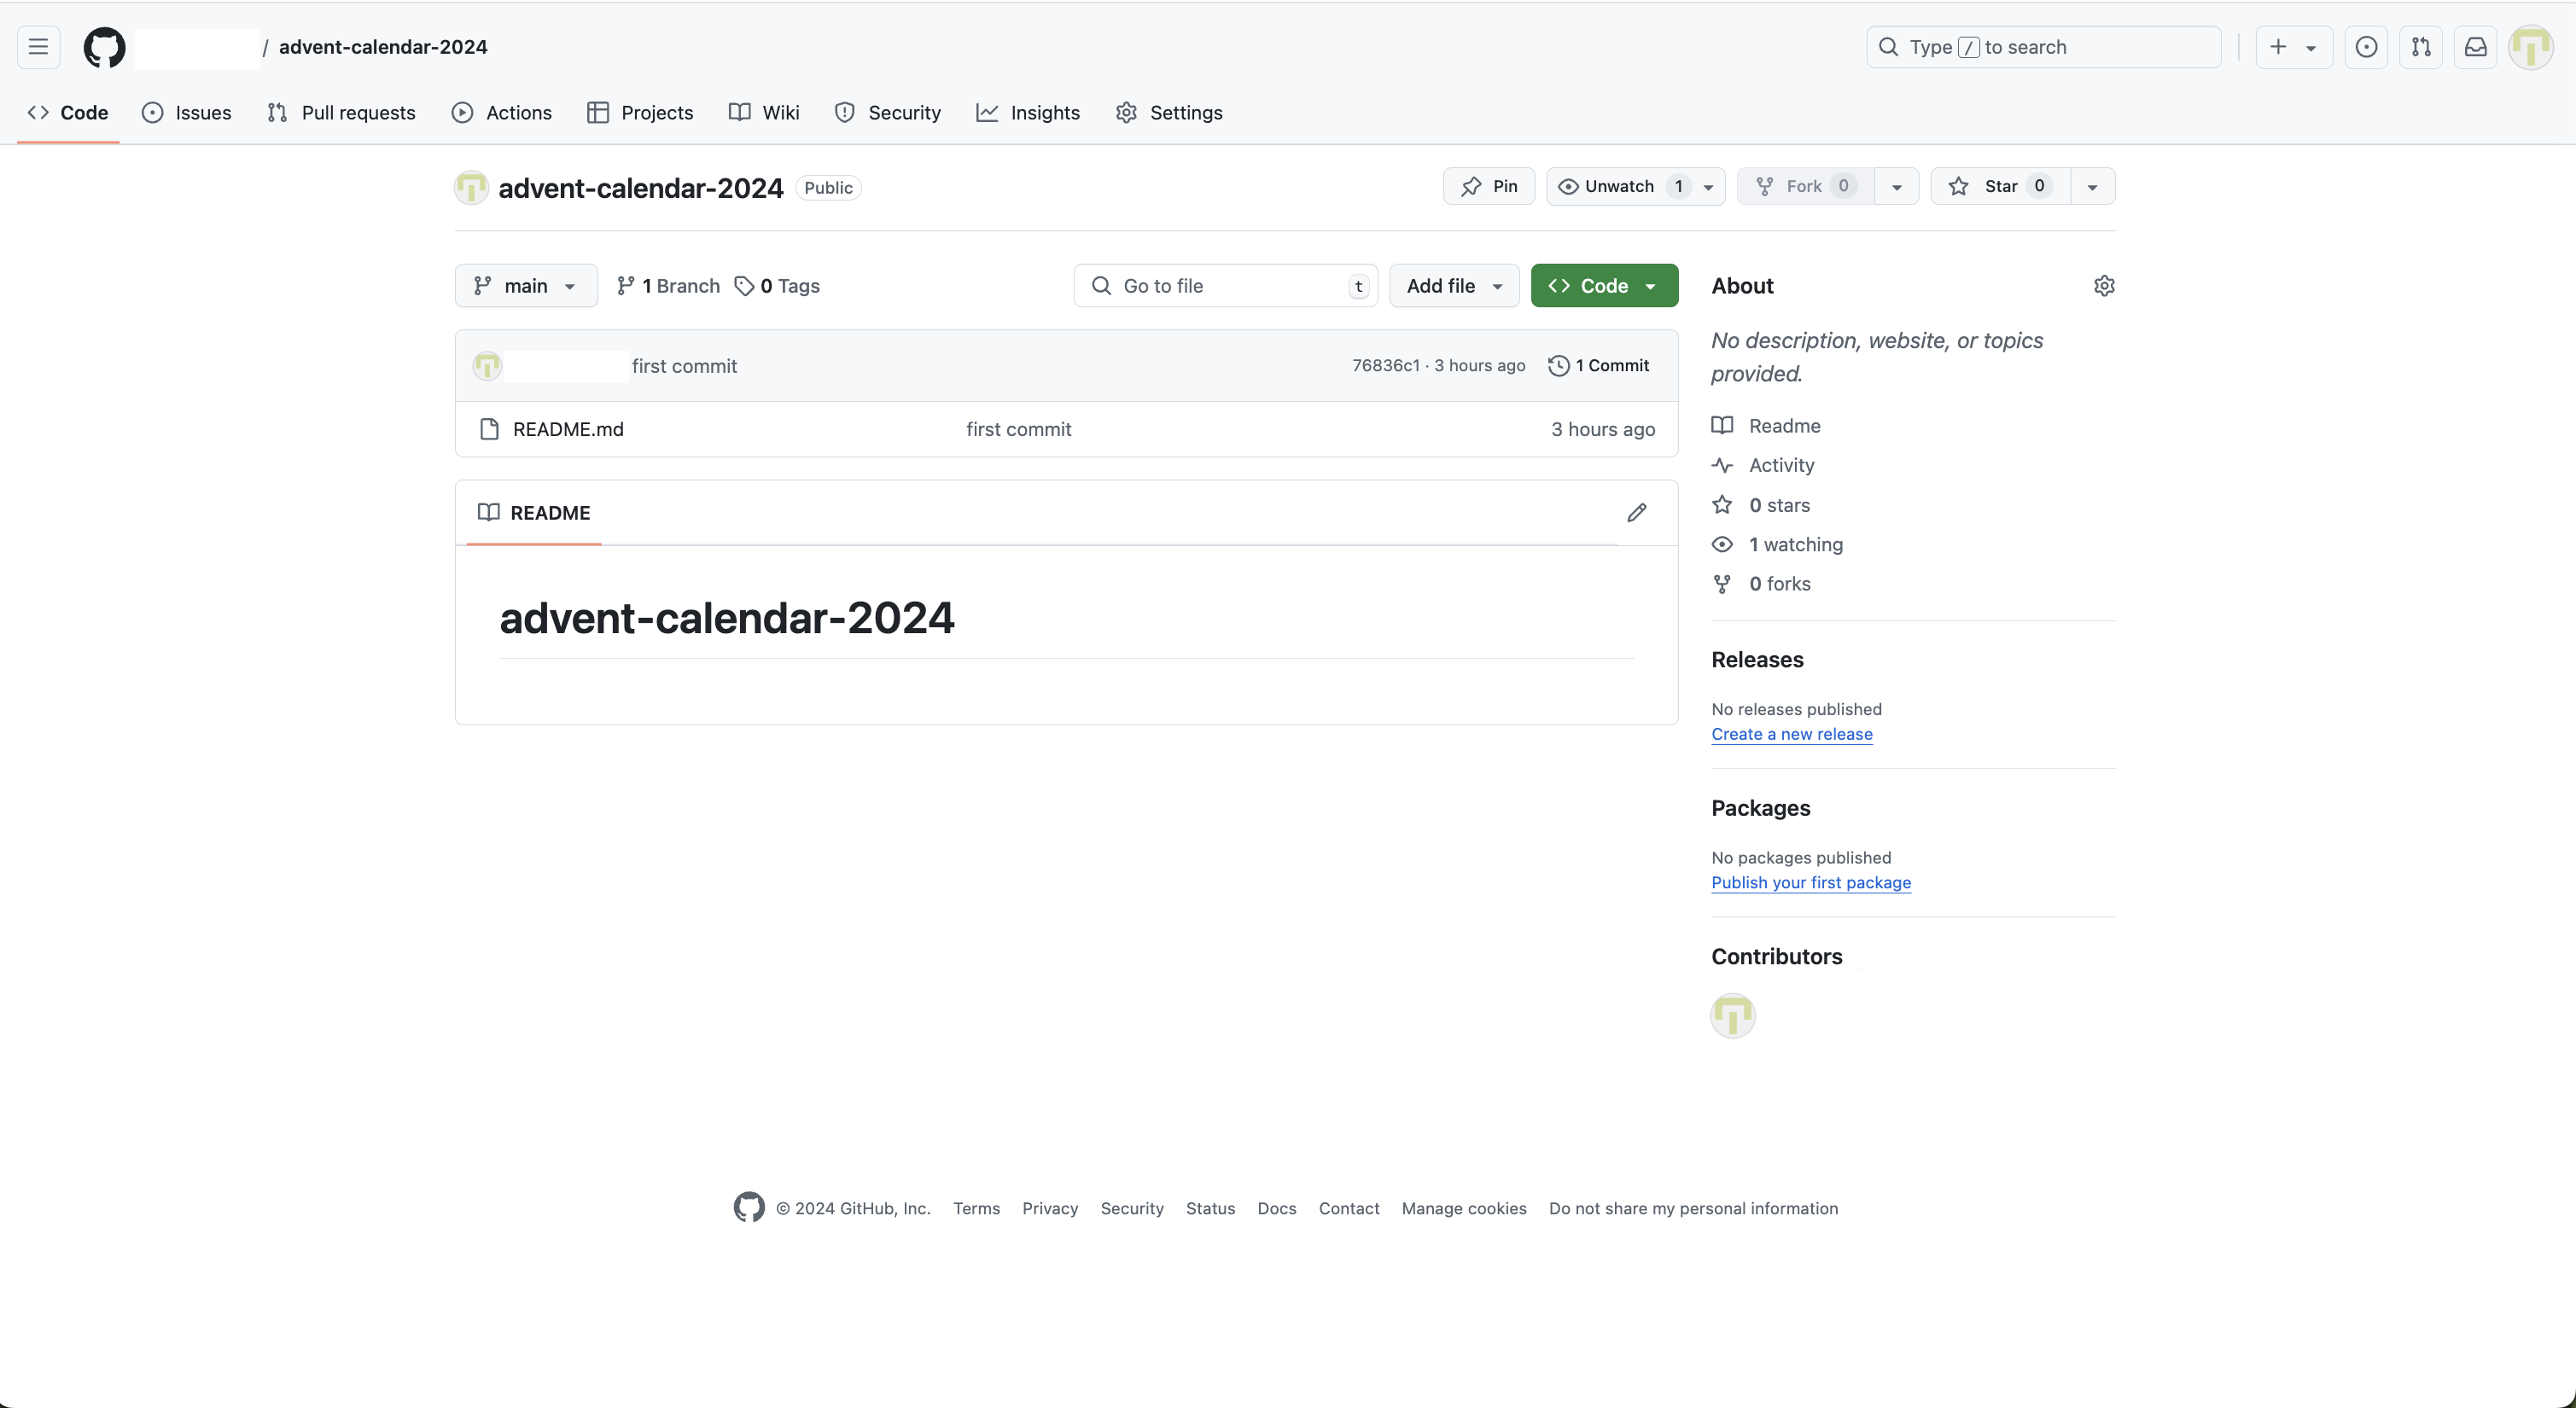
無事、リモートレポジトリにローカルレポジトリのファイルを転送することができました。
補足
ssh接続時に Error: Permission denied (publickey) と出る場合
以下を参考にしてください。結構親切に書いています。
複数アカウントを使い分けて接続したい場合は?
以下のように ~/.ssh/config を書き換えます。
Host github
  HostName github.com  # 追加
  AddKeysToAgent yes
  IdentitiesOnly yes   # 追加
  UseKeychain yes
  IdentityFile ~/.ssh/id_github_ed25519      # 本垢の鍵

 # 追加
Host github-sub # ちょっと変える
  HostName github.com
  AddKeysToAgent yes
  IdentitiesOnly yes
  UseKeychain yes
  IdentityFile ~/.ssh/id_github_sub_ed25519  # サブ垢の鍵
Hostを github-sub としたので、リモートレポジトリの接続情報も一部変更しないといけません。
まず既存の設定を確認してから変更します。
git remote -v
---
origin	git@github.com:xxx/advent-calendar-2024.git (fetch)
origin	git@github.com:xxx/advent-calendar-2024.git (push)
git remote set-url origin git@github-sub:xxx/advent-calendar-2024.git
git remote -v
---
origin	git@github-sub:xxx/advent-calendar-2024.git (fetch)
origin	git@github-sub:xxx/advent-calendar-2024.git (push)
ssh -T git@github-sub
Hi サブ垢! You've successfully authenticated, but GitHub does not provide shell access.
# 確認
git config --local user.name
git config --local user.email

# レポジトリを編集するアカウントの変更
git config --local user.name "サブ垢 ユーザ名"
git config --local user.email "サブ垢 メールアドレス"

# 設定できているか確認
git config --local user.name
git config --local user.email
ここまでできたらGitHubの開発する上での設定は完了です。
続いて開発環境(VSCode)の方の設定についてお話しします。


