はじめに
Visual Studio 2017 community(2017/9/22時点)のXamarin.iOSを使ってiOS向けのカスタムキーボードを作る方法およびコツをまとめます。
1.新規ソリューションを立ち上げる
 まずiOSの単一ビューアプリを選択します。
 続いて、アプリ名を設定します。デバイス設定はここではひとまずiPhoneのみにチェックをします。

 そのまま次へを押してソリューションを立ち上げます。
2.キーボードのExtensionプロジェクトを追加する
 ソリューションのルートから「新しいプロジェクトを追加」を選択します。
 iOSのExtension->Custom Keyboard Extentionを選択します。
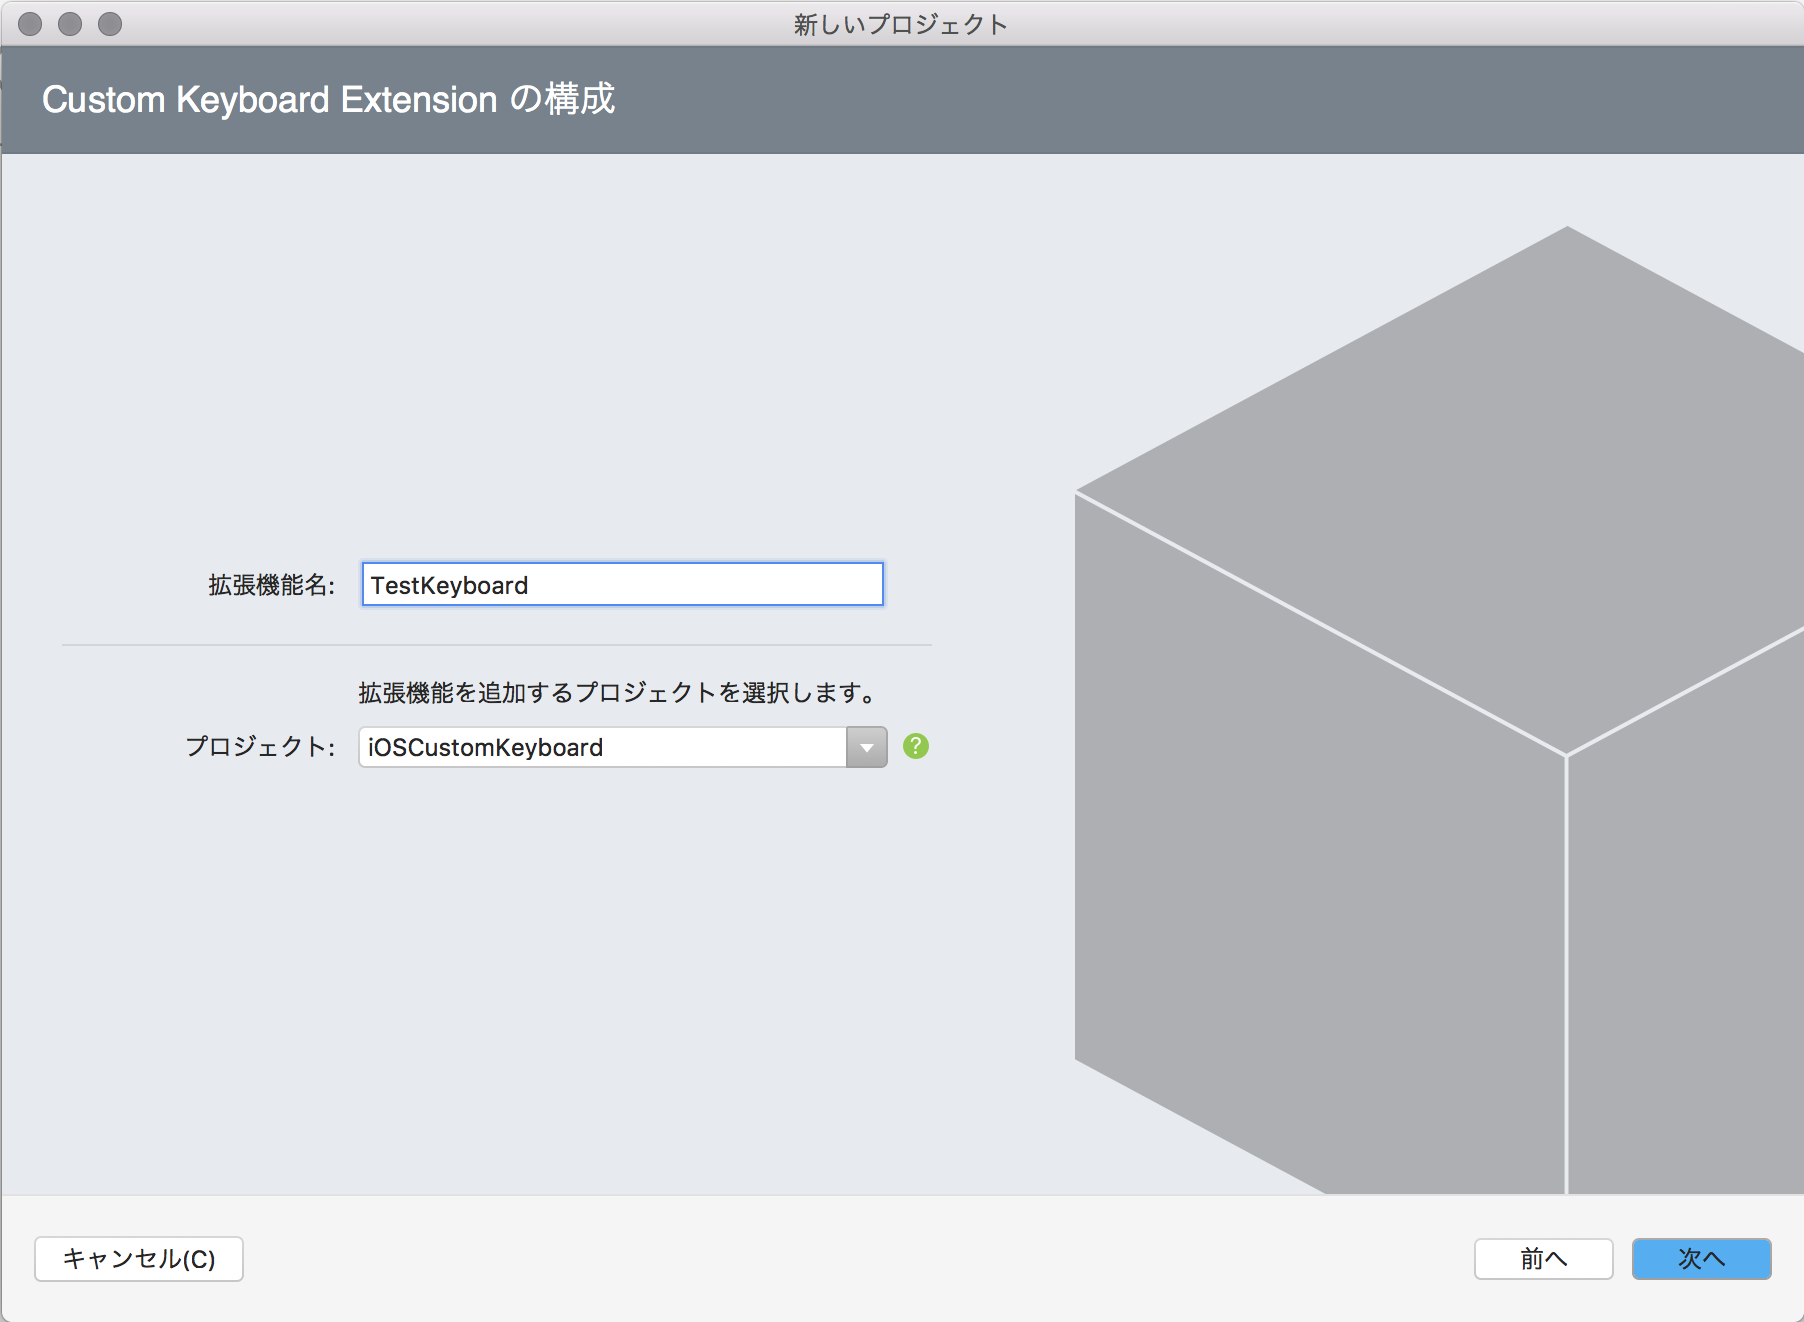 拡張機能名がキーボードの名前になります。


そのまま次へを選択すると、Custom Keyboardのプロジェクトが追加されます。
3.キーボードのViewとそれを司るクラスファイルを作成する
 元からあったiOSCustomKeyboardを副クリックして「新しいファイルを追加」を選択します。
 iOS->Table View Cellを選択して、こちらも名前をKeyboardViewにします。これはキーボードのイベントなどを扱うために用意するクラスです。本当はTabel View CellではなくただのViewが良いのですが、追加方法が見つからなかったため、Table View Cellを改造する形で進めます。
 そうすると
KeyboardView.csとKeyboardView.designer.cs、KeyboardView.xibが追加されます。
そうすると
KeyboardView.csとKeyboardView.designer.cs、KeyboardView.xibが追加されます。
ここで、KeyboardView.csを選択してください。
KeyboardView.csの最低限の編集を行います。
もともとのソースコードは、
using System;

using Foundation;
using UIKit;

namespace iOSCustomKeyboard
{
    public partial class KeyboardView : UITableViewCell
    {
        public static readonly NSString Key = new NSString("KeyboardView");
        public static readonly UINib Nib;

        static KeyboardView()
        {
            Nib = UINib.FromName("KeyboardView", NSBundle.MainBundle);
        }

        protected KeyboardView(IntPtr handle) : base(handle)
        {
            // Note: this .ctor should not contain any initialization logic.
        }
    }
}
上のようになっていると思います。これを下のように書き換えてください。
using System;

using Foundation;
using UIKit;

namespace TestKeyboard
{
    public partial class KeyboardView : UIView
    {
        static KeyboardView()
        {

        }

        protected KeyboardView(IntPtr handle) : base(handle)
        {

        }
    }
}
namespaceと親クラスを変更するのを忘れないでください。
 そうしましたら、UITableViewに特化したxibになってしまっていて使えないため、KeyboardView.xibを完全に削除してください。
 先ほどと同様にiOSCustomKeyboardを副クリックして「新しいファイルを追加」を選択し、今度はiOS->Viewを選択して、名前をKeyboardViewにして作成します。これでキーボードのレイアウトを編集するxibファイルを生成しなおします。
 三つのファイルがiOSCustomKeyboardディレクトリ内に追加されているのを確認してください.
 これをTestKeyboardディレクトリにドラッグ&ドロップで移します。
このタイミングでKeyboardView.designer.csを選択してnamespaceをTestKeyboardに変更してください。
using Foundation;

namespace TestKeyboard
{
    [Register("KeyboardView")]
    partial class KeyboardView
    {
        void ReleaseDesignerOutlets()
        {
        }
    }
}
そうしたらKeyboardView.xibを開いてください。
 Viewを選択してプロパティのWidgetのClassをKeyboardViewにしてください。先ほどのnamespaceの変更によってここにClassの候補が表示されるようになります。
これで下準備は完了です。
4.キーボードのViewをレイアウトする
引き続きKeyboardView.xibを編集します。

左上のVIEW ASがGenericとなっているので、iPhone6など自分のデザインしやすいものにしてください。
 Viewを選択してプロパティのWidgetのSimulated Metricsを編集してSizeをFreeformに、Status BarをNoneに変更してください。
 ツールボックスからButtonを選んでドラッグ&ドロップしてButtonを4つ配置してください。
 Buttonの大きさをいい感じにして、表示している文字をA, B, Next, Spaceにしてください。同時にIdentityのNameにAButton、BButton、NextButton、SpaceButtonと名前を設定してください。
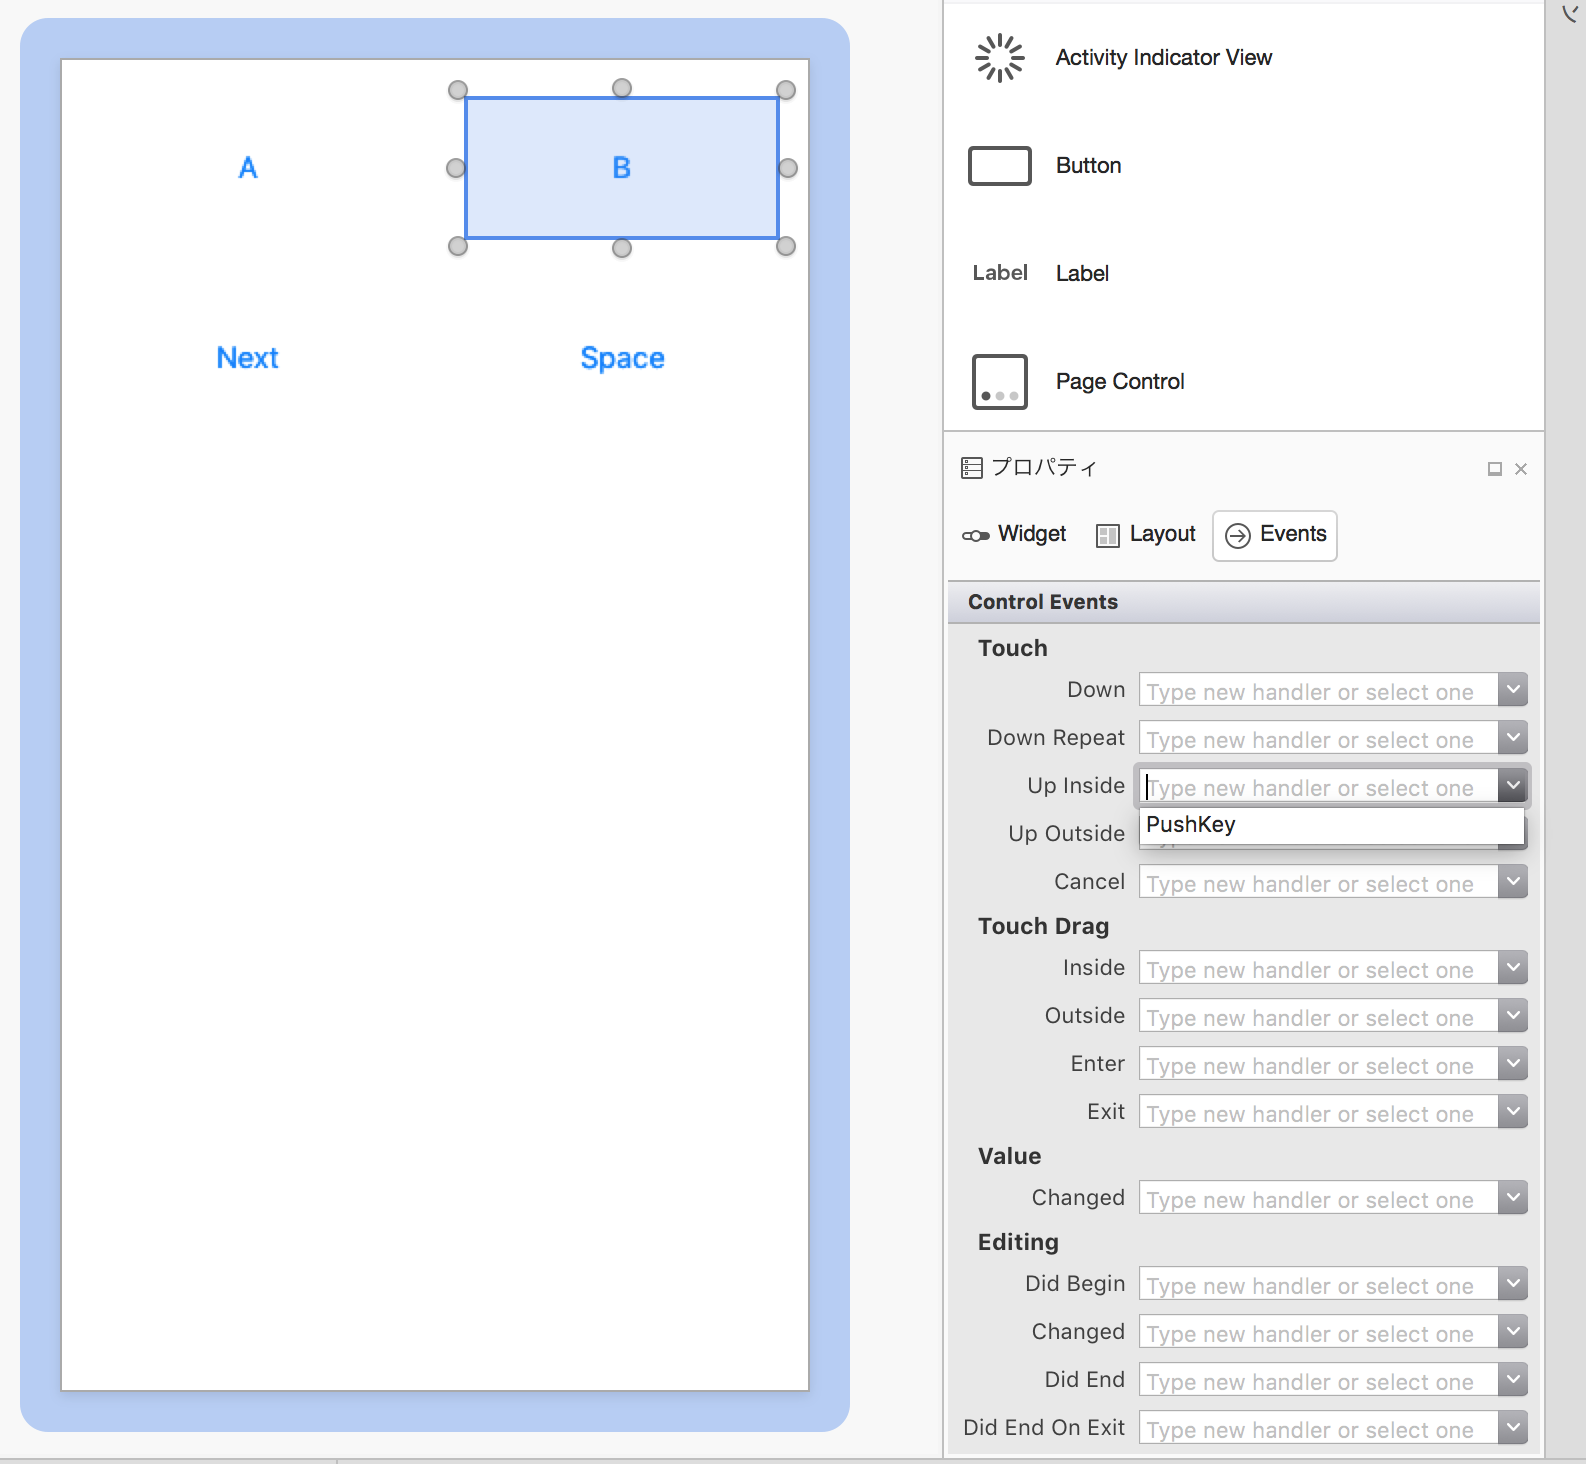
 Aボタンを選択して、プロパティのEventsを開き、TouchのUp Insideの欄にPushKeyと入力してReturnキーを押してください。この時、イベントハンドラの名前を大文字から始まるようにしないとエラーになります。
 自動的にKeyboardView.csが開き、イベントハンドラの追加が行えます。追加位置はアローキーにて変更できます。
 Returnキーを押して確定するとこのようにボタンを押した時のイベントハンドラのコードが自動で挿入されます。
今度はBボタンを選択し、Aボタンと同じイベントハンドラに接続します。
すでに一度作ってあるイベントハンドラは候補から選択できます。
同様にしてNextボタンはPushNext、SpaceボタンはPushSpaceというイベントハンドラ名でコードと関連付けを行ってください。
結果KeyboardView.csはこのようになります。
using System;

using Foundation;
using UIKit;

namespace TestKeyboard
{
    public partial class KeyboardView : UIView
    {
        static KeyboardView()
        {

        }

        protected KeyboardView(IntPtr handle) : base(handle)
        {

        }

        partial void PushKey(UIButton sender)
        {
            throw new NotImplementedException();
        }

        partial void PushNext(UIButton sender)
        {
            throw new NotImplementedException();
        }

        partial void PushSpace(UIButton sender)
        {
            throw new NotImplementedException();
        }
    }
}
ちなみにKeyboardView.designer.csの方は自動で編集が進み、このようになっています。
using Foundation;
using System;
using System.CodeDom.Compiler;

namespace TestKeyboard
{
    [Register ("KeyboardView")]
    partial class KeyboardView
    {
        [Outlet]
        [GeneratedCode ("iOS Designer", "1.0")]
        UIKit.UIButton AButton { get; set; }

        [Outlet]
        [GeneratedCode ("iOS Designer", "1.0")]
        UIKit.UIButton BButton { get; set; }

        [Outlet]
        [GeneratedCode ("iOS Designer", "1.0")]
        UIKit.UIButton NextButton { get; set; }

        [Outlet]
        [GeneratedCode ("iOS Designer", "1.0")]
        UIKit.UIButton SpaceButton { get; set; }

        [Action ("PushKey:")]
        [GeneratedCode ("iOS Designer", "1.0")]
        partial void PushKey (UIKit.UIButton sender);

        [Action ("PushNext:")]
        [GeneratedCode ("iOS Designer", "1.0")]
        partial void PushNext (UIKit.UIButton sender);

        [Action ("PushSpace:")]
        [GeneratedCode ("iOS Designer", "1.0")]
        partial void PushSpace (UIKit.UIButton sender);

        void ReleaseDesignerOutlets ()
        {
            if (AButton != null) {
                AButton.Dispose ();
                AButton = null;
            }

            if (BButton != null) {
                BButton.Dispose ();
                BButton = null;
            }

            if (NextButton != null) {
                NextButton.Dispose ();
                NextButton = null;
            }

            if (SpaceButton != null) {
                SpaceButton.Dispose ();
                SpaceButton = null;
            }
        }
    }
}
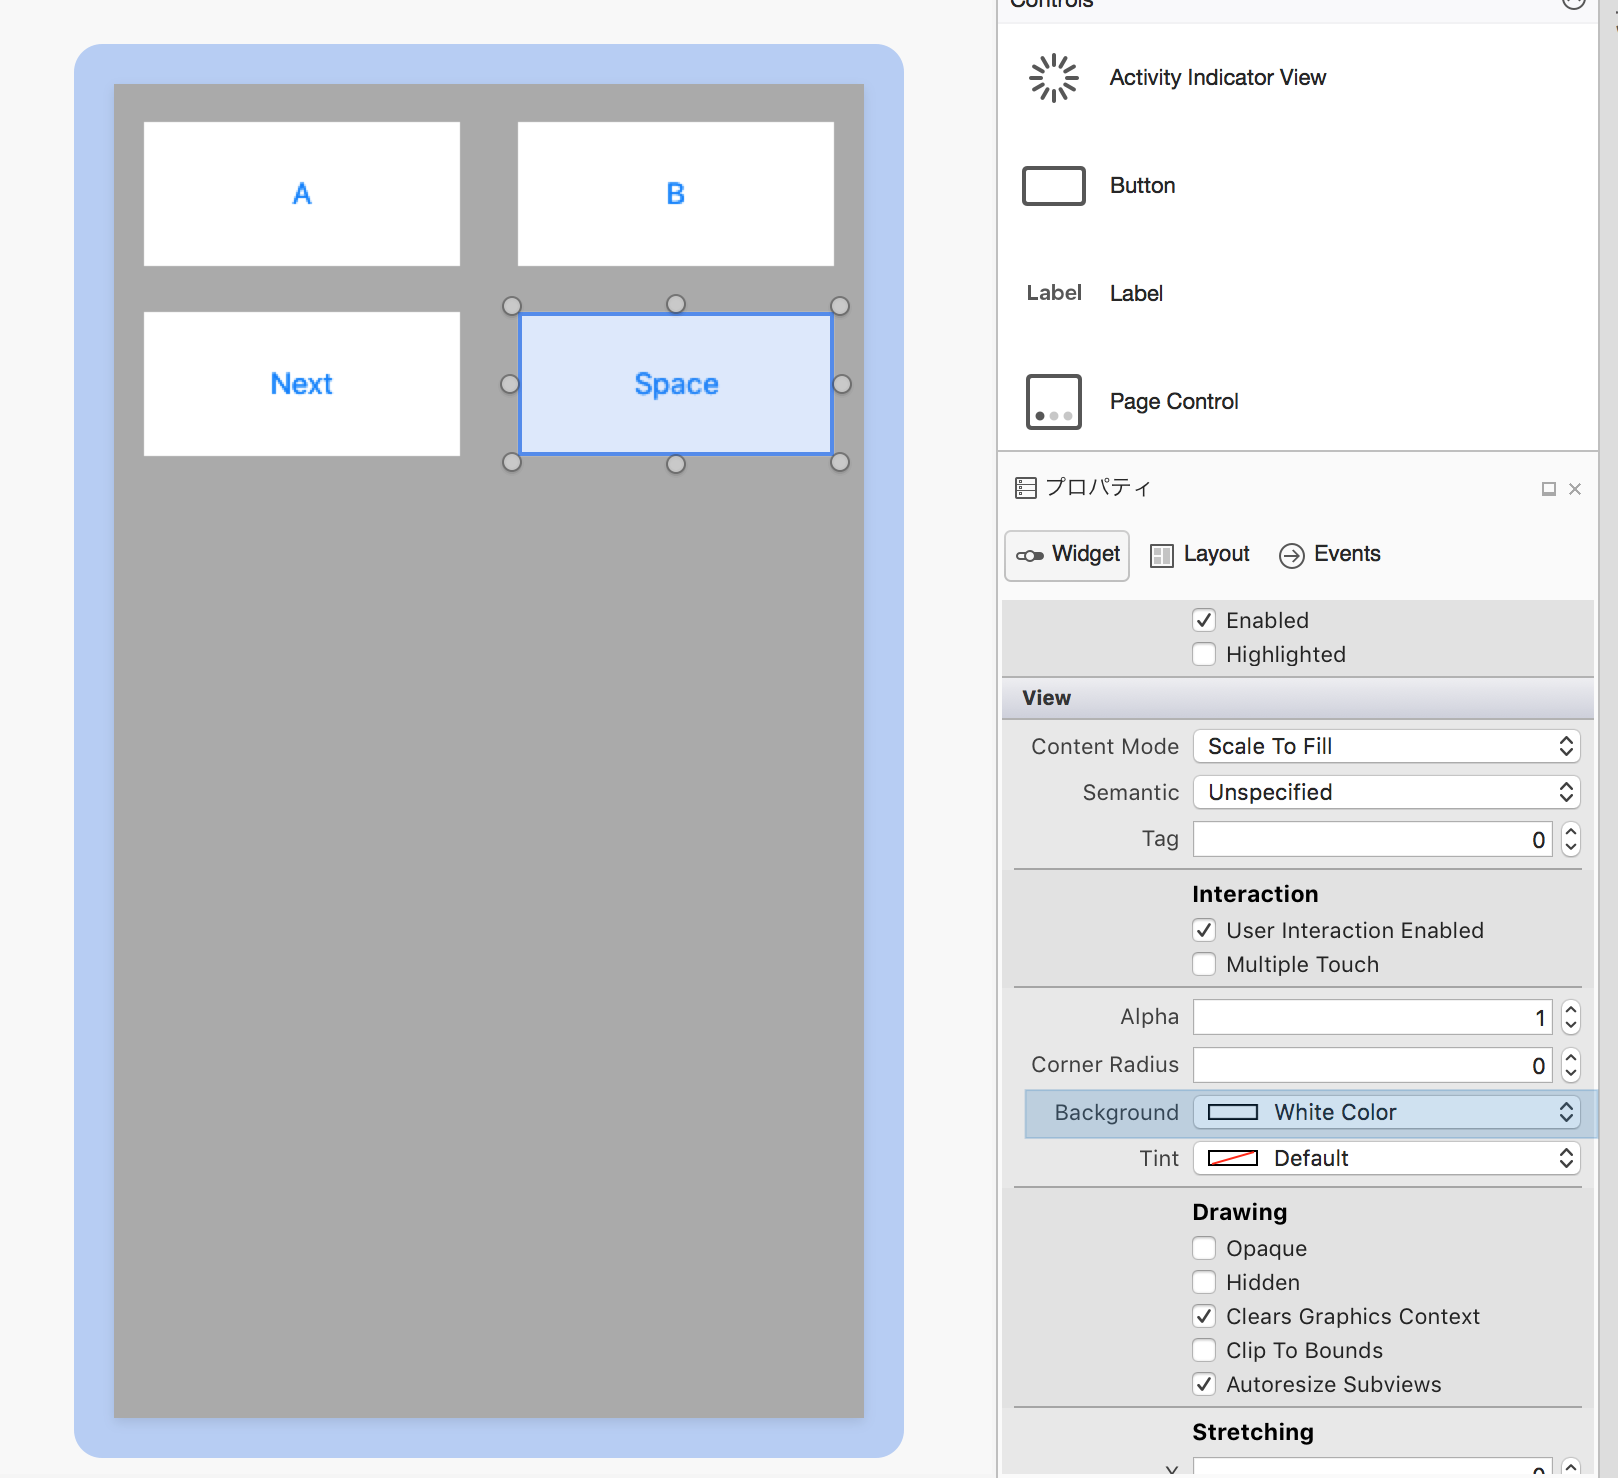
最後にボタンがわかるように背景色を設定しましょう。
Viewやボタンを選択してプロパティのWidgetのViewのBackground項目を設定すると背景色を変更できます。
レイアウト周りの下準備は以上です。
5.コーディング
KeyboardView.csを開きます。まずは下のように追記してください。
using System;

using Foundation;
using UIKit;

namespace TestKeyboard
{
    public interface KeyboardViewDelegate
    {
        void selectKey(string key);
        void selectNext();
        void selectSpace();
    }

    public partial class KeyboardView : UIView
    {
        public KeyboardViewDelegate delegate_;

        static KeyboardView()
        {}

        protected KeyboardView(IntPtr handle) : base(handle)
        {}

		public override void AwakeFromNib()
		{
            AButton.Layer.CornerRadius = 10;
            BButton.Layer.CornerRadius = 10;
            NextButton.Layer.CornerRadius = 10;
            SpaceButton.Layer.CornerRadius = 10;
		}

        partial void PushKey(UIButton sender)
        {
            delegate_.selectKey(sender.CurrentTitle);
        }

        partial void PushNext(UIButton sender)
        {
            delegate_.selectNext();
        }

        partial void PushSpace(UIButton sender)
        {
            delegate_.selectSpace();
        }
    }
}
続いて、KeyboardViewController.csを編集します。
まずは余計なものを消して綺麗にしましょう。
using System;

using ObjCRuntime;
using Foundation;
using UIKit;

namespace TestKeyboard
{
    public partial class KeyboardViewController : UIInputViewController
    {

        protected KeyboardViewController(IntPtr handle) : base(handle)
        {}

        public override void DidReceiveMemoryWarning()
        {
            base.DidReceiveMemoryWarning();
        }

        public override void UpdateViewConstraints()
        {
            base.UpdateViewConstraints();
        }

        public override void ViewDidLoad()
        {
            base.ViewDidLoad();
        }

        public override void TextWillChange(IUITextInput textInput)
        {}

        public override void TextDidChange(IUITextInput textInput)
        {}
    }
}
綺麗にできたら下のように追記してください。
using System;

using ObjCRuntime;
using Foundation;
using UIKit;

namespace TestKeyboard
{
    public partial class KeyboardViewController : UIInputViewController, KeyboardViewDelegate
    {
        KeyboardView kv;

        protected KeyboardViewController(IntPtr handle) : base(handle)
        {}

        public override void DidReceiveMemoryWarning()
        {
            base.DidReceiveMemoryWarning();
        }

        public override void UpdateViewConstraints()
        {
            base.UpdateViewConstraints();
        }

        public override void ViewDidLoad()
        {
            base.ViewDidLoad();
            kv = UINib.FromName("KeyboardView", null).Instantiate(this, null)[0] as KeyboardView;
			kv.delegate_ = this;
			View.AddSubview(kv);
        }

        public override void TextWillChange(IUITextInput textInput)
        {}

        public override void TextDidChange(IUITextInput textInput)
        {}

        public void selectKey(string key)
        {
            TextDocumentProxy.InsertText(key);
        }

        public void selectNext()
        {
            AdvanceToNextInputMode();
        }

        public void selectSpace()
        {
            TextDocumentProxy.InsertText(" ");
        }
    }
}
コーディングは以上です。
6.実行
レイアウトをしたサイズのiPhoneをシミュレータで指定して実行しましょう。真っ白な画面が出てくると思います。
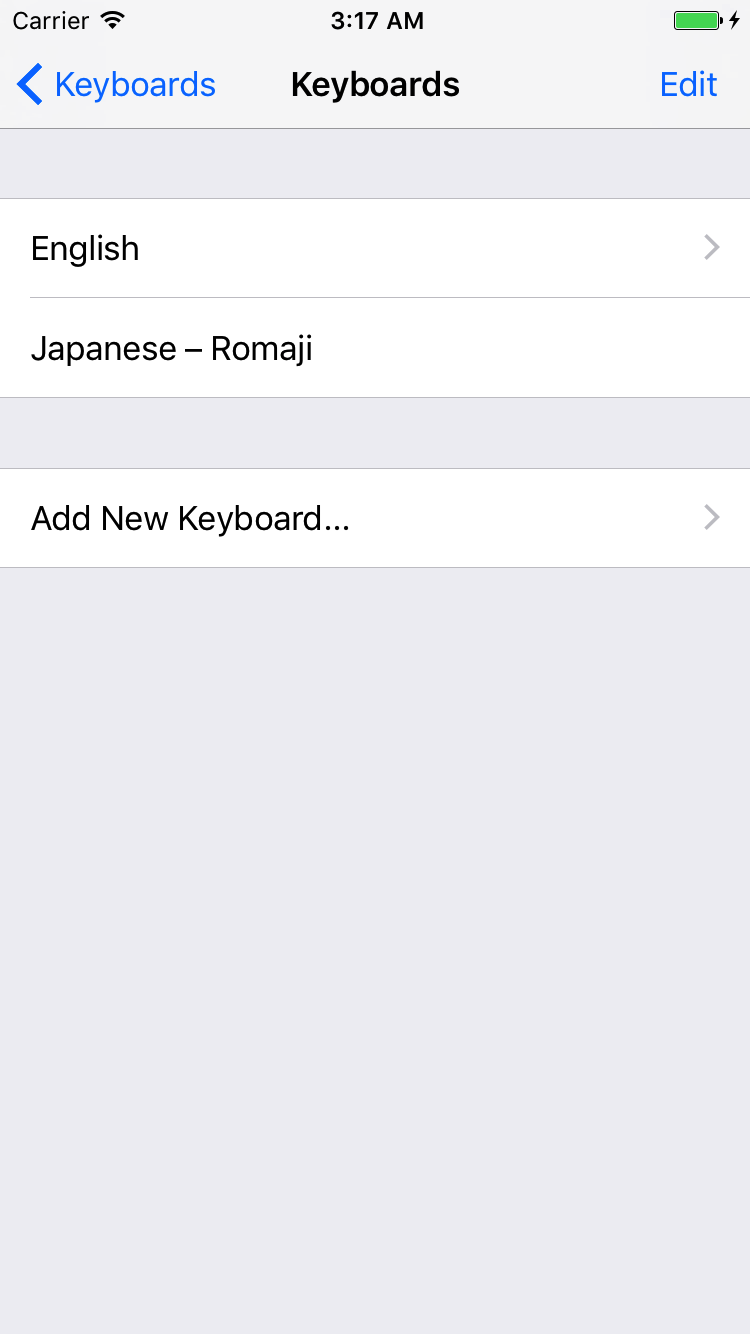
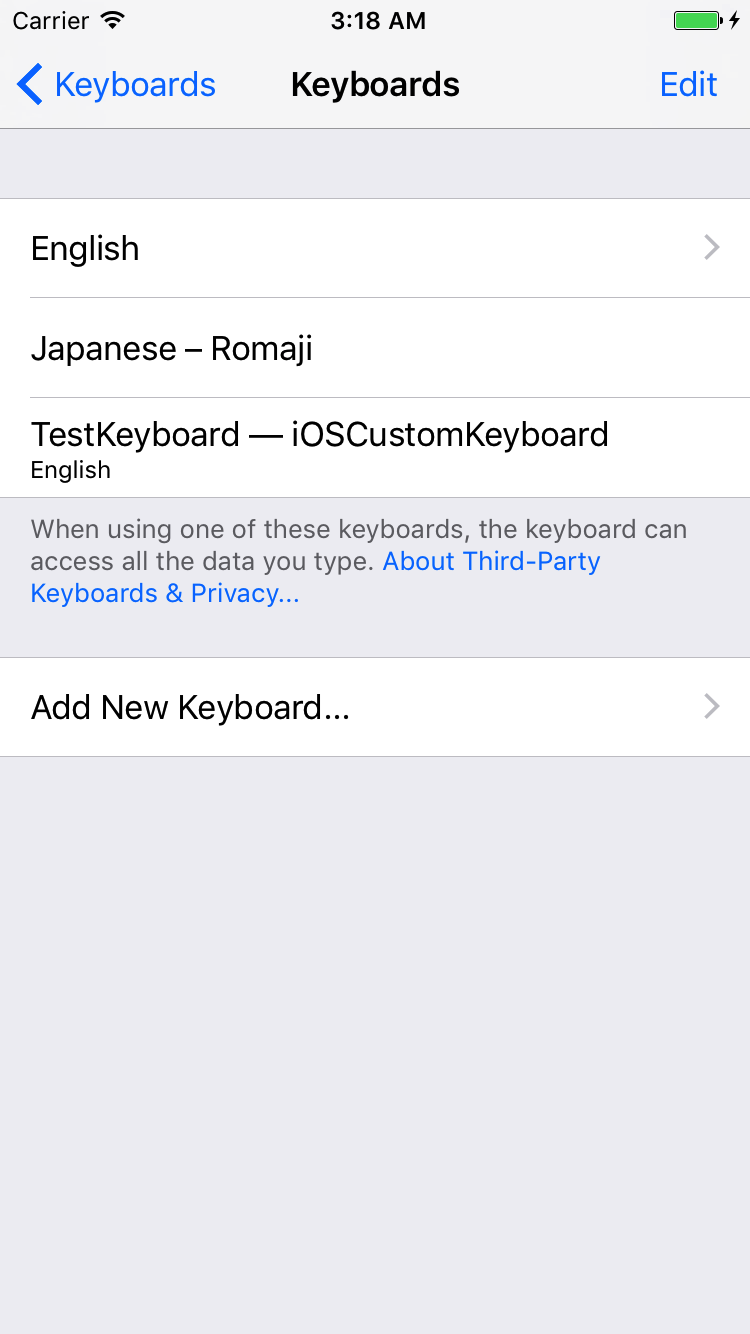
ホームボタンを押すか、shift + command + H でホーム画面を表示して、環境設定を開き、一般->言語->キーボードから自作したiOSCustomKeyboardを追加しましょう。
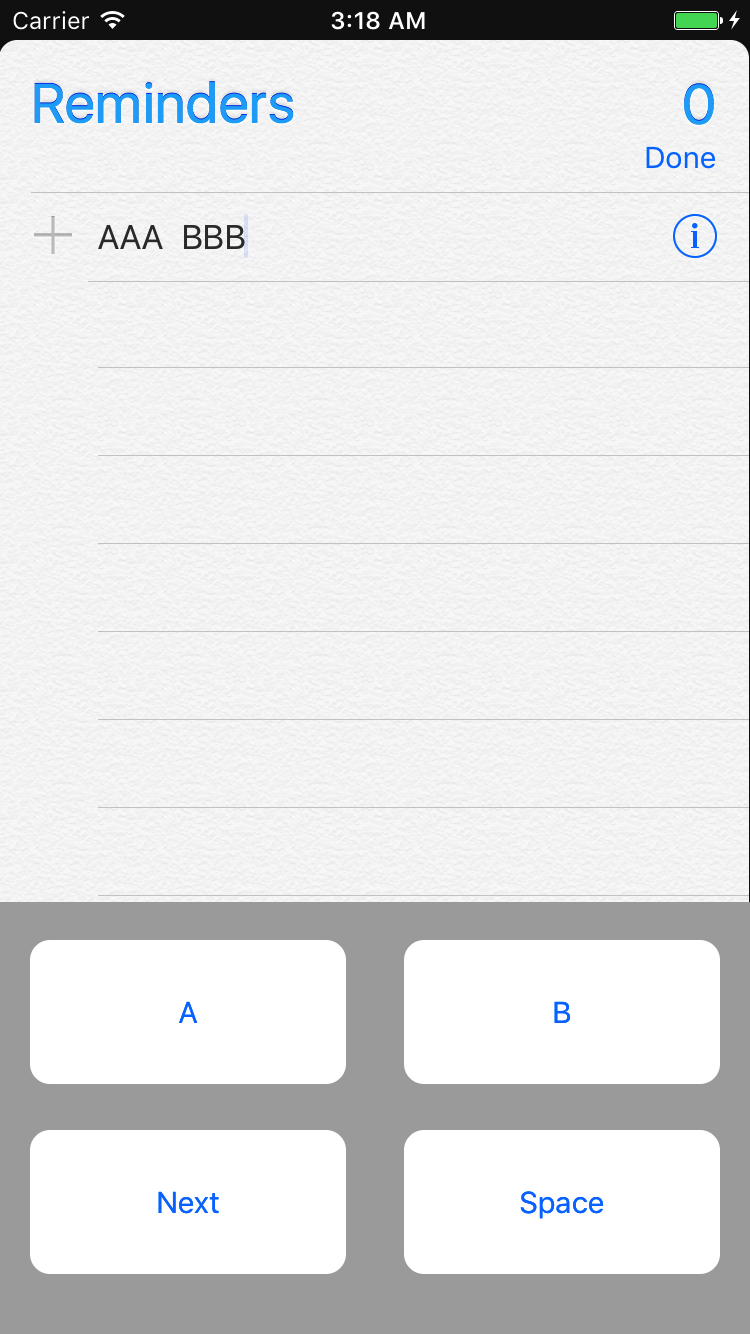
リマインダアプリなどでキーボードの動作を確認できます。
7.終わりに
XamarinでのiOSカスタムキーボード開発の基礎の基礎ですが、なんとかやり方を確立できてよかったです。