はじめに
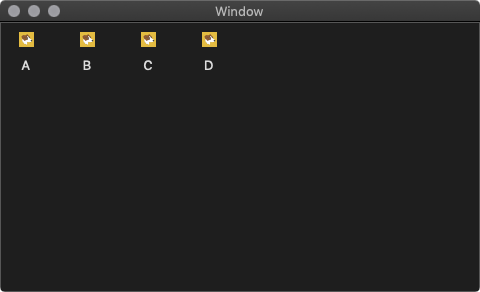
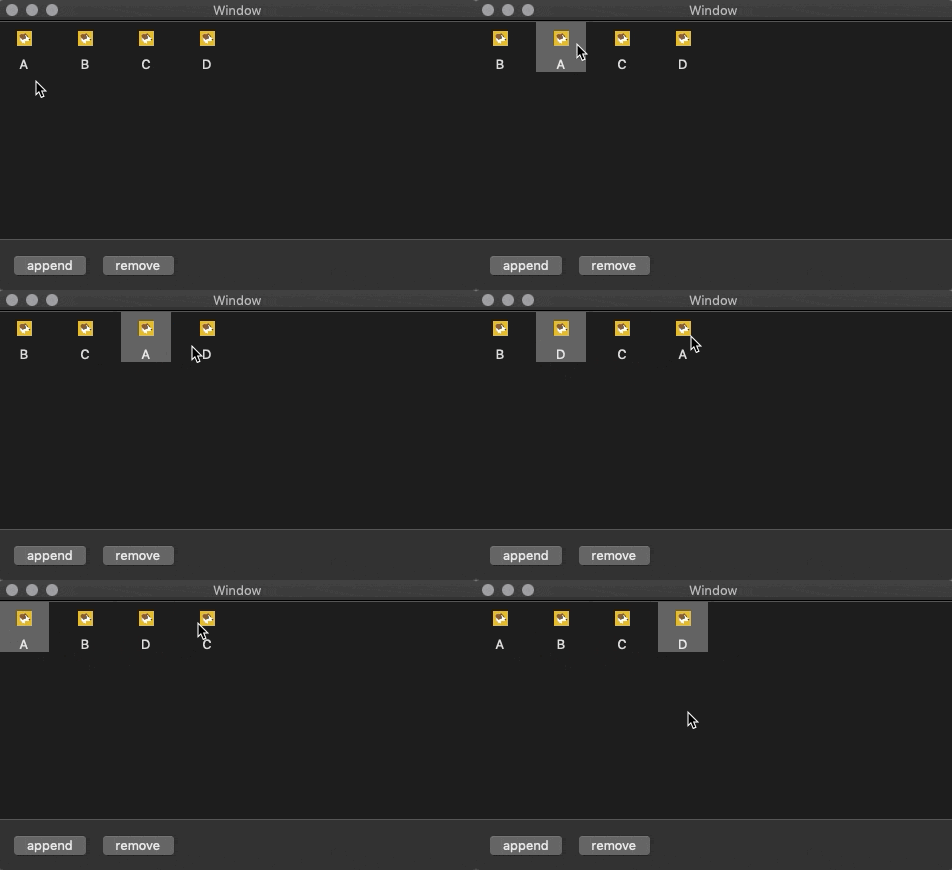
NSCollectionViewを使ってアイテムをいい感じに並べて,インタラクションできるようにしたいと思ったのですが,これがなかなか厄介でした.
本記事ではNSCollectionViewの基本的な実装の仕方,NSCollectionViewItemの設定の仕方,プログラムによるアイテムの追加と削除の仕方,ドラッグ&ドロップによるアイテムの入れ替え方の仕方をまとめます.
Storyboardの下準備
NSCollectionViewを配置
 普通に置いて,AutoLayoutなどの設定をします.
ViewController.swiftと紐づける
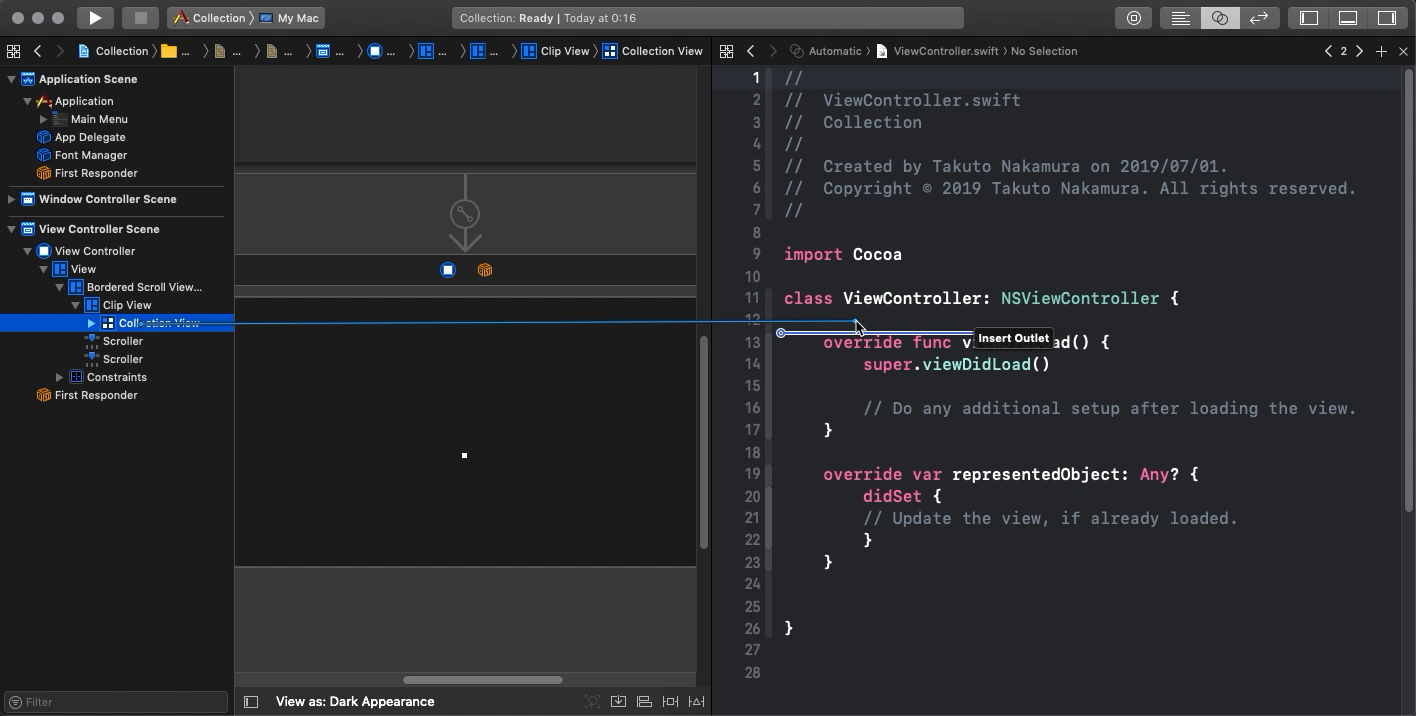 ここ要注意!普通にアイテムを選んで紐づけると`NSScrollView`になってしまうので,リストの方から確実に`CollectionView`を選んで紐づけましょう.
NSCollectionViewItemを用意
新規ファイルからカスタムクラスを作りましょう.ここではSampleItemとしています.
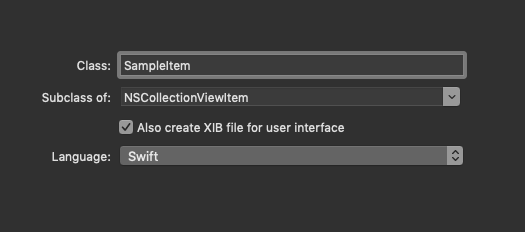
このとき,xibファイルも一緒に作ります.(xibファイルなしの方法が見つからなかったです.)
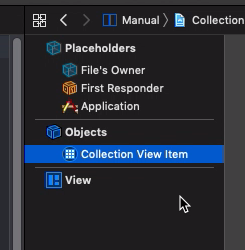
SampleItem.xibを開いてCollection View Itemを追加します.
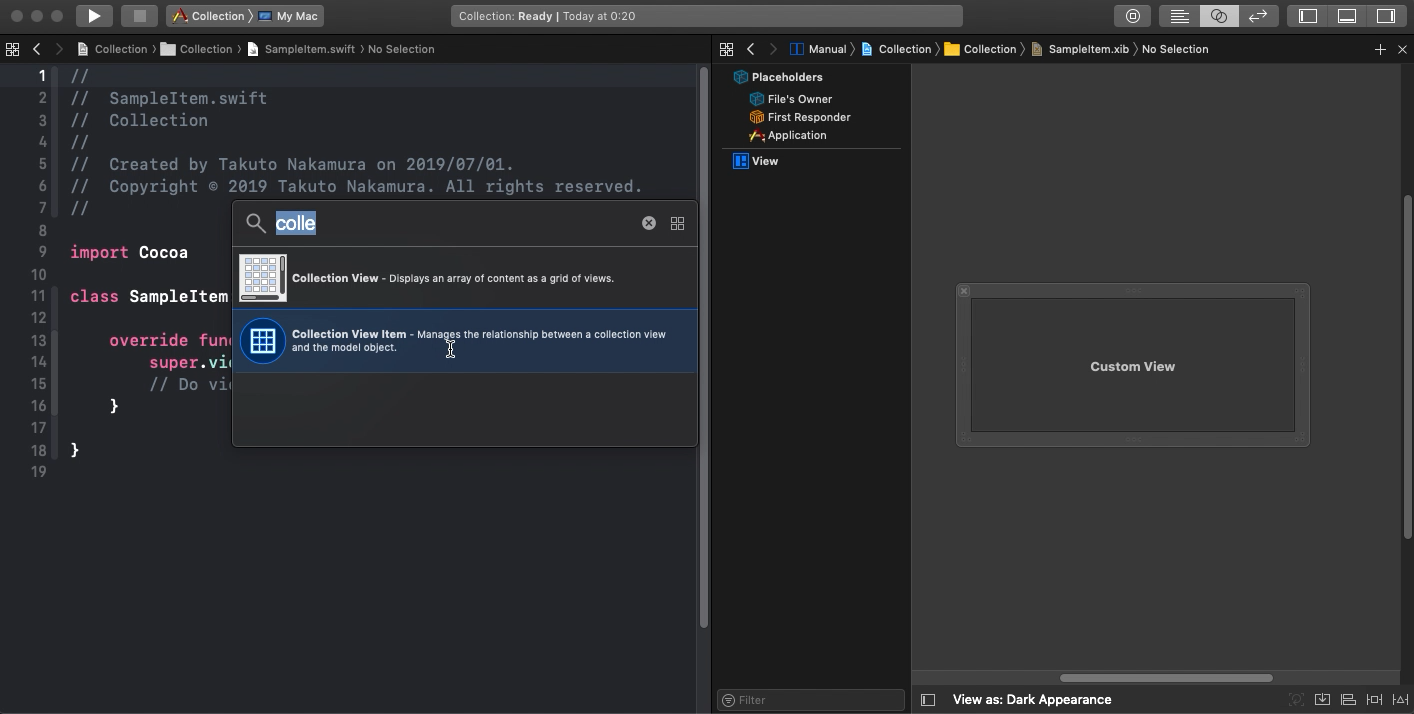
下ようになるはず.
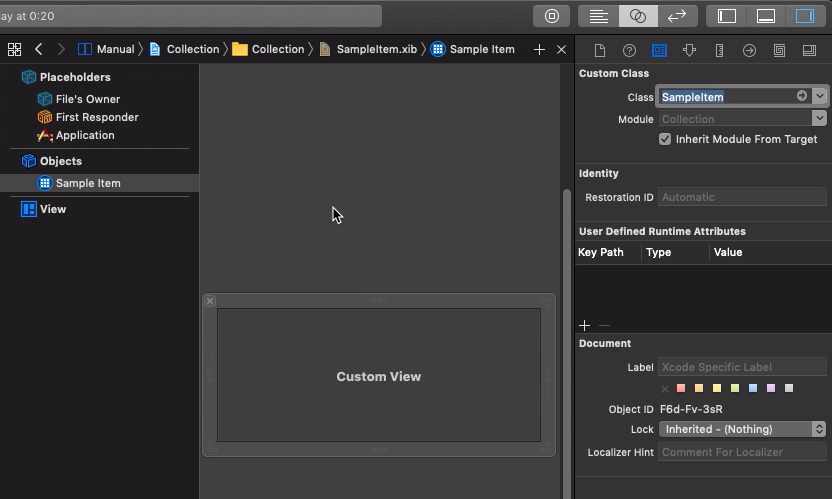
そうしたら,カスタムクラスの指定をします.
view,imageView,textFieldなどをいじるはずなので,それらのUIを配置したあと,紐付けます.
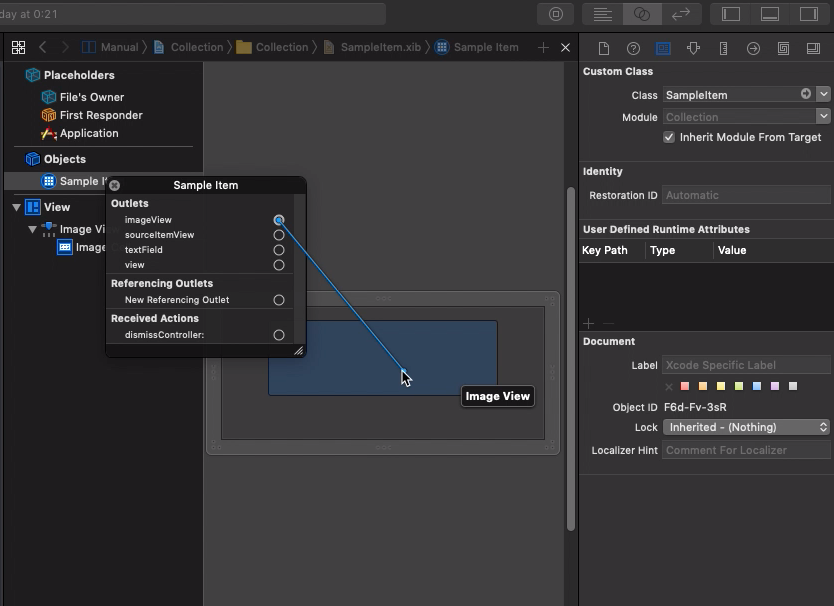
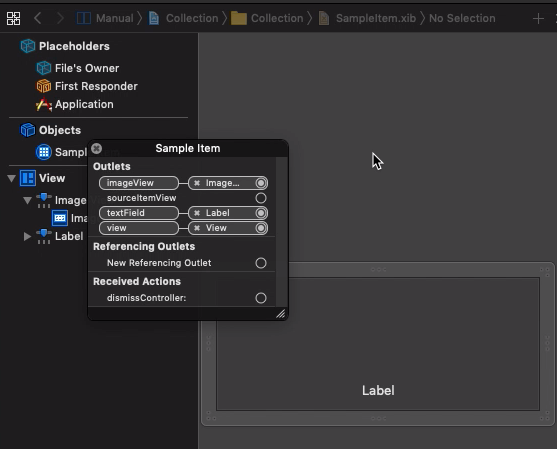
↑こんな感じになっていればOK
基本的な実装
import Cocoa

class ViewController: NSViewController {

    @IBOutlet weak var collectionView: NSCollectionView!

    var data = ["A", "B", "C", "D"]

    override func viewDidLoad() {
        super.viewDidLoad()

        // デリゲートとデータソースの紐付け
        collectionView.delegate = self
        collectionView.dataSource = self

        // nibファイルの登録
        let nib = NSNib(nibNamed: "SampleItem", bundle: nil)
        collectionView.register(nib, forItemWithIdentifier: NSUserInterfaceItemIdentifier(rawValue: "sample"))

        // データのリロード
        collectionView.reloadData()
    }

}

// デリゲートとデータソースの実装
extension ViewController: NSCollectionViewDelegate, NSCollectionViewDataSource {

    func collectionView(_ collectionView: NSCollectionView, numberOfItemsInSection section: Int) -> Int {
        return data.count
    }

    func collectionView(_ collectionView: NSCollectionView, itemForRepresentedObjectAt indexPath: IndexPath) -> NSCollectionViewItem {
        // アイテムの用意
        let item = collectionView.makeItem(withIdentifier: NSUserInterfaceItemIdentifier(rawValue: "sample"), for: indexPath) as! SampleItem
        item.textField?.stringValue = data[indexPath.item]
        item.imageView?.image = NSImage(imageLiteralResourceName: "Sample")
        return item
    }

}
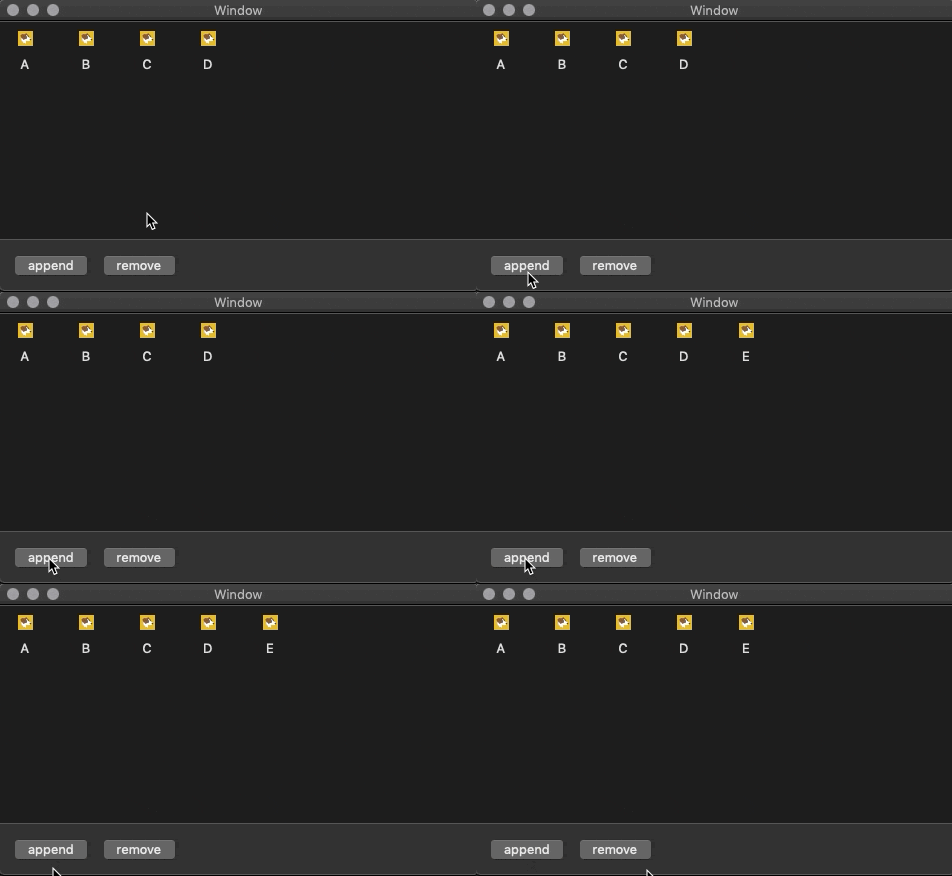
アイテムの追加
@IBAction func appendData(_ sender: Any) {
    data.append("E") //例えば
    collectionView.reloadData()
}
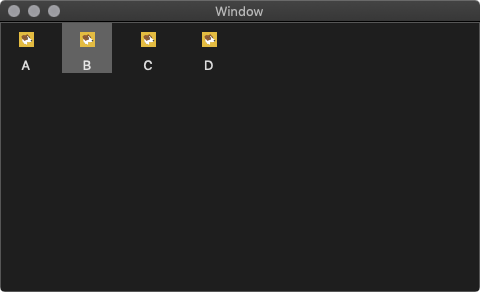
アイテムの選択(UIの更新例)
import Cocoa

class SampleItem: NSCollectionViewItem {

    override var isSelected: Bool {
        didSet {
            if isSelected {
                self.view.layer?.backgroundColor = NSColor(deviceWhite: 1.0, alpha: 0.3).cgColor
            } else {
                self.view.layer?.backgroundColor = CGColor.clear
            }
        }
    }

}
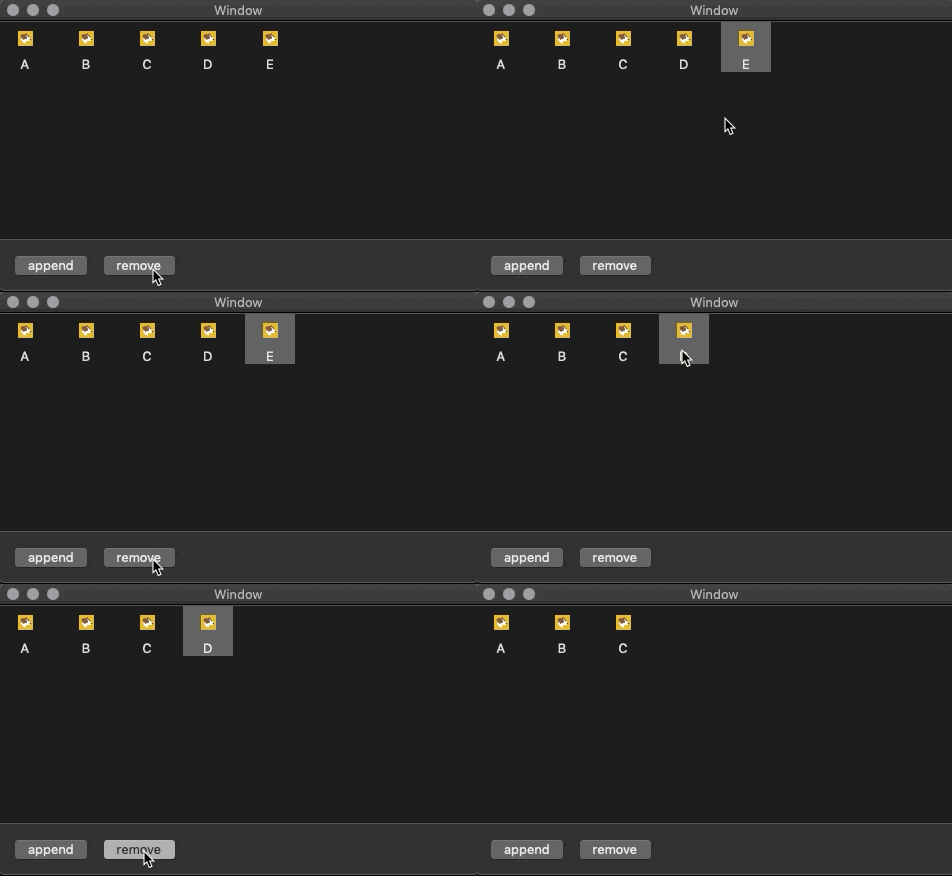
選択中のアイテムの削除
@IBAction func removeData(_ sender: Any) {
    let indexes = collectionView.selectionIndexPaths.map({ (indexPath) -> Int in
        return indexPath.item
    }).sorted().reversed()
    let count = indexes.count
    if count == 0 { return }
    var minIndex = indexes.min()?.advanced(by: -1) ?? -1
    if minIndex < 0 && 0 <= (collectionView.numberOfItems(inSection: 0) - count) {
        minIndex = 0
    }
    for i in indexes {
        if !data.isEmpty { data.remove(at: i) }
    }
    collectionView.reloadData()
    if 0 <= minIndex && !data.isEmpty {
        collectionView.selectionIndexPaths.insert(IndexPath(item: minIndex, section: 0))
    }
}
ドラッグ&ドロップでアイテムの並び替えをする
let pasteBoardType = NSPasteboard.PasteboardType("public.data")

override func viewDidLoad() {
    super.viewDidLoad()

    // デリゲートとデータソースの紐付け
    collectionView.delegate = self
    collectionView.dataSource = self
    collectionView.isSelectable = true
    collectionView.allowsMultipleSelection = true
    // ドラッグタイプを設定
    collectionView.registerForDraggedTypes([pasteBoardType])
    // 以下省略
}


// デリゲートとデータソースの実装
extension ViewController: NSCollectionViewDelegate, NSCollectionViewDataSource {
    // 中略

    // ドラッグ
    func collectionView(_ collectionView: NSCollectionView,
                        writeItemsAt indexPaths: Set<IndexPath>,
                        to pasteboard: NSPasteboard) -> Bool {
        do {
            let data = try NSKeyedArchiver.archivedData(withRootObject: indexPaths,
                                                        requiringSecureCoding: false)
            pasteboard.declareTypes([pasteBoardType], owner: self)
            pasteboard.setData(data, forType: pasteBoardType)
        } catch {
            Swift.print(error.localizedDescription)
        }
        return true
    }

    // ↓と間違えないこと
    func collectionView(_ collectionView: NSCollectionView,
                        writeItemsAt indexes: IndexSet,
                        to pasteboard: NSPasteboard) -> Bool {
    }

    // ドロップ
    func collectionView(_ collectionView: NSCollectionView,
                        validateDrop draggingInfo: NSDraggingInfo,
                        proposedIndexPath proposedDropIndexPath: AutoreleasingUnsafeMutablePointer<NSIndexPath>,
                        dropOperation proposedDropOperation: UnsafeMutablePointer<NSCollectionView.DropOperation>) -> NSDragOperation {
        if proposedDropOperation.pointee == .before {
            return .move
        }
        return []
    }
    // ↓と間違えないこと
    func collectionView(_ collectionView: NSCollectionView,
                        validateDrop draggingInfo: NSDraggingInfo,
                        proposedIndex proposedDropIndex: UnsafeMutablePointer<Int>,
                        dropOperation proposedDropOperation: UnsafeMutablePointer<NSCollectionView.DropOperation>) -> NSDragOperation { }

    func collectionView(_ collectionView: NSCollectionView,
                        acceptDrop draggingInfo: NSDraggingInfo,
                        indexPath: IndexPath,
                        dropOperation: NSCollectionView.DropOperation) -> Bool {
        let pasteboard = draggingInfo.draggingPasteboard
        guard
            let data = pasteboard.data(forType: pasteBoardType),
            let indexPaths = try? NSKeyedUnarchiver.unarchiveTopLevelObjectWithData(data) as? Set<IndexPath>
            else { return false }
        let newIndex = indexPath.item
        let targetIndexes = indexPaths.map({ (path) -> Int in
            return path.item
        }).sorted().reversed()
        let beforeCount = targetIndexes.filter({ (n) -> Bool in
            return n < newIndex
        }).count
        var tmpData = [String]()
        targetIndexes.forEach { (n) in
            tmpData.insert(data.remove(at: n), at: 0)
        }
        data.insert(contentsOf: tmpData, at: newIndex - beforeCount)
        collectionView.reloadData()
        return true
    }
    // ↓と間違えないこと
    func collectionView(_ collectionView: NSCollectionView,
                        acceptDrop draggingInfo: NSDraggingInfo,
                        index: Int,
                        dropOperation: NSCollectionView.DropOperation) -> Bool { }

}
要注意!indexは罠です.indexPathのやつを使いましょう.
Optionキー + ドラッグで複製する
extension ViewController: NSCollectionViewDelegate, NSCollectionViewDataSource {
    // 中略

    // ドロップ
    func collectionView(_ collectionView: NSCollectionView,
                        validateDrop draggingInfo: NSDraggingInfo,
                        proposedIndexPath proposedDropIndexPath: AutoreleasingUnsafeMutablePointer<NSIndexPath>,
                        dropOperation proposedDropOperation: UnsafeMutablePointer<NSCollectionView.DropOperation>) -> NSDragOperation {
        let copyOrMove: NSDragOperation = (draggingInfo.draggingSourceOperationMask == .copy ? .copy : .move)
        if proposedDropOperation.pointee == .before { return copyOrMove }
        return []
    }

    func collectionView(_ collectionView: NSCollectionView,
                        acceptDrop draggingInfo: NSDraggingInfo,
                        indexPath: IndexPath,
                        dropOperation: NSCollectionView.DropOperation) -> Bool {
        let pasteboard = draggingInfo.draggingPasteboard
        guard
            let data = pasteboard.data(forType: pasteBoardType),
            let indexPaths = try? NSKeyedUnarchiver.unarchiveTopLevelObjectWithData(data) as? Set<IndexPath>
            else { return false }
        let newIndex = indexPath.item
        let targetIndexes = indexPaths.map({ (path) -> Int in
            return path.item
        }).sorted()
        var tmpData = [String]()
        // ここが特に新しいところ
        if draggingInfo.draggingSourceOperationMask == .copy {
            targetIndexes.forEach({ (n) in
                tmpData.append(data[n])
            })
            data.insert(contentsOf: tmpData, at: newIndex)
            collectionView.reloadData()
            return true
        } else if draggingInfo.draggingSourceOperationMask == .every {
            let beforeCount = targetIndexes.filter({ (n) -> Bool in
                return n < newIndex
            }).count
            targetIndexes.reversed().forEach { (n) in
                tmpData.insert(data.remove(at: n), at: 0)
            }
            let at = newIndex - beforeCount
            data.insert(contentsOf: tmpData, at: newIndex - beforeCount)
            collectionView.reloadData()
            return true
        }
        return false
    }

}
.reversed()の位置が変化しているので注意!
外部からドラッグしてきた要素を追加する
override func viewDidLoad() {
    // 中略

    // ドラッグタイプを設定
    // 今回は文字列
    collectionView.registerForDraggedTypes([pasteBoardType, .string])
    // 以下省略
}


extension ViewController: NSCollectionViewDelegate, NSCollectionViewDataSource {
    // 中略

    func collectionView(_ collectionView: NSCollectionView,
                        acceptDrop draggingInfo: NSDraggingInfo,
                        indexPath: IndexPath,
                        dropOperation: NSCollectionView.DropOperation) -> Bool {
        let pasteboard = draggingInfo.draggingPasteboard
        guard
            let data = pasteboard.data(forType: pasteBoardType),
            let indexPaths = try? NSKeyedUnarchiver.unarchiveTopLevelObjectWithData(data) as? Set<IndexPath>
            else { return false }
        let newIndex = indexPath.item
        let targetIndexes = indexPaths.map({ (path) -> Int in
            return path.item
        }).sorted()
        var tmpData = [String]()
        // ここが特に新しいところ
        if let str = pasteboard.string(forType: .string) {
            data.append(str)
            collectionView.reloadData()
            return true
        } else if draggingInfo.draggingSourceOperationMask == .copy {
            targetIndexes.forEach({ (n) in
                tmpData.append(data[n])
            })
            data.insert(contentsOf: tmpData, at: newIndex)
            collectionView.reloadData()
            return true
        } else if draggingInfo.draggingSourceOperationMask == .every {
            let beforeCount = targetIndexes.filter({ (n) -> Bool in
                return n < newIndex
            }).count
            targetIndexes.reversed().forEach { (n) in
                tmpData.insert(data.remove(at: n), at: 0)
            }
            let at = newIndex - beforeCount
            data.insert(contentsOf: tmpData, at: newIndex - beforeCount)
            collectionView.reloadData()
            return true
        }
        return false
    }

}
