watsonx assistantのCustom Extensionを用いて外部サーバーとの連携を行います。
(今回は自前でホストしたサーバーと連携する想定で進めていきます。)
以下、具体的な手順を見ていきます。
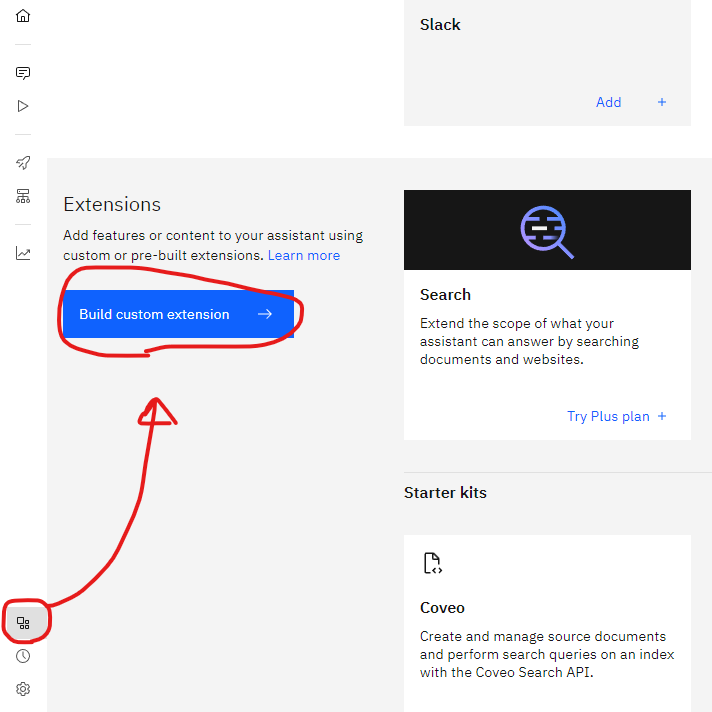
Integration -> Buil custom extensionをクリックします。
Buil custom extensionをクリックすると、Custom Extensionのセットアップ方法について表示されるので、
Nextボタンを押して次ページへ移動します。
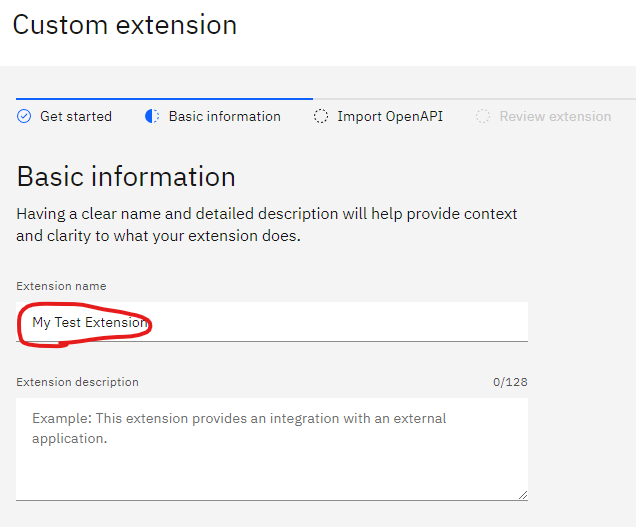
"Basic Information"ということで、extensionの名前を要求されるので、適当な名前を入れてNextをクリックします。
"Import OpenAPI"というページが出てくるので、今回は以下のデータをImportします。(一部中身を変えています。)
#要約:
#POST /messages エンドポイントに、最大300文字のJSON形式のcontentを送信し、同様にJSON形式でcontentデータを受領する。
{
  "openapi": "3.0.0",
  "info": {
    "title": "Message Exchange API",
    "version": "1.0.0"
  },
  "servers": [
    {
      "url": "https://mytest./api/v1"#自前のサーバーのURLに変更ください。
    }
  ],
  "paths": {
    "/messages": {
      "post": {
        "summary": "Send a message",
        "requestBody": {
          "content": {
            "application/json": {
              "schema": {
                "$ref": "#/components/schemas/Message"
              }
            }
          }
        },
        "responses": {
          "200": {
            "description": "Message sent successfully",
            "content": {
              "application/json": {
                "schema": {
                  "$ref": "#/components/schemas/Message"
                }
              }
            }
          }
        }
      }
    }
  },
  "components": {
    "schemas": {
      "Message": {
        "type": "object",
        "properties": {
          "content": {
            "type": "string",
            "description": "Message content",
            "maxLength": 300
          }
        },
        "required": [
          "content"
        ]
      }
    }
  }
}
Importが完了すると、Review extensionのページが表示されるので、
問題なければ、Finishをクリックします。
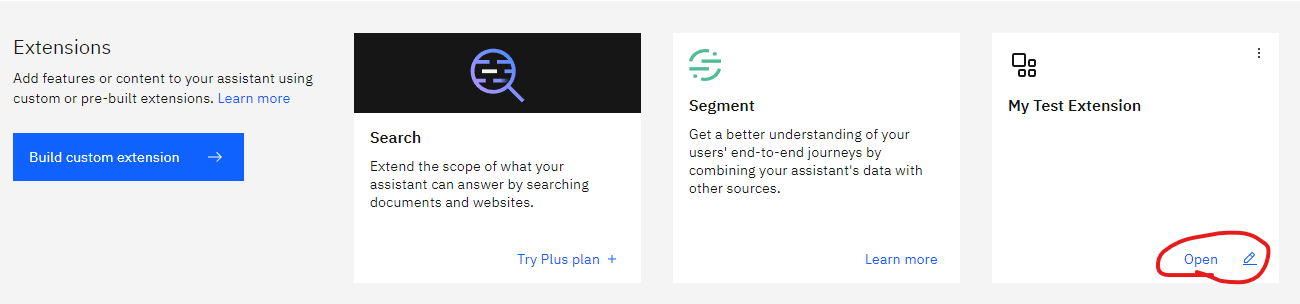
Integrationのページに先ほど作成したExtensionが表示されるので、"Add+"をクリックします。

諸々のチェックを要求されるので、チェックを完了させると、表示が「Open」に変わります。
これでExtensionの作成が完了です。
後はActionで呼び出すだけです。
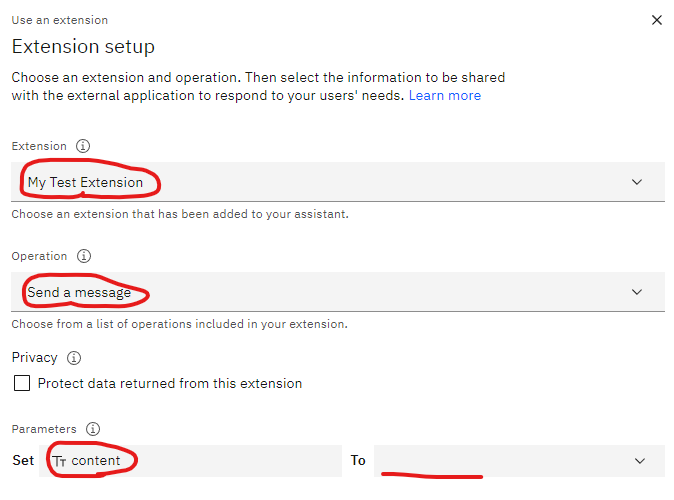
Action編集画面で、「And then」から「Use an extension」を選択します。
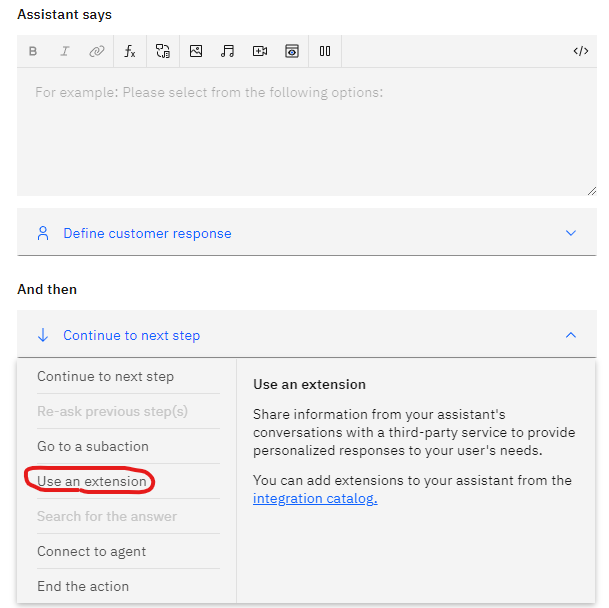
Use an extensionをクリックすると、Extensionのセットアップ画面が表示されるので、
①どのExtensionを使うか
②どのOperationを使うか
③どのParameterを使うか
を選択します。
ここまで出来れば、外部サーバーとデータの連携ができるようになります。
なお、外部サーバーとの連携ができるようになることで以下が可能になります。
・社内のデータベースやシステムにアクセスし、必要な情報をリアルタイムで取得できる。
・在庫データにアクセスし、チャットボットを通じて在庫状況の確認や更新を行える。
・ユーザーからのフィードバックを収集し、サーバーに保存する。
以上。ありがとうございました。