方式検討
Raspberry Pi4 に USB Camera をつないで、ベランダに設置。
一定間隔で写真を撮る。
写真は、室内の PC から Raspberry Pi にアクセスしてとることにする。
あまり画質にはこだわらない。
##システム構成
- Raspberry pi4
USB Camera を接続して、ベランダに設置する。
ustreamer で画像をストリーミングして、室内 PC で画像を見る。 - PC
Windows11 で、暖かい室内にある。
Raspberry Pi4 から画像を取得して蓄積する。
蓄積した画像を動画にするのもここでやる
ベランダカメラの様子

Raspberry Pi4 のセットアップ
Ubuntu 24.04 LTS インストール済で、以下インストールを行う
$ sudo apt install v4l-utils
$ sudo apt install ustreamer
インストールしたら、サービスとして起動する。
カメラは mjpeg 対応 なので、Motion-JPEG でストリーミングする。
$ ffmpeg -f video4linux2 -list_formats all -i /dev/video0
ffmpeg version 6.1.1-3ubuntu5 Copyright (c) 2000-2023 the FFmpeg developers
  built with gcc 13 (Ubuntu 13.2.0-23ubuntu3)
<中略>
[video4linux2,v4l2 @ 0xaaaac833ab50] Compressed:       mjpeg :          Motion-JPEG : 1920x1080 1280x720 800x600 640x480 640x360 352x288 320x240 1920x1080
[video4linux2,v4l2 @ 0xaaaac833ab50] Raw       :     yuyv422 :           YUYV 4:2:2 : 640x480 800x600 640x360 352x288 320x240 640x480
[in#0 @ 0xaaaac833aa50] Error opening input: Immediate exit requested
Error opening input file /dev/video0.
ストリーミングテスト。
$ ustreamer --format mjpeg --resolution 1920x1080 --host=0.0.0.0 --port=8800
PC から http://[Raspberry Pi の IP address]:8800 にアクセスして以下を得る。
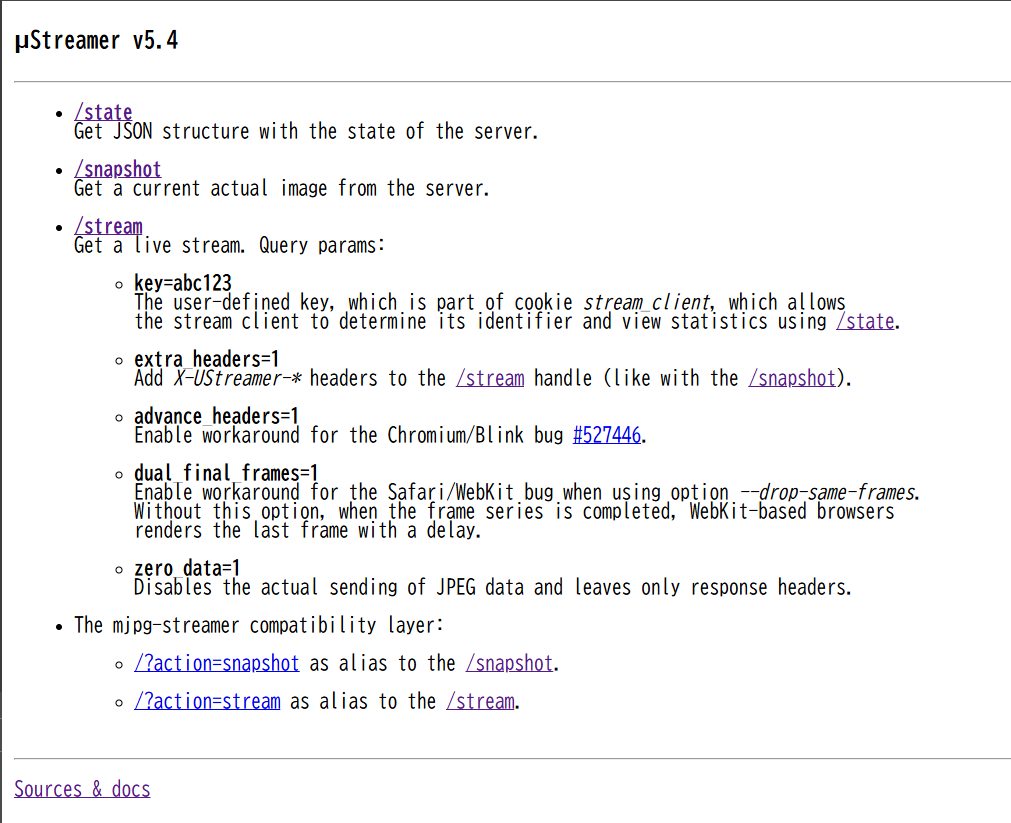
/stream をクリックしてカメラ映像が見えれば成功。

これは一旦、Ctrl+C で止めてから、次にsystemctrl で サービスとして起動されるようにする。
まず、ustreamer ユーザーを作成して、videoグループに入れる
$ sudo useradd -r ustreamer
$ sudo usermod -a -G video ustreamer
次に、以下のファイルを作成。
[Unit]
Description=uStreamer service
After=network.target
[Service]
Environment="SCRIPT_ARGS=%I"
User=ustreamer
ExecStart=/usr/bin/ustreamer --format mjpeg --resolution 1920x1080 --host=0.0.0.0 --port=8800
[Install]
WantedBy=multi-user.target
最後に、以下にて、/dev/video0 に対して、サービス有効化。
$ sudo systemctl enable ustreamer@0.service
$ sudo systemctl start ustreamer@0.service
もう一度、PC から http://[Raspberry Pi の IP address]:8800 にアクセスして、映像が見れるか確認する。>>OK!!!
PC のセットアップ
Windows のWSL、Ubuntu 24.04 のシェルで作業を行う。
まず、画像を取得するスクリプトを作成する。一応ファイル名に、Epic Time を含めてみる。
#!/bin/bash
# このスクリプトを繰り返し実行する親プロセスの PID を記録しておく。
echo $PPID > ~/hatsuhinode2025.pid
curl http://192.168.1.133:8800/snapshot -o /mnt/d/hatsuhinode2025/source/img_$(date -u +%s).jpg
これを繰り返し実行することで、/mnt/d/hatsuhinode2025/test/ フォルダに画像を貯めていくことにする。
指定した時間から、6 秒ごとに 1 枚、画像を取得するようにするため、at コマンドを使用する。
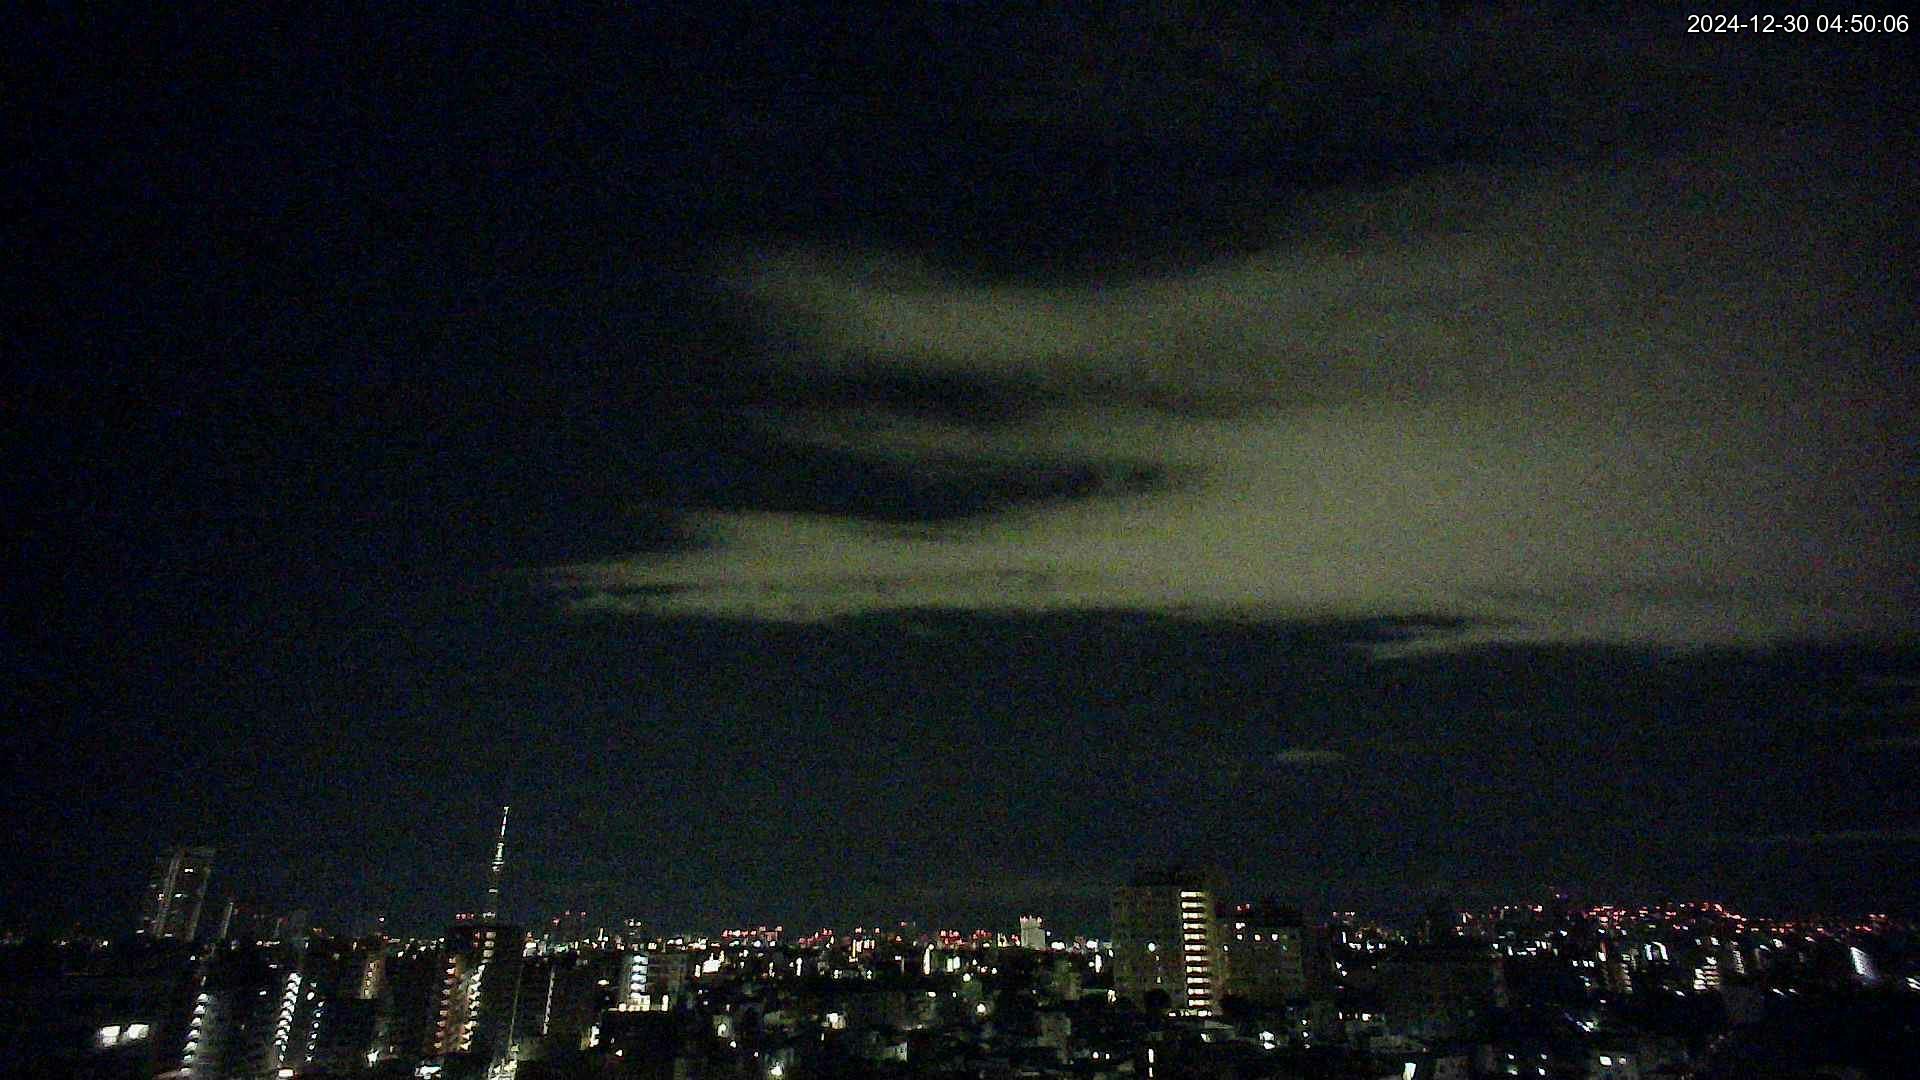
この例では、2024/12/30 04:50 AM から、6 秒間隔で、ベランダの Raspberry Pi4 から繰り返し画像を取得する。
$ echo "while true; do sh ~/hatsuhinode2025.sh; sleep 6; done"| at 04:50 12302024
なお、ここでは watach コマンドを使用するつもりだったんだが、at 内では watch コマンドがどうしても起動されず、あきらめて、シェルの while-do-done を使うことにした。
ともかく、これで朝の 4:50 から、日の出の方向で定点写真の取得が開始させることができる!
タイムラプス動画の作成
まずは画像の取得を止める必要がある。
しかしながら、上の例で示した at コマンドでは、PID はどこにも出力されない(要改善)。
なので、プロセスツリーから類推することにする。at デーモンから sh 通して、sleep してればほぼ確実に、その sh が、停止すべきプロセスってことで。
$ ps auxf
(中略)
daemon      7085  0.0  0.0   6604  3668 ?        S    04:02   0:00  \_ /usr/sbin/atd -f
kmori       7086  0.0  0.0   2800  1080 ?        S    04:02   0:01      \_ sh
kmori     111757  0.0  0.0   3124  1076 ?        S    15:47   0:00          \_ sleep 6
(以下略)
写真の取得が止まったら、動画を作成する。
まず、写真を取得する while-do-done を止める。これは、~/hatsuhinode2025.pid の PID を KILL することで実現。
そのあと、写真に撮影したタイムスタンプを埋め込み、さらに番号を 1 から振りなおすことにして、振り直した画像を ffmpeg で動画にする。
これを一つのスクリプトにまとめたのがこちら(Copilot と ChatGPT ありがとう!!!)。
import os
from PIL import Image, ImageDraw, ImageFont
from datetime import datetime
from pathlib import Path

# このスクリプトは WSL で起動するので、パスは mnt からのパスにしている。
# 元フォルダと新しいフォルダのパス
src_folder = "/mnt/d/hatsuhinode2025/source"  # 例: "C:/original_folder"
dst_folder = "/mnt/d/hatsuhinode2025/processed"  # 例: "C:/renamed_folder"

# 動画出力パス
out_folder = "/mnt/d/hatsuhinode2025"  # 例: "C:/ouy_folder"

# フォントの設定(システムのフォントパスを指定)
font_path = "/mnt/c/Windows/Fonts/arial.ttf"  # フォントファイルのパス(これは WSL で起動するので、mnt からのパスにしている)
font_size = 48  # フォントサイズ

# 画像収集プロセスを Kill する。
pid_file = os.path.join(os.path.expanduser("~"),"hatsuhinode2025.pid")
if os.path.exists(pid_file):
    with open(pid_file, "r") as f:
        pid = f.read()
        os.system(f"kill {pid}")
    os.remove(pid_file)
else:
    print("画像収集プロセスファイルが見つからないので、終了します。")
    exit(1)


# 新しいフォルダを作成
os.makedirs(dst_folder, exist_ok=True)

# ファイルを連番でコピー
for i, filename in enumerate(sorted(os.listdir(src_folder)), start=1):
    if filename.endswith(".jpg"):
        # 元ファイルのパス
        src_path = os.path.join(src_folder, filename)

        # ファイルの最終更新日時を取得
        last_modified = os.path.getmtime(src_path)
        last_modified_str = datetime.fromtimestamp(last_modified).strftime('%Y-%m-%d %H:%M:%S')

        # 画像を開く
        with Image.open(src_path) as img:
            # 画像サイズを取得
            width, height = img.size

            # 描画用に新しいImageDrawオブジェクトを作成
            draw = ImageDraw.Draw(img)

            # フォントの読み込み
            try:
                font = ImageFont.truetype(font_path, font_size)
            except:
                font = ImageFont.load_default()

            # テキストのバウンディングボックスを計算
            text_bbox = draw.textbbox((0, 0), last_modified_str, font=font)
            text_width = text_bbox[2] - text_bbox[0]
            text_height = text_bbox[3] - text_bbox[1]

            # テキストを描画する位置
            # text_position = ((width - text_width) // 2, height - text_height - 10) # 下部中央
            text_position = ((width - text_width) -10, 10) # 右上

            # テキストを画像に描画(縁取り)
            draw.text(text_position, last_modified_str, font=font, stroke_width=2, fill="black")

            # テキストを画像に描画
            draw.text(text_position, last_modified_str, font=font, fill="white")

        # 新しいファイル名
        new_name = f"img_{i:010}.jpg"
        dst_path = os.path.join(dst_folder, new_name)

        # 画像を保存
        img.save(dst_path)
        print(f"{filename} -> {new_name} にタイムスタンプを追加して保存しました。")

print("すべてのファイルが連番に変更され、新しいフォルダにコピーされました!")
print("動画を作成します。")

# ffmpeg で画像を動画に変換
# この ffmpeg は Windows 版(ffmpeg.exe)ではなく、apt でインストールした WSL 版であることに注意。
cmd = "ffmpeg -framerate 30 -i {0}/img_%10d.jpg {1}/out.mp4 -y".format(dst_folder,out_folder)
print(cmd)
os.system(cmd)
これで、約 6 秒ごとに記録された以下のような画像からの、30 fps の動画が出来上がる。
最後に、Windows の WSL で以下のようにすれば、自動的に動画作成まで終了するはず。
これは 朝 5 時から 9 時までタイムラプスの画像を取得し、動画化する。
$ echo "while true; do sh ~/hatsuhinode2025.sh; sleep 6; done"| at 05:00 01012025
$ echo "sleep 3; python3 ~/rename_and_copy.py"| at 09:00 01012025
$ atq
19      Wed Jan  1 09:00:00 2025 a kmori
20      Wed Jan  1 05:00:00 2025 a kmori
あとは元旦の朝が、雲がほとんどない快晴であればいいけど、そこは祈るしかない![]()
![]()
![]()
2025/01/01 追記
画質は悪いものの、想定通りの動作で動画が正常に生成できました。
Youtube にアップしました。
https://www.youtube.com/watch?v=wYzare5bkRs
参考
How to create a video from images using FFmpeg?
https://superuser.com/questions/624567/how-to-create-a-video-from-images-using-ffmpeg
ffmpegで連番画像から動画生成 / 動画から連番画像を生成 ~コマ落ちを防ぐには~
https://qiita.com/livlea/items/a94df4667c0eb37d859f
init.d and systemctl scripts #16
https://github.com/pikvm/ustreamer/issues/16