概要
Caliburn.Microを触ってみた。
環境
- Visual Studio 2019 Community
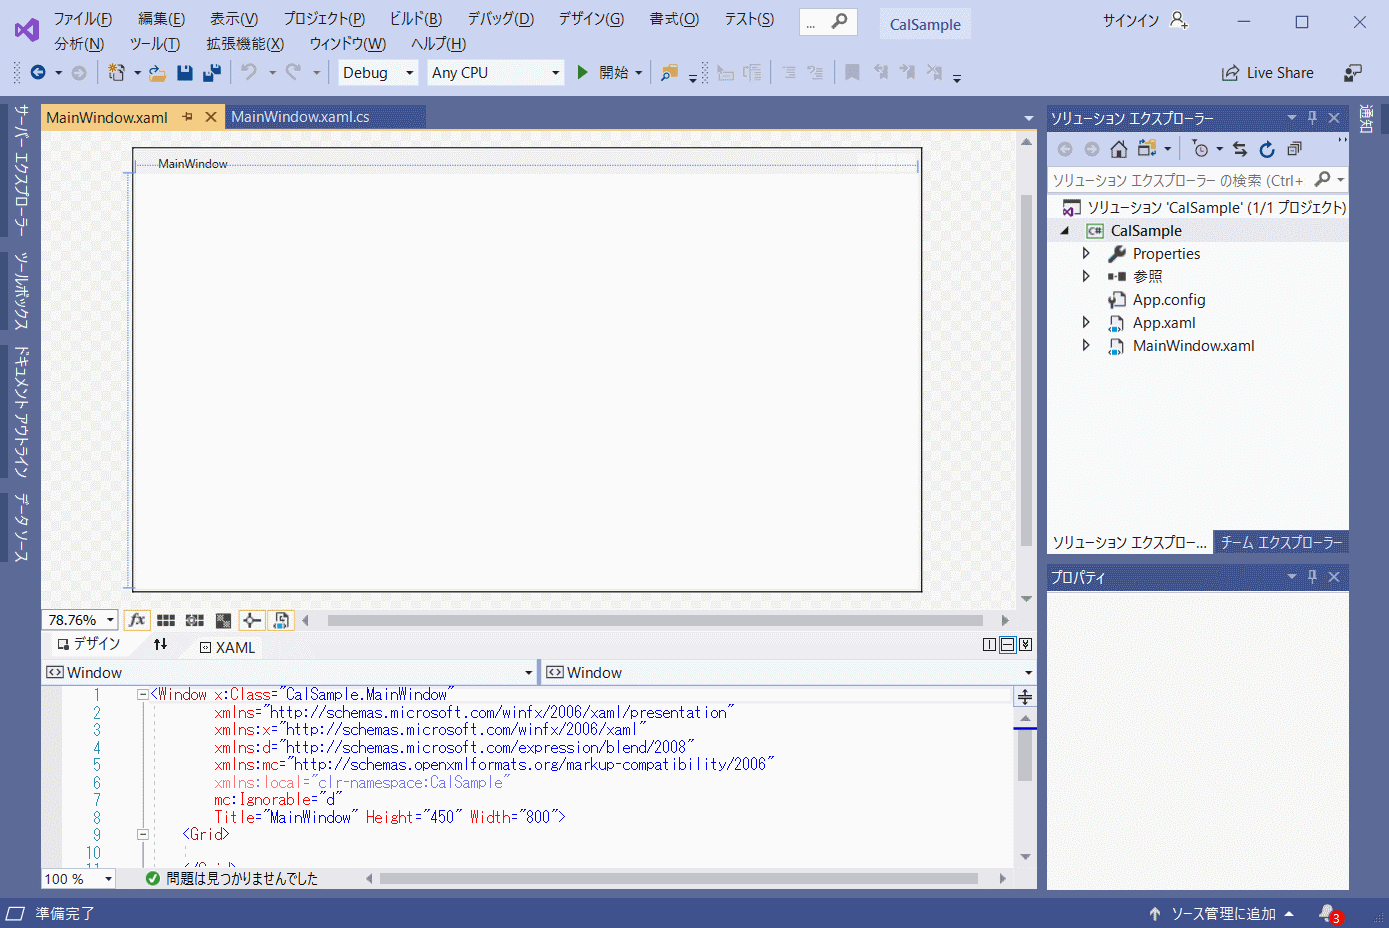
1. プロジェクト作成
C#, WPFプロジェクトをCalSampleの名前で新規作成した。
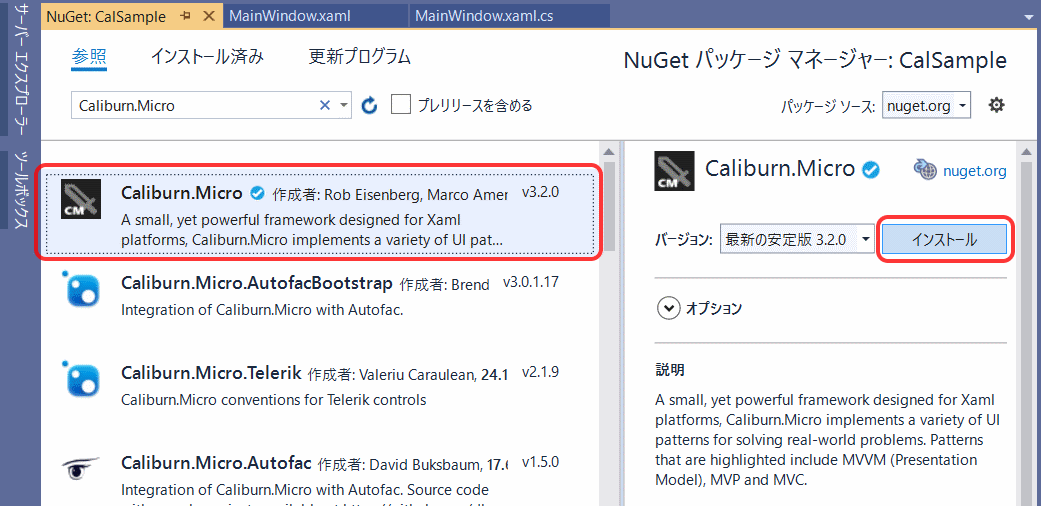
2. NuGet
NuGetでCaliburn.Microをインストール。
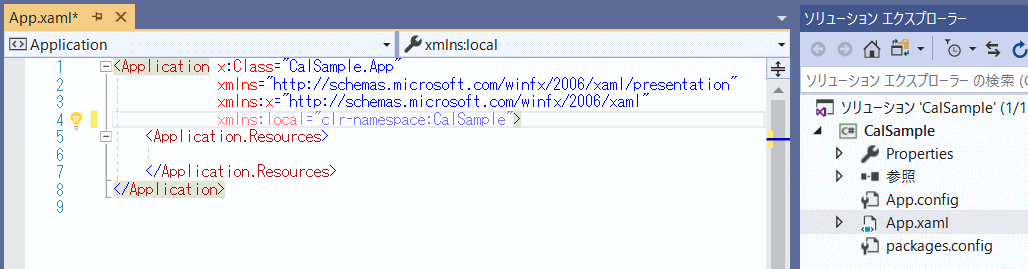
3. 使わないもの削除
MainWindowを削除、App.xamlからStartupUriの記述を削除。
4. ビューモデル作成
ViewModelsとViewsフォルダを作成。
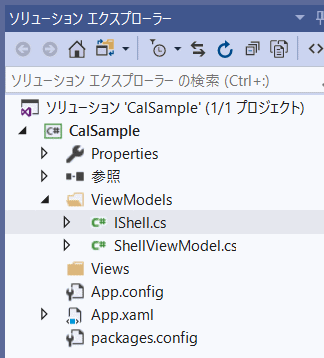
ViewModelsフォルダには IShell.cs と ShellViewModel.cs を作成。
IShell.cs
namespace CalSample.ViewModels
{
    interface IShell
    {
        string Name1 { get; set; }
        string Name2 { get; set; }
        bool CanShowName { get; }
        void ShowName();
    }
}
ShellViewModel.c
namespace CalSample.ViewModels
{
    public class ShellViewModel : Caliburn.Micro.PropertyChangedBase, IShell
    {
        private string name1;
        public string Name1
        {
            get => name1;
            set
            {
                name1 = value;
                NotifyOfPropertyChange(() => Name1);
                NotifyOfPropertyChange(() => CanShowName);
            }
        }

        public string Name2 { get; set; }

        public bool CanShowName => !string.IsNullOrWhiteSpace(Name1);

        /// <summary>
        /// 名前表示
        /// </summary>
        public void ShowName()
        {
            System.Windows.MessageBox.Show($"こんにちは、{Name1} {Name2}さん。");
        }
    }
}
5. ブートストラッパー作成
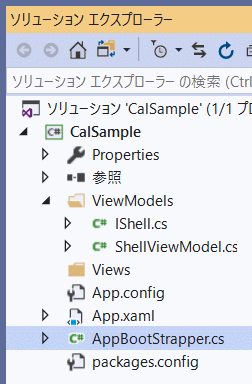
AppBootStrapper.cs
using Caliburn.Micro;
using System;
using System.Collections.Generic;

namespace CalSample
{
    public class AppBootStrapper : BootstrapperBase
    {
        SimpleContainer container;

        /// <summary>
        /// コンストラクタ
        /// </summary>
        public AppBootStrapper()
        {
            Initialize();
        }

        protected override void Configure()
        {
            container = new SimpleContainer();

            container.Singleton<IWindowManager, WindowManager>();
            container.Singleton<IEventAggregator, EventAggregator>();
            container.PerRequest<ViewModels.IShell, ViewModels.ShellViewModel>();
        }

        protected override object GetInstance(Type service, string key)
        {
            return container.GetInstance(service, key);
        }

        protected override IEnumerable<object> GetAllInstances(Type service)
        {
            return container.GetAllInstances(service);
        }

        protected override void BuildUp(object instance)
        {
            container.BuildUp(instance);
        }

        protected override void OnStartup(object sender, System.Windows.StartupEventArgs e)
        {
            // ルートビューモデルの指定
            DisplayRootViewFor<ViewModels.IShell>();
        }
    }
}
App.xaml
<Application x:Class="CalSample.App"
             xmlns="http://schemas.microsoft.com/winfx/2006/xaml/presentation"
             xmlns:x="http://schemas.microsoft.com/winfx/2006/xaml"
             xmlns:local="clr-namespace:CalSample">
    <Application.Resources>
        <ResourceDictionary>
            <ResourceDictionary.MergedDictionaries>
                <ResourceDictionary>
                    <local:AppBootStrapper x:Key="bootstrapper"/>
                </ResourceDictionary>
            </ResourceDictionary.MergedDictionaries>
        </ResourceDictionary>
    </Application.Resources>
</Application>
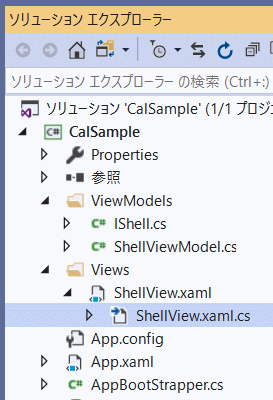
6. ビューの作成
Viewsフォルダ内にShellViewの名前で新規ウィンドウを作成、ShellView.xaml.csを削除。
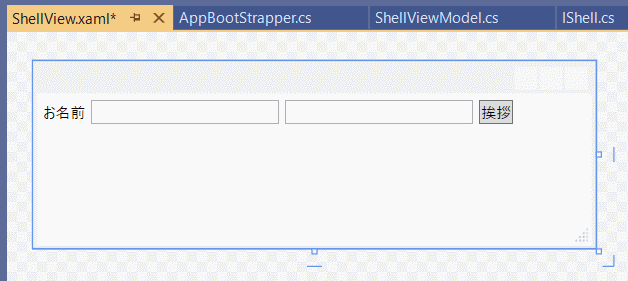
画面を作成する
ShellView.xaml
<Window x:Class="CalSample.Views.ShellView"
        xmlns="http://schemas.microsoft.com/winfx/2006/xaml/presentation"
        xmlns:x="http://schemas.microsoft.com/winfx/2006/xaml"
        xmlns:cal="http://www.caliburnproject.org"
        Height="150" Width="450" ResizeMode="CanResizeWithGrip">

    <Window.Resources>
        <Style x:Key="TextLabelStyle" TargetType="TextBlock">
            <Setter Property="Margin" Value="5,5,0,0"/>
            <Setter Property="VerticalAlignment" Value="Center"/>
        </Style>
        <Style x:Key="InputTextStyle" TargetType="TextBox">
            <Setter Property="Margin" Value="5,5,0,0"/>
            <Setter Property="Width" Value="150"/>
        </Style>
        <Style x:Key="ButtonStyle" TargetType="Button">
            <Setter Property="Margin" Value="5,5,0,0"/>
        </Style>
    </Window.Resources>

    <WrapPanel FocusManager.FocusedElement="{Binding ElementName=nameInput1}">
        <TextBlock
            Text="お名前"
            Style="{StaticResource TextLabelStyle}"/>
        <TextBox
            x:Name="nameInput1"
            Text="{Binding Name1, UpdateSourceTrigger=PropertyChanged}"
            Style="{StaticResource InputTextStyle}" />

        <!-- ViewModelのName2にバインド -->
        <TextBox
            x:Name="Name2"
            Style="{StaticResource InputTextStyle}" />

        <!-- ClickイベントはViewModelのShowNameメソッドを呼び出す -->
        <Button
            Content="挨拶"
            cal:Message.Attach="ShowName"
            IsDefault="True"
            Style="{StaticResource ButtonStyle}"/>
    </WrapPanel>
</Window>
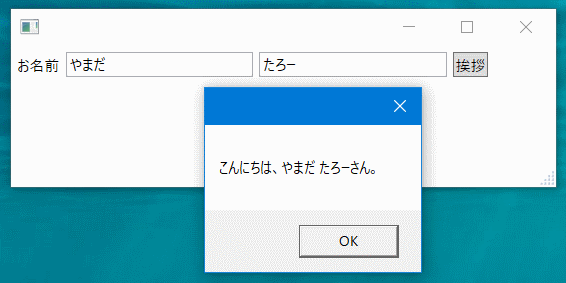
7. 実行してみる
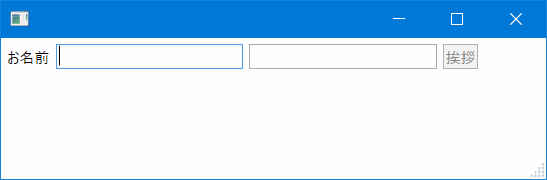
1つ目のテキストボックスに入力するとボタンが押せるようになる。
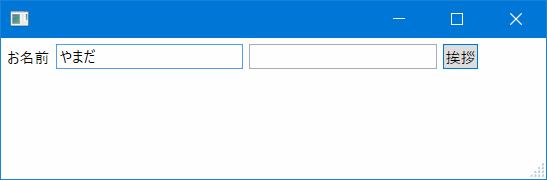
2つ目のテキストボックスにも入力してボタンを押した。