画像分類で伝説のポケモンを判別できるのか?
章立て
- 準備編
- モデル構築編
- 評価編
作ろうと思ったきっかけ
qiitaを眺めていると偶然pokeapi(https://pokeapi.co/ )というのを見つけました。これをたたくとポケモンに関する様々な情報を得ることができます。これを使って面白いものを作りたいと思ったのがきっかけです。
最初の案として、自分は第8世代(ポケモン剣盾)からランクマッチを始めたこともあって種族値(ポケモンの種類ごとに割り当てられたHP・攻撃などの数字)を勉強していたため、機械学習で種族値を予測するものが作れたら面白いのではないかと思いつきました。手始めとして、まずはポケモンの画像から伝説のポケモンかどうかを判別するものを作ろうかと思いました。
ルール
というほどではないですが…
今回はpokeapiから集めた写真をもとに、「伝説のポケモン」かそうでないかを判別します。今回は簡単のため、
- ミュウ・ジラーチなどの幻のポケモン
- ネクロズマ・マッシブーンなどのウルトラビースト
なども「伝説のポケモン」として考えます。
画像の収集の対象は、第8世代(ポケモン剣盾)までに出たポケモン898種類です。うち、伝説のポケモンは79種類です。
この記事では
準備編として、pokeapiから画像をダウンロードして、csvファイルを作成してみたいと思います。
今回作成したコードはgithub(https://github.com/KojoBarbie/CNN_practice_1 )にも上げていますので、ご覧ください。
作成するぞ!
モジュールのインポート
# Googleドライブをマウント(Colabの場合)
from google.colab import drive
drive.mount('/content/drive')

# 定番
import os
import time
import pandas as pd
import numpy as np
import matplotlib.pyplot as plt
import pprint

# 画像収集の時に使う
import urllib.error
import urllib.request

# 水増しの時に使う
import cv2
import glob
画像のダウンロード
まずはpokeapiから画像をダウンロードしてみます。
(ダウンロードしたものを再配布するとかは著作権的に怪しいので、扱いには気を付けてください)
参考: https://note.nkmk.me/python-download-web-images/
ソースコードはこちら
# 画像をURLからダウンロードする関数
def download_file(url, file_name):
    try:
        with urllib.request.urlopen(url) as web_file, open(file_name, 'wb') as local_file:
            local_file.write(web_file.read())
    except urllib.error.URLError as e:
        print(e)

# pokeapiを利用して画像を収集する
def collect_png(rootpath, rooturl):
  for i in range(1, 899):
    url = rooturl + str(i)+ ".png"
    path = rootpath + str(i).zfill(3) + ".png"
    download_file(url, path)
    if i % 100 == 0:
      print(str(i) + "まで終わった")
まずはofficial artworkの画像をダウンロードしてみます。
# ひとまずartworkだけダウンロードしてみる
rootpath = "/content/drive/MyDrive/data/artwork/"
rooturl = "https://raw.githubusercontent.com/PokeAPI/sprites/master/sprites/pokemon/other/official-artwork/"

collect_png(rootpath, rooturl)
実行すると、数分かかりますがたしかにGoogle Driveに画像をダウンロードできました。

ついでにhomeもダウンロードしてみます。homeはartworkよりも3Dっぽい写真です。
# homeもダウンロード
rootpath = "/content/drive/MyDrive/data/home/"
rooturl = "https://raw.githubusercontent.com/PokeAPI/sprites/master/sprites/pokemon/other/home/"

collect_png(rootpath, rooturl)
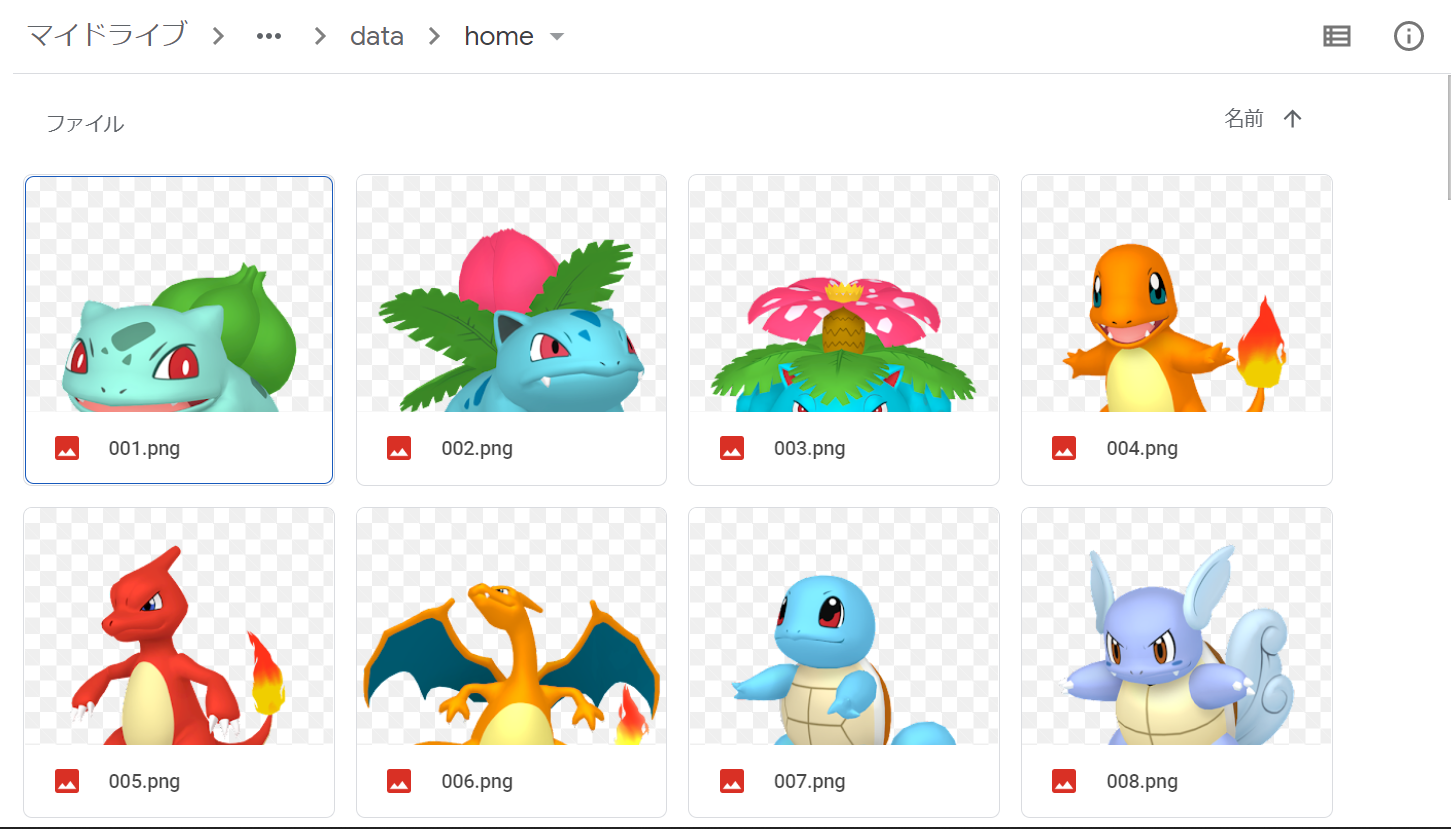
ダウンロードできましたね。
今回は全898種類×2=1796枚の写真を集めました。うち伝説のポケモンの写真は79×2=158枚です。
画像の水増し
伝説のポケモンの写真が150枚ほどしかないのは心もとないので、画像の水増しを行います。
今回は左右反転・左90度回転・右90度回転・色調転換の4つの処理を組み合わせて、1枚の画像から合計16枚の画像を作りました。
ソースコードはこちら
# 参考コードそのまま
def scratch_image(img, flip=True, cvt=True, cvt2=True, bit=True, warp=True):
    # 水増しの手法を配列にまとめる
    methods = [flip, cvt, bit, warp]

    # flip は画像の左右反転
    # cvt  は色調変換
    # cvt2 は色調変換
    # bit  は色反転
    # warp は90度回転

    images = [img]
    # 手法に用いる関数
    scratch = np.array([

        #画像の左右反転のlambda関数
        lambda x: cv2.flip(x,1),

        #色調変換のlambda関数
        lambda x: cv2.cvtColor(x, cv2.COLOR_BGR2RGB),

        #色反転のlambda関数
        lambda x: cv2.bitwise_not(x),

        #90度回転するlambda関数
        lambda x: cv2.warpAffine(x, cv2.getRotationMatrix2D
        (tuple(np.array([img.shape[1], img.shape[0]]) / 2), 90, 1.0), img.shape[::-1][1:3])

    ])


    # 関数と画像を引数に、加工した画像を元と合わせて水増しする関数
    doubling_images = lambda f, imag: (imag + [f(i) for i in imag])

    # doubling_imagesを用いてmethodsがTrueの関数で水増ししてください
    for func in scratch[methods]:
        images = doubling_images(func,images)

    return images

def copy_img(dir, file_name, output_path):
  img_path = "/content/drive/MyDrive/data/" +  dir + "/" + file_name
  # 画像の読み込み
  img = cv2.imread(img_path)
  #画像のトリミング
  center = (img.shape[0]//2, img.shape[1]//2)
  img = img[center[0] - np.min(center) : center[0] + np.min(center), center[1] - np.min(center) : center[1] + np.min(center)]
  #画像のリサイズ
  img = cv2.resize(img, (200,200))
  # 画像の水増し
  scratch_images = scratch_image(img)
  # 拡張子なしファイル名を取得
  name = os.path.splitext(os.path.basename(img_path))[0]

  # output
  num = 0
  for im in scratch_images:
    # まず保存先のディレクトリを指定、番号を付けて保存
    cv2.imwrite(output_path + "/" + dir + "_" + name + "_" + str(num).zfill(2) + ".png" ,im)
    num += 1

def makedata():
  count = 0
  dir_list = ["artwork", "home"]
  for i in range(1, 301):
    for dir in dir_list:
      try:
        copy_img(dir, str(i).zfill(3) + ".png", "/content/drive/MyDrive/input")
      except:
        print("error at " + str(i))
    count += 1
    time.sleep(2)
    if count % 50 == 0:
      print("finish by " + str(count))
      time.sleep(10)
コードを実行した結果、1796×16=28736枚の画像を入手できました。Google Driveのinputフォルダに格納されています。

色調転換したポケモンもかっこいいですね。画像に処理を加えた影響か、ノイズのようなものが入っているのが少し気になりました。
CSVファイルの作成
最後に、入手した画像のパスと伝説かどうかのラベルをまとめてcsv化します。
ソースコードはこちら
# memo
legends = [144, 145, 146, 150, 151, # 第1世代
           243, 244, 245, 249, 250, 251, # 第2世代
           377, 378, 379, 380, 381, 382, 383, 384, 385, # 第3世代
           480, 481, 482, 483, 484, 485, 486, 487, 488, 494, # 第4世代
           638, 639, 640, 641, 642, 643, 644, 645, 646, 647, 649, # 第5世代
           716, 717, 718, 719, 721, # 第6世代
           772, 773, 785, 786, 787, 788, 789, 790, 791, 792, # 第7世代(伝説)
           794, 795, 796, 797, 798, 799, 800, 801, 802, 803, 804, 805, 806, 807, 808, 809, # 第7世代(UB, 幻のポケモン)
           888, 889, 894, 895, 896, 897, 898] # 第8世代

len(legends)
# 空のdataframeを作成
df = pd.DataFrame(index = [], columns = ["id", "img", "legend"])

db_path = "/content/drive/MyDrive/input"
file_list = glob.glob(db_path + "/*.png")

for img_file in file_list:
  name = os.path.splitext(os.path.basename(img_file))[0]
  name = int(name.split("_")[1])
  is_legend = 0
  if name in legends:
    is_legend = 1
  record = pd.Series([name, img_file, is_legend], index=df.columns)
  df = df.append(record, ignore_index=True)

# dfをcsvファイルに保存
df.to_csv("/content/drive/MyDrive/data.csv")
無事出力できました。
次の記事から、取得した画像をもとに学習を行っていきます。
参考にしたサイト