はじめに
Rails6とDocker環境構築してみましたので備忘録としてこちらに残します。
Qiita初投稿な上に初学者のため色々と至らない点はあると思いますので、誤りがあればご指摘いただけると幸いです。
環境
- Windows10 Pro
- Ruby2.7.1
- Rails6.0.3.1
- MySQL8.0
参考
docker-compose で Rails6 + MySQL な環境を構築する
【rails環境構築】docker + rails + mysql で環境構築(初心者でも30分で完了!)
ENTRYPOINTは「必ず実行」、CMDは「(デフォルトの)引数」
こちらを参考に実施しました。
ゴール
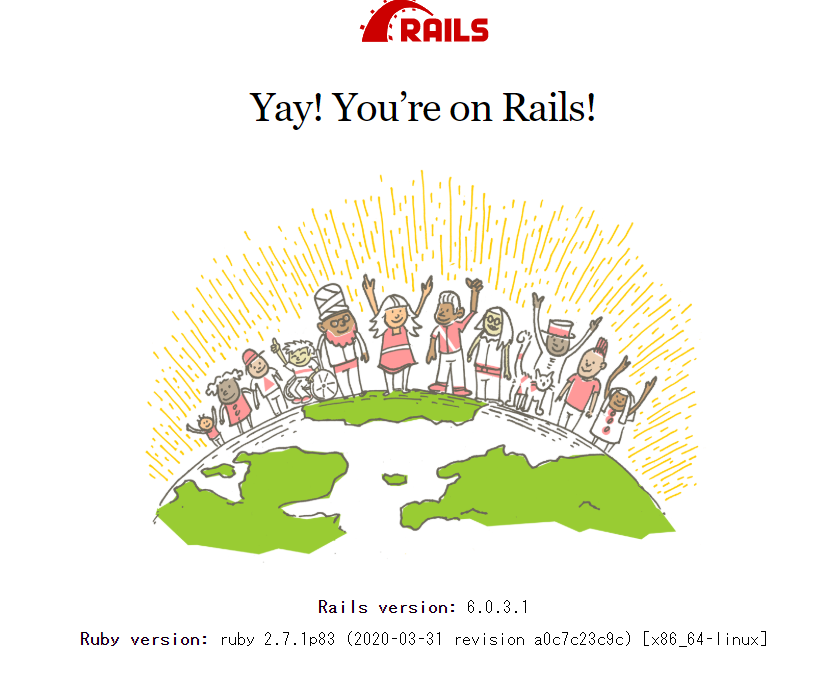
環境構築してRailsのホーム画面を表示させる。
1.Docker for Windowsをインストール
https://hub.docker.com/
に行ってインストールを行う。
2.Dockerfileを記述
$ mkdir ~/Desktop/docker-tutrial/Rails_app
$ cd  ~/Desktop/docker-tutrial/Rails_app
$ code Dockerfile
ターミナルを開き任意の場所にディレクトリを作成してDockerfileを以下のように記述します。(僕はvsCodeを使ってます。)
$ code ファイル名
とするとvsCodeが起動し新規ファイルの記述ができます。(事前にvsCodeがPCにインストールされている必要があります。)
FROM ruby:2.7
RUN apt-get update -qq && apt-get install -y nodejs yarnpkg
RUN ln -s /usr/bin/yarnpkg /usr/bin/yarn
RUN mkdir /app
WORKDIR /app
COPY Gemfile /app/Gemfile
COPY Gemfile.lock /app/Gemfile.lock
RUN bundle install
COPY . /app

# Add a script to be executed every time the container starts.
COPY entrypoint.sh /usr/bin/
RUN chmod +x /usr/bin/entrypoint.sh
ENTRYPOINT ["entrypoint.sh"]
EXPOSE 3000

# Start the main process.
CMD ["rails", "server", "-b", "0.0.0.0"]
3.Gemfileの記述
source 'https://rubygems.org'
gem 'rails', '~>6'
$ touch Gemfile.lock
初期のGemfileと空のGemfile.lockを記述します。
4.entrypoint.shの記述
DockerfileでENTRYPOINTとして定義している entrypoint.sh の記述をします。
# !/bin/bash
set -e

# Remove a potentially pre-existing server.pid for Rails.
rm -f /app/tmp/pids/server.pid

# Then exec the container's main process (what's set as CMD in the Dockerfile).
exec "$@"
5.docker-compose.ymlの記述
version: '3'
services:
  db:
    image: mysql:8.0
    volumes:
      - ./tmp/db:/var/lib/mysql
    environment:
      - MYSQL_ALLOW_EMPTY_PASSWORD=1
  web:
    build: .
    command: bash -c "rm -f tmp/pids/server.pid && bundle exec rails s -p 3000 -b '0.0.0.0'"
    volumes:
      - .:/app
    ports:
      - "3000:3000"
    depends_on:
      - db
MySQLはバージョン8.0を使用
MYSQL_ALLOW_EMPTY_PASSWORD を設定することで password が空でもrootで接続できるようにしています。
6.Rails newをして、doocker-compose buildする。
$ docker-compose run web bundle exec rails new . --force --database=mysql
--forceで既存のファイルを上書きし、--databaseでMySQLを指定します。
Railsのいつものファイルセットが出来上がるのでbuildを行います。
$ docker-compose build
7.DBホスト名を変更し、docker-compose upをする。
このままではデータベース接続ができないので、
config/database.yml のhostの部分を db に置き換えましょう。
default: &default
  adapter: mysql2
  encoding: utf8mb4
  pool: <%= ENV.fetch("RAILS_MAX_THREADS") { 5 } %>
  username: root
  password:
  host: db
development:
  <<: *default
  database: app_development
test:
  <<: *default
  database: app_test
dbはコンテナ名になります。
これが完了したら再度buildを行い、docker-compose upを行います。
ここでlocalhost:3000でRailsにアクセスするとActiveRecord::NoDatabaseErrorというのが出ます。
これはwebコンテナがmysql 8.0 のcaching_sha2_password認証方式に対応していないために起こります。
次の手順で旧来の認証方式であるmysql_native_passwordに変更します。
8.MySQLの認証方式の変更
まず最初にDBコンテナに入りbashを起動します。
$ docker-compose exec db bash
その後mysqlコマンドで接続します。
# mysql -u root
Welcome to the MySQL monitor.  Commands end with ; or \g.
Your MySQL connection id is 9
Server version: 8.0.18 MySQL Community Server - GPL

...
下記のクエリを送るとユーザー一覧とその認証方式が閲覧できます。
mysql> select User,Host,plugin from mysql.user;
+------------------+-----------+-----------------------+
| User             | Host      | plugin                |
+------------------+-----------+-----------------------+
| root             | %         | caching_sha2_password |
| mysql.infoschema | localhost | caching_sha2_password |
| mysql.session    | localhost | caching_sha2_password |
| mysql.sys        | localhost | caching_sha2_password |
| root             | localhost | caching_sha2_password |
+------------------+-----------+-----------------------+
5 rows in set (0.00 sec)
一番右のpluginにあるcaching_sha2_passwordをmysql_native_passwordに変更します。
今回対象となるroot@%のユーザー設定をALTER USERを使って変更します。
ALTER USER 'root'@'%' IDENTIFIED WITH mysql_native_password BY '';
-- Query OK, 0 rows affected (0.02 sec)
変更後
mysql> select User,Host,plugin from mysql.user;
+------------------+-----------+-----------------------+
| User             | Host      | plugin                |
+------------------+-----------+-----------------------+
| root             | %         | mysql_native_password |
| mysql.infoschema | localhost | caching_sha2_password |
| mysql.session    | localhost | caching_sha2_password |
| mysql.sys        | localhost | caching_sha2_password |
| root             | localhost | caching_sha2_password |
+------------------+-----------+-----------------------+
5 rows in set (0.00 sec)
