記事を書こうと思ったきっかけ
インターン先で GraphQL が使われているので実際に手元で動かしてみようと思ったのがきっかけです。
本家のチュートリアルや、参考になった記事の内容をもとに構成されています。
この記事は Go Conference mini 2022 Autumn IN Sendai の発表でも使われています。
この記事に書かれていること
gqlgen を使ったサーバの立て方
Client 側の詳しい説明
GraphQL とは
- Facebook が作った OSS
- API のために作られたクエリ言語
- 既存のデータに対するクエリを実行するランタイム
Client 側
↓ のスライドをご覧ください。GraphQL のメリット・デメリットも書いてあります。
gqlgen とは
- gqlgen はGraphQLサーバを簡単に構築するためのGoライブラリです。
- gqlgen はスキーマファーストのアプローチに基づいています
- gqlgen は型の安全性を優先します
- gqlgen はCodegenを可能にします
とりあえず作って試してみよう
サーバを立てる
https://github.com/99designs/gqlgen
1. 作業するディレクトリ作成、初期化
mkdir gqlgen-server

cd gqlgen-server

go mod init gqlgen-server
2. github.com/99designs/gqlgen を tools.go に追加
printf '// +build tools\npackage tools\nimport (_ "github.com/99designs/gqlgen"\n _ "github.com/99designs/gqlgen/graphql/introspection")' | gofmt > tools.go

go mod tidy
3. gqlgen の設定を初期化し、モデルを生成
go run github.com/99designs/gqlgen init
4. gqlgen サーバ起動
go run server.go
これでサーバを起動しました。
↓ のようなアウトプットになれば成功!

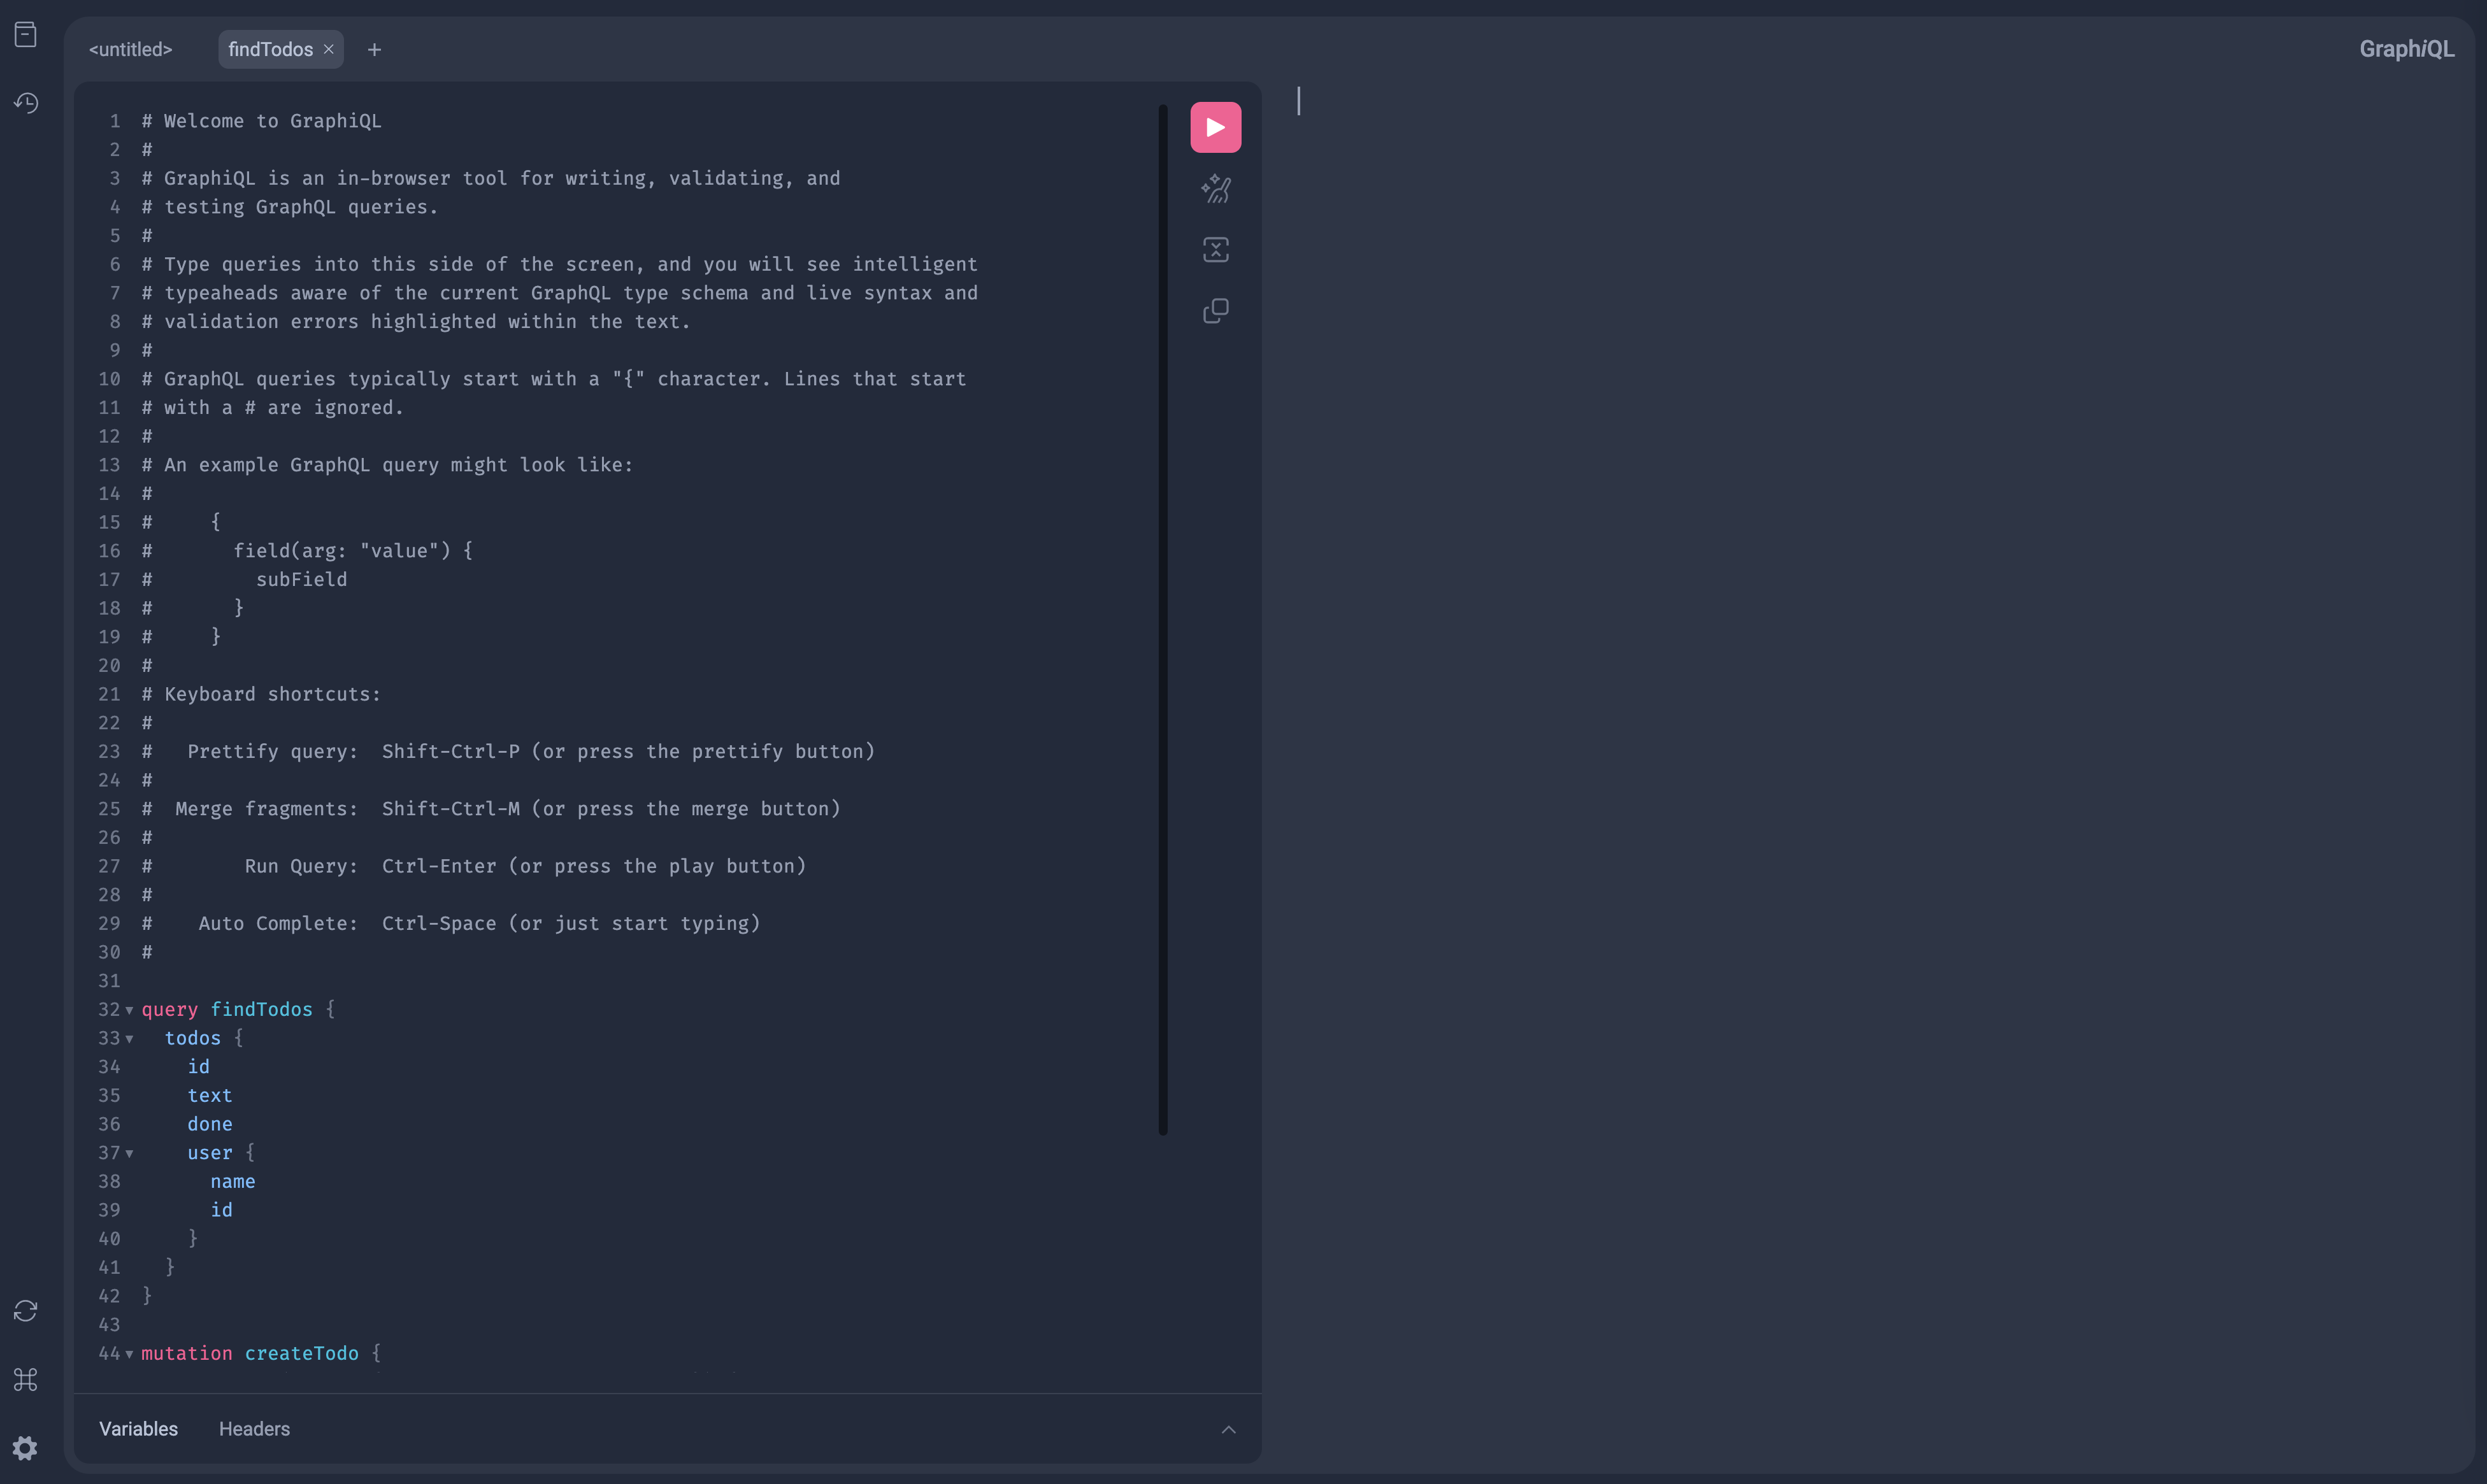
http://localhost:8080/ にアクセスすると ↓ のような Client 画面に飛ぶかと思います。
ここでは GraphQL のリクエストである、query や mutation を書いて、リクエストを投げることができます。

ディレクトリ構成
├── go.mod
├── go.sum
├── gqlgen.yml               - gqlgen の設定ファイル。生成されたコードを制御する
├── graph
│   ├── generated            - 生成されたランタイムのみが含まれるパッケージ
│   │   └── generated.go
│   ├── model                - すべての graph model 用のパッケージ
│   │   └── models_gen.go
│   ├── resolver.go          - root graph resolver タイプ。このファイルは再生成されない
│   ├── schema.graphqls      - スキーマが書かれているファイル。好きなようにいじって大丈夫
│   └── schema.resolvers.go  - schema.graphql の resolver 実装。
└── server.go                - エントリーポイント。カスタマイズできる
実践パート
ファイルを見てみよう
↓ のようなスキーマが生成されているはず。
type Todo {
  id: ID!
  text: String!
  done: Boolean!
  user: User!
}

type User {
  id: ID!
  name: String!
}

type Query {
  todos: [Todo!]!
}

input NewTodo {
  text: String!
  userId: String!
}

type Mutation {
  createTodo(input: NewTodo!): Todo!
}
変更するファイル
type Resolver struct{
    // ↓ の一行を追加
	todos []*model.Todo
}
正常に import できていない packege があるかもしれないので、エラーが出たら確認してみてください。
↓ のように変更する
自動生成されたリゾルバ関数の本体を実装。
CreateTodoについては、math.randパッケージを使用して、ランダムに生成されたIDを持つTodoを返し、それをインメモリのTodoリストに格納。
func (r *mutationResolver) CreateTodo(ctx context.Context, input model.NewTodo) (*model.Todo, error) {
	todo := &model.Todo{
		Text:   input.Text,
		ID:     fmt.Sprintf("T%d", rand.Int()),
		User: &model.User{ID: input.UserID, Name: "user " + input.UserID},
	}
	r.todos = append(r.todos, todo)
	return todo, nil
}

func (r *queryResolver) Todos(ctx context.Context) ([]*model.Todo, error) {
	return r.todos, nil
}
これでサーバにリクエストを送る準備完了。
再度サーバを起動する
go run server.go
todo 作成
http://localhost:8080/ ここで request を書く
request
mutation createTodo {
  createTodo(input: { text: "todo", userId: "3" }) {
    user {
      id
    }
    text
    done
  }
}
response
{
  "data": {
    "createTodo": {
      "user": {
        "id": "3"
      },
      "text": "todo",
      "done": false
    }
  }
}
todo 取得
http://localhost:8080/ ここで request を書く
request
query findTodos {
  todos {
    id
    text
    done
    user {
      name
    	id
    }
  }
}
response
{
  "data": {
    "todos": [
      {
        "id": "T5577006791947779410",
        "text": "todo",
        "done": false,
        "user": {
          "name": "user 3",
          "id": "3"
        }
      }
    ]
  }
}
以上!!
終わりに
初めて qiita の記事を書いてみました。自分の知識整理のためにもなり勉強になりました!この調子でアウトプットしていけたらいいなと思います。
また、この記事が皆様の役に立つことを祈っています。
博多行きたい。

