第2回 プロジェクトのデプロイとRealtime Databaseとの連携
デプロイ用プロジェクトの作成
自作のスターターキットを使用してプロジェクトを作成していく。
スターターキットをダウンロード or cloneして以下のnpmパッケージをインストールする。
$ npm install # プロジェクトディレクトリ内で実行する。
FireBaseとの紐づけ
Firebaseのログインと、初期化処理を行う。
$ firebase login   # ブラウザが開くのでgoogle アカウントとパスワードでログイン&諸々許可
$ firebase init

? Are you ready to proceed? (Y/n)  # Yes
? Which Firebase CLI features do you want to setup for this folder? Press Space to select features, then Enter to confirm your cho
ices.
>(*) Database: Deploy Firebase Realtime Database Rules           # 選択
 ( ) Firestore: Deploy rules and create indexes for Firestore
 ( ) Functions: Configure and deploy Cloud Functions
 (*) Hosting: Configure and deploy Firebase Hosting sites        # 選択
 ( ) Storage: Deploy Cloud Storage security rules

=== Project Setup

First, let's associate this project directory with a Firebase project.
You can create multiple project aliases by running firebase use --add,
but for now we'll just set up a default project.

? Select a default Firebase project for this directory:
  [don't setup a default project]
> React-SPA ({プロジェクトID})     # すでに作成してあるプロジェクトを選択
  [create a new project]

=== Database Setup

Firebase Realtime Database Rules allow you to define how your data should be
structured and when your data can be read from and written to.

? What file should be used for Database Rules? (database.rules.json)  # Enter押下

=== Hosting Setup

Your public directory is the folder (relative to your project directory) that
will contain Hosting assets to be uploaded with firebase deploy. If you
have a build process for your assets, use your build's output directory.

? What do you want to use as your public directory? (public)          # Enter押下
? Configure as a single-page app (rewrite all urls to /index.html)? (y/N) # No
+  Wrote public/404.html
? File public/index.html already exists. Overwrite? (y/N)  # No
i  Writing configuration info to firebase.json...
i  Writing project information to .firebaserc...

+  Firebase initialization complete!
以下のフォルダ構成が出来上がる。

firebaseのデプロイ先はデフォルト設定ではpublicなのでfirebase.jsonの設定を変更する。
{
  "database": {
    "rules": "database.rules.json"
  },
  "hosting": {
    "public": "dist",
    "ignore": [
      "firebase.json",
      "**/.*",
      "**/node_modules/**"
    ]
  }
}
Reactプロジェクトのビルド実行後、FireBaseへのデプロイを行う。
# windowsの場合
$ npm run build-windows

# linuxの場合
$ npm run build

$ firebase deploy
  ・
  ・
  ・
Hosting URL: https://{プロジェクトID}.firebaseapp.com
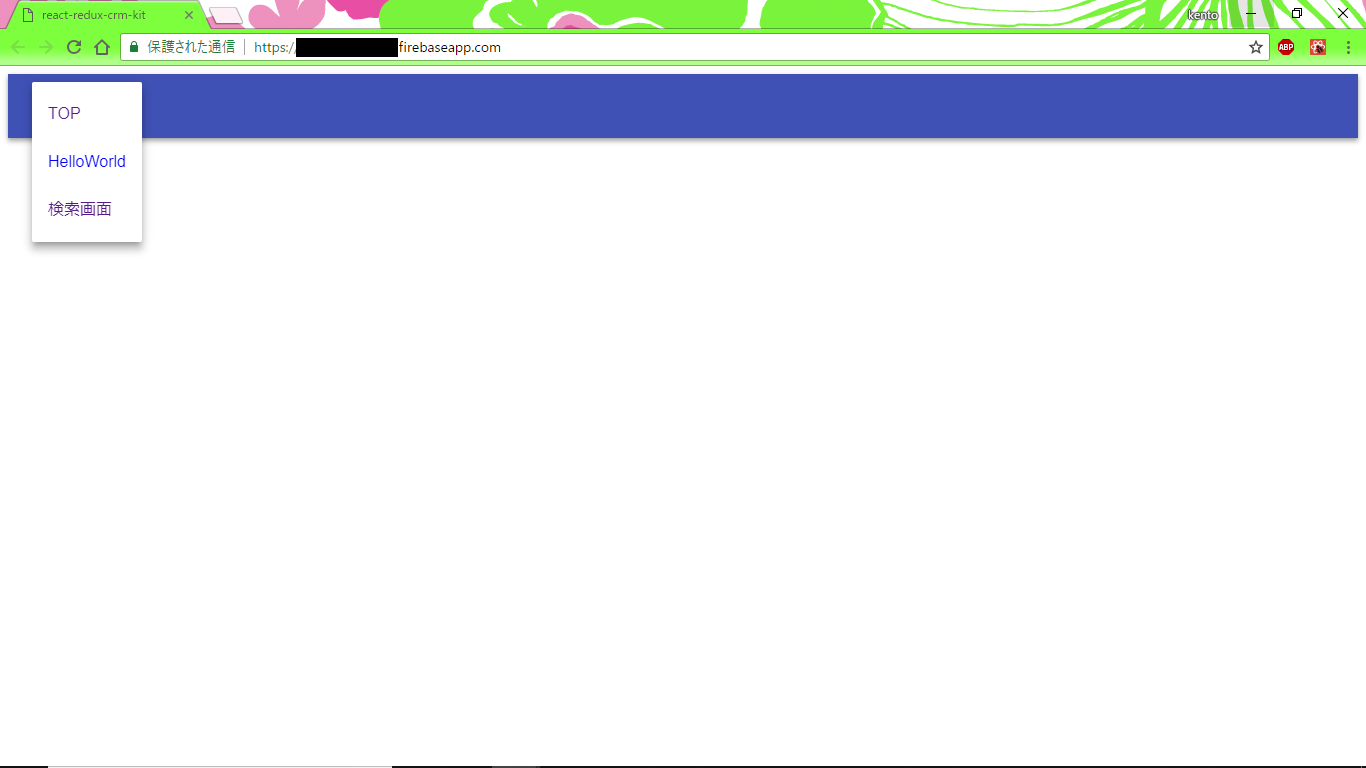
デプロイが完了したら「https://{プロジェクトID}.firebaseapp.com」にアクセスする。

Realtime DataBaseとの連携
FireBaseコンソールからRealtime Databaseの設定を行う。
コンソール画面の右端から「Database」タブを選択後、画面に表示される「Realtime Database」の方の「使ってみる」を押下する。

「使ってみる」押下後、セキュリティルールの設定が表示されるので、「テストモードで開始」を選択後、「有効にする」ボタンを押下する。

使用するデータを作成しておく。
{
  "companies":{
    "company1":{"company_code": "A001","company_name": "A会社","address": "A地区","mail": "A00001@example.com"},
    "company2":{"company_code": "B001","company_name": "B会社","address": "B地区","mail": "B00001@example.com"},
    "company3":{"company_code": "C001","company_name": "C会社","address": "C地区","mail": "C00001@example.com"}
  }
}
セキュリティルールの設定が完了すると、Databaseの情報が表示されるので、「データ」タブを選択して、データのインポートを行う。
「jsonのインポート」を選択して、「company_data.json」をインポートする。

インポートが完了すると、Database内にjsonのデータが反映される。

データベース参照の作成
プロジェクトディレクトリ内でFireBaseをインストールする。
$ npm i -S firebase
「src」ディレクトリ内に「firebase」ディレクトリを作成する。
「firebase」ディレクトリ内に「config.js」を作成する。
// firebase設定
export const firebaseConfig = {
  apiKey: 'APIKEY',
  authDomain: 'AUTHDOMAIN',
  databaseURL: 'DATABASE_URL',
  storageBucket: 'STORAGE_BUCKET',
  messagingSenderId: 'MESSAGING_SENDERID'
};
APIキー等の設定は、Overview画面の「ウェブアプリにFirebaseを追加」を押下すると確認できる。


「config.js」をインスタンス化する「index.js」も「firebase」ディレクトリ内に作成する。
import firebase from 'firebase';
import { firebaseConfig } from './config';

export const firebaseApp = firebase.initializeApp(firebaseConfig);
export const firebaseDb = firebaseApp.database();
プロジェクトディレクトリ直下の「database.rules.json」を修正してDB接続を許可する。
(認証を使用せずに読み書きできるので、本番環境では認証を有効にする必要がある。)
{
  "rules": {
    ".read":"true",
    ".write": "true"
  }
}
ReactのActionをFireBase用に変更する。
import * as types from '../../types';
import { firebaseDb } from '../../firebase';  // 追加

const ref = firebaseDb.ref('companies');      // 追加

// 中略

// 検索処理の変更と検索成功時、検索失敗時の処理を追加

/**
 * 検索処理
 */
export function searchData() {
  return (dispatch, getState) => {
    dispatch(requestProcess());
    const company_code = getState().searchPageReducer.searchWord;
    return dispatch => {
      ref.off();
      ref.orderByChild('company_code').startAt(company_code).endAt(company_code)
        .once(
          'value',
          snapshot => {
            dispatch(searchSuccess(snapshot));
          },
          error => {
            dispatch(searchError(error));
          }
      );
    };
  };
}

/**
 * 検索成功時
 */
function searchSuccess(snapshot) {
  return {
    type: types.SUCCESS_SEARCH,
    searchedList: snapshot.val(),
  };
}

/**
 * 検索失敗時
 */
function searchError(error) {
  return {
    type: types.FAILED_SEARCH,
    title: '検索失敗',
    message: error.message,
  };
}

// 以下略
ReactのReducerもFireBase用に変更する。
// 中略

    // 検索正常終了時
    case types.SUCCESS_SEARCH:
      let companies = [];
      if (action.searchedList) {
        let company = null;
        Object.keys(action.searchedList).forEach(key => {
          company = action.searchedList[key];
          if(company.company_code === state.searchWord || state.searchWord === '') {
            companies.push([
              company.company_code,
              company.company_name,
              company.address,
              company.mail,
            ]);
          }
        });
      }
      return {
        ...state,
        isLoadingDialogOpen: false,
        searchedList: [...companies],
      };

// 以下略
ファイルの修正が完了したら一度ビルド&デプロイする。
# windowsの場合
$ npm run build-windows

# linuxの場合
$ npm run build

# FireBaseへデプロイ
$ firebase deploy
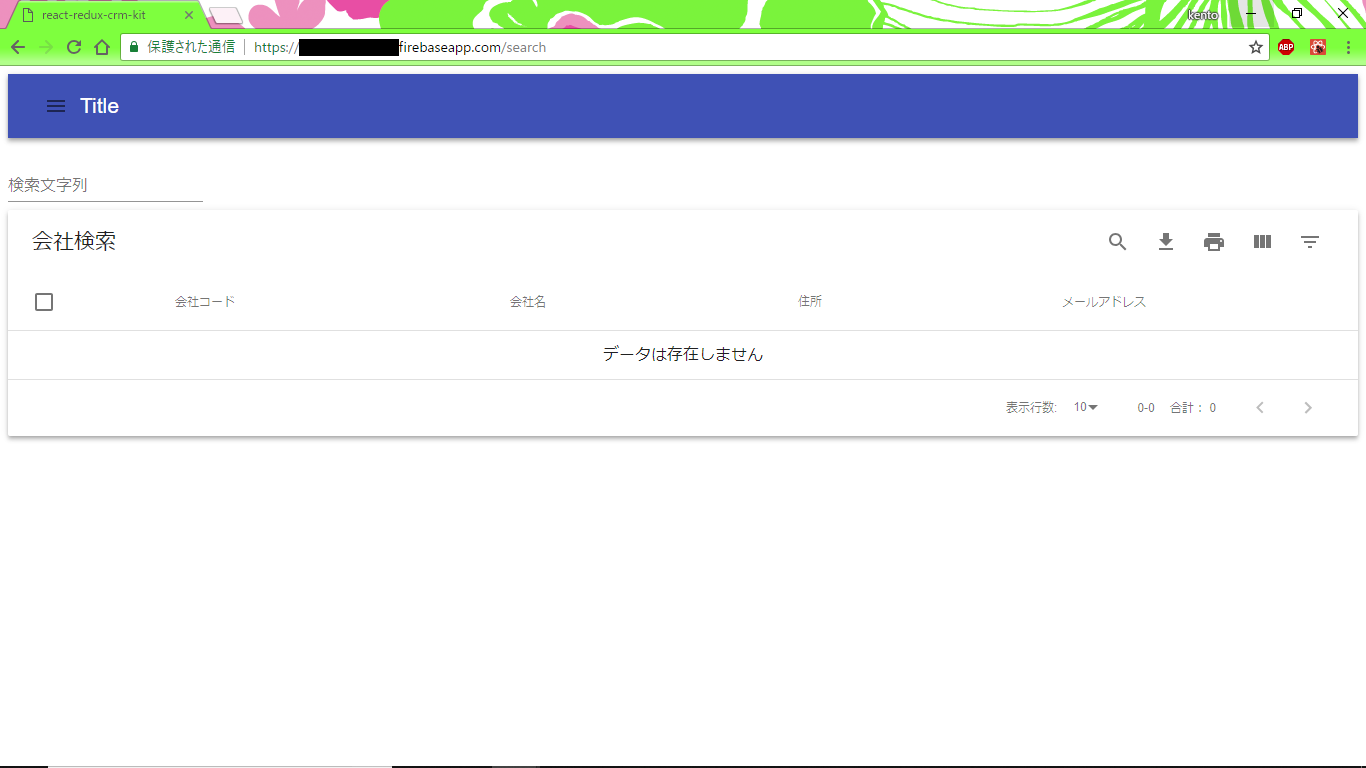
デプロイ後、ページへアクセスして検索画面へ遷移する。
検索画面遷移後、検索文字列に何も入力せずに、Enterキーを押下する。

検索を実行すると、データベースに追加したデータが全件表示される。

検索文字列に「B001」を入力して検索すると、対象のデータのみ表示される。(フロントエンド側に全件を取得してからフィルタリングしている)
※ Where句っぽい実装ができた。

ソースコードはこちら