TL;DR
Railsアプリケーションの作成においてログインする際、emailとpassword、もしくはLINEでログインする必要が出たのでLINEログイン実装の経緯をメモ程度に投稿。
Rails5でdeviseではなく主にdevise_token_authを使う。
準備
まず最初にLINEアカウントは誰もが所持していると思うのでLINE Developersに飛んでLINEアカウントでログイン。
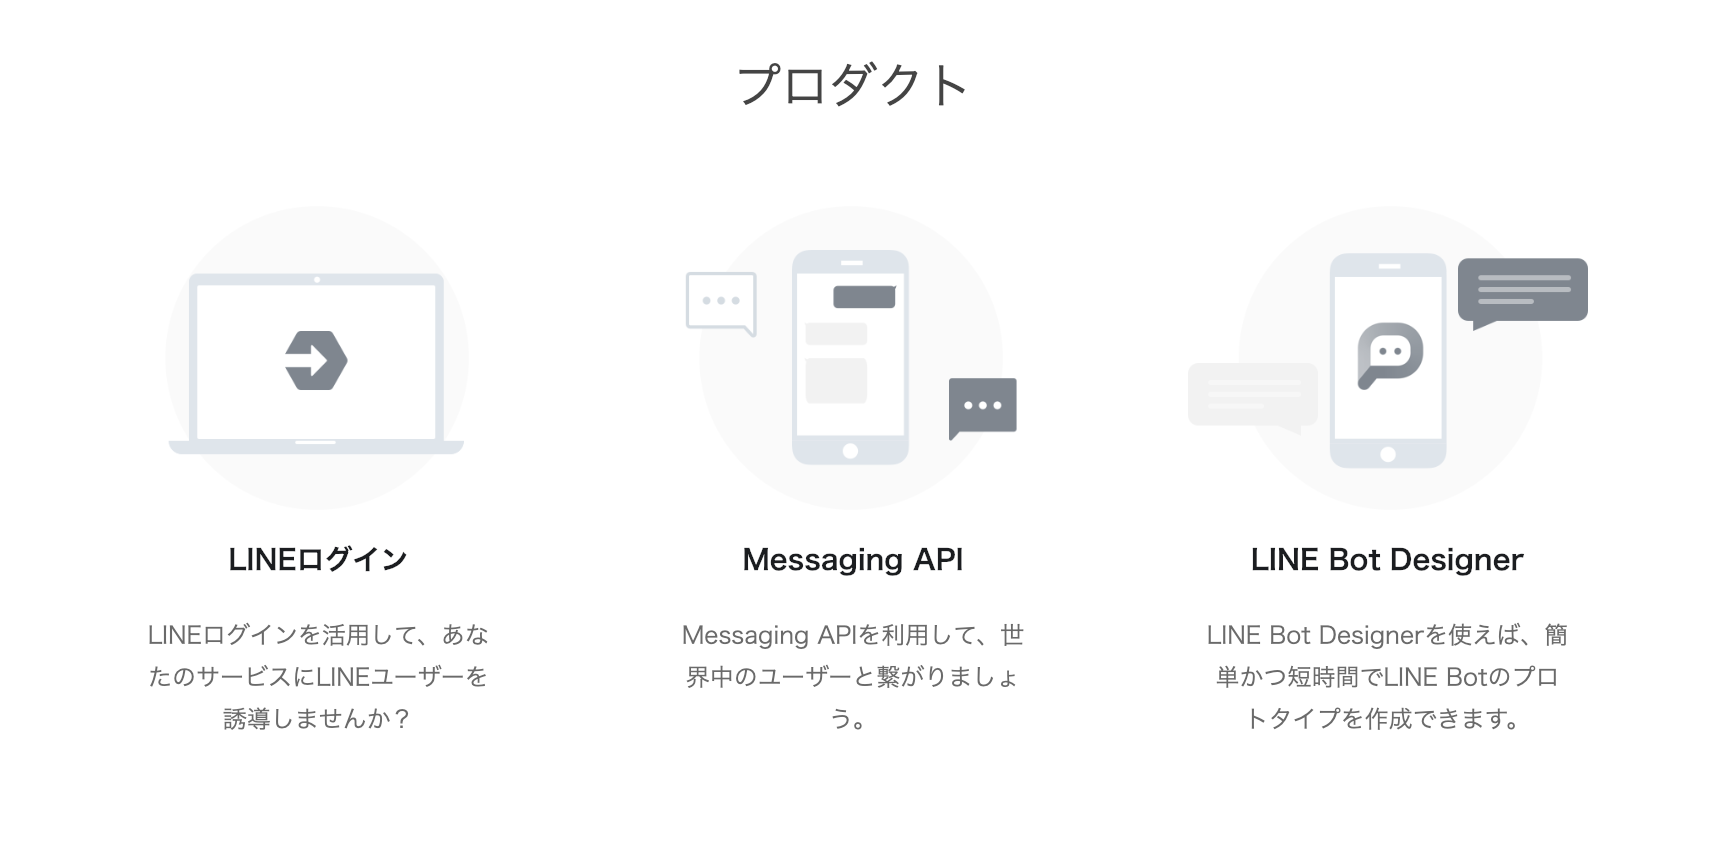
ログインが完了するとホーム画面の真ん中にプロダクトと書いてあるところがあると思うのでそこでLINEログインを選択。

次にプロバイダーを選択する画面になるが、まだプロバイダーを作成したことがない方はプロバイダーを作成させておく。
新規チャンネル作成の画面に移行するが、各自でアプリ名などは適当に。
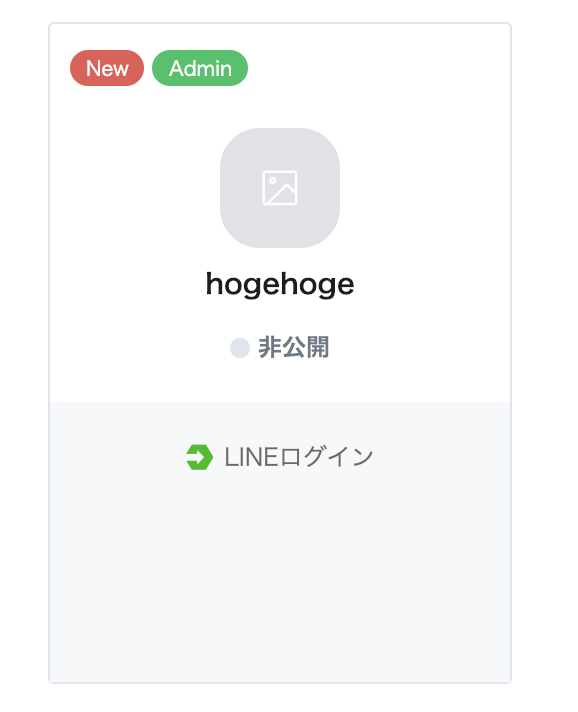
完了したら下のようなチャンネルが作成される。

↑これをクリックして設定を行う。
入ったら右側に非公開となっている部分があると思うので公開に変更。
今はこれだけで大丈夫。
OmniAuth設定
ここからはご自身のアプリケーションにLINEログインを適用するための設定を行う。
まずrailsには勿論これ用のgemが用意されているわけなので、以下のgem
gem 'rack-cors'
gem 'devise'
gem 'devise_token_auth'
gem 'omniauth'
gem 'omniauth-line'
を記述し、bundle install。
devise_token_authのモデルやらmigrationやらを作成
$ rails g devise_token_auth:install User auth
生成されるmigrationファイルは以下のように編集してください。(人それぞれなので強制ではないです。)
db:migrateを忘れないように。
class DeviseTokenAuthCreateUsers < ActiveRecord::Migration[5.2]
  def change
    create_table(:users) do |t|
      ## Required
      t.string :provider, null: false, default: "email"
      t.string :uid, null: false, default: ""

      ## Database authenticatable
      t.string :encrypted_password, null: false, default: ""

      ## Recoverable
      t.string   :reset_password_token
      t.datetime :reset_password_sent_at
      t.boolean  :allow_password_change, default: false

      ## Rememberable
      t.datetime :remember_created_at

      ## Trackable
      t.integer  :sign_in_count, default: 0, null: false
      t.datetime :current_sign_in_at
      t.datetime :last_sign_in_at
      t.string   :current_sign_in_ip
      t.string   :last_sign_in_ip

      ## Confirmable
      t.string   :confirmation_token
      t.datetime :confirmed_at
      t.datetime :confirmation_sent_at
      t.string   :unconfirmed_email # Only if using reconfirmable

      ## Lockable
      # t.integer  :failed_attempts, :default => 0, :null => false # Only if lock strategy is :failed_attempts
      # t.string   :unlock_token # Only if unlock strategy is :email or :both
      # t.datetime :locked_at

      ## User Info
      # t.string :name
      # t.string :nickname
      # t.string :image
      t.string :email

      ## Tokens
      t.json :tokens

      t.timestamps
    end

    add_index :users, :email,                unique: true
    add_index :users, %i[uid provider],     unique: true
    add_index :users, :reset_password_token, unique: true
    add_index :users, :confirmation_token,   unique: true
  end
end
モデルは以下のように編集。
class User < ActiveRecord::Base
  devise :database_authenticatable,
         :registerable,
         :recoverable,
         :rememberable,
         :trackable,
         :validatable,
        #  :confirmable,
         :omniauthable
  include DeviseTokenAuth::Concerns::User
  serialize :tokens
  # validationつけたい人は各自でどうぞ。
end
OmuniAuthコントローラーの設定
module Api
  module Auth
    class OmniauthCallbacksController < DeviseTokenAuth::OmniauthCallbacksController
      include Devise::Controllers::Rememberable

      def redirect_callbacks
        devise_mapping = getting_devise_mapping
        redirect_route = get_redirect_route(devise_mapping)

        session["dta.omniauth.auth"] = request.env["omniauth.auth"].except("extra")
        session["dta.omniauth.params"] = request.env["omniauth.params"]
        redirect_to redirect_route
      end

      def omniauth_success
        gets_resource_from_auth_hash
        # create_token_info
        set_token_on_resource
        create_auth_params

        sign_in(:user, @resource, store: false, bypass: false)

      # 動作確認用にユーザ情報を保存できたらjsonをそのまま返す処理
        if @resource.save!
          # update_token_authをつけることでレスポンスヘッダーに認証情報を付与できる。
          update_auth_header
          yield @resource if block_given?
          render json: @resource, status: :ok
        else
          render json: { message: "failed to login" }, status: 500
        end

      # 本実装時はこちらを使用する
      # @resource.save!

      # update_auth_header # これは自分で追加する
      # yield @resource if block_given?

      # render_data_or_redirect('deliverCredentials', @auth_params.as_json, @resource.as_json)
      end

      protected

      def gets_resource_from_auth_hash
        @resource = resource_class.where({
          uid: auth_hash["uid"],
          provider: auth_hash["provider"]
        }).first_or_initialize

        if @resource.new_record?
          @oauth_registration = true
        end

        assign_provider_attrs(@resource, auth_hash)

        extra_params = whitelisted_params
        @resource.assign_attributes(extra_params) if extra_params

        @resource
      end

      private

      def get_redirect_route(devise_mapping)
        path = "#{Devise.mappings[devise_mapping.to_sym].fullpath}/#{params[:provider]}/callback"
        klass = request.scheme == "https" ? URI::HTTPS : URI::HTTP
        klass.build(host: request.host, port: request.port, path: path).to_s
      end

      def getting_devise_mapping
        [request.env["omniauth.params"]["namespace_name"], request.env["omniauth.params"]["resource_class"].underscore.tr("/", "_")].compact.join("_")
      rescue NoMethodError
        default_devise_mapping
      end

      def default_devise_mapping
        raise NotImplementedError, "no default_devise_mapping set"
      end

      def authenticate_api_user!
        false
      end
    end
  end
end
最近、devise_token_auth(omniauth_callbacks_controller.rb)が変わっていたので色々オーバーライドさせてあげる必要がありました。詳しく知りたい人はgem読んでください。
routeの設定
Rails.application.routes.draw do
  devise_for :users #current_user(current_api_user)を使うため
  namespace :api, { format: "json" } do
    mount_devise_token_auth_for "User", at: "auth", controllers: {
      sessions: "api/auth/sessions",
      registrations: "api/auth/registrations",
      # ↑は今回のOmniauthに関しては関係ないです
      omniauth_callbacks: "api/auth/omniauth_callbacks",
      # ここで自作のomniauth_callbacks(Controller)のルーティングに設定
      format: :json
      # jsonデータを返すので
    }
  end
end
rake routesした結果↓
api_auth_failure GET      /api/auth/failure(.:format)                   api/auth/omniauth_callbacks#omniauth_failure
                 GET      /api/auth/:provider/callback(.:format)            api/auth/omniauth_callbacks#omniauth_success
      今回使う --> GET|POST /omniauth/:provider/callback(.:format)        api/auth/omniauth_callbacks#redirect_callbacks
omniauth_failure GET|POST /omniauth/failure(.:format)                                 api/auth/omniauth_callbacks#omniauth_failure
       今回使う --> GET      /api/auth/:provider(.:format)                       redirect(301)
その他設定
DeviseTokenAuth.setup do |config|

  #これをfalseに変更すると、各要求後にAuthorizationヘッダーが変更されないようになる。
  config.change_headers_on_each_request = false

  #トークンが有効である期間
  config.token_lifespan = 2.weeks

  #ユーザーあたりの最大同時デバイス数を設定
  config.max_number_of_devices = 5

  config.headers_names = {
    'access-token': "access-token",
    client: "client",
    expiry: "expiry",
    uid: "uid",
    'token-type': "token-type"
  }

  Rails.application.config.to_prepare do
    Devise::OmniauthCallbacksController.class_eval do
      def failure
        set_flash_message! :alert, :failure, kind: OmniAuth::Utils.camelize(failed_strategy.name), reason: failure_message
        redirect_to after_omniauth_failure_path_for(resource_name)
      end
    end
  end
end
Omniauthの準備
application.rbは以下のように編集。
module Hoge
  class Application < Rails::Applicationversion.
    config.load_defaults 5.2
    config.api_only = true # アプリはAPI専用となる

    config.middleware.use Rack::MethodOverride
    config.middleware.use ActionDispatch::Cookies
    config.middleware.use ActionDispatch::Session::CookieStore
    config.middleware.use ActionDispatch::Flash

    # クロスドメイン対策
    config.middleware.insert_before 0, Rack::Cors do
      allow do
        origins "*"
        resource "*",
                 headers: :any,
                 expose: ["access-token", "client", "expiry", "uid", "token-type"],
                 methods: %i[get post options delete put]
      end
    end
  end
end
Channel IDとChannel Secretの適用
先ほどLINE Developersで作成したチャンネルに戻りチャンネル基本設定という項目をクリックすると上の二つが書いてあると思うので、.envファイル(gitignore忘れないように!)に記入。
LINE_LOGIN_CHANNEL_ID=643570383
LINE_LOGIN_CHANNEL_SECRET=cdaa7c2f05649f020b82f28340d172311
これを以下のファイル(作って)に環境変数で記述
Rails.application.config.middleware.use OmniAuth::Builder do
  provider :line, ENV["LINE_LOGIN_CHANNEL_ID"], ENV["LINE_LOGIN_CHANNEL_SECRET"]
end
ngrokを利用
ngrokを使って外部に自分の環境を一時的に公開します。
今回はこれを使わないとうまくLINEのcallbackが見れません。
$ brew install ngrok
# これでうまくいかない人は以下のコマンド
$ brew cask install ngrok
をした後にターミナルで
$ ngrok http 3000
(3000は自身の適用しているポート番号)
これをすると
Session Status                online
Session Expires               7 hours, 59 minutes
Version                       2.2.8
Region                        United States (us)
Web Interface                 http://127.0.0.1:4040
Forwarding                    http://584fcc53.ngrok.io -> localhost:3000
Forwarding                    https://584fcc53.ngrok.io -> localhost:3000

Connections                   ttl     opn     rt1     rt5     p50     p90
                              0       0       0.00    0.00    0.00    0.00
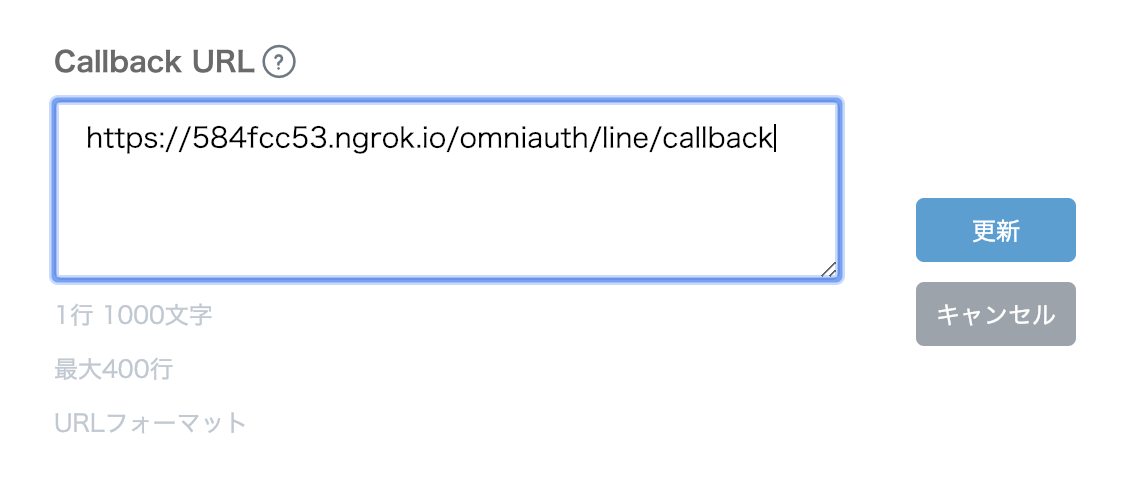
となるのでForwardingに書いてあるURLをコピーして、LINE Developersのアプリ設定のリダイレクト設定のCallback URLに

で更新。
動作確認
あとはブラウザを開いて,
https://584fcc53.ngrok.io/api/auth/line
と打てばうまくいく。