Quick Start: Connect Postman to Salesforce
Set Up Your Org
設定上のポイント
Salesforce でクロスオリジンリソース共有を設定する
Cross-Origin Resource Sharing (CORS) を使用すると、Web ブラウザで実行されるコードが特定のオリジンから Salesforce と通信できるようになります。Postman の URL パターンを追加しましょう。
何も設定しないで確認ボタンをクリック
We can't find 'https://*.postman.com' as an allowed origin for CORS.
Set Up and Connect Postman
どうも言語設定を日本語には変更できないみたい。あああ、分からん
--> 準備中? postman-japanese-ea
- Sign in to your Postman account or sign up for an account.
- Select the Workspaces menu.
- Select Create Workspace.
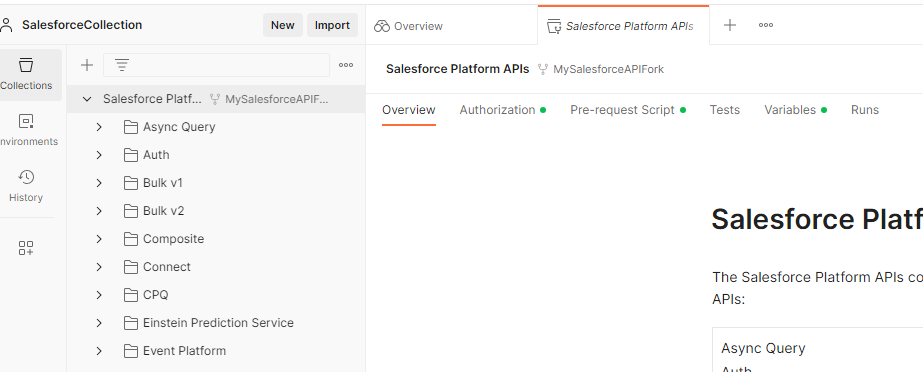
4. Name your workspace SalesforceCollection.
どこにSalesforceCollectionを入力するの? ちょっと説明が冷たい。
5. Set Visibility to Personal.
6. Click Create Workspace.
Fork the Salesforce Collection
- Open the public Salesforce Developers workspace to create a fork of the Salesforce APIs collection.
2. In Collections, select Salesforce Platform APIs to expand it.
3.  Click Create Fork to create a fork of the collection.
4. Enter MySalesforceAPIFork.
5. Keep SalesforceCollection as the Workspace.

6. Click Fork Collection.
Authorize Your Org
You need to authenticate with Salesforce to access the APIs. Authentication grants you an access token that's valid for a certain duration. Repeat this process whenever your access token expires.
- Be sure you're logged in to only one Trailhead Playground in your browser.
- In Postman, under Collections, Salesforce Platform APIs should be selected.
- Be sure No Environment is selected.
- The Authorization tab should be open.
- Type should be OAuth 2.0.
6. Click Get New Access Token
あれ、ないよ。
下にスクロールする
時間の関係で、上記で一旦作業を中断して再開しました。
Authorizationタブをクリックして、下にスクロールすると Get New Access Tokenがありました...
8. A success message appears briefly, and then you're redirected to the Manage Access Tokens dialog.
しまった、コピーせずに✕してしまった。
仕方ないので、もう一度Get New Access Tokenをクリック。
9. instance_url が Trailhead Playground を指していることを確認します。これをコピーします。重要です。
もしかしたら、lightning.force.comがmy.salesforce.comになているかもしれませんが、このURLを使います。
11. Click Use Token.
あかん、何度も×で閉じてしまった。ここのボタンをクリックだな。
12. Open the Variables tab.
どこ?
13. In the _endpoint row, CURRENT VALUE column, paste the instance_url value that you copied in step 9.
入力箇所がよく分からん。 先頭にカーソルをもっていく
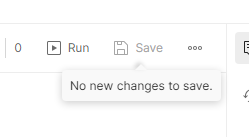
14. Click Save.
何か変更した時だけ機能するのかな?
A Quick Connection Test
- In Collections, select Salesforce Platform APIs to expand it.
- Select REST to expand it.
- Select GET Limits.
Limits opens in the main panel.
4. Click Send
Sendがない。 Tryになっている。
ああ、1つ上を選択すると出てきました。
ここで検証ボタンを押してみる
We can’t find an account named ‘Postman’.
Post an Account
- Under REST, select SObject, and then select POST SObject Create.
4. Open the Body tab.
無事に終了しました。
ここで作成したPostmanの環境を使って、以下のチェレンジを実施しますので、そのまま行った方がいいかもしれません。


