はじめに
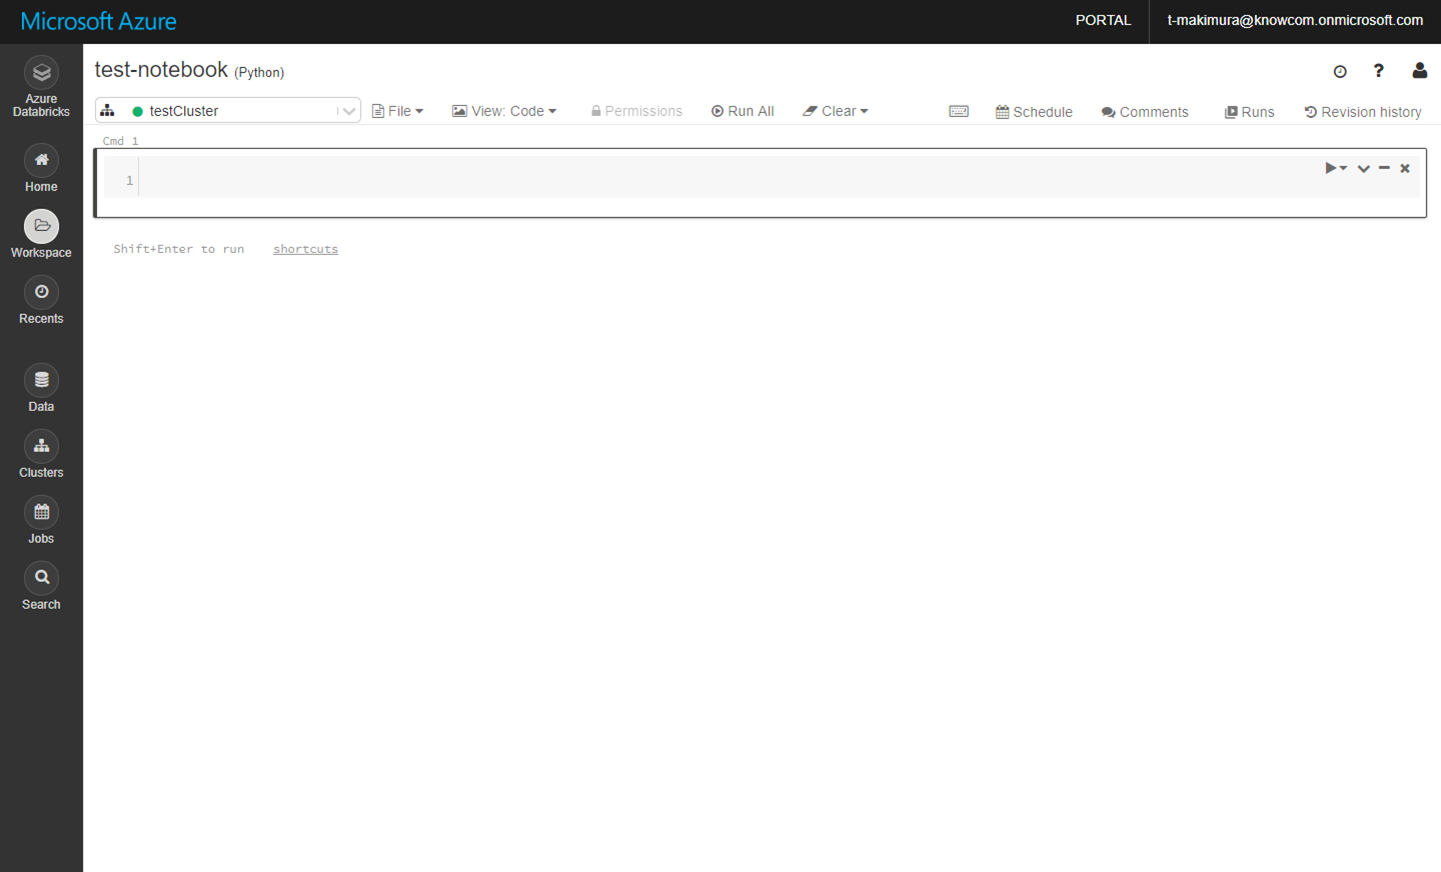
Azure Databricksのリソース作成から、DatabricksワークスペースでのCluster、Notebookの作成までを行います。
Databricksワークスペースの作成
Azureポータルの「リソースの作成」をクリックし、検索に「Databricks」を入力します。
候補に「Azure Databricks」が出てくるので、クリックして作成を開始します。
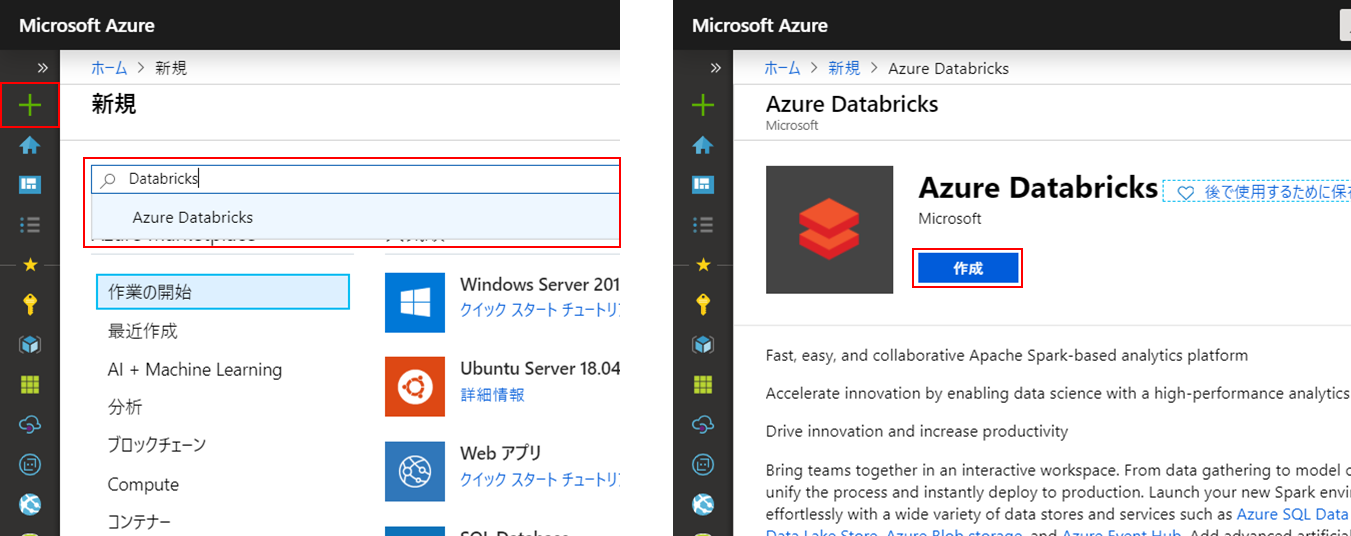
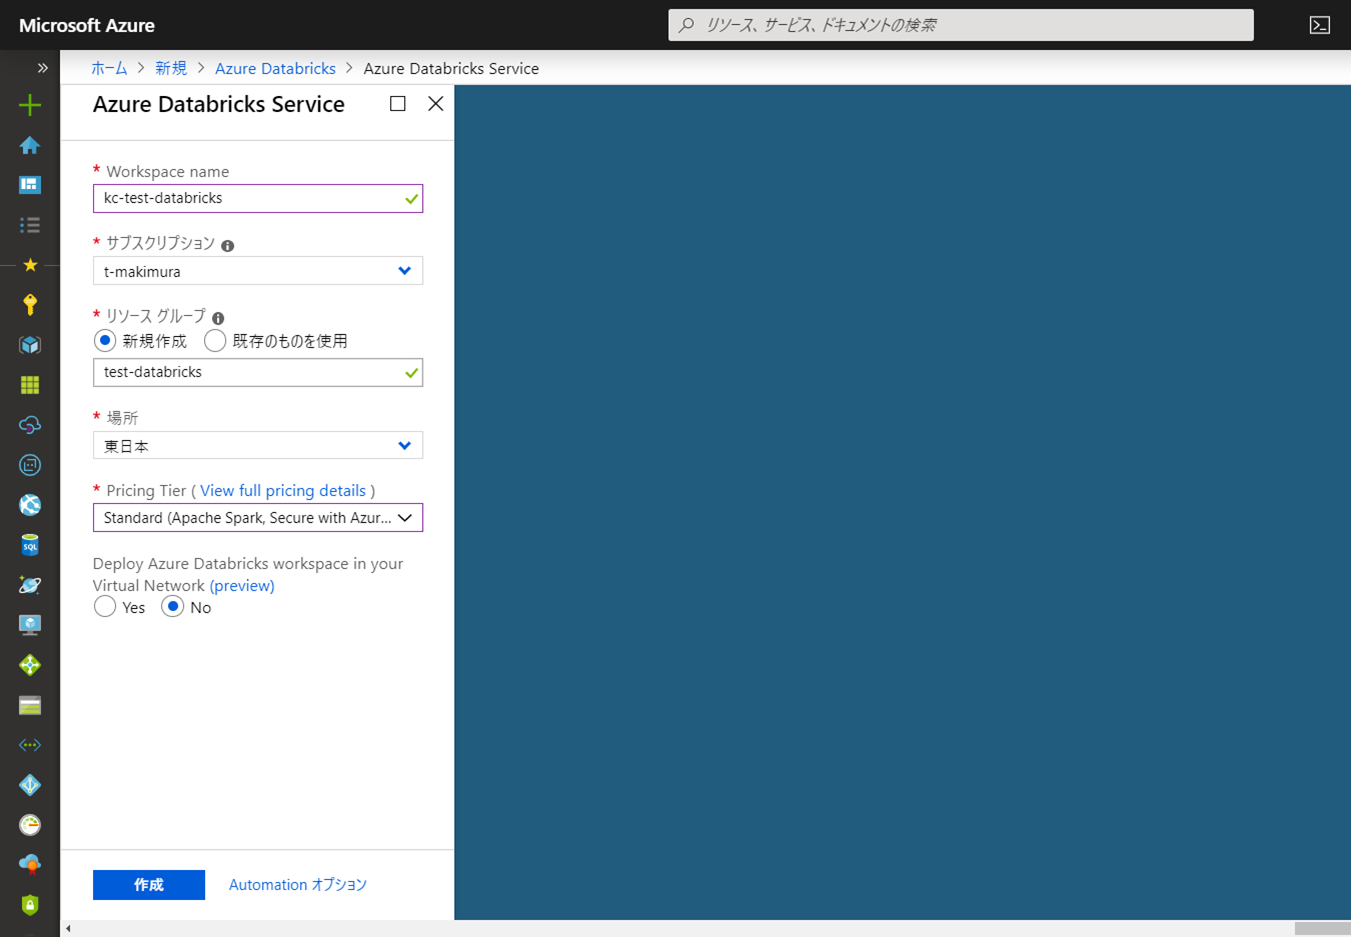
必要事項を入力して作成を実行します。
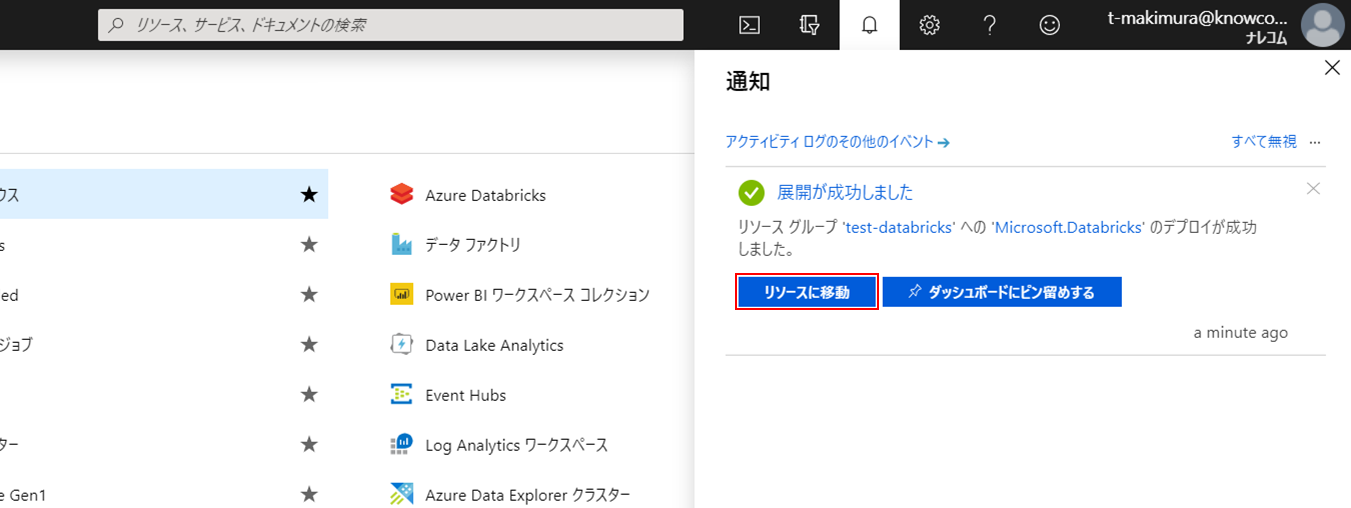
作成が完了するまでしばらく待機します。
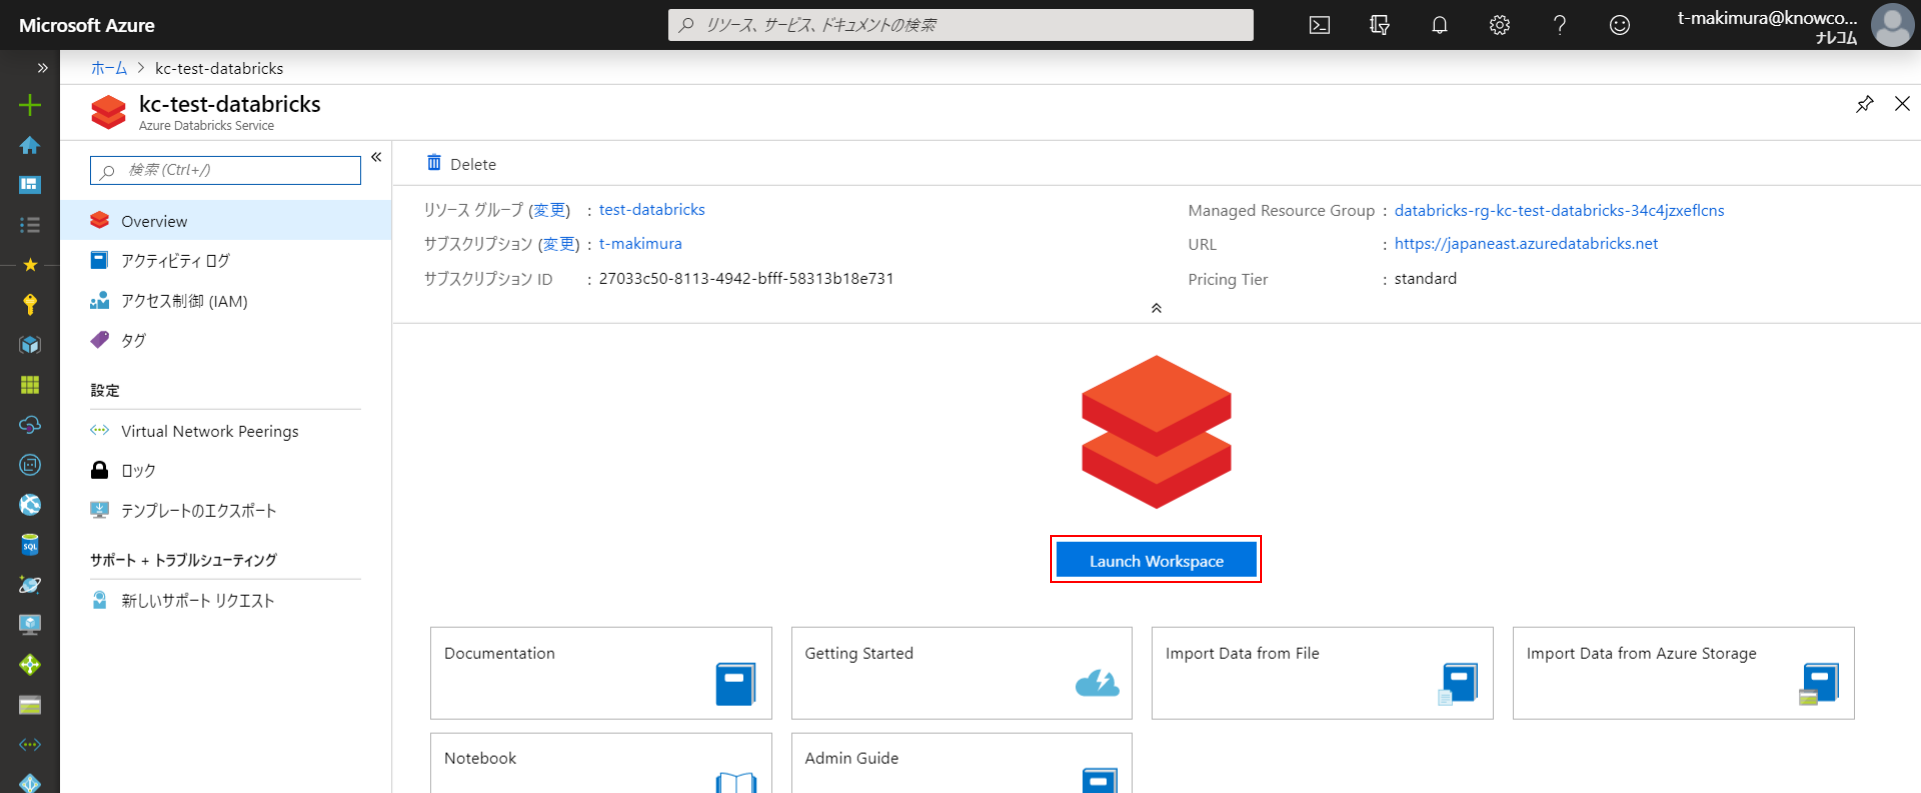
ポータル右上の「通知」で作成が完了したら、「リソースに移動」で作成したリソースのページを開きます。
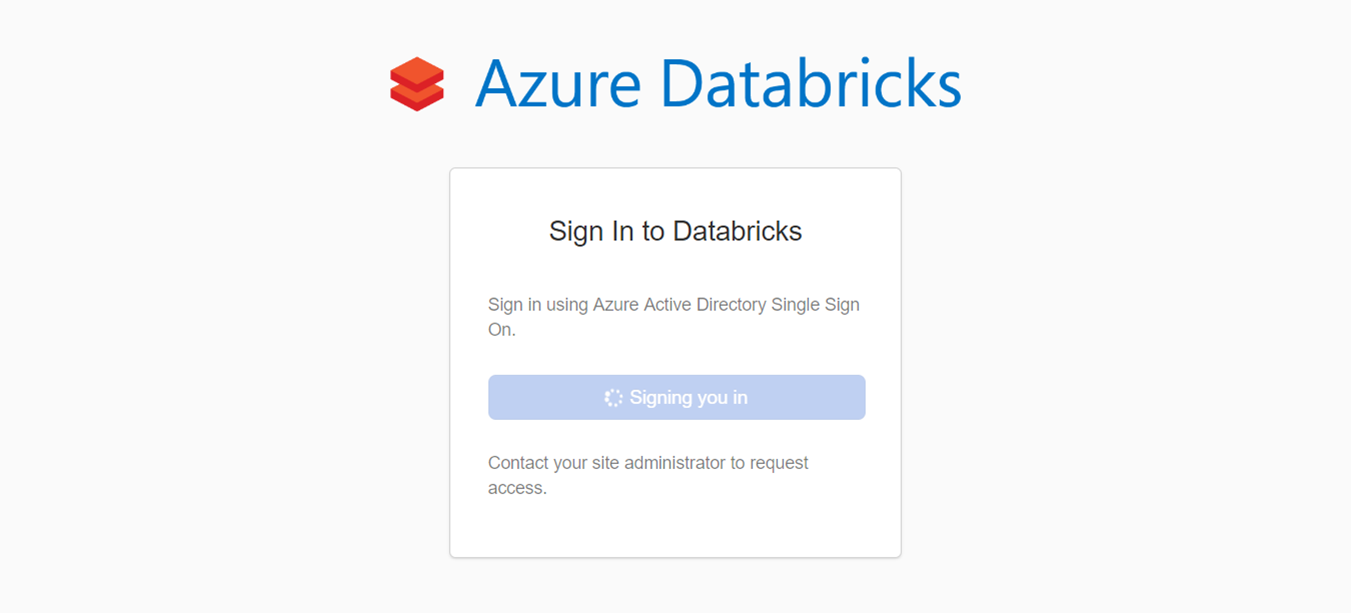
リソースのページの「Launch Workspace」をクリックして、Databricksワークスペースにログインします。
Clusterの作成
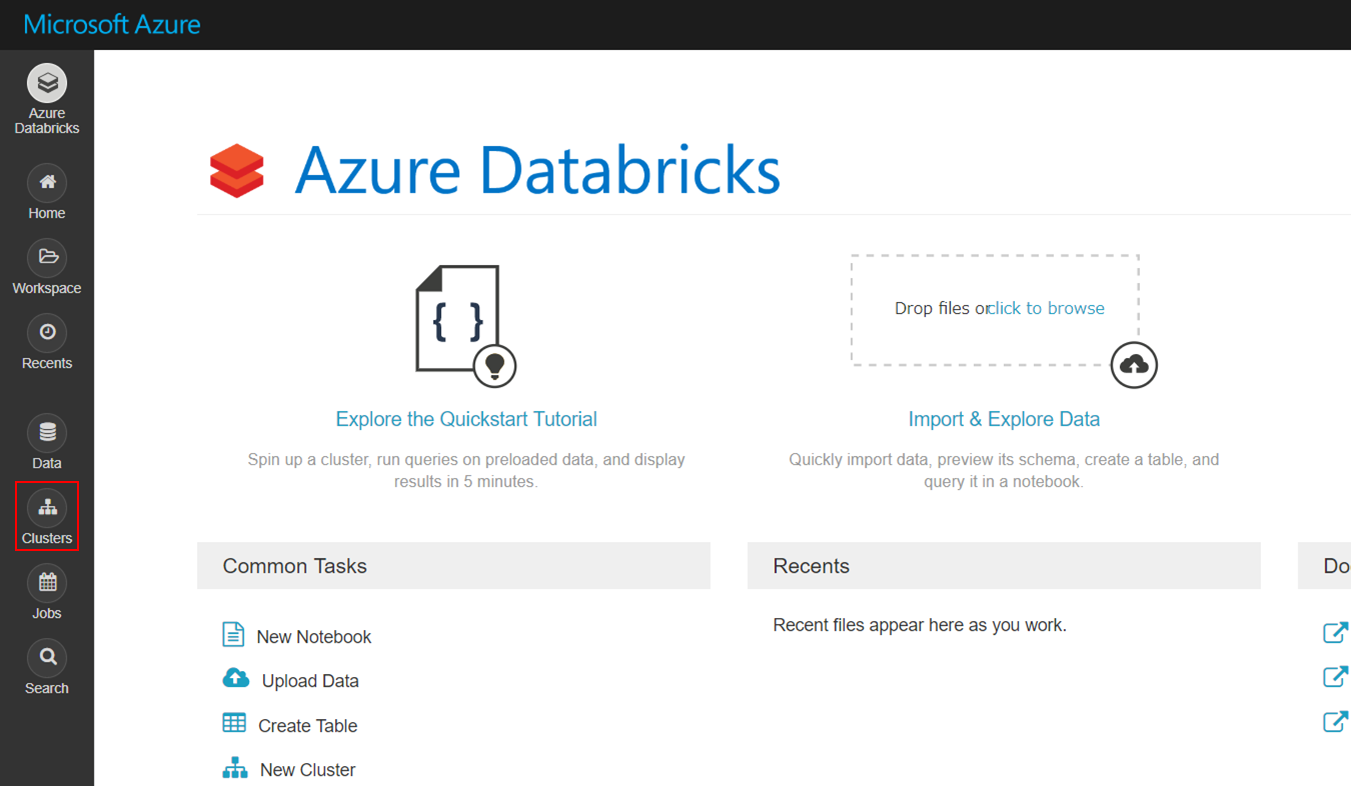
Databricksワークスペースのサイドバーにある「Clusters」をクリックします。
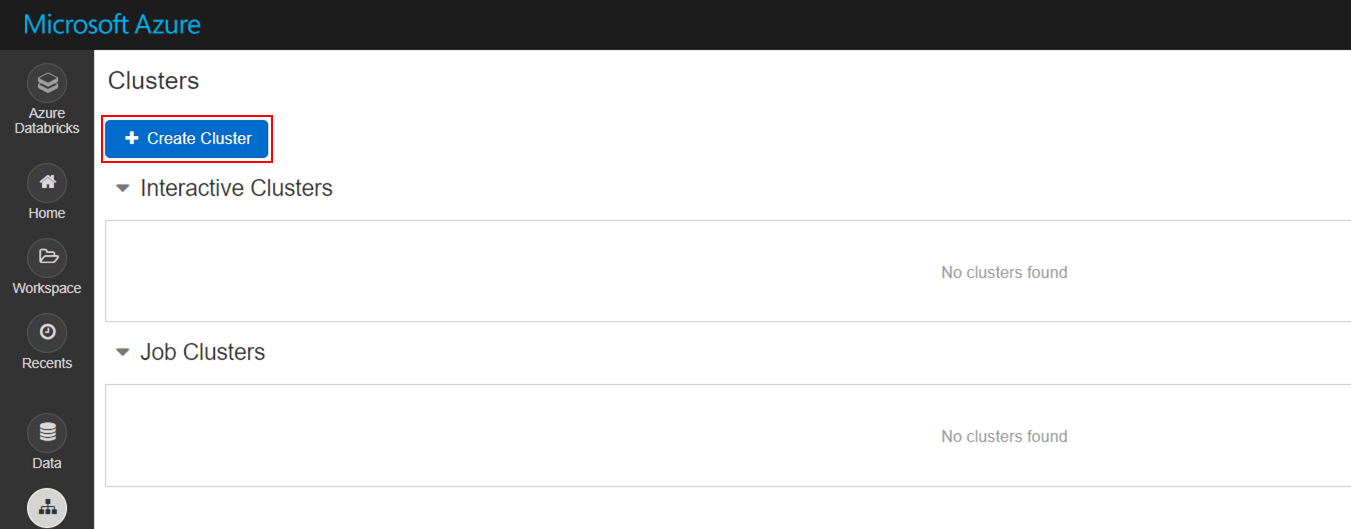
「+Create Cluster」をクリックしてClusterの作成を開始します。
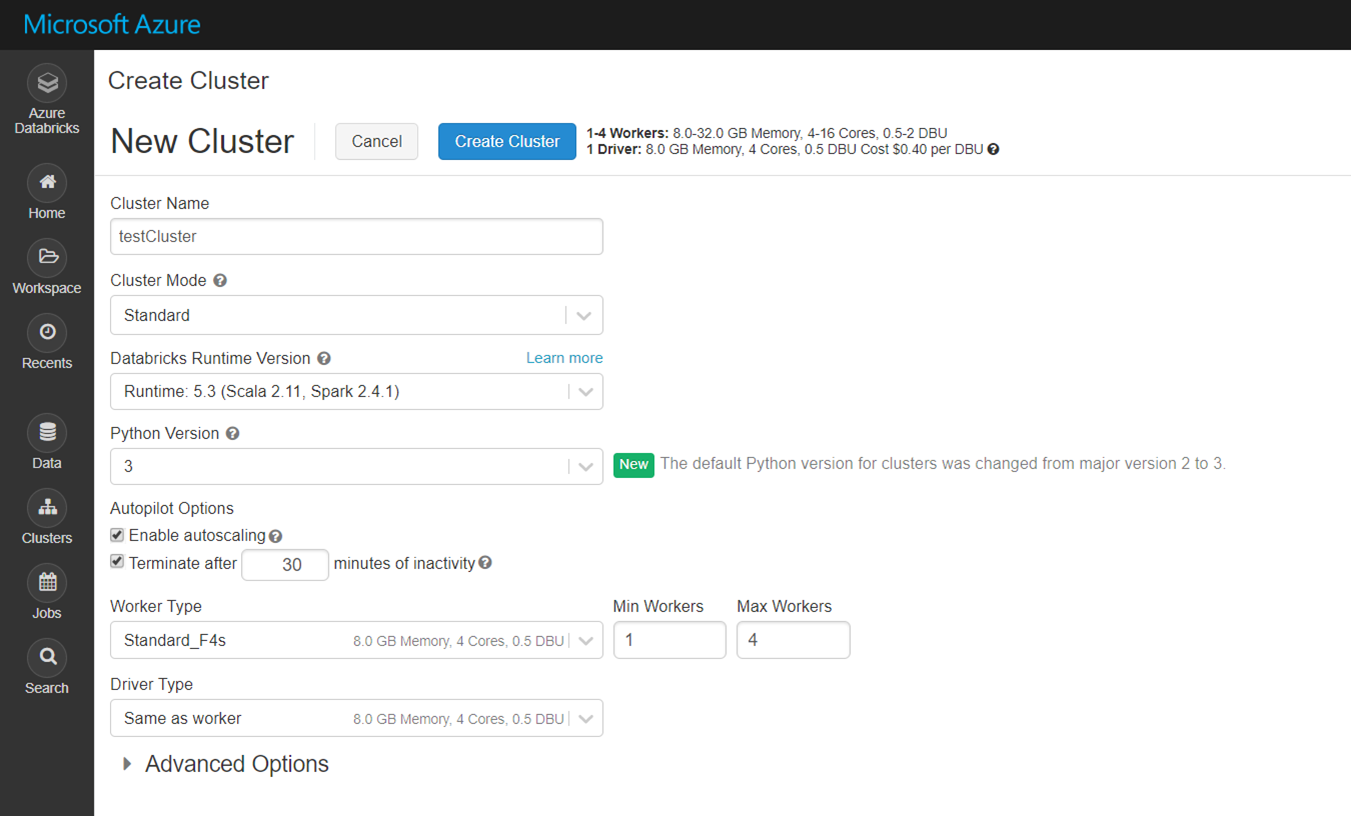
必要事項を入力、設定していきます。
今回は、以下の設定値で作成します。
| 項目 | 内容 | 設定値 |
|---|---|---|
| Cluster Name | Clusterの名称 | 任意の名称 |
| Databricks Runtime Version | Databricksランタイムバージョン ( Release Note ) | Runtime 5.3 |
| Python Version | Pythonバージョン | 3 |
| Enable autoscaling | オートスケール設定 | 有効 |
| Terminate after ~ minutes of inactivity | 実行状態にないClusterを削除するまでの時間 | 30 |
| Worker Type | Workerのインスタンスタイプ | Standerd_F4s |
| Min Workers | オートスケールの最小Worker数 | 1 |
| Max Workers | オートスケールの最大Worker数 | 4 |
| Driver Type | Driverのインスタンスタイプ | Same as worker |
 |
||
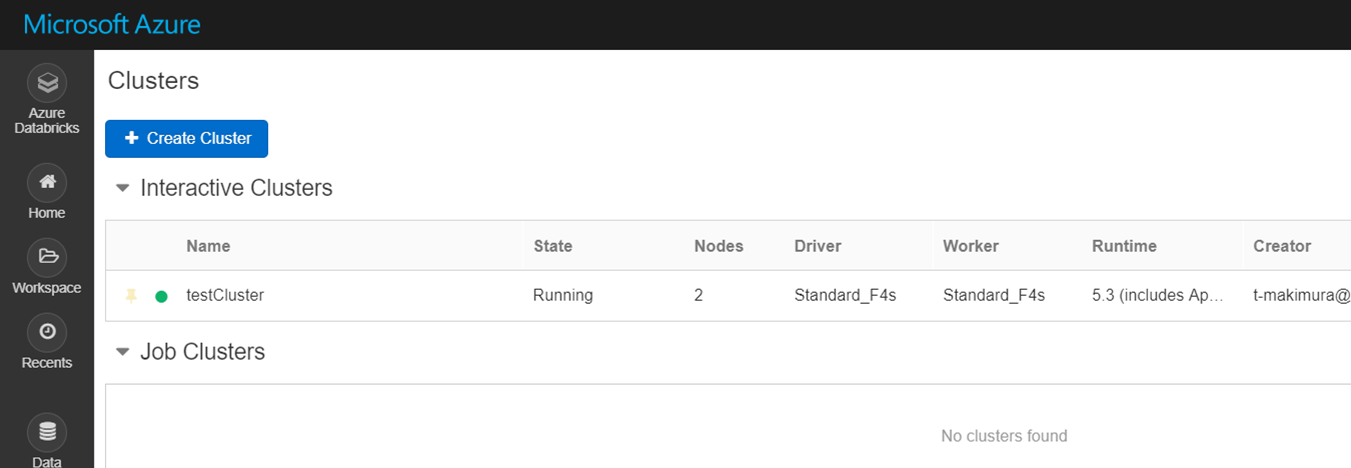
| Clusterの「State」が「Running」になるまでしばらく待機します。 | ||
 |
Notebookの作成
サイドバーの「Workspace」をクリックし、「Users」=>「{アカウント名}」とディレクトリを移動して、ユーザーディレクトリを表示します。
右上のドロップダウンリストから「Create」=>「Notebook」を選択します。

「Name」に任意のNotebook名を入力し、「Language」に「Python」、「Cluster」に先ほど作成したClusterを設定して「Create」をクリックします。
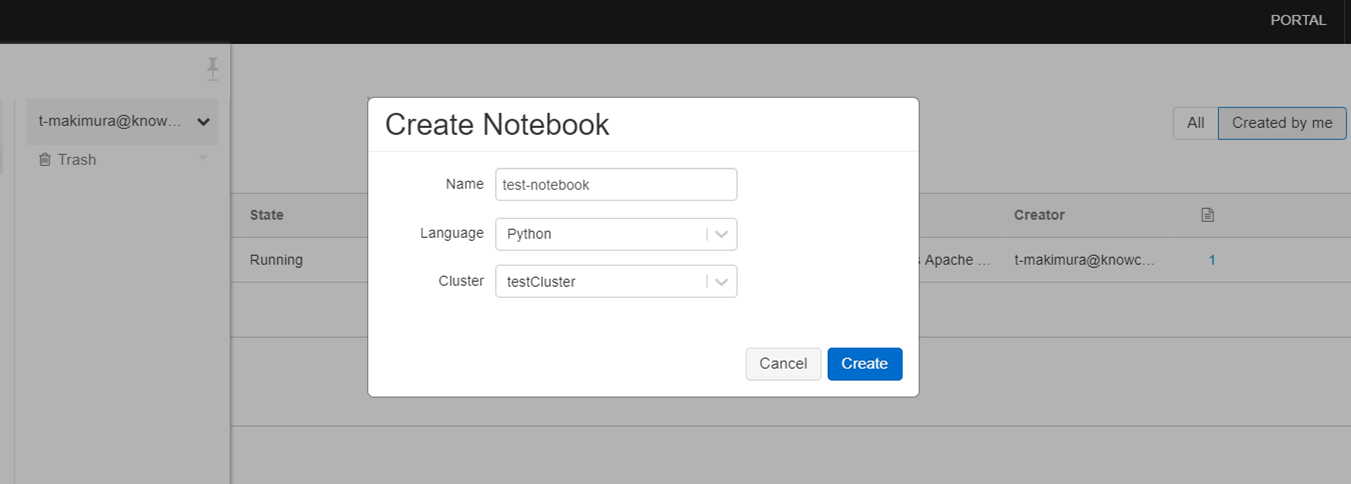
以上でNotebookの作成は完了です。
