はじめに
- この記事はISerアドベントカレンダー2020の21日目の記事として書かれました。
この記事は何か
- p5.jsからPythonの関数を呼び出したいと思っている人に、その方法の1つをお伝えします。
- flaskでサーバーを立て、そこでpythonを動かします。javascriptからajaxを使ってアクセスします。
完成品
-
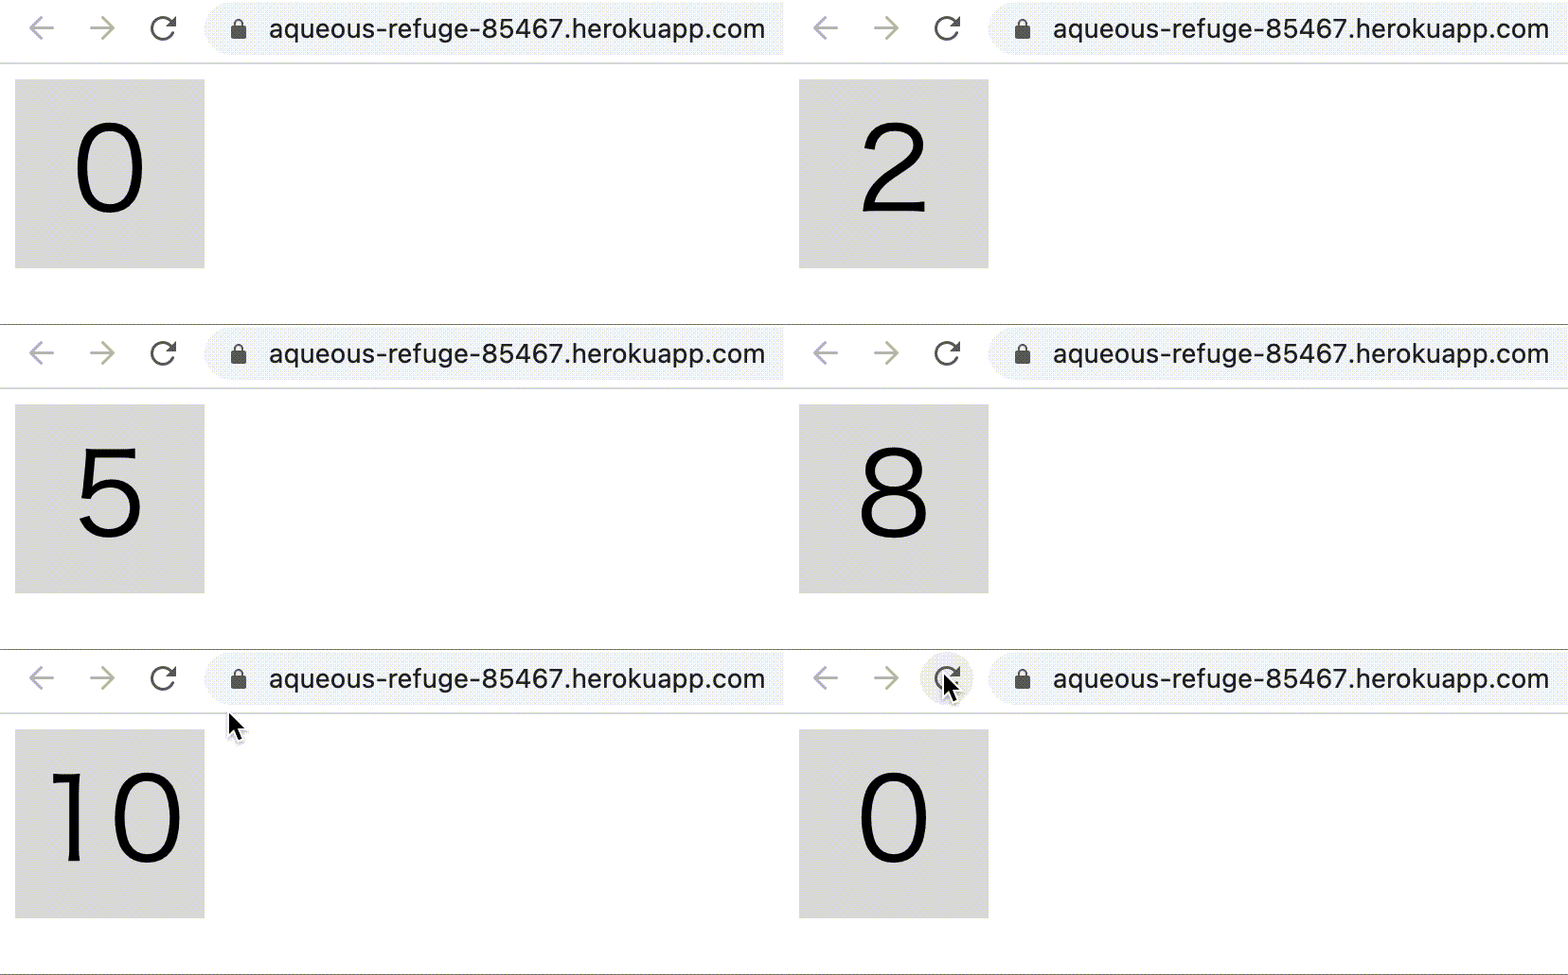
このページのようなカウントアプリを作ります。
- 初めてアクセスする際には、herokuの起動に数秒かかります。
- キーボードを叩くと、表示されている数字が増えます。
-
プログラムの構造
- sketch.jsのkeyPressed()でキーボード入力を受け取ります。
- ajaxを用いて
/incrementにPOSTし、app.pyのplusone関数にcountという変数の値を渡します。 - plusone関数が、与えられた数値に1を加えた値を返します。
- sketch.jsで返ってきた値をcount変数に代入します。
- 一定周期でdraw関数が呼ばれ、count変数の値に従ってテキストを表示します。
-
コードはすべてGitHubに置いてあります。
手順
p5.jsでカウントアプリを書く
- p5.jsで適当にカウントアプリを書きます。
- 次のようにsketch.jsを書いてみましょう。
let count = 0;
function setup() {
    createCanvas(100, 100);
    count = 0;
}
function draw() {
    background(220);
    textSize(60);
    textAlign(CENTER);
    text(count, 50, 70);
}
function keyPressed(){
    count += 1;
}
- setupでcountを0に設定し、keyPressedでその値を1増やし、draw(一定周期で繰り返し呼ばれる)で
- p5.js official editorなどを使うと、簡単にテストできます。
- p5.jsについて詳しく知りたい方へ。
index.htmlを書いて、ブラウザで開いてみる
- 次のようにindex.htmlを書いてみましょう。
<html lang="ja">
<head>
  <meta charset="utf-8">
  <script src="https://cdnjs.cloudflare.com/ajax/libs/p5.js/0.9.0/p5.min.js"></script>
  <script src="../static/sketch.js"></script>
</head>
<body>
</body>
</html>
- ディレクトリの構造を次のようにしましょう。
./
├── static
│   └── sketch.js
└── templates
    └── index.html
- index.htmlを開くと、Chromeなどのブラウザでカウントアプリを開けます。
- 参考
flaskでローカルサーバーを立ち上げてみる
flaskのinstall
- まず、flaskをinstallしましょう。
$ pip3 install Flask
ローカルサーバーを立ち上げる
- 次のようにapp.pyを書いてみましょう。
from flask import Flask, render_template
app = Flask(__name__)

@app.route("/")
def main():
    return render_template("index.html")

if __name__ == "__main__":
    app.run(host = "0.0.0.0", port = 8080, debug = True)
- ローカルサーバーを立ち上げてみましょう。
$ python3 app.py
 * Serving Flask app "app" (lazy loading)
 * Environment: production
   WARNING: This is a development server. Do not use it in a production deployment.
   Use a production WSGI server instead.
 * Debug mode: on
 * Running on http://0.0.0.0:8080/ (Press CTRL+C to quit)
 * Restarting with fsevents reloader
 * Debugger is active!
 * Debugger PIN: 245-513-508
- http://0.0.0.0:8080/ にアクセスして、カウントアプリが表示されればOKです。
- 参考:Flask QuickStart
Ajaxで通信してみる
- ここからいよいよ、JavascriptからPythonコードを呼び出してみます。
sketch.jsでajaxを呼ぶ
- keyPressedで、
/incrementにアクセスするようにしてみます。
function keyPressed(){
    var post = $.ajax({
        type: "POST",
        url: "/increment",
        data: {count: count}, // post a json data.
        async: false,
        dataType: "json",
        success: function(response) {
            console.log(response);
            // Receive incremented number.
            count = response.count;
        },
        error: function(error) {
            console.log("Error occurred in keyPressed().");
            console.log(error);
        }
    })
}
app.pyにplusone関数を作る
- app.pyに次の関数を追加します。
@app.route("/increment", methods=["POST"])
def plusone():
    req = request.form
    res = {"count": int(req["count"])+1}
    return jsonify(res)
ajaxを使えるようにhtmlにソースを追加する
- index.htmlに次の行を追加します。
<script src="https://ajax.googleapis.com/ajax/libs/jquery/3.5.1/jquery.min.js"></script>
実行
- 実行します。
$ python3 app.py
デプロイ
- このページでは、さらにherokuでのアップロードをしています。
- heroku 公式リファレンス を参考にしつつ、デプロイを行います。
おわりに
- いかがでしたでしょうか。
- この技術を基に、明後日の記事のネタを作っていきたいと思っています。
- 明日はRisebbitくんによる記事です。楽しみですね!
