知識材料
利用環境
今回のゴール
RaspberryPi に赤外線センサーと赤外線LEDを接続し、リモコンコードを送受信できることを確認
事前準備
- RaspberryPi に Raspbian Stretch がセットアップされている
- RaspberryPi がインターネットに接続されている
実践
lirc インストール
sudo apt install lirc
設定
/etc/lirc/lirc_options.conf を編集
編集箇所は2つ
- driver を default に
- device を /dev/lirc0 に
# These are the default options to lircd, if installed as
# /etc/lirc/lirc_options.conf. See the lircd(8) and lircmd(8)
# manpages for info on the different options.
#
# Some tools including mode2 and irw uses values such as
# driver, device, plugindir and loglevel as fallback values
# in not defined elsewhere.

[lircd]
nodaemon        = False
# ↓ ここ
driver          = default
device          = /dev/lirc0
# ↑ ここ
output          = /var/run/lirc/lircd
pidfile         = /var/run/lirc/lircd.pid
plugindir       = /usr/lib/arm-linux-gnueabihf/lirc/plugins
permission      = 666
allow-simulate  = No
repeat-max      = 600
# effective-user =
# listen         = [address:]port
# connect        = host[:port]
# loglevel       = 6
# uinput         = ...
# release        = ...
# logfile        = ...

[lircmd]
uinput          = False
nodaemon        = False

# [modinit]
# code = /usr/sbin/modprobe lirc_serial
# code1 = /usr/bin/setfacl -m g:lirc:rw /dev/uinput
# code2 = ...


# [lircd-uinput]
# release-timeout = 200
RasbperryPi Config 変更
/boot/config.txt に lirc 設定を追加
# IR-Remote Controller
dtoverlay=lirc-rpi
dtparam=gpio_in_pin=20
dtparam=gpio_out_pin=21
ピン番号は、ご自身の環境に合わせて変更してください。下記ページの、数字付き黄色ピンが利用可能です。
raspberrypi-document gpio
ここまできたらリブート
sudo reboot
リモコンコード設定
家電リモコンコードを送受信するためには、コード設定ファイルを作成する必要があります。
作成には irrecord コマンドを使用しますが操作が複雑なので、参考にさせていただいたページを紹介します。1
ここではあらかじめ学習済みの設定ファイルを使用します。
(電源ボタンと、1〜12 までのボタンが学習されています。)
*.conf ファイルを、/etc/lirc/lircd.conf.d にコピーします。
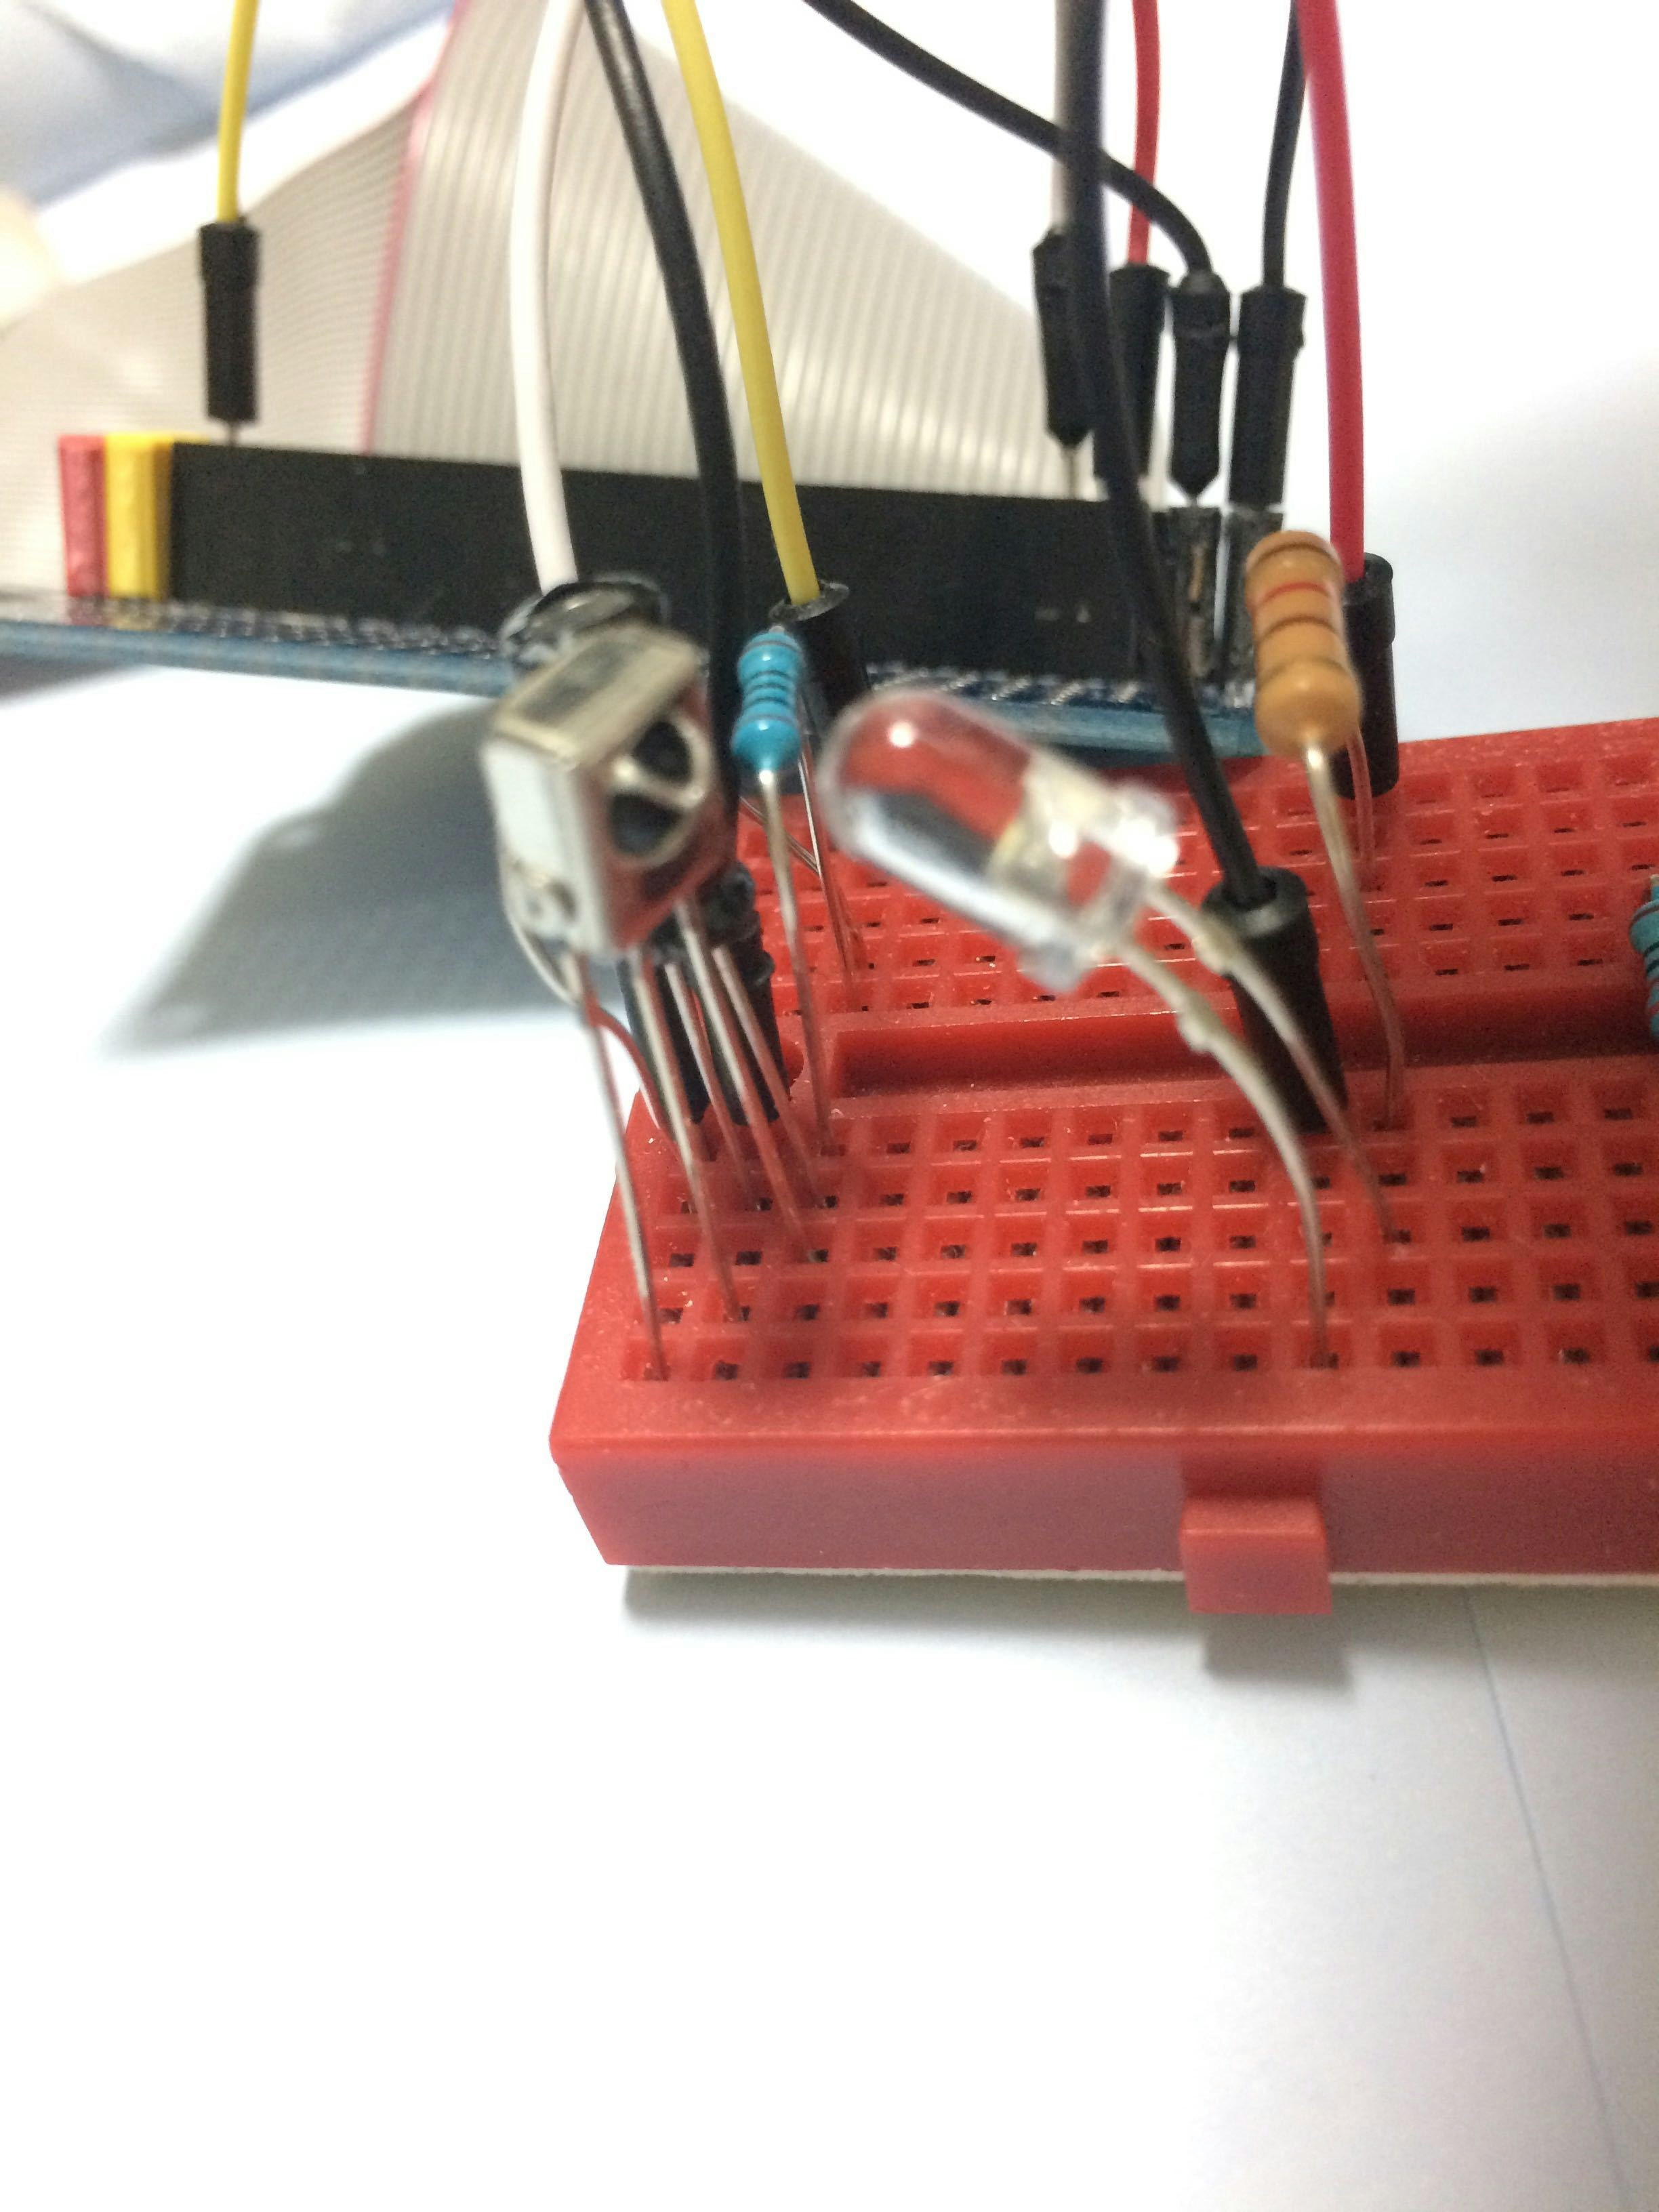
動作確認のまえに準備
あらかじめ赤外線LEDをとセンサーを、写真のように向かい合わせておきます。
実行と結果
ターミナルを2つ立ち上げ、両方のターミナルでRaspberryPi にログインします。
受信側準備 (irw)
片方のターミナルで irw コマンドを実行します。
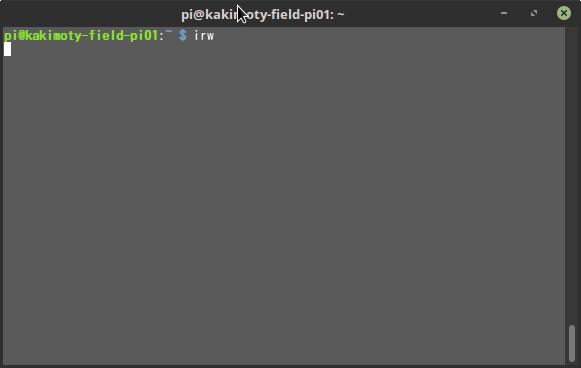
赤外線センサーにリモコンを向けて、任意のボタンを押します。
コンソールに、押したリモコンのボタン名が表示されることを確認します。
— Dai Kakimo (@Kakimoty_Field) 2019年2月7日
送信側操作 (irsend)
もう片方のターミナルで、irsend コマンドを使用し、リモコンコードを赤外線で送信します。
(今回の手順で準備した リモコンコードの remote は、sharp です)
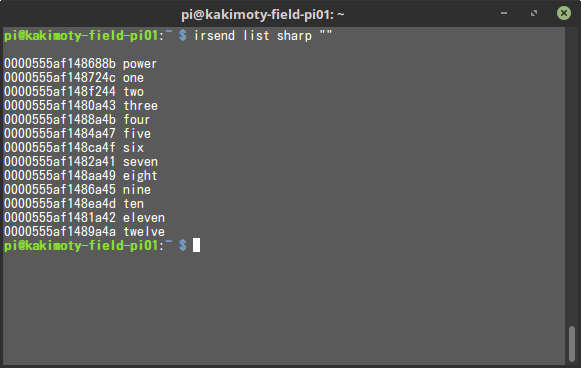
コード一覧表示
利用可能なリモコンコード一覧を表示します
irsend list sharp ""
コード送信
コード一覧から任意のリモコンコードを送信できます。
irsend send_once sharp power
正しくリモコンコードが送信された場合、 irw を実行したターミナルに、受信メッセージが表示されます。