#はじめに
前回、 【Ruby】SinatraをVagrantに速攻構築。全部コピペで出来るようにしました。
にてRuby-Sinatraな環境をVagrantに構築する手順をご紹介しましたが、今回は、
Unicorn × Nginxを導入した本番サーバを構築し、
VagrantからCapistranoを使って
GitHubのレポジトリ経由でSinatraをデプロイする手順をご紹介します!
今回もコピペすれば出来るようになっているので、是非試してみてください。
#環境
本記事は以下環境で構築しています。
####デプロイ先サーバ(AWS-EC2)
・Ruby v2.2.1
・rbenv v0.4.0
・Unicorn v4.9.0
・Nginx v1.6.2
・Git 2.5.0
####Vagrant
・Ruby v2.2.1
・rbenv v0.4.0
・Capistrano v3.2.1
・Git 2.5.0
####その他
・GitHub
#デプロイ先サーバの構築
まずは、デプロイ先サーバの設定をしていきます。
##デプロイ先サーバの下準備
###時刻をJSTに設定
$ sudo cp /usr/share/zoneinfo/Japan /etc/localtime
###諸々インストール
$ sudo yum update
$ sudo yum install wget vim
$ sudo yum -y install curl-devel libffi-devel expat-devel gettext-devel openssl-devel zlib-devel perl-ExtUtils-MakeMaker
$ sudo yum -y install libxslt-devel libxml2-devel sqlite-devel
$ sudo yum -y install gcc gcc-c++
$ sudo yum -y groupinstall "Development Tools"
$ sudo yum -y install readline-devel
###Gitのアップデート
$ cd
$ wget https://www.kernel.org/pub/software/scm/git/git-2.5.0.tar.gz
$ tar zxvf git-2.5.0.tar.gz
$ cd git-*
$ ./configure --prefix=/usr/local
$ make
$ sudo make install
$ which git
$ git --version
##rbenvでRuby, Bundlerのインストール
続いてRuby, Bundlerをインストールします。下記コマンドでインストールしてください。
Rubyのインストール
$ git clone https://github.com/sstephenson/rbenv.git ~/.rbenv
$ git clone https://github.com/sstephenson/ruby-build.git ~/.rbenv/plugins/ruby-build

$ echo 'export PATH="$HOME/.rbenv/bin:$PATH"' >> ~/.bash_profile
$ echo 'eval "$(rbenv init -)"' >> ~/.bash_profile
$ exec $SHELL -l

$ rbenv install 2.2.1 #安定版インストール。少し時間がかかります。
$ rbenv global 2.2.1
$ which ruby
$ which gem
$ ruby -v
$ gem -v
Bundlerのインストール
$ rbenv exec gem install bundler
$ rbenv rehash
$ which bundler # ~/.rbenv/配下に入る
$ bundler -v
$ gem list bundler
##作業ディレクトリの作成
作業ディレクトリを作成します。
本記事では/var/www/vhosts/配下にsinatraという作業ディレクトリを作成します。
###wwwディレクトリ以下の所有権変更
$ cd /var
$ sudo mkdir www
$ sudo chown -R ec2-user www
$ cd www
###ディレクトリ作成
$ mkdir vhosts
$ cd vhosts
$ mkdir sinatra
##GitHubの設定
GitHubからデプロイするためにDeploy keysを設定する必要があります。
対象リポジトリページの「Settings」→「Deploy keys」に移動し、デプロイ先サーバの公開鍵を登録します。
##Nginxの設定
###インストール
$ sudo yum -y install nginx
###設定
$ sudo vim /etc/nginx/conf.d/virtual.conf
upstream unicorn_server {
    server unix:/tmp/unicorn.sock
    fail_timeout=0;
}

server {
    listen 80;
    client_max_body_size 4G;
    server_name _;

    keepalive_timeout 5;
    #任意のディレクトリに書き換えてください
    root /var/www/vhosts/sinatra/shared/public;

    #任意のディレクトリに書き換えてください
    location ~ ^/assets/ {
        root /var/www/vhosts/sinatra/shared/public;
    }

    location / {
        proxy_set_header X-Forwarded-For $proxy_add_x_forwarded_for;
        proxy_set_header Host $http_host;
        proxy_redirect off;

        if (!-f $request_filename) {
            proxy_pass http://unicorn_server;
            break;
        }
    }

    error_page 500 502 503 504 /500.html;
    location = /500.html {
        #任意のディレクトリに書き換えてください
        root /var/www/vhosts/sinatra/shared/public;
$ sudo service nginx start
$ sudo chkconfig nginx on
以上でデプロイ先サーバの設定は完了です!続いてVagrantの設定をしていきます!
#Vagrantの構築
Vagrantの構築は
【Ruby】SinatraをVagrantに速攻構築。全部コピペで出来るようにしました。
を参考に構築してください。
##Vagrantからデプロイ先サーバにSSH
デプロイするためにVagrantからデプロイ先サーバにSSH出来るようにします。
今回はMacの秘密鍵をVagrantと共有することで、Vagrantで鍵を作成する手間を省きます。
###Macの秘密鍵をVagrantで使用する
下記コマンドをMacで実行してください。
$ ssh-add -K ~/.ssh/id_rsa
Vagrantfileに下記を加えてください。
config.ssh.forward_agent = true
以上が完了したらvagrant upで設定を反映させてください。
##Gemfileを編集
capistrano系のGemを抜粋しています。
下記をGemfileに追加してください。
# capistrano
gem 'capistrano', '~> 3.0'
gem 'capistrano-rails'
gem 'capistrano-rbenv'
gem 'capistrano-bundler'
gem 'capistrano3-unicorn'

group :production do
  gem 'unicorn'
end
上記を追加したら、$ bundle installでGemをインストールします。
##Capistranoの設定
###Capistranoのディレクトリ・ファイルの作成
下記図を参考にディレクトリ・ファイルを作成します。
作成するディレクトリ・ファイルは
sinatra/Capfile, sinatra/config/deploy.rb ,
sinatra/config/unicorn/production.rb, sinatra/config/deploy/production.rb
の4ファイルです。
sinatra/
 ├ app.rb
 ├ Capfile # 作成
 ├ assets/
 │ └ js/
 │ └ scss/
 ├ config # 以下作成
 │ └ deploy.rb
 │ └ unicorn/
 │   └ production.rb
 │ └ deploy/
 │   └ production.rb
 │ └ scss/
 ├ config.ru
 ├ Gemfile
 ├ Gemfile.lock
 ├ Vendor/
 ├ views/
 │ └ index.slim
##各ファイルの設定
sinatra/Capfile
require 'capistrano/setup'
require 'capistrano/deploy'
require 'capistrano/rbenv'
require 'capistrano/bundler'
require 'capistrano/rails/assets'
require 'capistrano3/unicorn'

set :rbenv_type, :user
set :rbenv_ruby, '2.2.1'

Dir.glob('lib/capistrano/tasks/*.rake').each { |r| import r }
sinatra/config/deploy.rb
# インストールしたcapistranoのバージョンを「cap -V」コマンドで確認、指定する。
# lock '3.2.1'

set :application, 'sinatra' # アプリケーション名
set :repo_url, 'git@github.com:sinatra/sinatra.git' # レポジトリのSSH clone URL
set :branch, 'master' # デプロイしたいブランチ名
set :deploy_to, '/var/www/vhosts/sinatra' # デプロイ先サーバのディレクトリ
set :scm, :git
set :log_level, :debug
set :pty, true
set :linked_dirs, %w{bin log tmp/pids tmp/cache tmp/sockets bundle public/system public/assets}
set :default_env, { path: "/usr/local/rbenv/shims:/usr/local/rbenv/bin:$PATH" }
set :keep_releases, 5

after 'deploy:publishing', 'deploy:restart'
namespace :deploy do

  desc 'Restart application'
  task :restart do
    invoke 'unicorn:restart'
  end
end
sinatra/config/unicorn/production.rb
@app_path = '/var/www/vhosts/sinatra' # デプロイ先サーバのディレクトリ
working_directory @app_path + "/current"

worker_processes 2
preload_app true
timeout 30
listen "/tmp/unicorn.sock", :backlog => 64
pid "#{@app_path}/shared/tmp/pids/unicorn.pid"

stderr_path "#{@app_path}/log/unicorn.stderr.log"
stdout_path "#{@app_path}/log/unicorn.stdout.log"

before_fork do |server, worker|
  ENV['BUNDLE_GEMFILE'] = File.expand_path('Gemfile', ENV['RAILS_ROOT'])
end

before_fork do |server, worker|
  old_pid = "#{server.config[:pid]}.oldbin"
  if File.exists?(old_pid) && server.pid != old_pid
    begin
      Process.kill("QUIT", File.read(old_pid).to_i)
    rescue Errno::ENOENT, Errno::ESRCH
    end
  end
end
sinatra/config/deploy/production.rb
set :rails_env, "production"
set :unicorn_rack_env, "production"

role :app, %w{ec2-00-000-00-000.ap-northeast-1.compute.amazonaws.com} # ホスト名

server 'ec2-00-000-00-000.ap-northeast-1.compute.amazonaws.com', user: 'ec2-user', roles: %w{app} # ホスト名, ユーザ名

set :ssh_options, {
  keys: %w(/home/vagrant/.ssh/id_rsa),
  forward_agent: false,
  auth_methods: %w(publickey)
}
ここまで出来たら、git pushして設定をリモートブランチに反映させましょう!
##いざデプロイ!
下記コマンドでCapistranoを実行し、デプロイしましょう!
bundle exec cap production deploy
###結果の確認
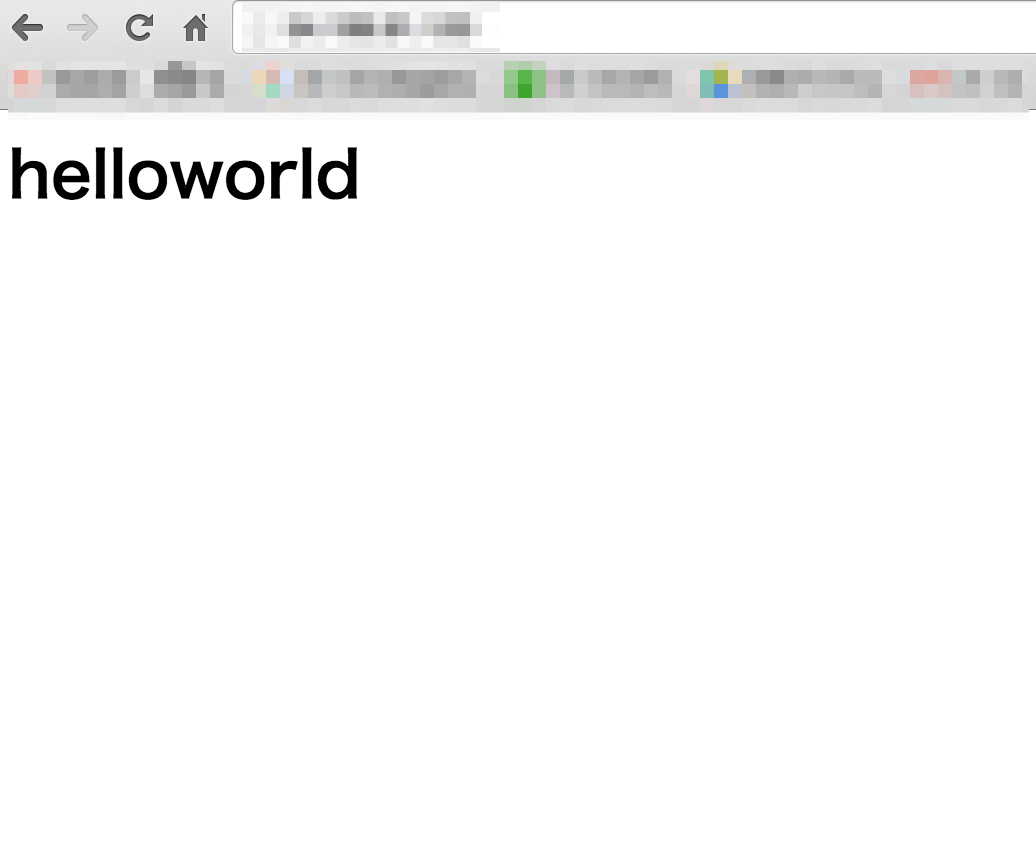
下図のような結果がデプロイ先サーバで見れれば成功です!

お疲れ様でした!以上がCapistranoを使ったRuby-Sinatraのデプロイ方法です!!
ガンガンPushしてガンガンデプロイしていきましょう!