GitHubの無料アカウントでも、Privateリポジトリが使えるようになりました。
https://techcrunch.com/2019/01/07/github-free-users-now-get-unlimited-private-repositories/
今回はAzure DevOpsのPrivateリポジトリをGitHubに引っ越ししてみます。
思った以上に簡単でした。
引っ越し元(Azure DevOps)の準備
アクセストークンの用意
Azure DevOpsの右上のアイコンをクリックして、「Securitiy」を選び...
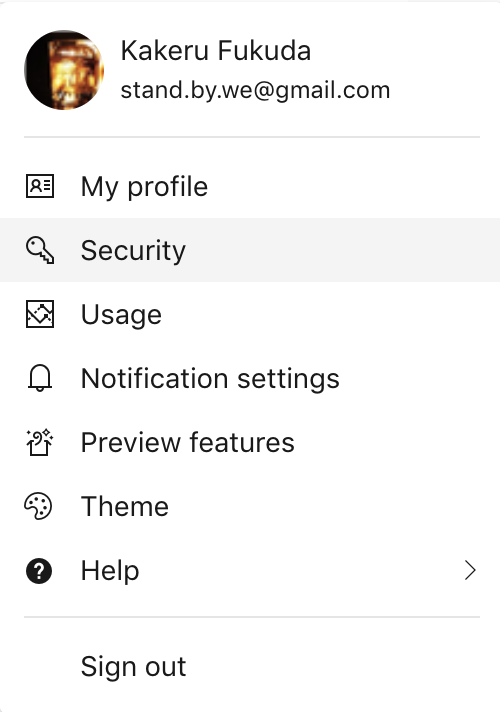
Personal Access Tokensの画面に遷移します。

「New Token」ボタンから作成してください。
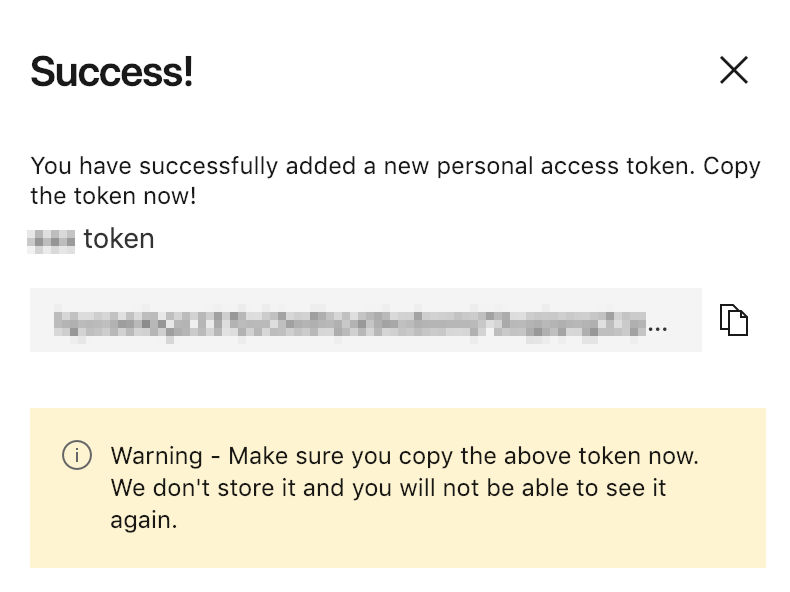
トークンが作成できました。警告にある通り、ここでトークン文字列をコピーしてどこかに保存してください。
トークンは2度と表示されることはないので、コピーし忘れるともう一度作り直す羽目になります。
Clone URLの取得
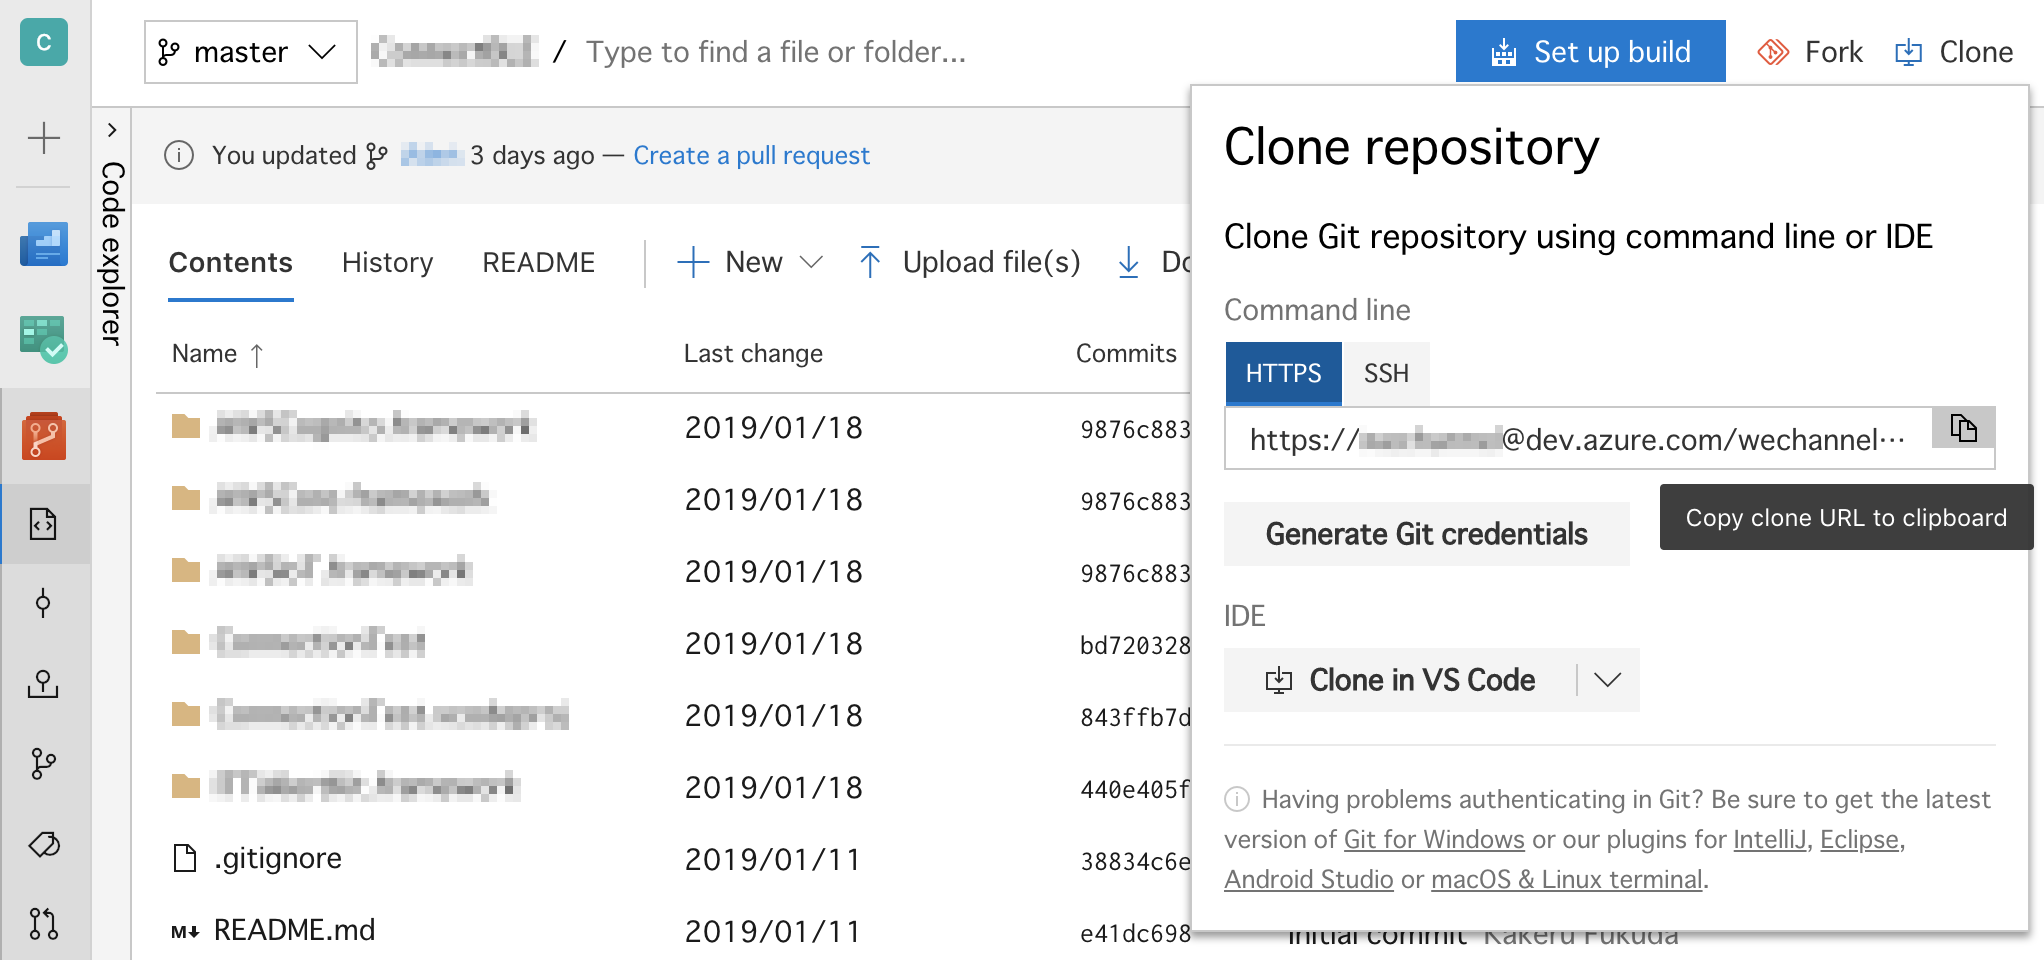
サイドメニューの「Repos」タブからリポジトリ画面に遷移し、右上にある「Clone」ボタンをクリックします。
コピーボタンを押してURLを取得します。
引越し先(GitHub)の準備
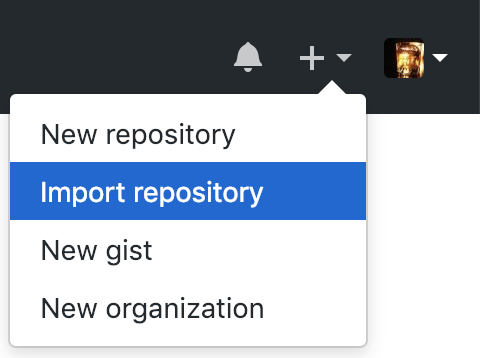
右上の「+」ボタンから「Import repository」を選択し...
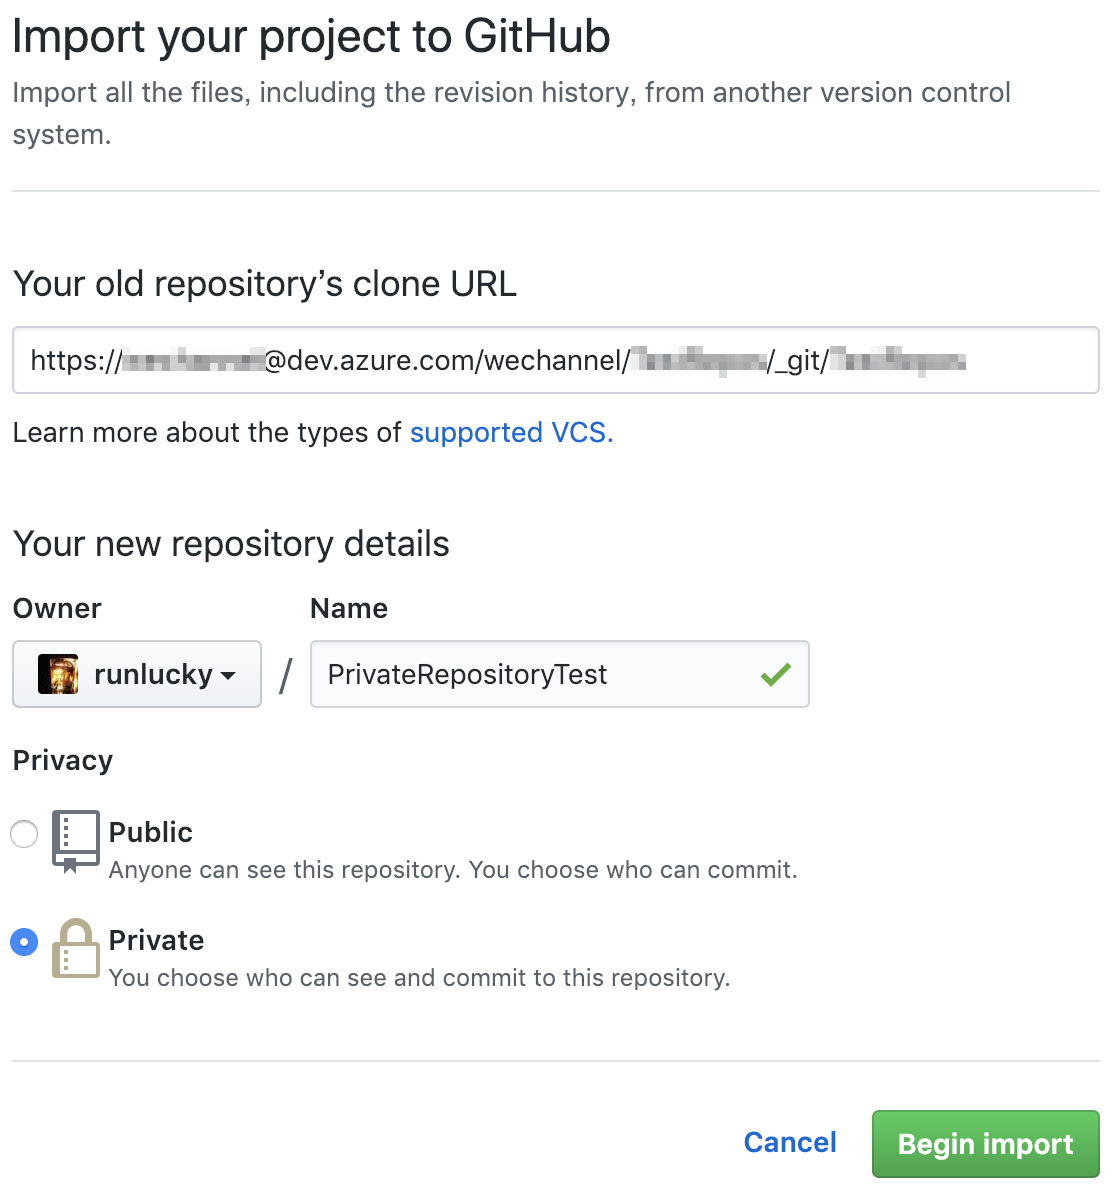
Clone URLとリポジトリ名を埋め、PrivacyをPrivateにします。
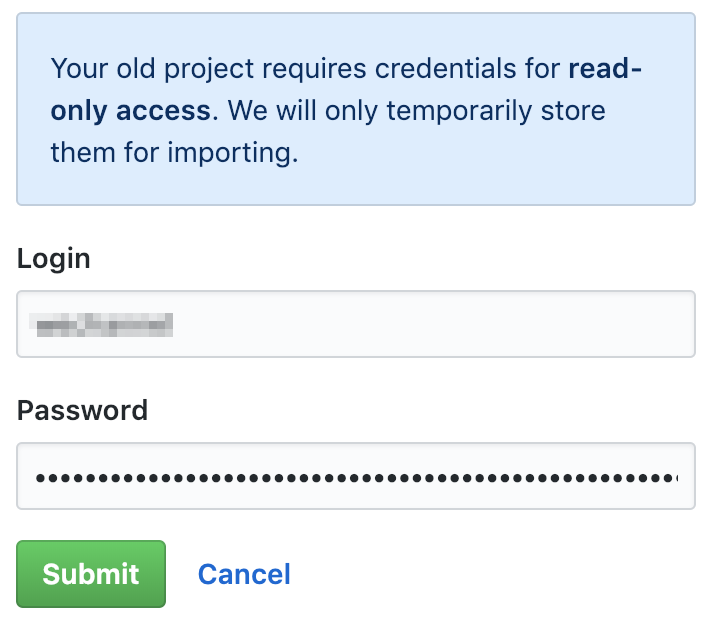 Begin importを押してしばらくするとアカウントを聞いてくるので、
Azure DevOpsのアカウント名とトークン文字列を貼り付けてください。
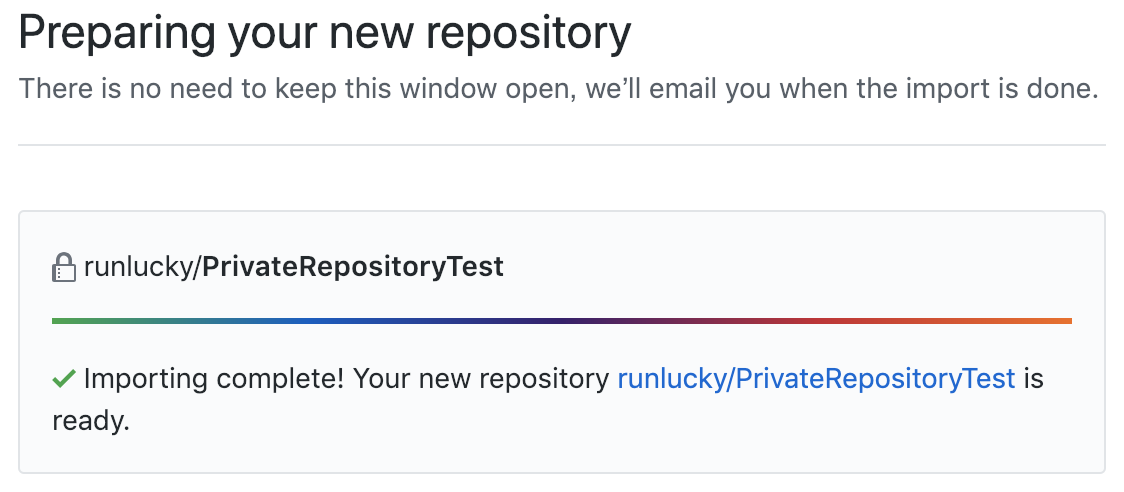
やったー成功しました!
リポジトリの引っ越しは、本来であればコンソール画面で呪文をいろいろ入力しないといけないそうですが、
GitHubの場合は移行ツールがあるので助かりました。
後かたづけ
引っ越し用に作成したトークンは念のため削除しておきましょう。