必要なライブラリ
Tellusさんのサイトを参考に,衛星画像の指定範囲切り取りと可視化をやってみたので,記録しておきます.
衛星画像をSentinelAPIから持ってくる手順は別のサイトを参考にしていただけると幸いです.
まず,必要なライブラリをインストールします.
rasterioは画像の読み込み・書き込み,geopandasは地理情報,geojsonはgeojsonファイル作成に必要です.
!pip install rasterio
!pip install git+git://github.com/geopandas/geopandas.git
!pip install geopandas
!pip install geojson

import os

import geopandas as gpd
import numpy as np
import matplotlib.pyplot as plt

import rasterio as rio
import rasterio.mask
from geojson import Polygon
import json
from PIL import Image
範囲指定と地理情報ファイル作成
今回は,B02・B03・B04の3つのバンドを使用してRGB画像にしていきます.
'T14TQL_20230208T171451_B04_10m.jp2',
'T14TQL_20230208T171451_B03_10m.jp2',
'T14TQL_20230208T171451_B02_10m.jp2'
の3つのファイルを使用する場合について,処理していきます.
まず,欲しい画像の範囲を経度緯度で指定します.
AREA = [[-96.13423,41.087988],[-96.175236,41.087988],[-96.175236,41.116512],[-96.13423,41.116512],[-96.13423,41.087988]]

for i in range(len(AREA)):
      if AREA[i][0] >= 0:
          AREA[i][0] = AREA[i][0]%360
      else:
          AREA[i][0] = -(abs(AREA[i][0])%360) + 360

m=Polygon([AREA])
with open('sample' + '.geojson', 'w') as f:
    json.dump(m, f)
for文以降では,座標を正の値に直して,geojsonファイル即ち,経度緯度参照用ファイルを生成しています.
画像合成と切り取り(tiff)
ここから,画像を読み込んで合成していきます.
b4 = rio.open('T14TQL_20230208T171451_B04_10m.jp2')
b3 = rio.open('T14TQL_20230208T171451_B03_10m.jp2')
b2 = rio.open('T14TQL_20230208T171451_B02_10m.jp2')

#合成
with rio.open('sample' + '.tiff', 'w',
              driver='Gtiff', width=b4.width, height=b4.height,
              count=3, crs=b4.crs, transform=b4.transform,
              dtype=b4.dtypes[0]) as rgb:
      rgb.write(b2.read(1),3)
      rgb.write(b3.read(1),2)
      rgb.write(b4.read(1),1)
      rgb.close()
#合成以降では画像データを空ファイルに書き込んでいます.今回,b4・b3・b2の順がR・G・Bの順に対応するのでその順番になるように番号(1~3)をふって合成しています.
そして,作成した画像を切り取っていきます.
nReserve_geo = gpd.read_file('sample' + '.geojson')
epsg = b4.crs

nReserve_proj = nReserve_geo.to_crs({'init': str(epsg)})

with rio.open('sample' + '.tiff') as src:
      out_image, out_transform = rio.mask.mask(src, nReserve_proj.geometry, crop=True)

      out_meta = src.meta.copy()
      out_meta.update({"driver"  : "GTiff",
                      "height"   : out_image.shape[1]*4,
                      "width"    : out_image.shape[2]*4,
                      "transform": out_transform})
      src.close()

  with rasterio.open('made_sample' + '.tiff', "w", **out_meta) as dest:
      dest.write(out_image)
'out_image,out_transform = 'の行で画像の指定範囲を切り出しています.そして,'out_meta.update'の行で画像を4倍に拡大しています.これは見やすくするためなので,2倍でも3倍でも良いです.
最後の2行で切り取って拡大した画像を保存しています.
これでtiff画像は生成できました.
画像合成と切り取り(tiff)
見やすさとダウンロードしやすさのために,png画像も生成しましょう.
file_list = ['T14TQL_20230208T171451_B04_10m.jp2', 'T14TQL_20230208T171451_B03_10m.jp2', 'T14TQL_20230208T171451_B02_10m.jp2']

for i in range(len(file_list)):
    with rio.open(file_list[i]) as src:
        out_image, out_transform = rio.mask.mask(src, nReserve_proj.geometry, crop=True)

        out_meta = src.meta.copy()
        out_meta.update({"height"   : out_image.shape[1]*4,
                         "width"    : out_image.shape[2]*4,
                         "transform": out_transform})
        src.close()

    with rasterio.open("B{}".format(4-i) + '.jp2', "w", **out_meta) as dest:
        dest.write(out_image)

b4 = rio.open("B4" + '.jp2', driver='JP2OpenJPEG')
b3 = rio.open("B3" + '.jp2', driver='JP2OpenJPEG')
b2 = rio.open("B2" + '.jp2', driver='JP2OpenJPEG')

#read each image (file)
image2 = b2.read(1)
image3 = b3.read(1)
image4 = b4.read(1)

#change "bands"
meta2.update(count=3)
meta3.update(count=3)
meta4.update(count=3)

#各数値を0-255程度の範囲に収める,uint8にしないと上手く表示されない
image4 = np.array(image4 / 2**6, dtype=np.uint8)
image3 = np.array(image3 / 2**6, dtype=np.uint8)
image2 = np.array(image2 / 2**6, dtype=np.uint8)

rgb_for_png = np.dstack((image4, image3, image2))

pil_img = Image.fromarray(rgb_for_png)
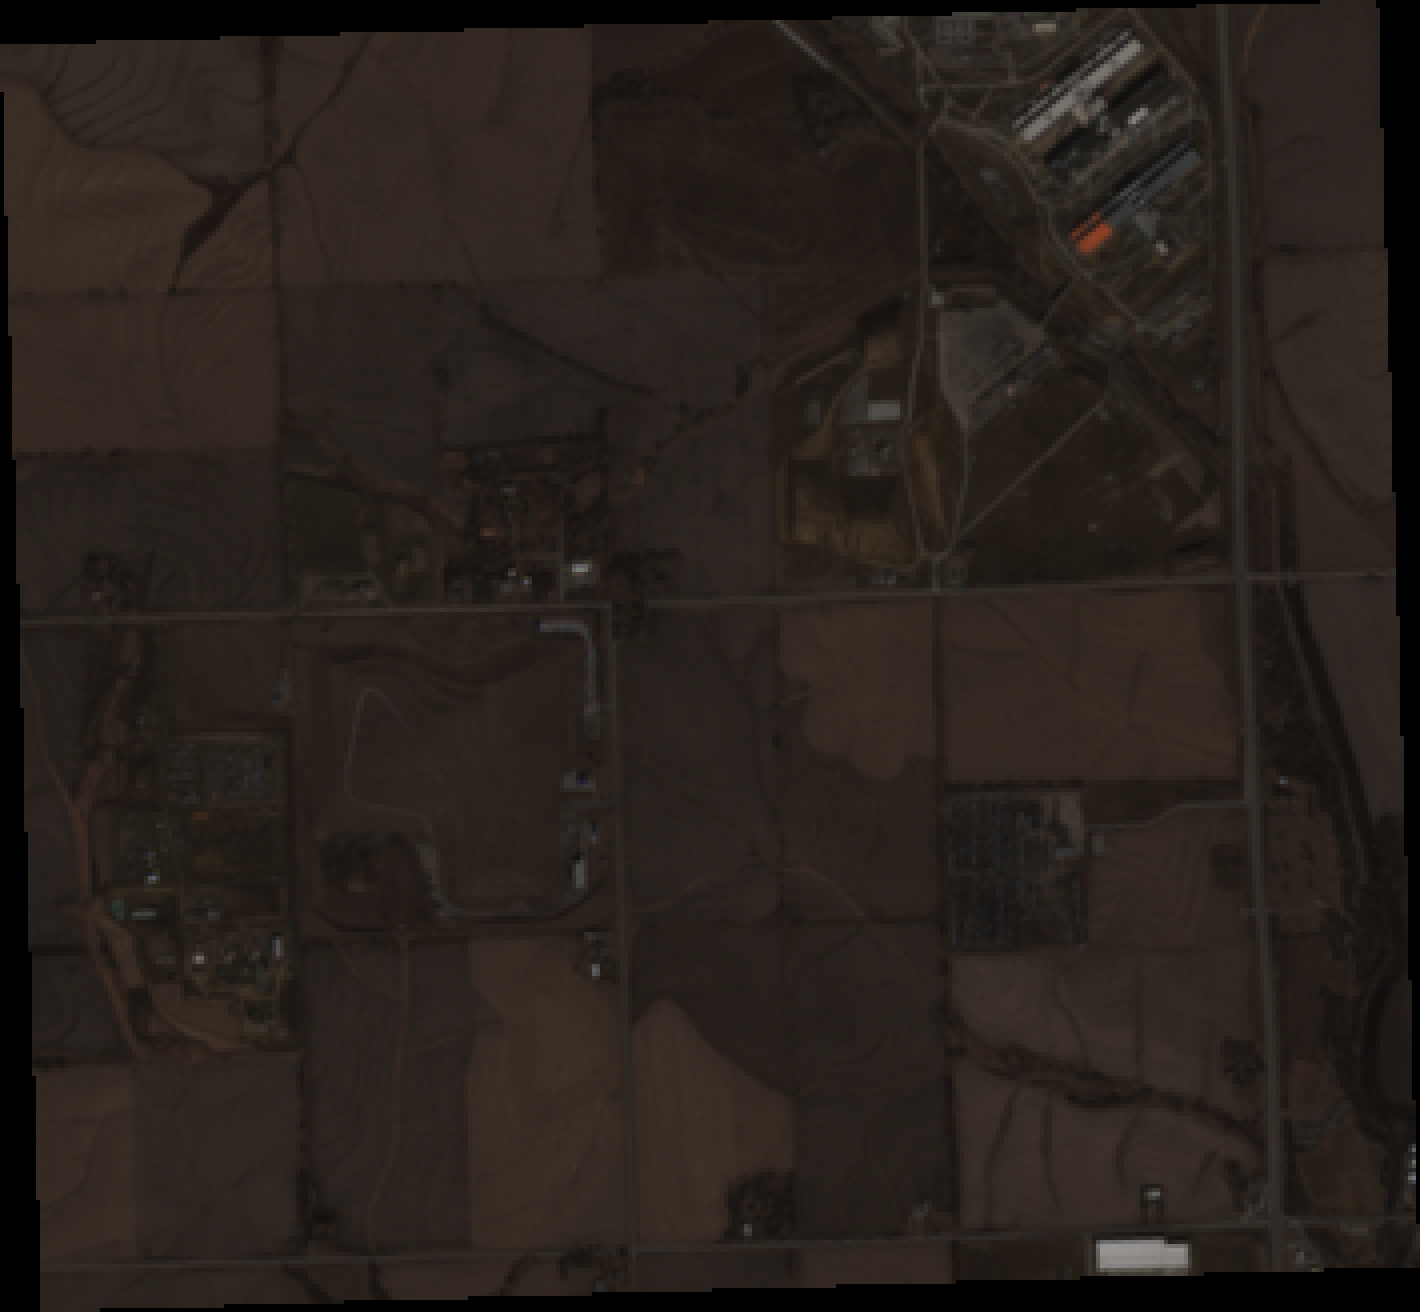
pil_img.save('made_sample' + ".png")
各画像を読み込んで,数値を小さくした後,np.dstackで合成しています.
関数化
これまでのコードを関数化しておきましょう.
def gen_tiff_png(AREA, file_b4, file_b3, file_b2):
    for i in range(len(AREA)):
          if AREA[i][0] >= 0:
              AREA[i][0] = AREA[i][0]%360
          else:
              AREA[i][0] = -(abs(AREA[i][0])%360) + 360

    m=Polygon([AREA])
    with open('sample' + '.geojson', 'w') as f:
        json.dump(m, f)

    b4 = rio.open(file_b4)
    b3 = rio.open(file_b3)
    b2 = rio.open(file_b2)

    #合成
    with rio.open('sample' + '.tiff', 'w',
                  driver='Gtiff', width=b4.width, height=b4.height,
                  count=3, crs=b4.crs, transform=b4.transform,
                  dtype=b4.dtypes[0]) as rgb:
          rgb.write(b2.read(1),3)
          rgb.write(b3.read(1),2)
          rgb.write(b4.read(1),1)
          rgb.close()

    nReserve_geo = gpd.read_file('sample' + '.geojson')
    epsg = b4.crs

    nReserve_proj = nReserve_geo.to_crs({'init': str(epsg)})

    with rio.open('sample' + '.tiff') as src:
          out_image, out_transform = rio.mask.mask(src, nReserve_proj.geometry, crop=True)

          out_meta = src.meta.copy()
          out_meta.update({"driver"  : "GTiff",
                          "height"   : out_image.shape[1]*4,
                          "width"    : out_image.shape[2]*4,
                          "transform": out_transform})
          src.close()

      with rasterio.open('made_sample' + '.tiff', "w", **out_meta) as dest:
          dest.write(out_image)

    file_list = [file_b4, file_b3, file_b2]

    for i in range(len(file_list)):
        with rio.open(file_list[i]) as src:
            out_image, out_transform = rio.mask.mask(src, nReserve_proj.geometry, crop=True)

            out_meta = src.meta.copy()
            out_meta.update({"height"   : out_image.shape[1]*4,
                             "width"    : out_image.shape[2]*4,
                             "transform": out_transform})
            src.close()

        with rasterio.open("B{}".format(4-i) + '.jp2', "w", **out_meta) as dest:
            dest.write(out_image)

    b4 = rio.open("B4" + '.jp2', driver='JP2OpenJPEG')
    b3 = rio.open("B3" + '.jp2', driver='JP2OpenJPEG')
    b2 = rio.open("B2" + '.jp2', driver='JP2OpenJPEG')

    #read each image (file)
    image2 = b2.read(1)
    image3 = b3.read(1)
    image4 = b4.read(1)

    #change "bands"
    meta2.update(count=3)
    meta3.update(count=3)
    meta4.update(count=3)

    #各数値を0-255程度の範囲に収める,uint8にしないと上手く表示されない
    image4 = np.array(image4 / 2**6, dtype=np.uint8)
    image3 = np.array(image3 / 2**6, dtype=np.uint8)
    image2 = np.array(image2 / 2**6, dtype=np.uint8)

    rgb_for_png = np.dstack((image4, image3, image2))

    pil_img = Image.fromarray(rgb_for_png)
    pil_img.save('made_sample' + ".png")
今回紹介した例でこの関数を実行するときは以下のようにすると良いです.
if __name__ == "__main__":
    AREA = [[-96.13423,41.087988],[-96.175236,41.087988],[-96.175236,41.116512],[-96.13423,41.116512],[-96.13423,41.087988]]
    file_b4 = 'T14TQL_20230208T171451_B04_10m.jp2'
    file_b3 = 'T14TQL_20230208T171451_B03_10m.jp2'
    file_b2 = 'T14TQL_20230208T171451_B02_10m.jp2'

    gen_tiff_png(AREA, file_b4, file_b3, file_b2)
