新しい画面遷移の方法を学んだから半分メモ書き感覚で書いていくで〜
訂正、編集リクエスト、感激やで〜。
目的
作成したいものは以下のように、ボタンを押したら画面遷移する機能。
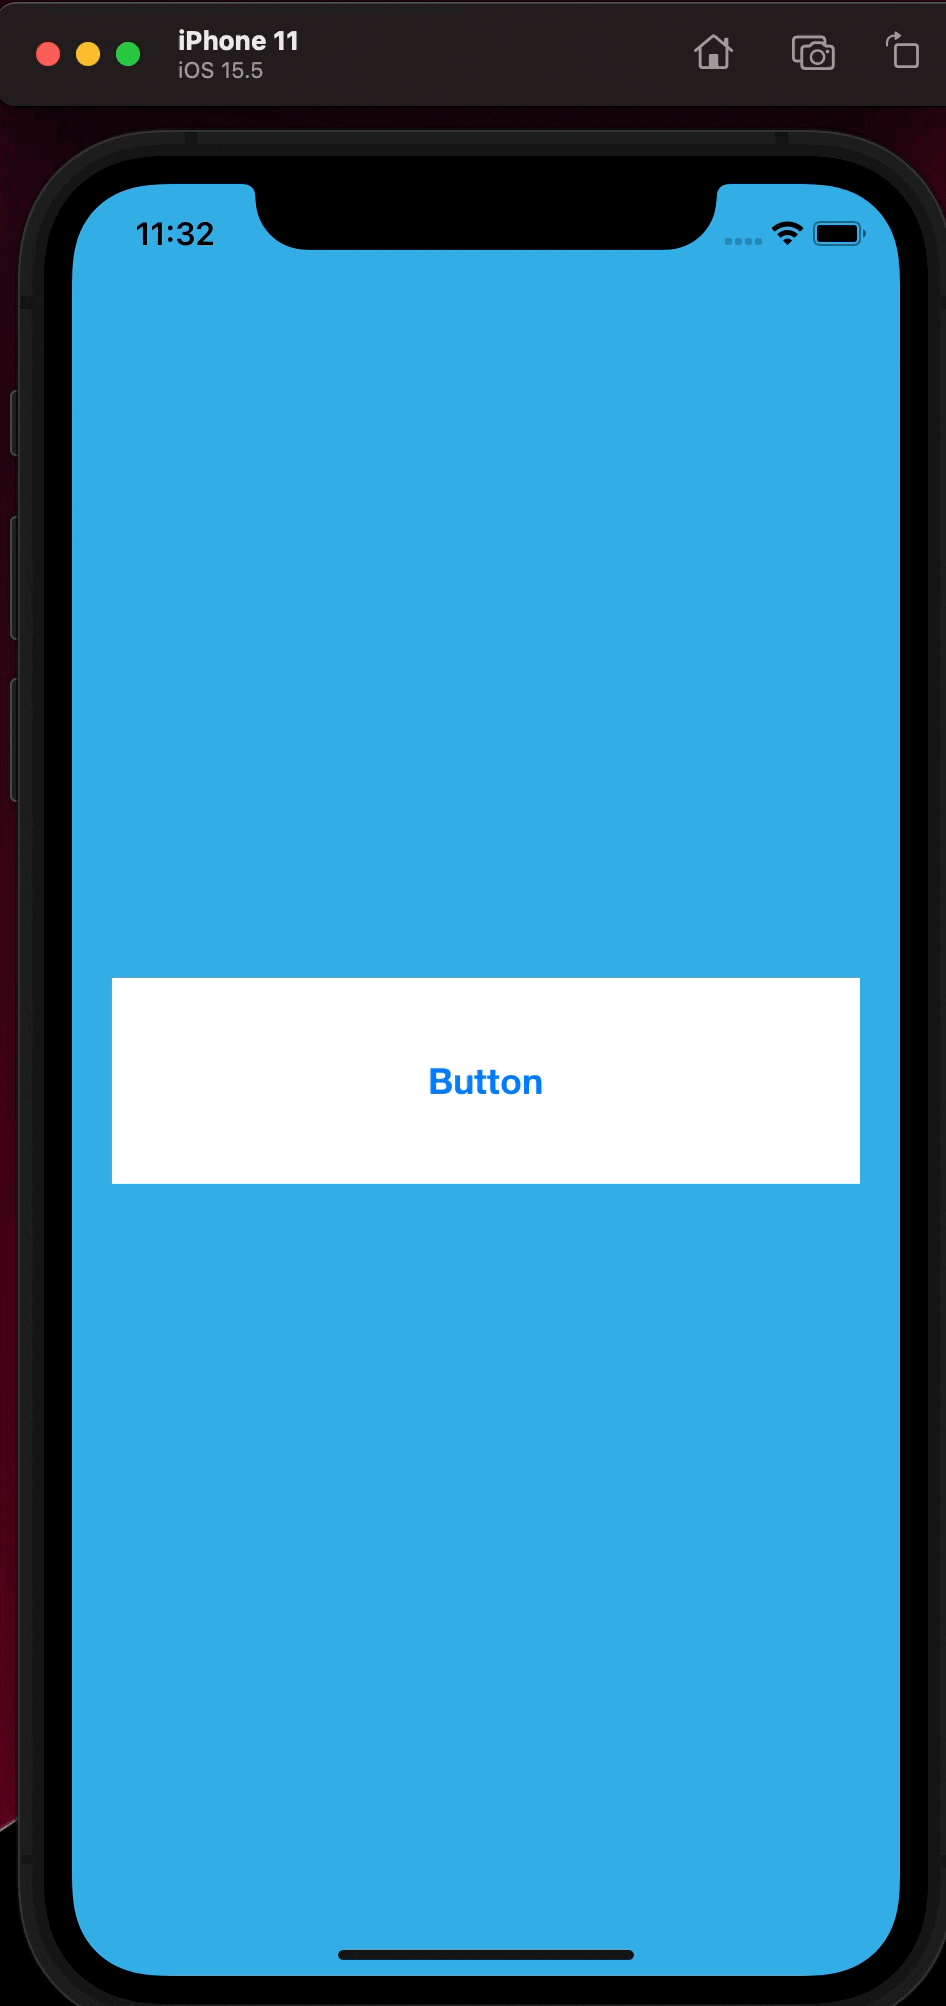
これを、Segue 等を使わないやり方で画面遷移させる。
要は、RootViewController を使ってアニメーションで画面遷移をさせる。
環境
- macOS Monterey: Version12.4
- Xcode: Version 13.4.1
- Swift: Version 5.6.1
前提
コチラの記事を参考に以下のようなことを行います。
- AppDelegate から
// MARK: UISceneSession Lifecycle以降のコードを削除する - AppDelegate に window プロパティを追加
- Info.plist から UIApplicationSceneManifest を全て削除
- SceneDelegate.swift を削除する
正直、削除するかは任意だが、2 の window プロパティだけは追加していて欲しい。
なので、AppDelegate.swift は、以下のようになっている。
import UIKit

@main
class AppDelegate: UIResponder, UIApplicationDelegate {
    var window: UIWindow?

    func application(_ application: UIApplication, didFinishLaunchingWithOptions launchOptions: [UIApplication.LaunchOptionsKey: Any]?) -> Bool {
        return true
    }
}
Storyboardでの設定
ViewController を追加していく。今回はわかりやすいように、青、黄、赤の画面をそれぞれ、FirstViewController, SecondViewController, ThirdViewController とした。
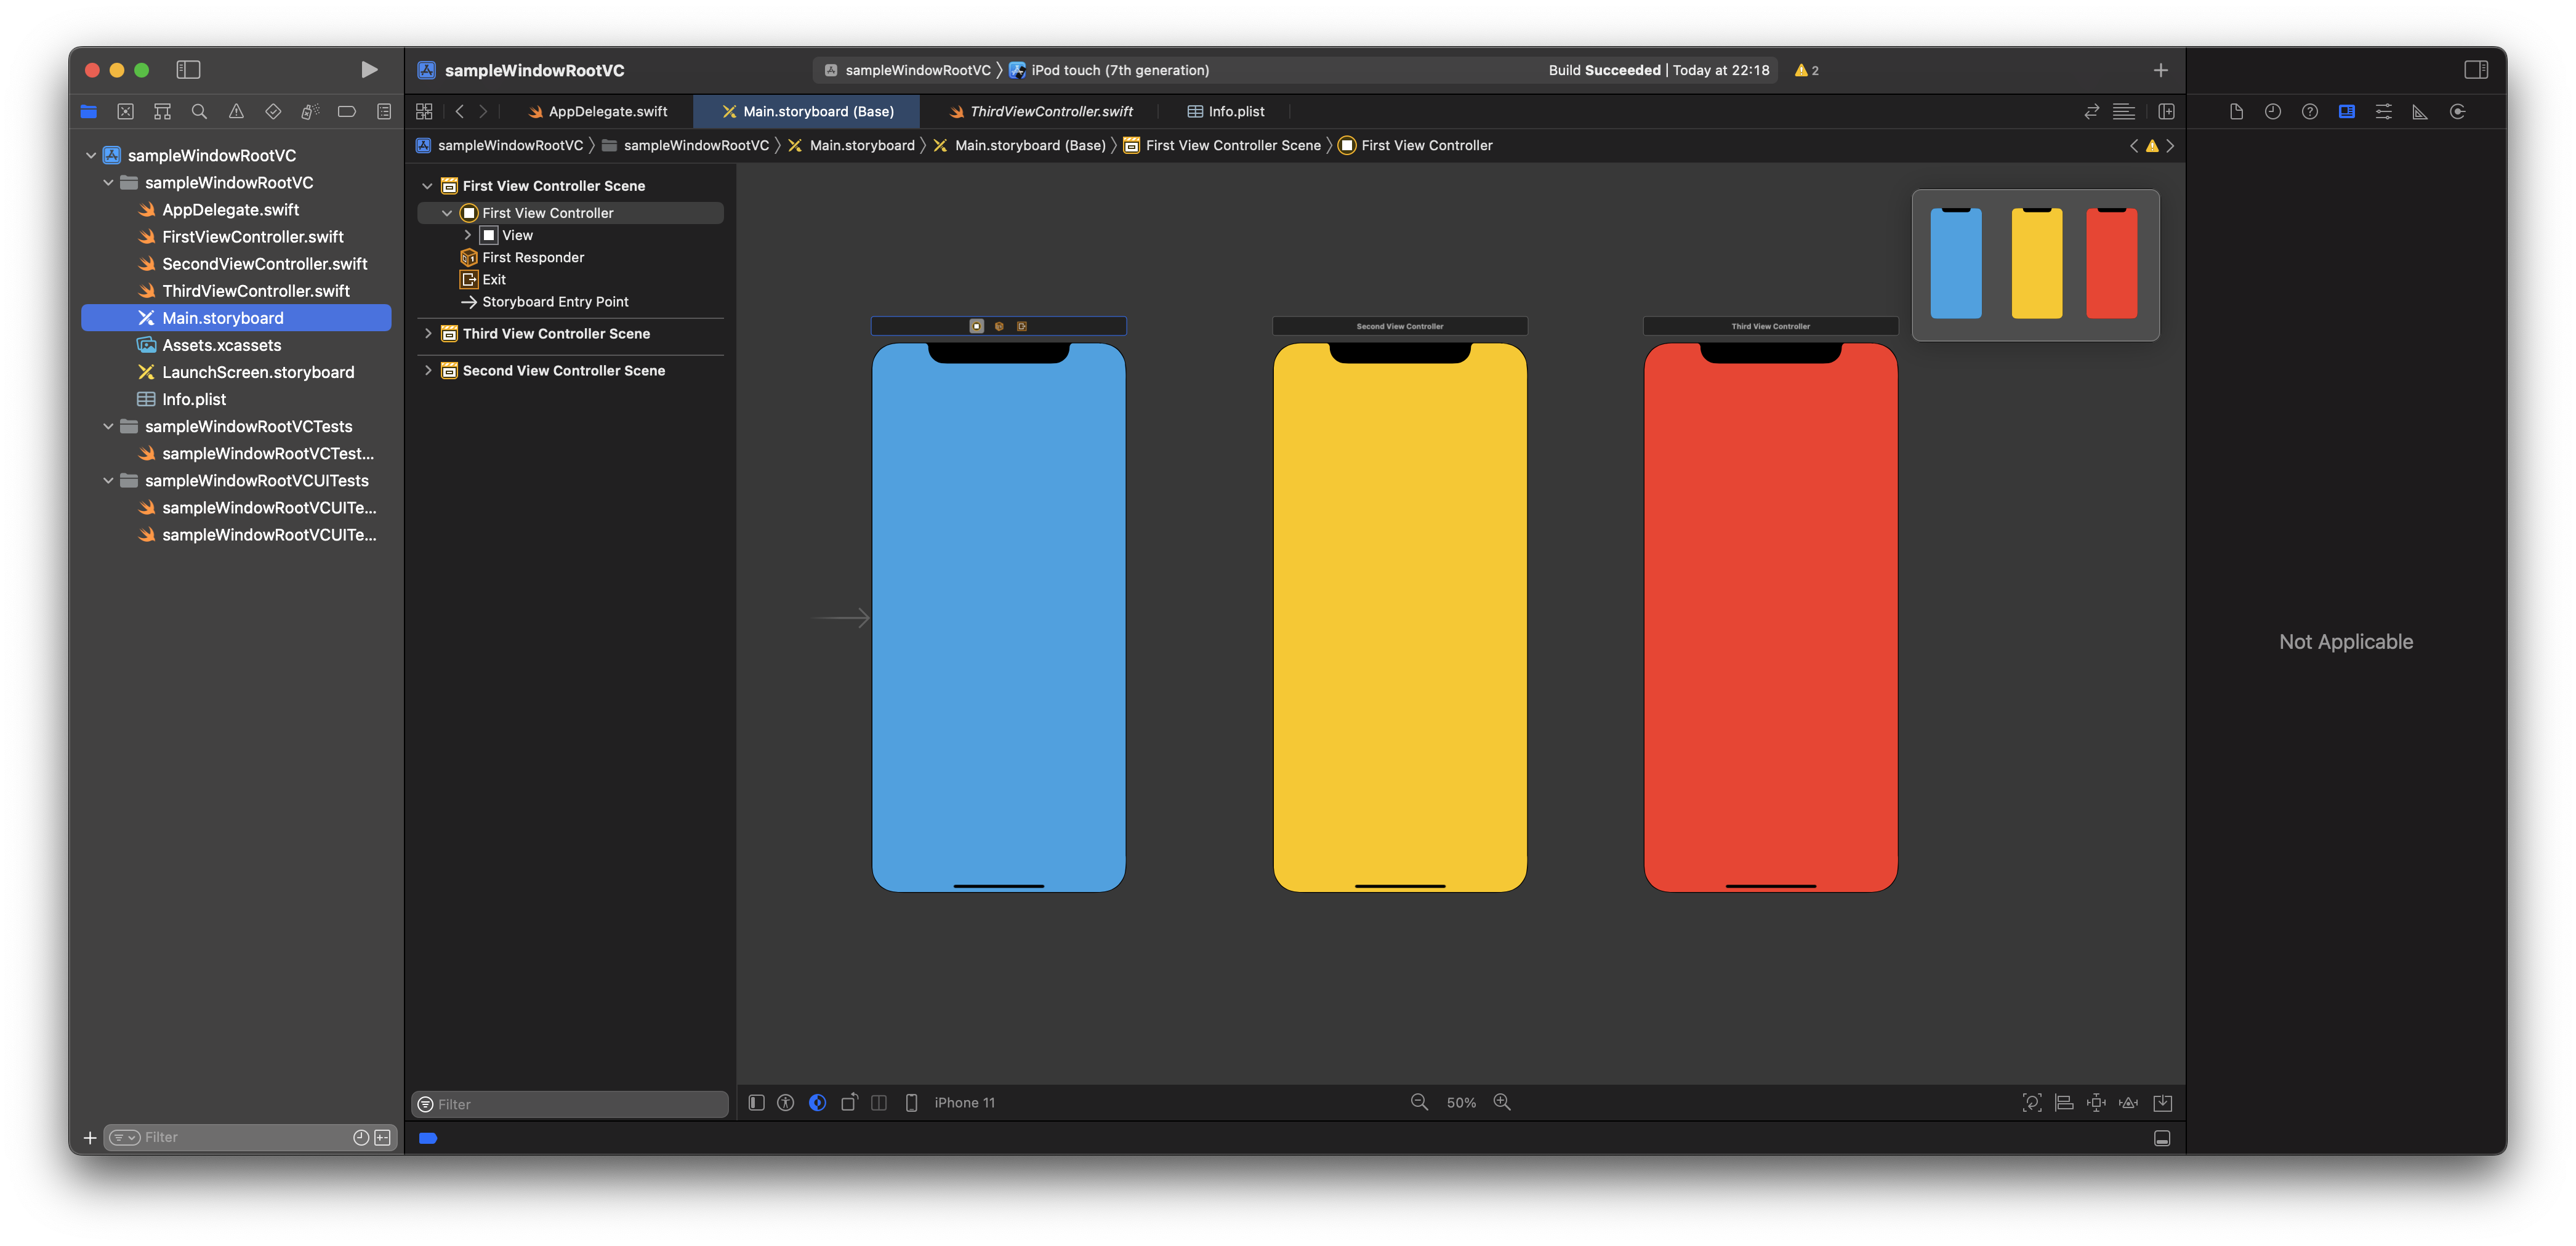
次に、ボタンを押すと画面遷移するようにボタンを配置していく。
配置したものがコチラ↓
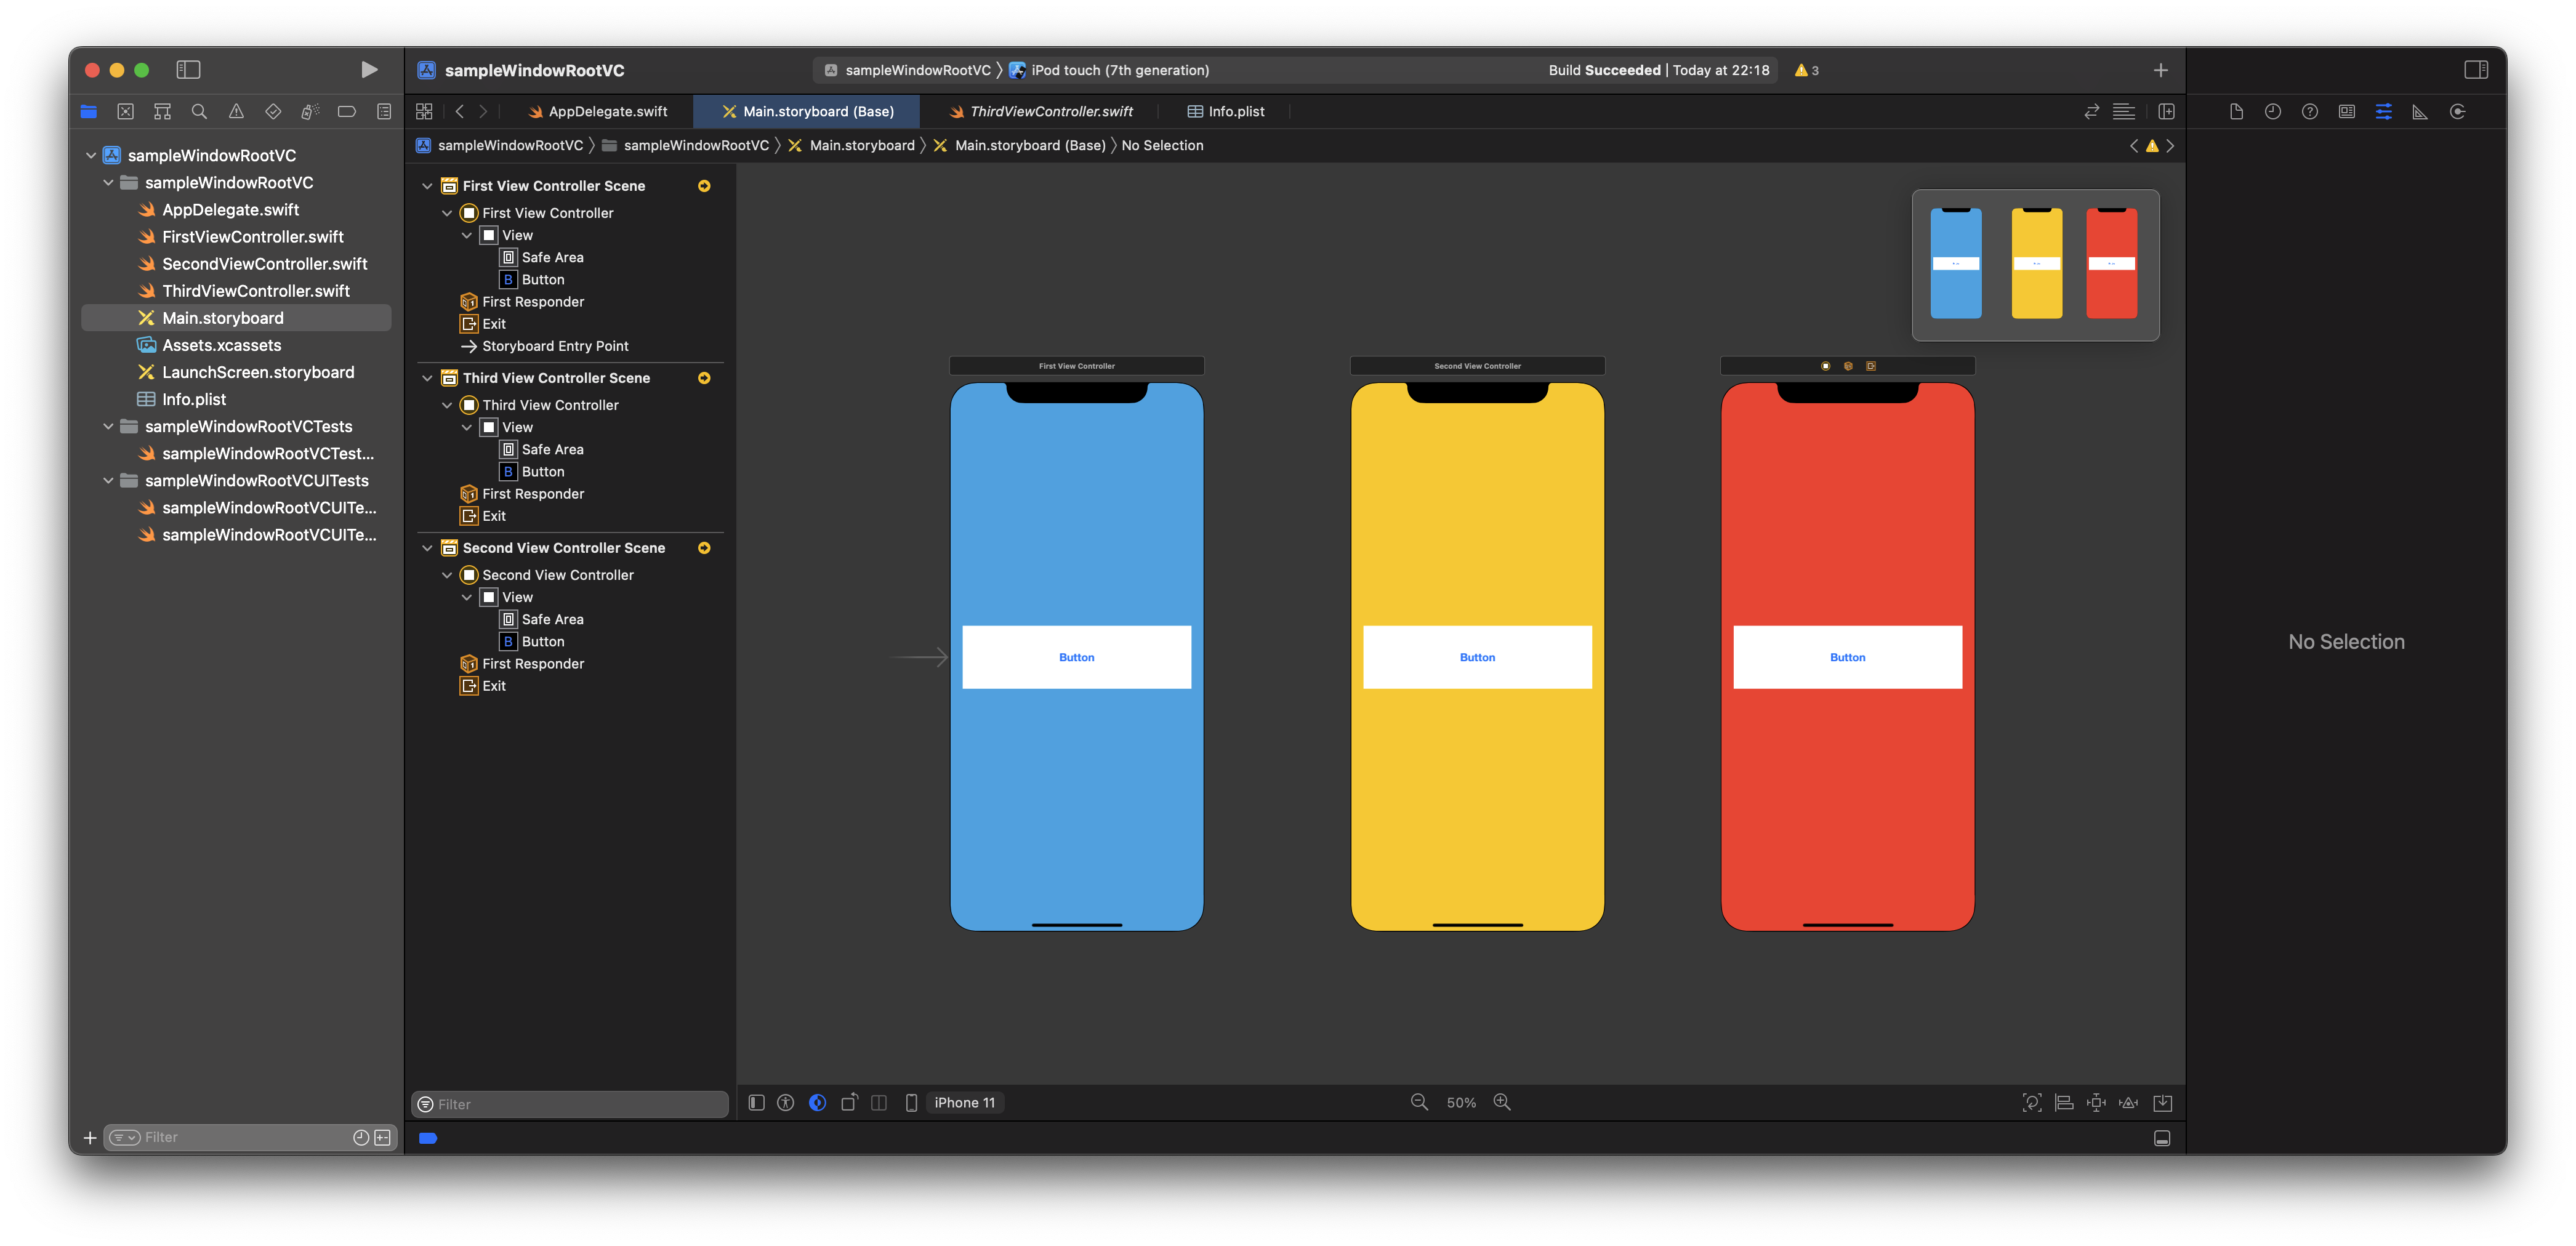
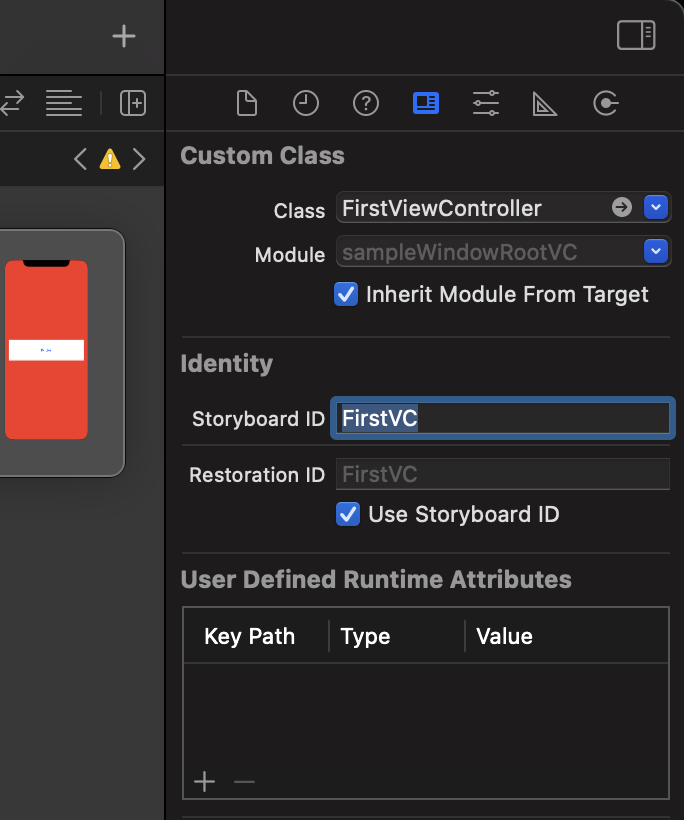
最後に、Storyboard ID を設定する。
今回は、FirstViewController, SecondViewController, ThirdViewController です。
そのため、順番に FirstVC, SecondVC, ThirdVC とする。
これで準備は OK。特に Storyboard ID を設定は忘れないように。
AppDelegateでの設定
import UIKit

@main
class AppDelegate: UIResponder, UIApplicationDelegate {
    var window: UIWindow?
+    let storyboard = UIStoryboard(name: "Main", bundle: nil)

    func application(_ application: UIApplication, didFinishLaunchingWithOptions launchOptions: [UIApplication.LaunchOptionsKey: Any]?) -> Bool {
+        self.window = UIWindow(frame: UIScreen.main.bounds)
+        self.window?.makeKeyAndVisible()
+        let initialViewController = self.storyboard.instantiateViewController(withIdentifier: "FirstVC")
+        self.window?.rootViewController = initialViewController

        return true
    }

+    func switchViewController(identifier: String) {
+        UIView.transition(with: self.window!, duration: 0.5, options: .transitionCrossDissolve, animations: {
+            let oldState: Bool = UIView.areAnimationsEnabled
+            UIView.setAnimationsEnabled(false)
+            self.window?.rootViewController = self.storyboard.instantiateViewController(withIdentifier: identifier)
+            UIView.setAnimationsEnabled(oldState)
+        }, completion: nil)
+    }
}
ViewControllerでの設定
UI パーツとコードを紐付けすると、↓のようになる。
import UIKit

final class FirstViewController: UIViewController {

    override func viewDidLoad() {
        super.viewDidLoad()

        // Do any additional setup after loading the view.
    }

+   @IBAction private func goToSecondVCButton(_ sender: Any) {
+   }

}
メソッドの命名はご愛嬌ということで💦。
次に、画面遷移をさせるために、func goToSecondVCButton に先ほど作成した func switchViewController(identifier: String) を呼ばせる。
そうすると、↓のようになる。
import UIKit

final class FirstViewController: UIViewController {

    override func viewDidLoad() {
        super.viewDidLoad()

        // Do any additional setup after loading the view.
    }

    @IBAction private func goToSecondVCButton(_ sender: Any) {
+        guard let appDelegate = UIApplication.shared.delegate as? AppDelegate else { return }
+        appDelegate.switchViewController(identifier: "SecondVC")
    }
}
同様のことを SecondViewController, ThirdViewController にも行う。
import UIKit

final class SecondViewController: UIViewController {

    override func viewDidLoad() {
        super.viewDidLoad()

        // Do any additional setup after loading the view.
    }

+    @IBAction private func goToThirdVCButton(_ sender: Any) {
+        guard let appDelegate = UIApplication.shared.delegate as? AppDelegate else { return }
+        appDelegate.switchViewController(identifier: "ThirdVC")
+    }
}
import UIKit

final class ThirdViewController: UIViewController {

    override func viewDidLoad() {
        super.viewDidLoad()

        // Do any additional setup after loading the view.
    }

+    @IBAction private func goToFirstVCButton(_ sender: Any) {
+        guard let appDelegate = UIApplication.shared.delegate as? AppDelegate else { return }
+        appDelegate.switchViewController(identifier: "FirstVC")
+    }
}
これで、Segue を使わずに RootViewController をアニメーションで画面遷移できた。
参考文献