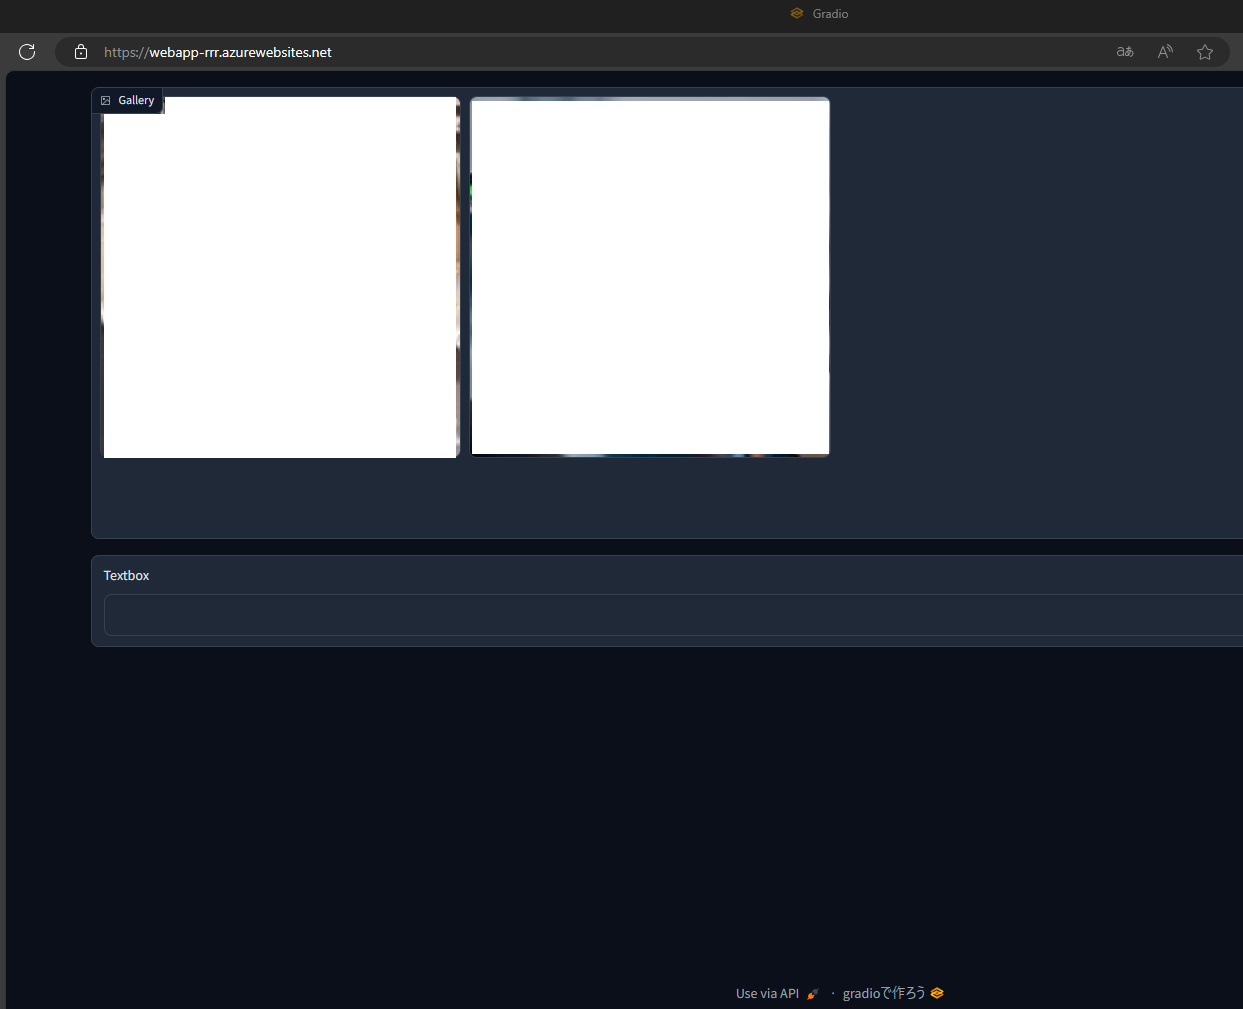
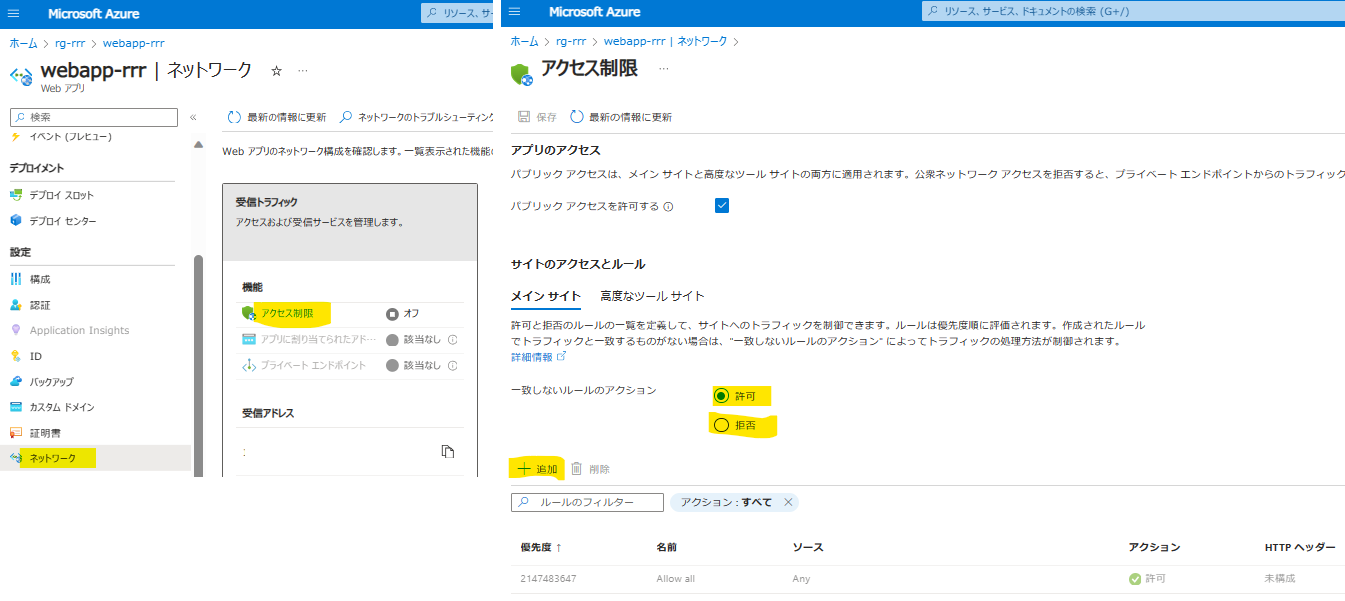
Azure Web Apps に Gradio を LocalGit でデプロイする
- Azure Web Apps で Gradio を動かす手順の紹介です。
- Docker を使った方法などは紹介されているので、そちらの方が楽かもしれないです。
- streamlit についてもスタートアップコマンドを変更すれば同じ方法で起動出来ると思います。(未確認)
環境
- azd コマンドをあらかじめインストールしておきます。
azd のインストール
| 言語など | バージョンなど |
|---|---|
| Python | 3.10.11 |
| Gradio | 4.4.1 |
| Azure Web Appsプラン | F1(無料) |
手順1 Azure Web Apps のサービスを作成
- 「App Service」→「作成」→「Web アプリ」

- それぞれ入力します。
- 「データベース」「デプロイ」「ネットワーク」「監視」「タグ」は特に変更しないのでスキップします。
- 「作成」します。
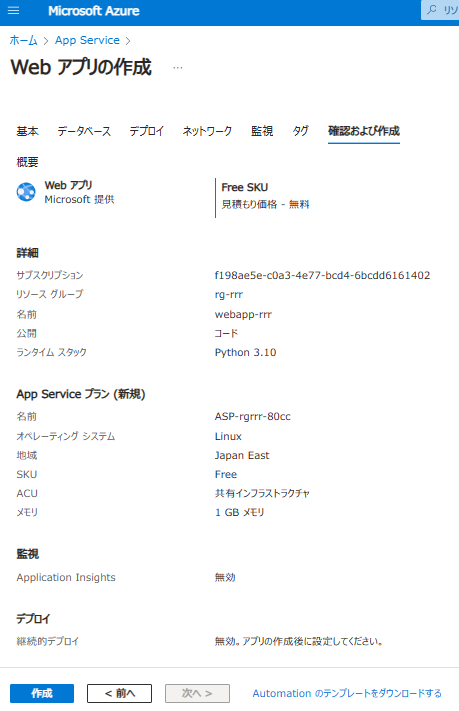
- 「リソースグループ(rg-rrr)」に Azure Web Apps 「webapp-rrr」が作成されている事を確認出来ます。

- 作成した Azure Web Apps にタグを設定しておきます。
デプロイする際の目印になるものです。
azd-service-name: web

手順2 Azure Web Apps に「ローカル Git」を作成してローカルに clone
- 作成した Azure Web Apps を開く。
「デプロイ センター」→「設定」→「ソース」→「ローカル Git」を選択して「保存」する。

「保存」後に「Git Clone URI」が表示されるのでコピーしておく。

- 「ローカルGitまたはFTPSの資格情報」で「ユーザー名」「パスワード」を入力して「保存」する。
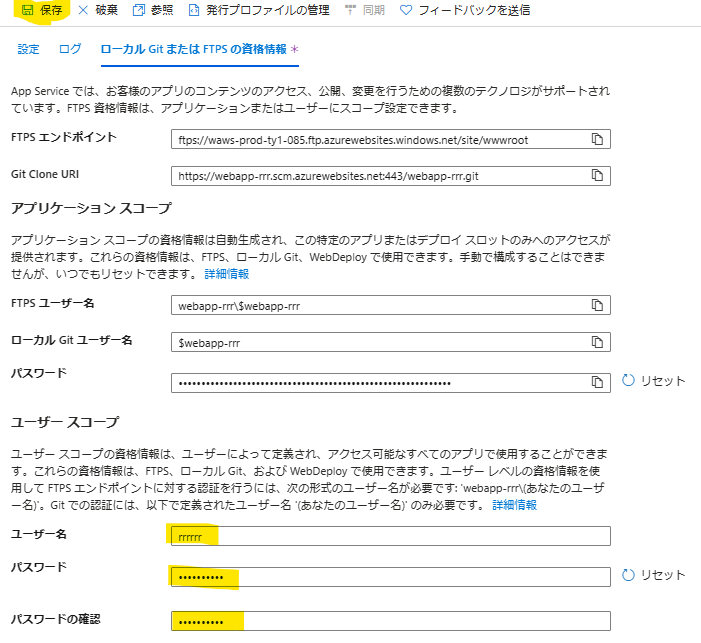
- 先ほどの「Git Clone URI」を使ってローカルに git clone する。
その際に「ユーザー名」「パスワード」を聞かれるので、「ローカルGitまたはFTPSの資格情報」で保存した値を入力する。
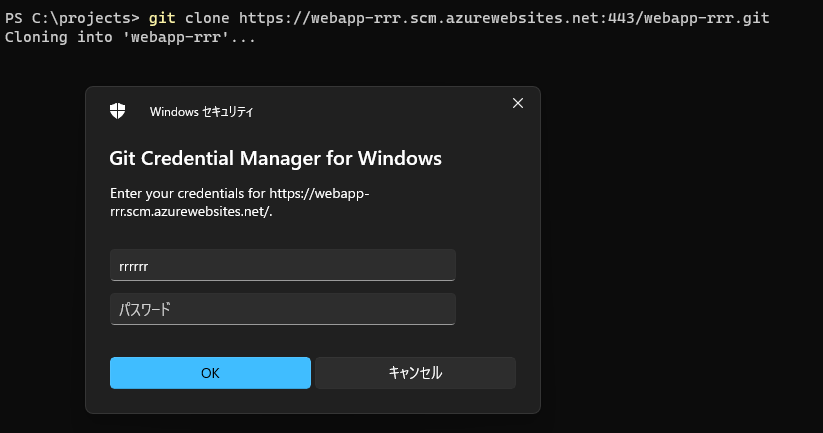
- 自身のローカル環境に空の git リポジトリが clone されます。

- 適当なフォルダ・ファイルを作成する。
下記はプロジェクト直下に「webapp」フォルダと
「app.py」「requirements.txt」「start.sh」を作成した

手順3 Azure Web Apps にデプロイする準備(azd provision, deploy の実行直前まで)
-
プロジェクトフォルダで azd init を実行して、
Use code in the current directory を選択

Confirm and continue initializing my app を選択
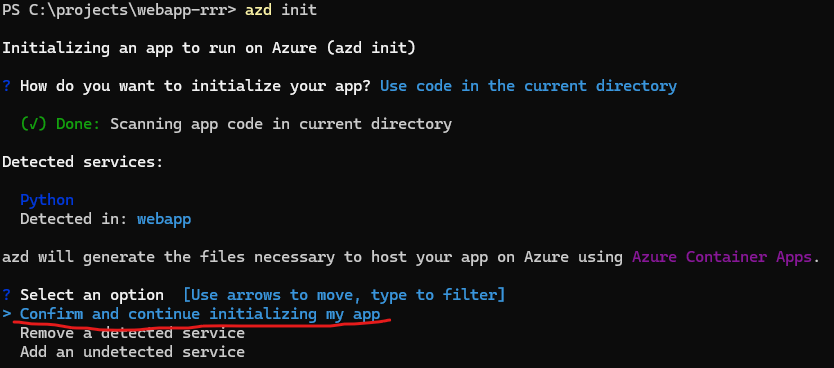
environment name を入力

「.azure」「infra」「.gitignore」「azure.yaml」「next-steps.md」が作成される

-
デプロイするアプリを作成します。
- 「webapp」フォルダの中に作った「app.py」「requirements.txt」「start.sh」を編集しています。
- 「start.sh」は Azure Web Apps のスタートアップコマンドで実行するものです。
- demo.launch(server_port=8000, server_name='0.0.0.0') の
server_port、server_name の設定を忘れずにして下さい。
app.pyimport gradio as gr def main(): images = ["https://th.bing.com/th?id=ORMS.5a4b9e59fc9f308d4774524f3b204333&pid=Wdp&w=240&h=129&qlt=90&c=1&rs=1&dpr=1&p=0", "https://www.bing.com/th?id=OAIP.acf748777338864b33a2b246ee848bdc&pid=AdsNative&c=3&w=300&h=157&dynsize=1&qlt=90"] def on_select(evt: gr.SelectData): # SelectData is a subclass of EventData return f"You selected {evt.value} at {evt.index} from {evt.target}" with gr.Blocks() as demo: with gr.Row(): gallery = gr.Gallery(value=images, columns=4, show_download_button=False, allow_preview=False) text = gr.Textbox(interactive=True) gallery.select(fn=on_select, inputs=None, outputs=text) demo.launch(server_port=8000, server_name='0.0.0.0') if __name__ == "__main__": main()requirements.txtgradio==4.36.1start.sh#!/bin/sh # TZ の変更 cp /usr/share/zoneinfo/Asia/Tokyo /etc/localtaime echo '仮想環境の作成' python -m venv venv echo 'ライブラリのインストール' ./venv/bin/python -m pip install -r requirements.txt echo 'アプリの実行' ./venv/bin/python app.py -
azure.yaml でデプロイの設定をする
azd init で作成されたものを編集する
変更箇所は「host: containerapp」→「host: appservice」
Azure Developer CLI の azure.yaml スキーマazure.yaml# yaml-language-server: $schema=https://raw.githubusercontent.com/Azure/azure-dev/main/schemas/v1.0/azure.yaml.json name: webapp-rrr metadata: template: azd-init@1.9.3 services: web: project: webapp host: appservice language: python
手順4 ウェブアプリの設定
手順5 azd provision, azd deploy を実行してデプロイ
(以下の provision, deploy をまとめて実行してくれる azd up コマンドもあります。)
-
azd auth login を実行する。
-
azd provision を実行する。


