ランダムドットステレオグラム(RDS)
オリジナルのアップロード者はドイツ語版ウィキペディアのLosHawlosさん - de.wikipedia からコモンズに移動されました。, CC 表示-継承 3.0, https://commons.wikimedia.org/w/index.php?curid=1966500 による
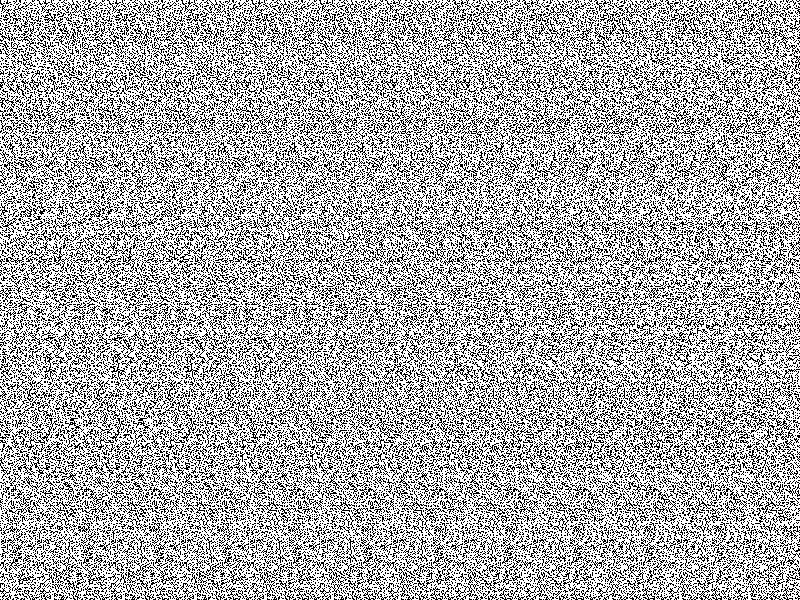
あなたには見えるだろうか?
目の焦点を前後にずらすことで絵や文字が浮かび上がる(立体に見える)やつです。
スマホから見てる人はごめんなさい。パソコンから見てね。
これを自作してみたい。
下記のサイトにPythonでの実装例があったので、参考にしてオリジナルのランダムドットステレオグラムを作ってみた。
使うもの
import numpy as np
import matplotlib.pyplot as plt
import cv2
Notebook形式で実験していて、画像を表示させるために使い慣れているmatplotlibを使いましたが、画像が確認できれば何でも良いです。
手順
1.ランダムパターンを作成
def make_pattern(shape=(16, 16)):
    return np.random.uniform(0, 1, shape)
実行してみる。
pattern = make_pattern((400,400))
plt.imshow(pattern, cmap='gray')
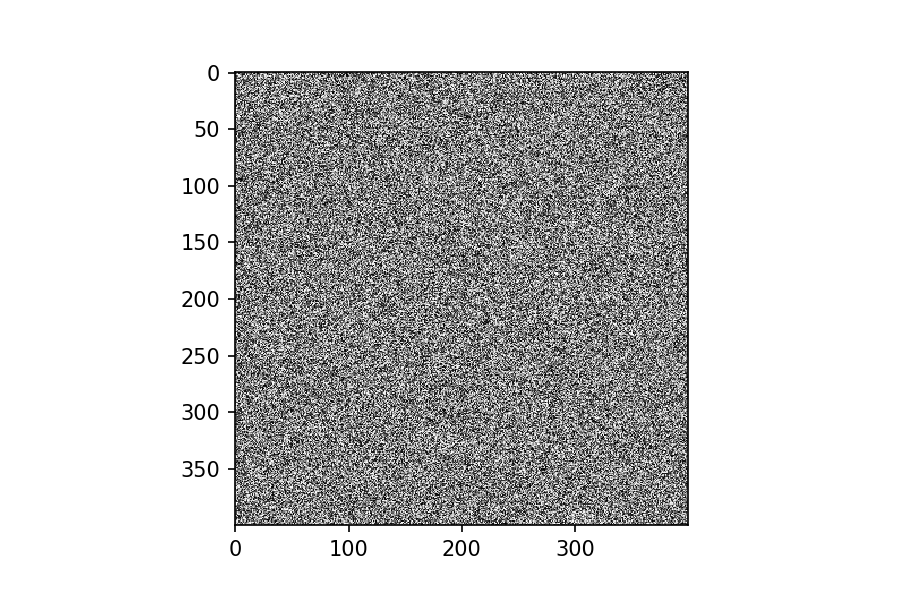
すでに何かが浮かび上がりそうである。
2.浮かび上がらせるパターンを作成
def make_depthmap(shape=(400, 600)):
    depthmap = np.zeros(shape, dtype=np.float)
    cv2.circle(depthmap, (int(shape[1]/2), int(shape[0]/2)), 100, (255 ,255, 255), -1)
    return depthmap
実行してみる。
depthmap = make_depthmap()
plt.imshow(depthmap, cmap='gray')
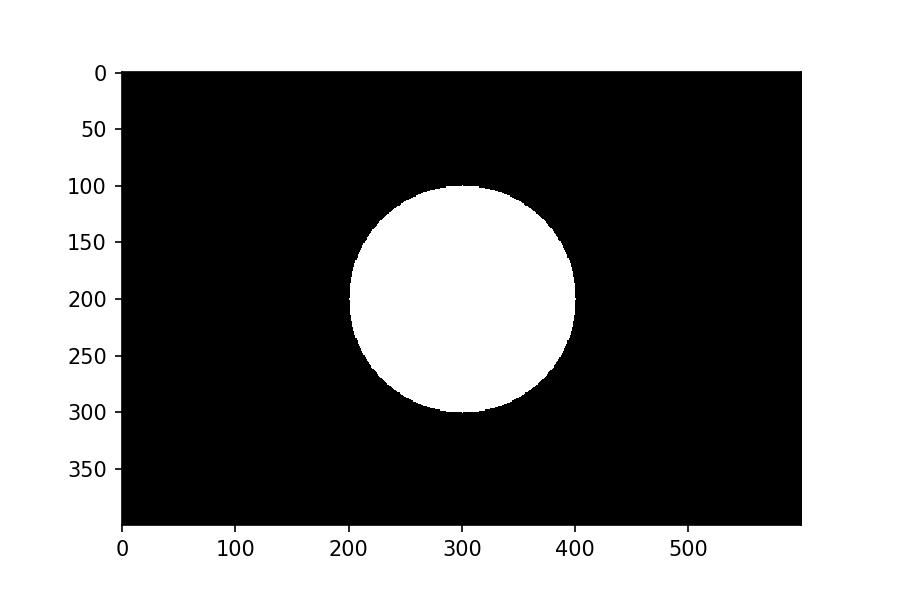
こいつが浮かび上がるはずである。
3.やってみた
def make_autostereogram(depthmap, pattern, shift_amplitude=0.1, invert=False):
    "Creates an autostereogram from depthmap and pattern."
    depthmap = normalize(depthmap)
    if invert:
        depthmap = 1 - depthmap
    autostereogram = np.zeros_like(depthmap, dtype=pattern.dtype)
    for r in np.arange(autostereogram.shape[0]):
        for c in np.arange(autostereogram.shape[1]):
            if c < pattern.shape[1]:
                autostereogram[r, c] = pattern[r % pattern.shape[0], c]
            else:
                shift = int(depthmap[r, c] * shift_amplitude * pattern.shape[1])
                autostereogram[r, c] = autostereogram[r, c - pattern.shape[1] + shift]
    return autostereogram

def normalize(depthmap):
        return depthmap/255
メインの処理は冒頭に挙げた参考サイトから引用させていただきました。
実行してみる。
autostereogram = make_autostereogram(depthmap, pattern, 0.3)
plt.imshow(autostereogram, cmap='gray')
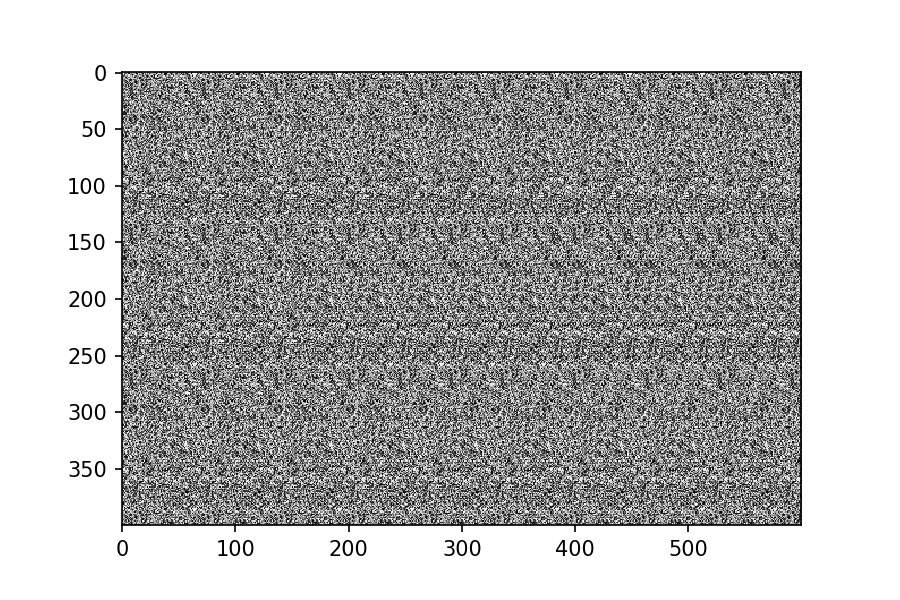
はっきりと丸印が浮かび上がっている。
(交差法といって、目の焦点を近づける方法では丸印が凹んでみえます。)
せっかくなので
テキストをランダムドットステレオグラムにしてみた。
def make_text_depthmap(shape=(400, 600), text='Q i i t a'):
    font = cv2.FONT_HERSHEY_SIMPLEX
    cv2.putText(depthmap, text, (50, 250), font, 4, (255,255,255), 12, cv2.LINE_AA)
    return depthmap
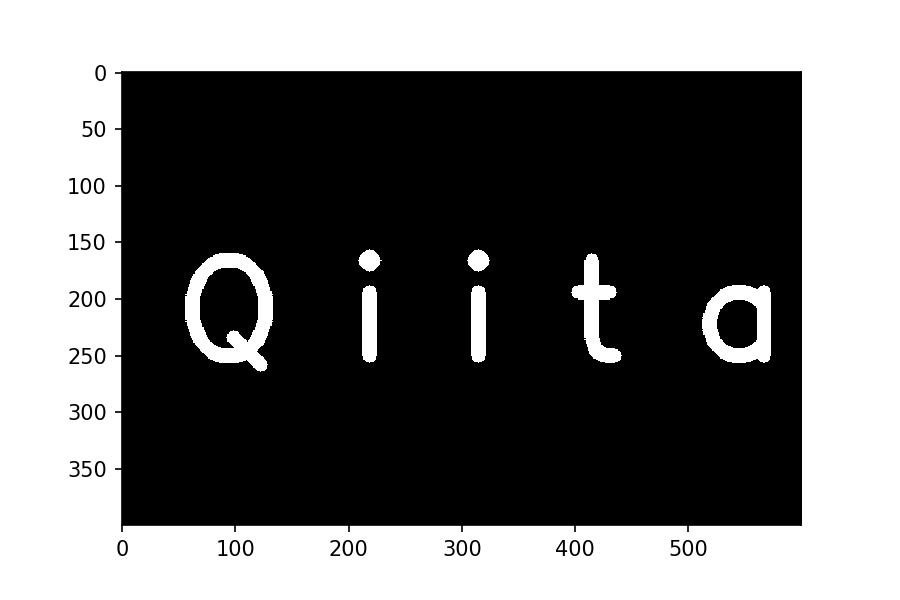
浮かび上がらせるもの。
depthmap_text = make_text_depthmap()
plt.imshow(depthmap, cmap='gray')
実行してみる。
autostereogram = make_autostereogram(depthmap_text, pattern, 0.05)
plt.imshow(autostereogram, cmap='gray')
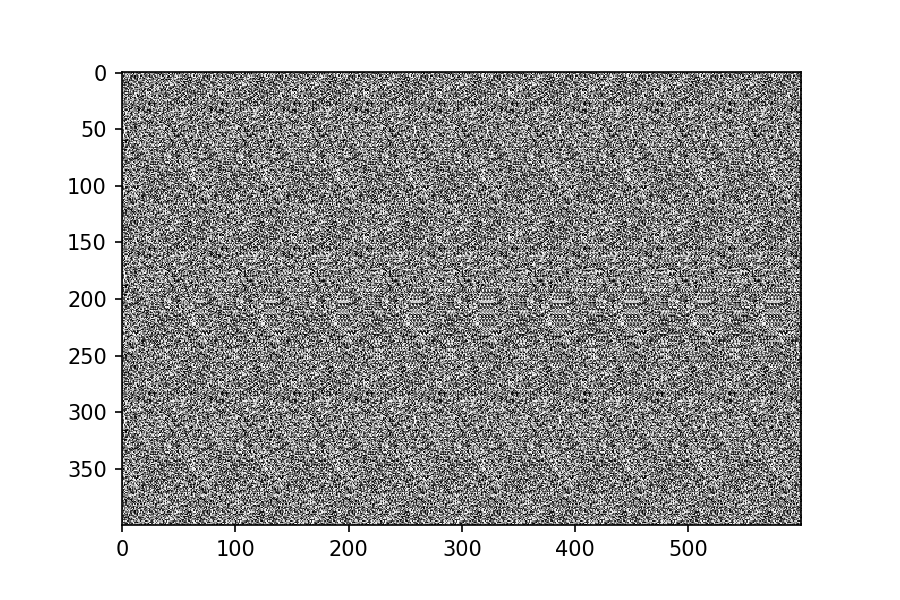
さっきの丸印よりちょっとぼんやりしてるけど、見えるぞ。
エンジニアのみなさんにクイズ
なんと書いてあるでしょう??テキストです。

答えはコメント欄でお待ちしています^^
追記
続編を書きました。
さらに続編を書きました。