Windows10にzipのMySQLをインストールして起動する方法
概要
多くの会社では、Windowsを利用しており、更に会社のセキュリティ上、ソフトを自由にインストールすることが出来ないようになっている。
そこで、ここではMySQLをインストーラーを利用せずWindows 10環境にインストールする方法を記載する。
ただし、手探りで実施した為、不要な作業も含まれている可能性があります。
手順
手順1 : MySQLをダウンロードする。
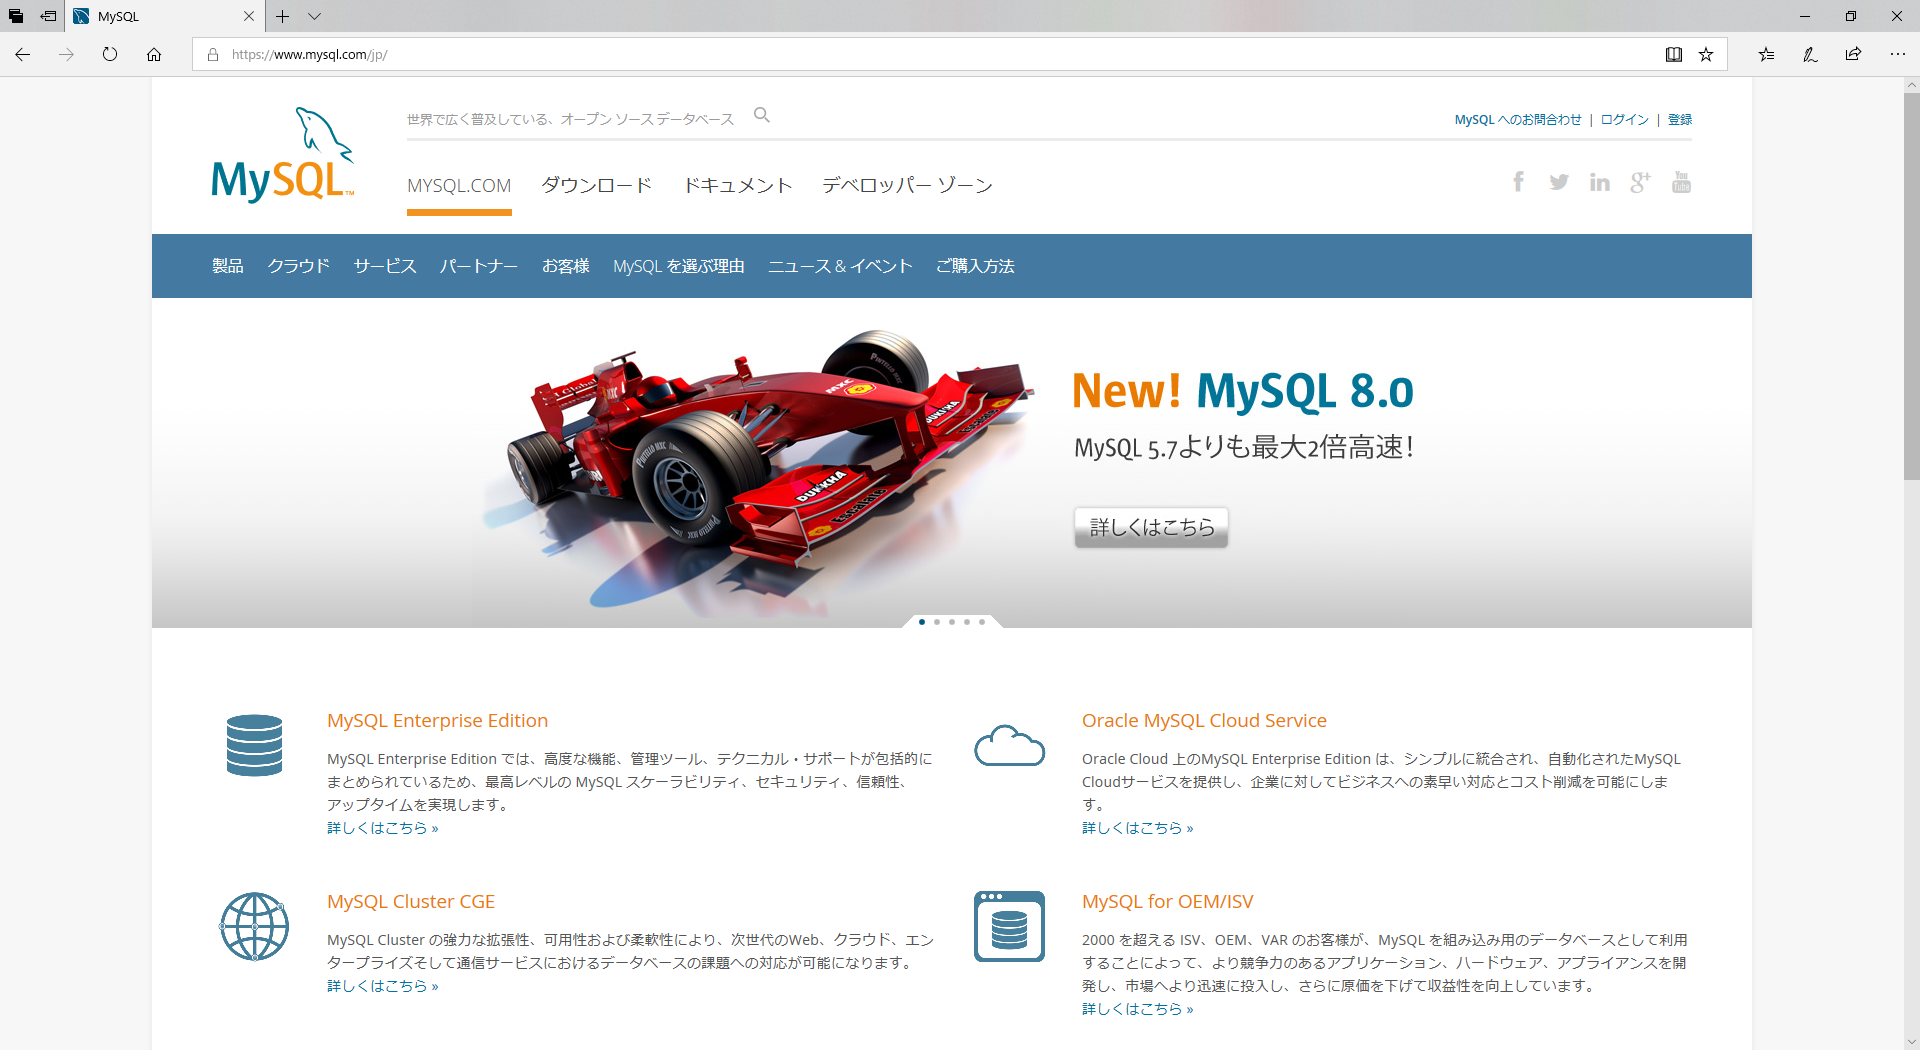
MySQLのサイトにアクセスして、ダウンロードタブを押下する。
https://www.mysql.com/jp/
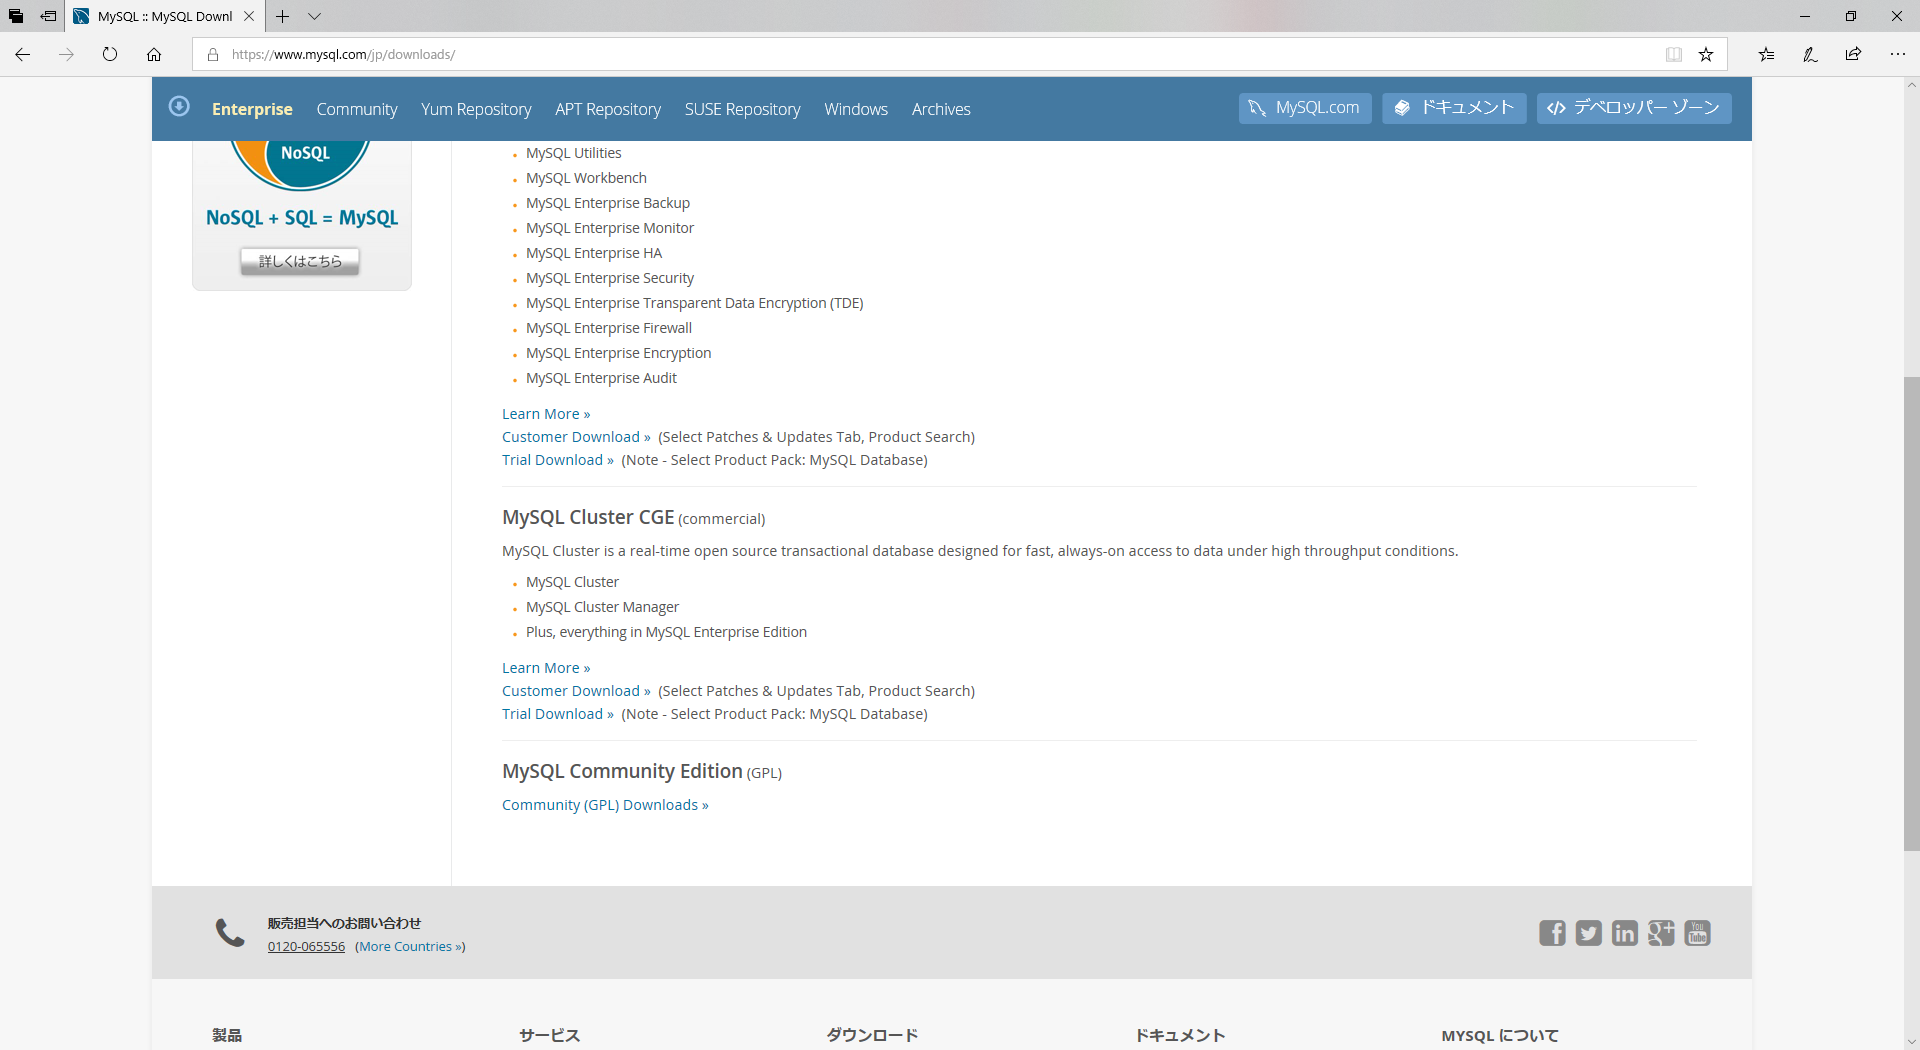
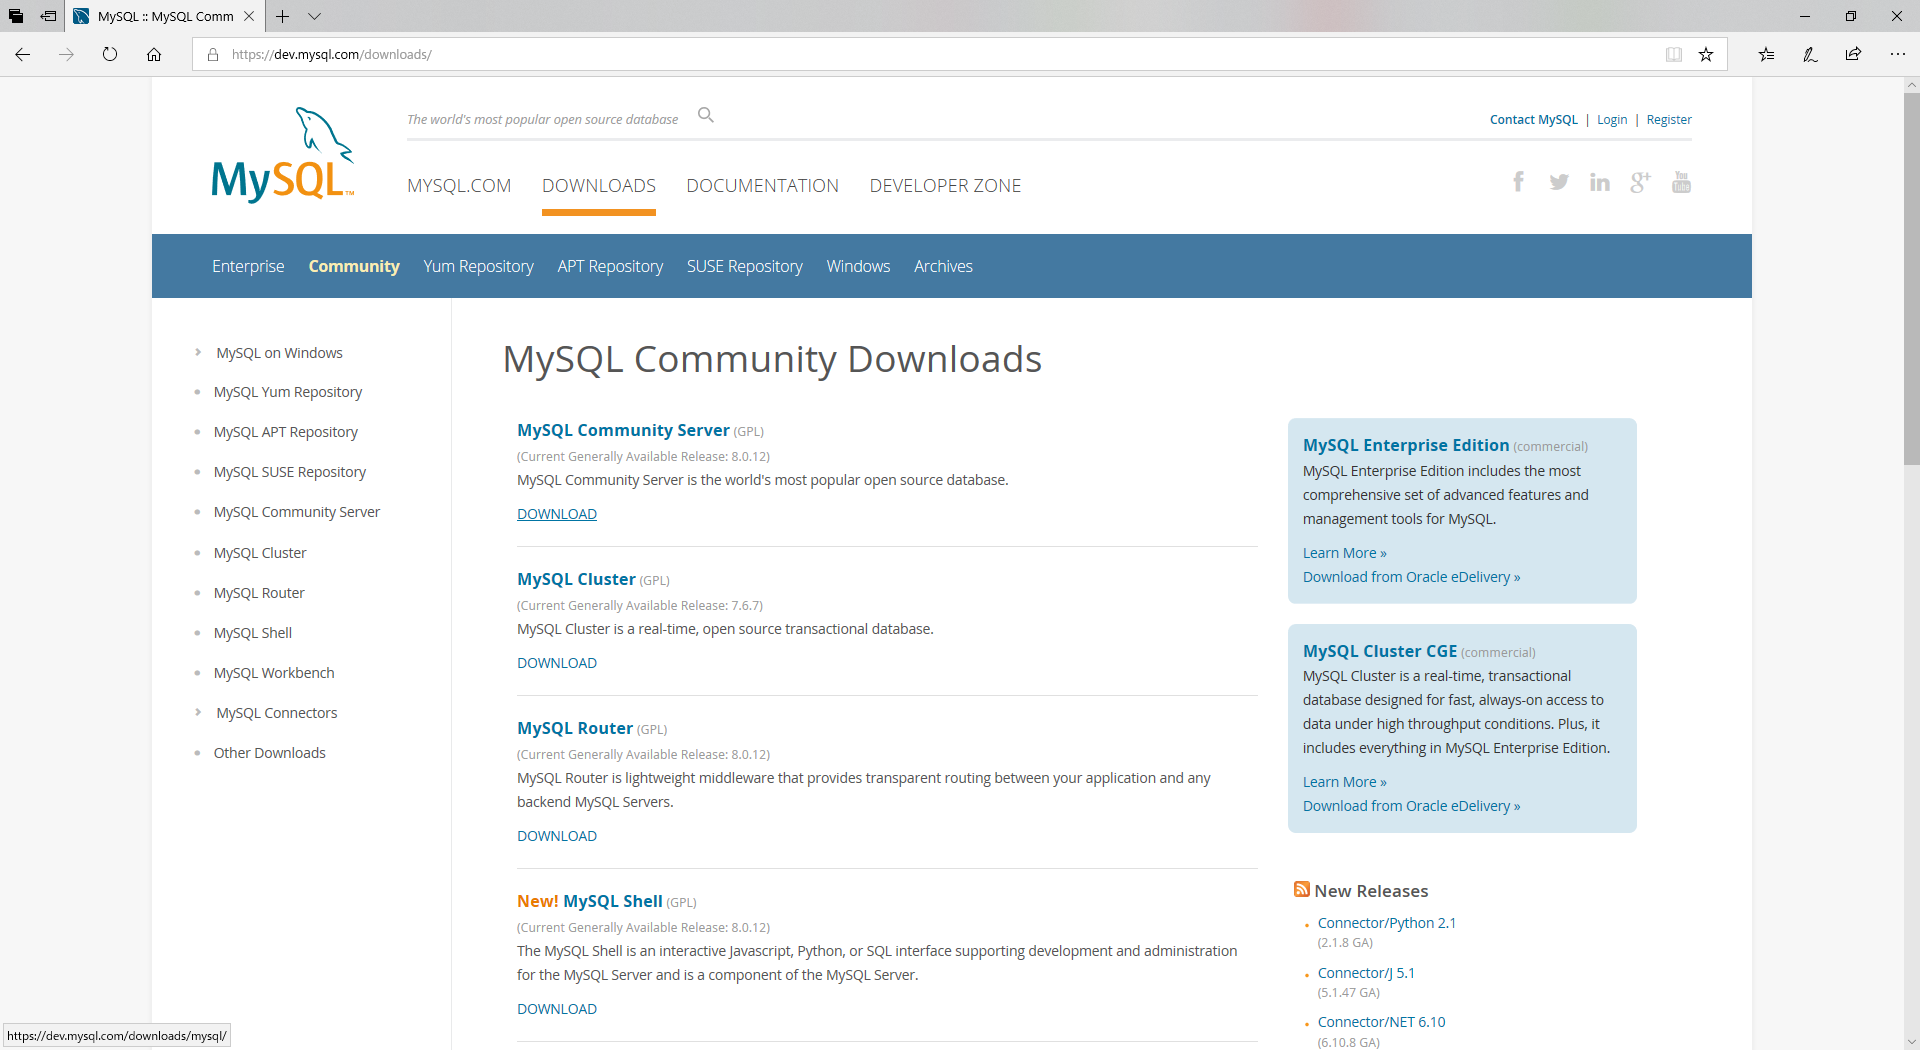
「MySQL Community Edition (GPL)」のリンクを押下する。
「MySQL Community Server (GPL)」の「DOWNLOAD」リンクを押下する。
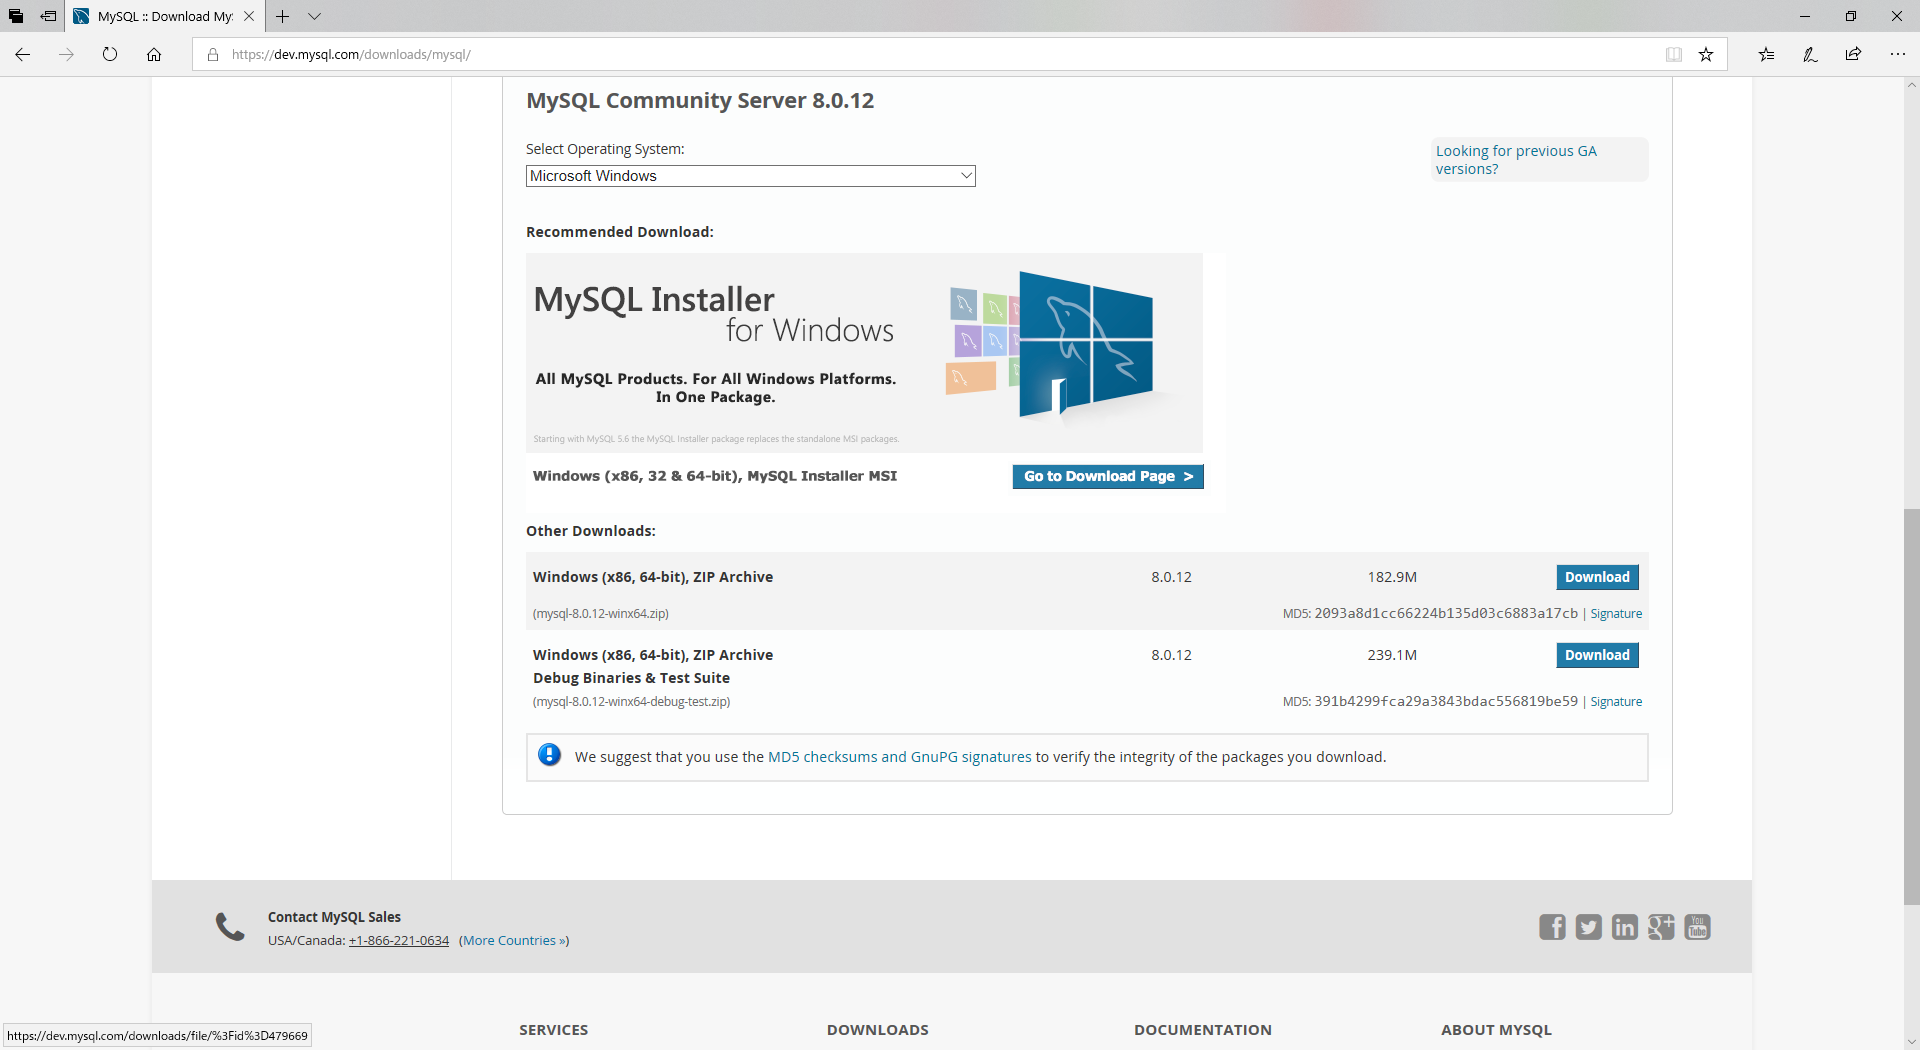
「Windows (x86, 64-bit), ZIP Archive」の「Download」ボタンを押下する。
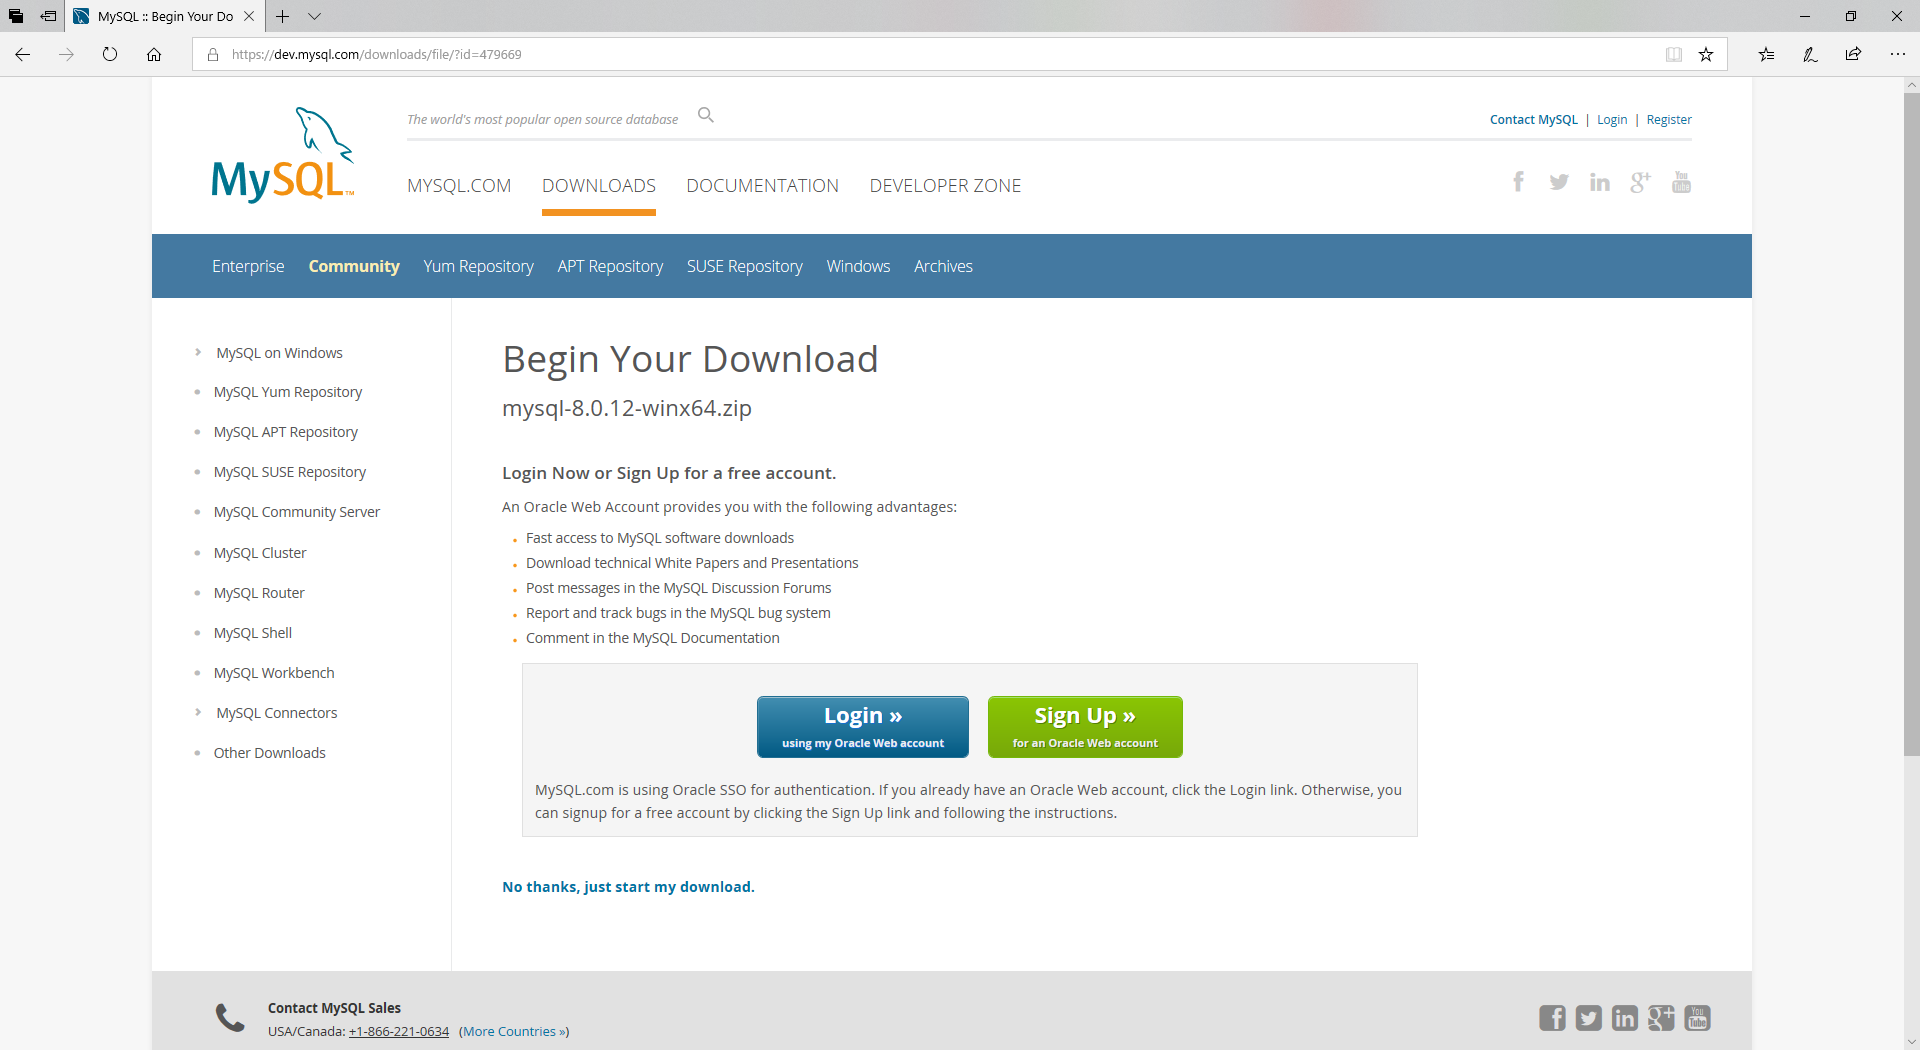
末尾にある「No thanks, just start my download.」リンクを押下する。
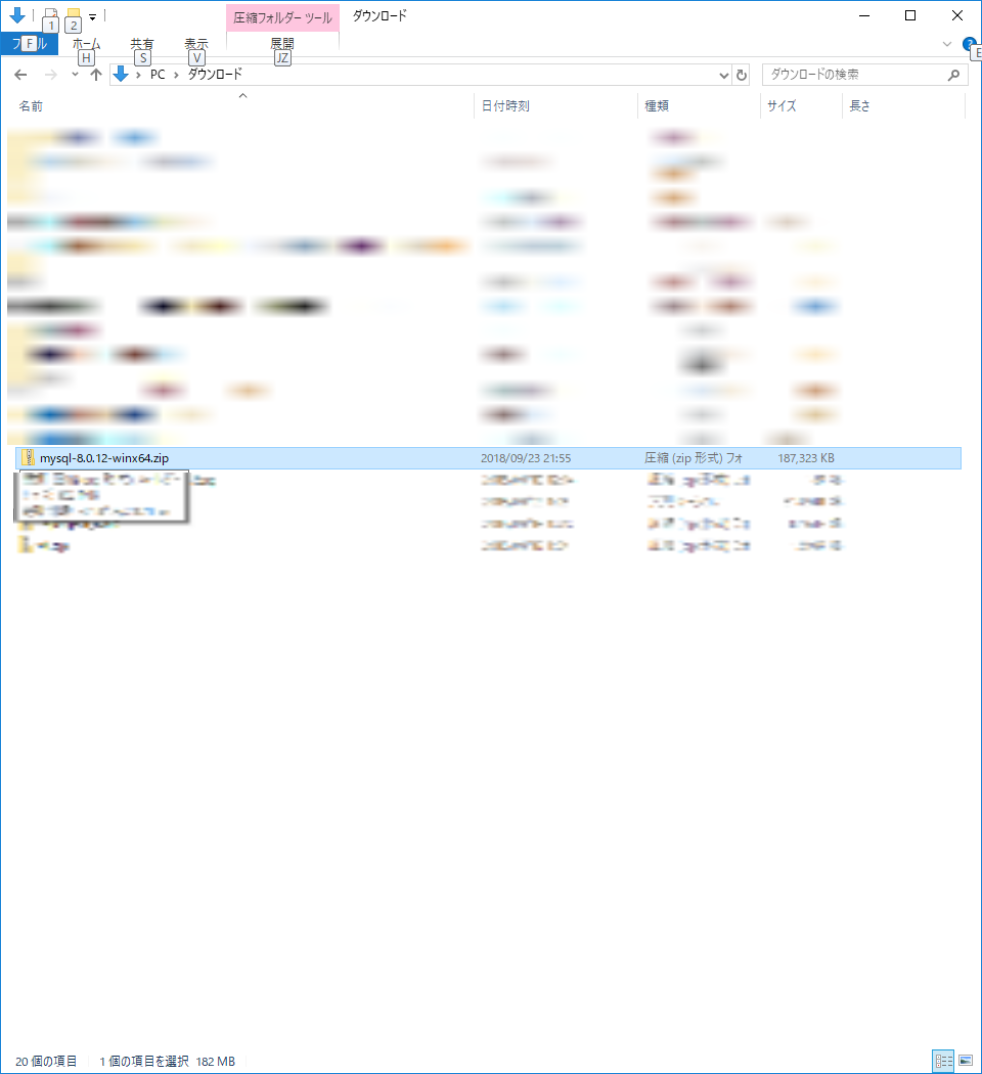
ダウンロードダイアログが表示される為、適当なフォルダにダウンロードする。
(ここでは、ダウンロードフォルダにダウンロードする。)
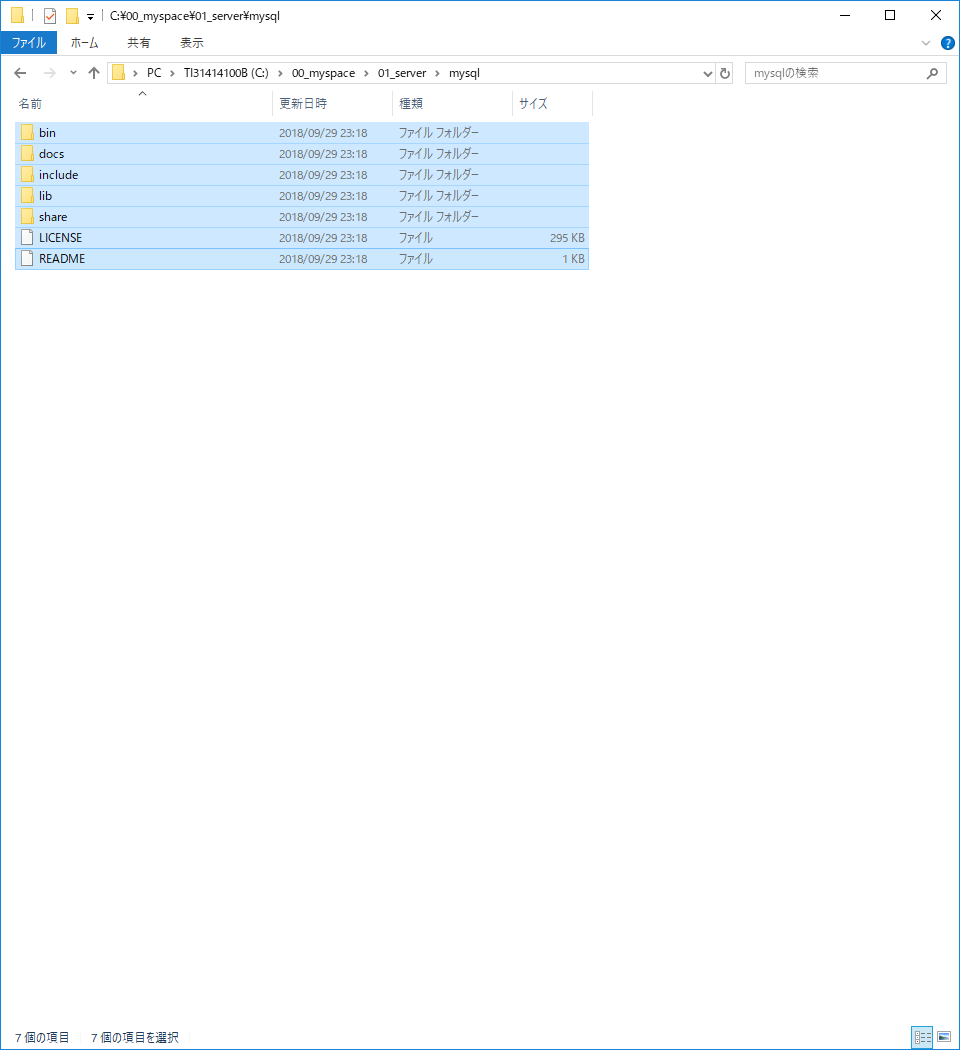
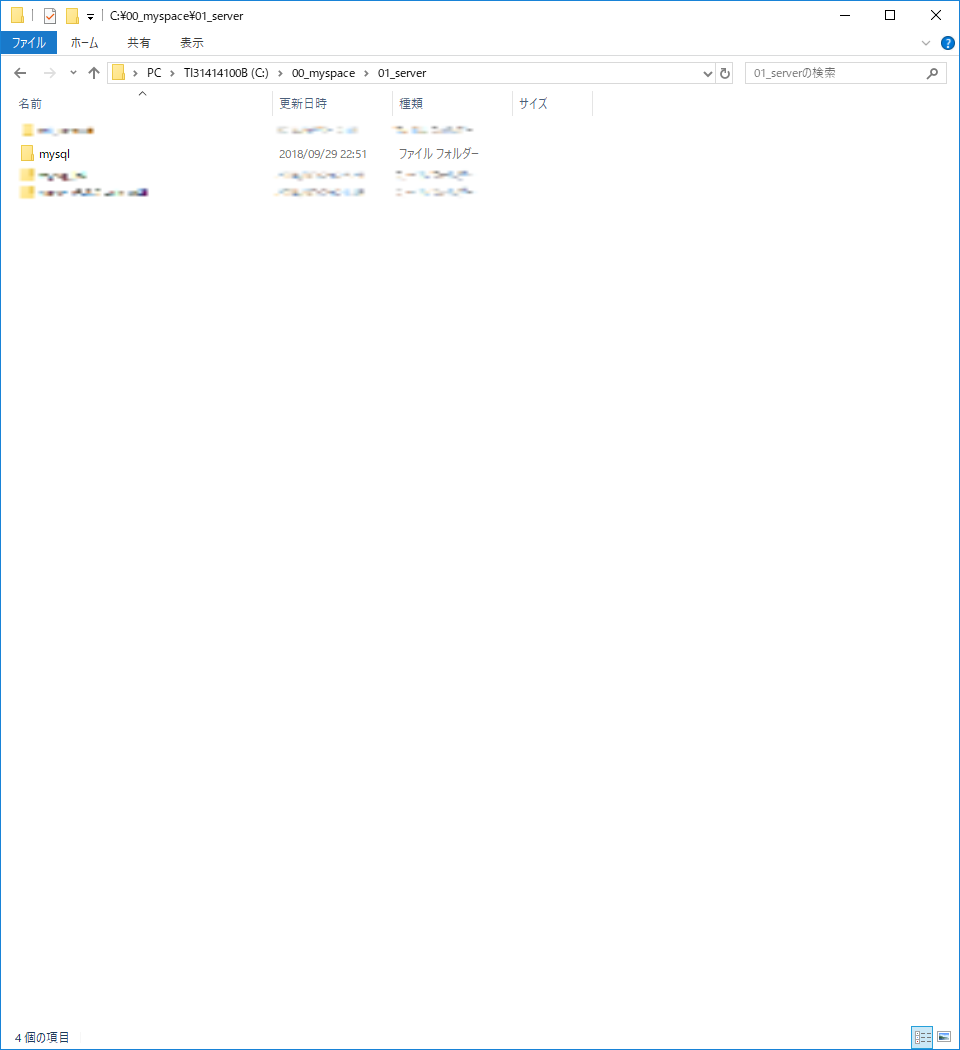
手順2 : MySQLをインストールするフォルダを作成して、ダウンロードしたzipファイルを展開する。
ここでは、以下に「mysql」というフォルダを作成する。
<フォルダ作成場所>
C:\00_myspace\01_server
<作成フォルダ>
C:\00_myspace\01_server\mysql
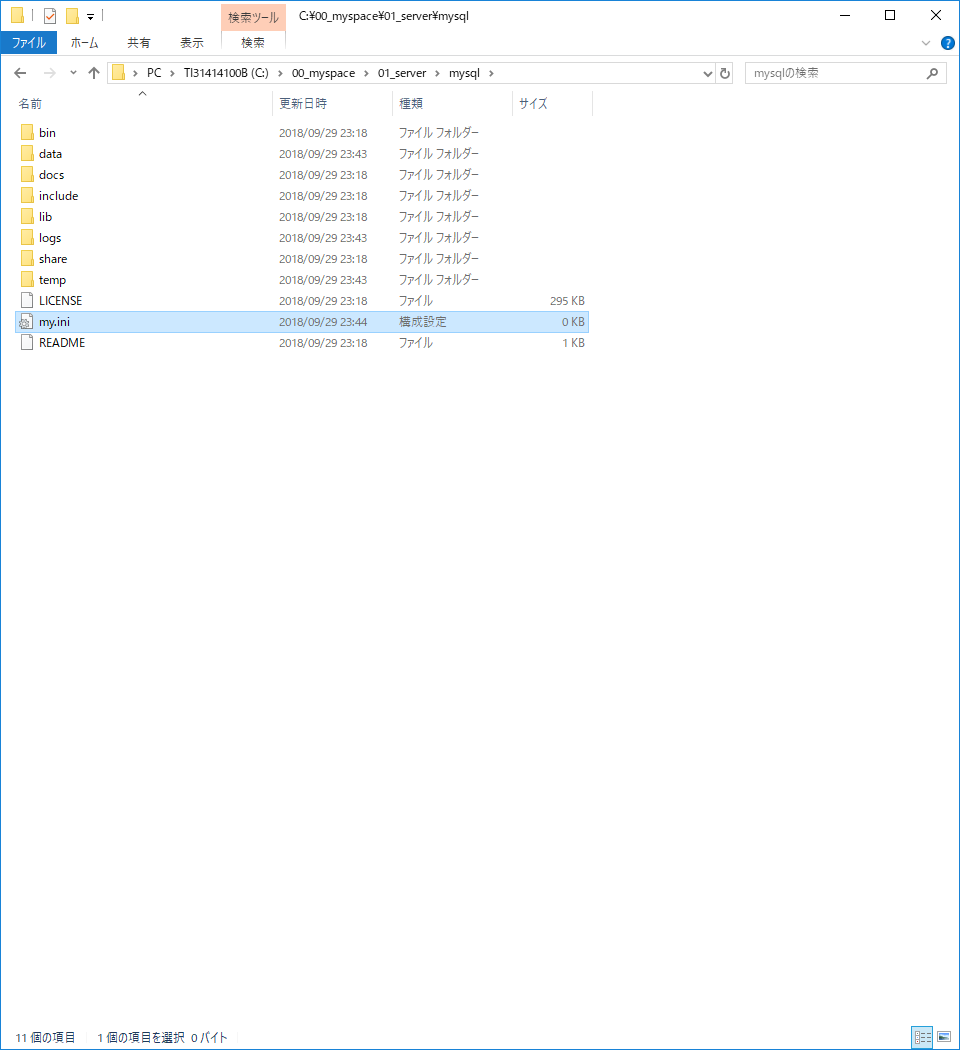
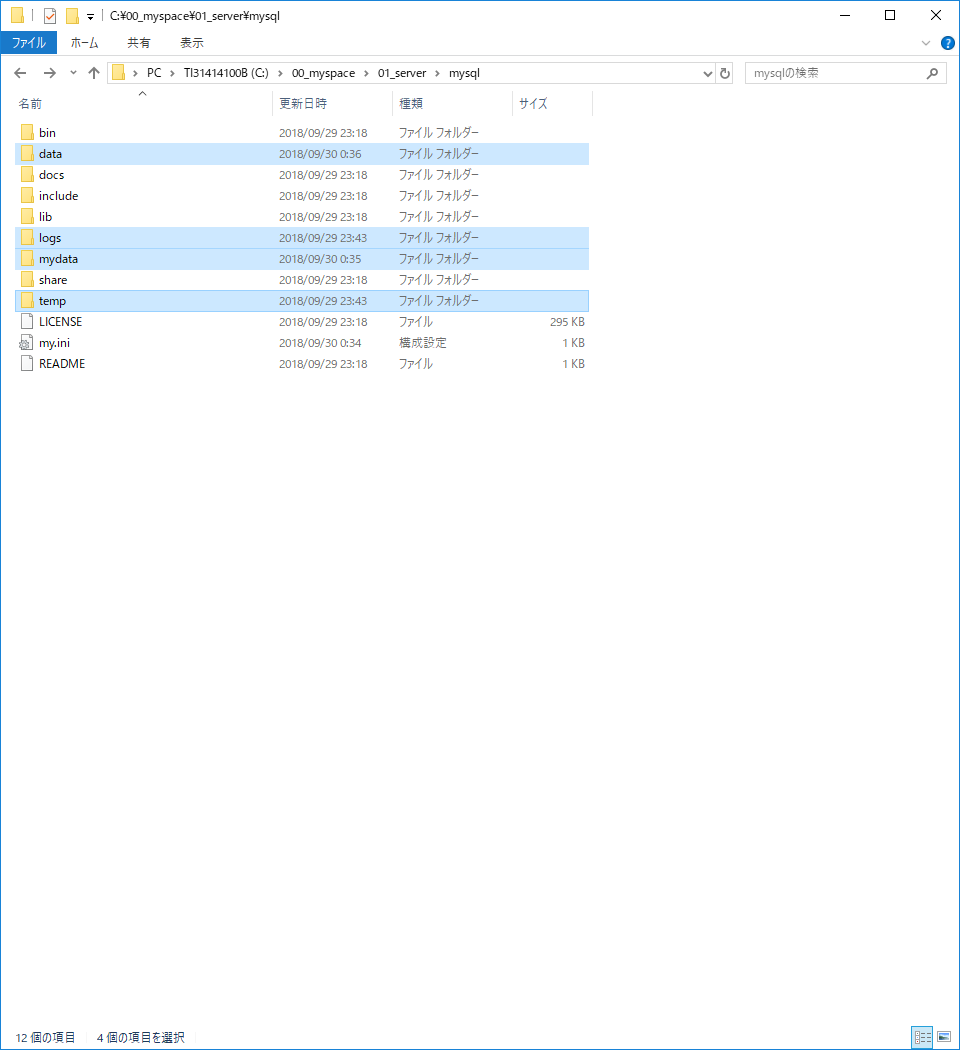
手順3 : 「data」、「logs」、「temp」、「mydata」フォルダを作成する。
フォルダ直下に「data」、「logs」、「temp」、「mydata」フォルダを作成する。
手順4 : 「my.ini」ファイルを作成する。
手順5 : 「my.ini」ファイルに以下の内容を記載する。
参考サイト
https://dev.mysql.com/doc/refman/8.0/en/windows-create-option-file.html
以下の内容を「my.ini」ファイル内に記載する。
[mysqld]
# set basedir to your installation path
basedir=C:\00_myspace\01_server\mysql\
# set datadir to the location of your data directory
datadir=C:\00_myspace\01_server\mysql\data

[client]
port=3306
socket=/temp/mysql.sock

[mysqld]
port=3306
socket=/temp/mysql.sock
key_buffer_size=16M
max_allowed_packet=8M

[mysqldump]
quick

[client]
# The following password will be sent to all standard MySQL clients
password="12345"

[mysql]
no-auto-rehash
connect_timeout=2

[mysqlhotcopy]
interactive-timeout
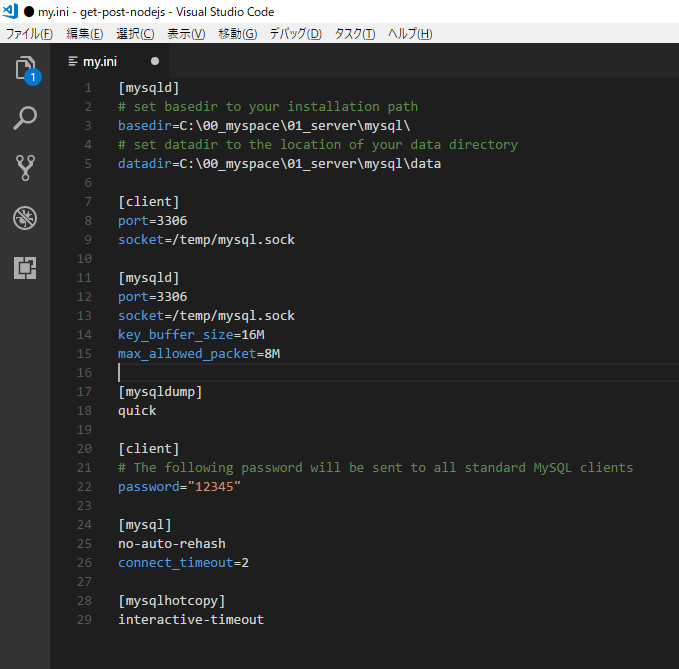
注意:「basedir」と「datadir」は、作成したフォルダ名に変更する必要あり。
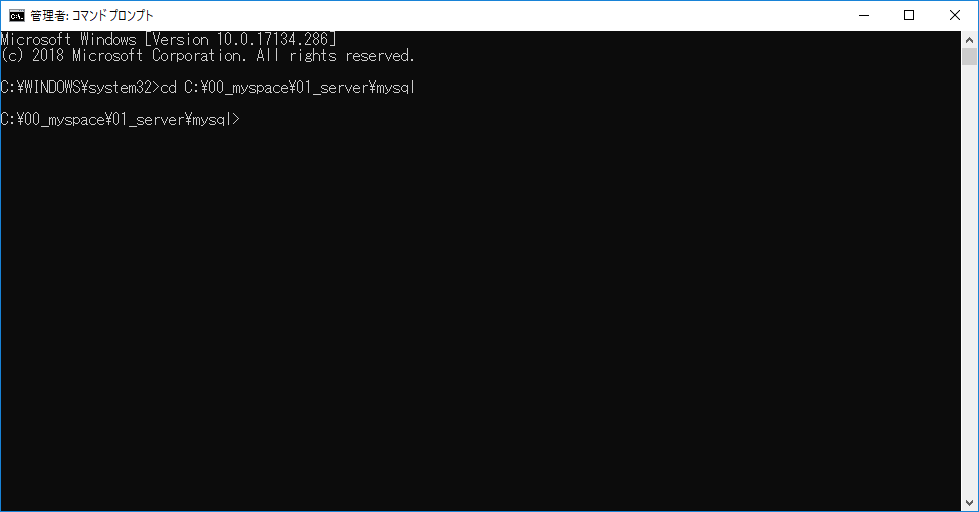
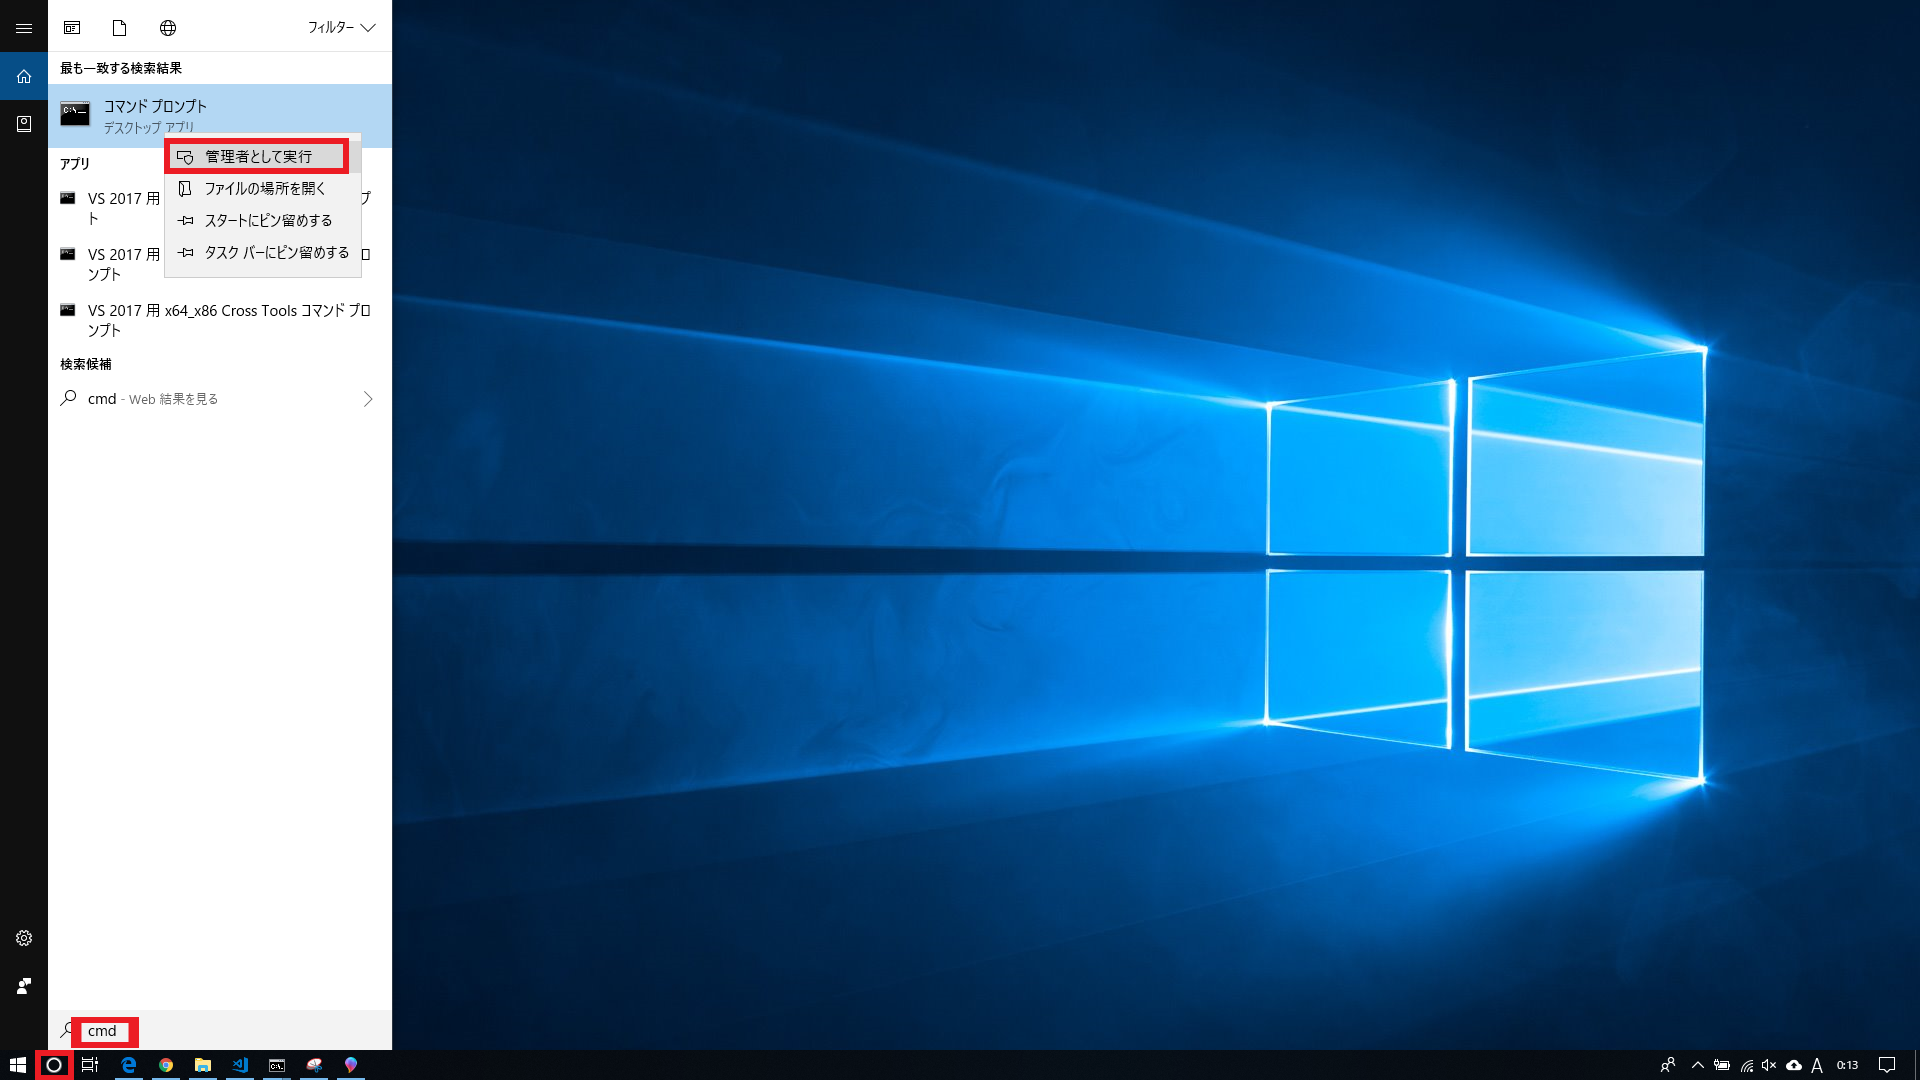
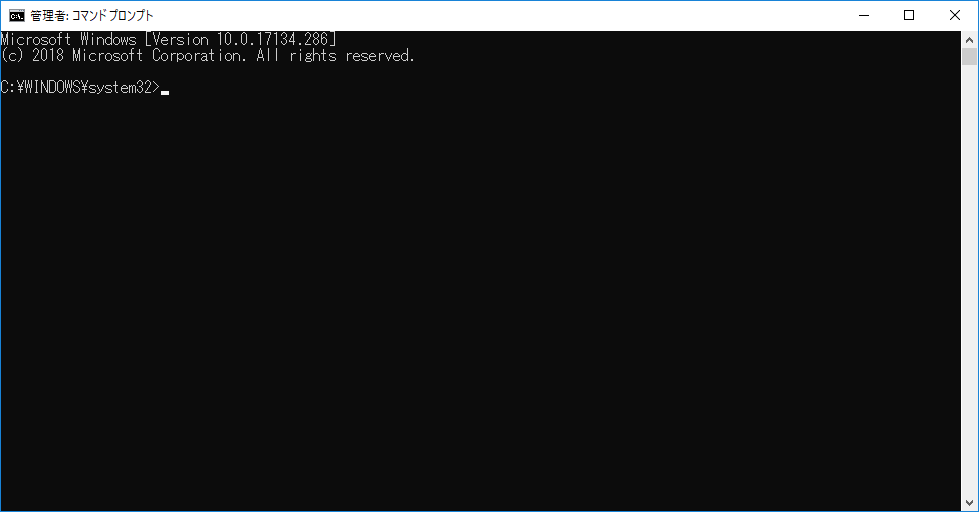
手順6 : 管理者モードでコマンドプロンプトを起動する。
「cortana」→「cmd」→「コマンドプロンプト」を「右クリック」→「管理者として実行」を押下する。
■起動結果
手順7 : MySQLをインストールしたフォルダに移動する。
cd C:\00_myspace\01_server\mysql
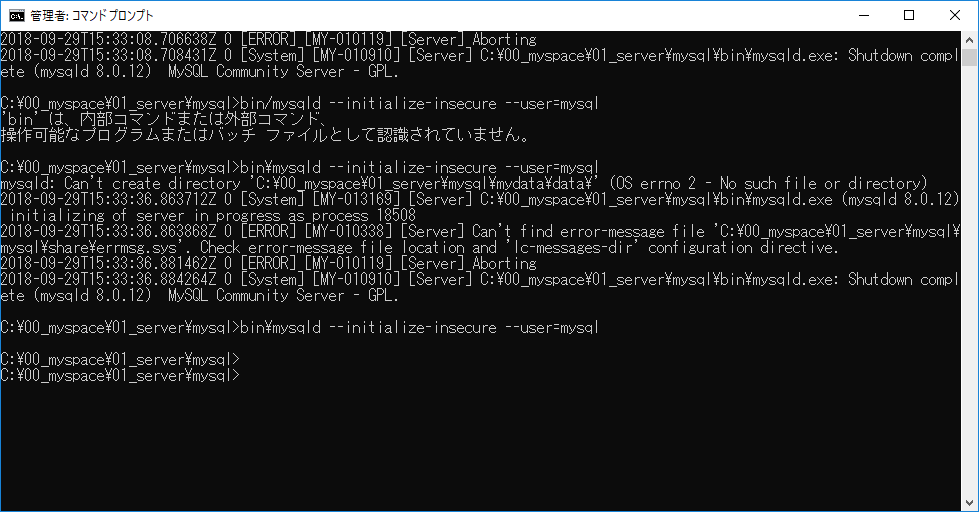
手順7 : MySQLを初期化する。
<参考サイト>
https://dev.mysql.com/doc/refman/8.0/en/data-directory-initialization-mysqld.html
以下のコマンドでMySQLを初期化する。
bin\mysqld --initialize-insecure --user=mysql
手順8 : MySQLを起動する。
<参考サイト>
https://dev.mysql.com/doc/refman/8.0/en/data-directory-initialization-mysqld.html
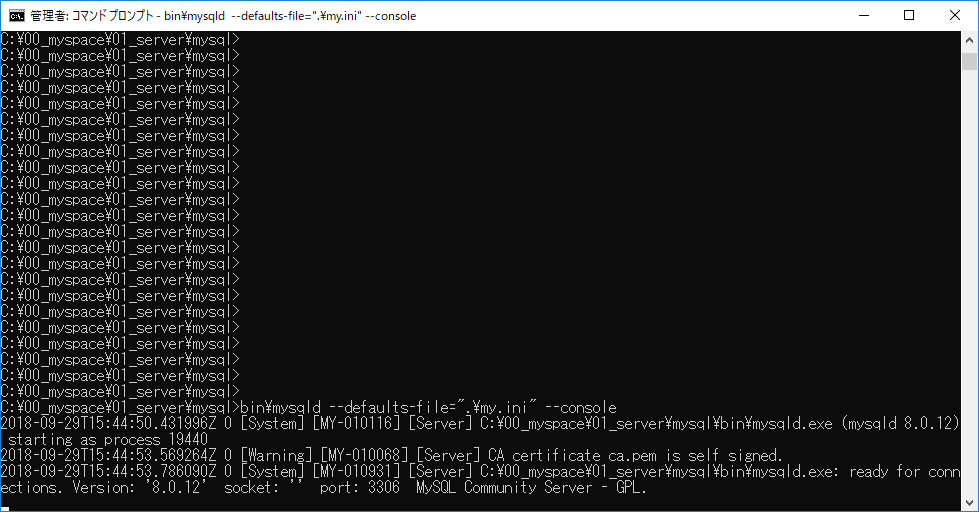
以下のコマンドでMySQLを起動する。
bin\mysqld --defaults-file=".\my.ini" --console
手順9 : MySQLにアクセスする。
<参考サイト>
https://dev.mysql.com/doc/refman/8.0/en/data-directory-initialization-mysqld.html
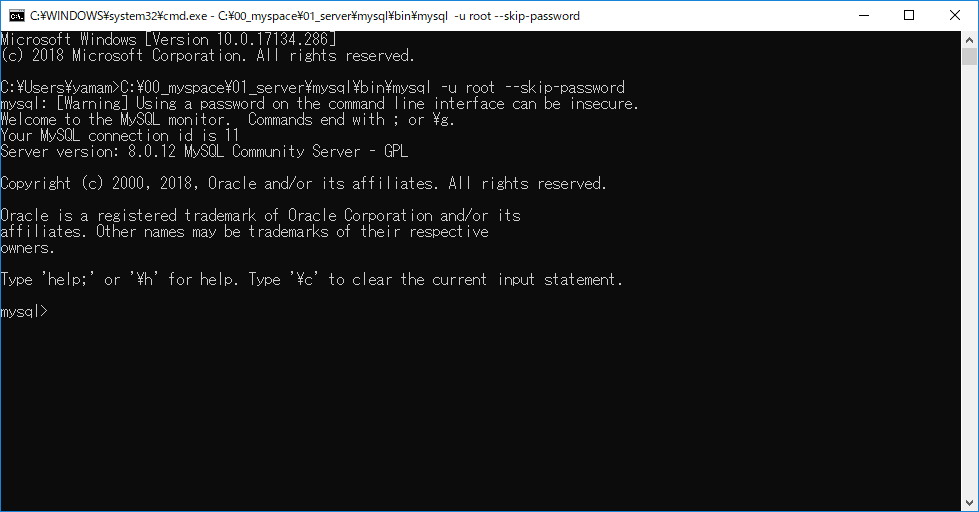
新たにコマンドプロンプトを立ち上げて、以下のコマンドを実行する。
C:\00_myspace\01_server\mysql\bin\mysql -u root --skip-password
補足
MySQLを停止する際は、「CTRL + c」で停止する。
