はじめに
自分は実務でReact×TypeScriptを利用したフロント周りとNode.js(Nest)やRailsを用いたバックエンド(API)の開発をしています。
本記事では、OpenAPIを用いたAPI設計の書き方及び、Swaggerの説明と使い方についてまとめていきます。
この記事の対象者
- プログラミング初心者から中級者
- APIの基礎を理解している人
- OpenAPIを用いてサクッとモックサーバーを試したい人
この記事の目標
- モックサーバーの環境構築を学ぶ
- Swaggerの使い方を理解する
- OpenAPIを用いてAPI設計の具体的な書き方を学ぶ
この記事でやらないこと
本記事ではOpenAPIの「書き方」をメインで解説するため、API設計についての細かい解説は省きます。
なおAPI設計については下記の記事でまとめているので、ぜひ参考にしてみてください。
用語解説
OpenAPI
公式ドキュメントでは下記のように解説されています。
OpenAPI仕様(旧Swagger仕様)は、REST APIのためのAPI記述形式です。
またOpenAPIファイルでは下記のようなAPI全体を記述することができる
- 利用可能なエンドポイント(/user)と各エンドポイントでの操作(GET /users, POST /users)
- パラメター操作や入出力
- 認証方法
OpenAPIの記述形式はYAMLまたはJSON形式で記述することができます。
この部分に関しては言葉だけだと掴みにくいので、この後の章で具体的にコードを書きながら解説をしていきます。
一旦OpenAPIは、RESTfulなAPIをyamlまたはJSON形式で記述することができるフォーマットであると理解しておいてください。
Swagger
SwaggerはOpenAPIを利用しREST APIを設計するために使用するツールセットのことを指します。
具体的には下記のツールがあります。
| ツール名 | 説明 |
|---|---|
| Swagger Editor | OpenAPI 定義を記述できるブラウザーベースのエディター。 |
| Swagger UI | OpenAPI 定義をインタラクティブなドキュメントとしてレンダリングします。 |
| Swagger Codegen | OpenAPI 定義からサーバー スタブとクライアント ライブラリを生成します。 |
Swaggerについてもこと後の章で具体的に使い方を解説していきます。
モックサーバーの環境構築
OpenAPIに記述した内容でデータのやり取りができるようにモックサーバーをあらかじめ作成しておきます。
モックサーバーを使うことでサーバー側の環境を構築せずともOpenAPIのファイルがあれば仮想のデータ通信をフロント側で試すことができます。
本章の成果物としては、
-
npm run mockapiコマンドを実行するとモックサーバーが立ち上がる - モックサーバーで
/api/v1/helloを叩くと"hello"というレスポンスが返ってくる
今回はReact×TypeScripの環境でモックサーバーの環境を構築します。(この部分の構成はなんでも大丈夫です)
React×TypeScriptの環境構築
$ npx create-react-app . --template typescript
モックサーバーの準備
package.jsonファイルにmockapiを立ち上げるコマンドを記述します。
  "scripts": {
    "start": "react-scripts start",
    "build": "react-scripts build",
    "mockapi": "docker run --rm -it -p 3001:4010 -v ${PWD}:/tmp -P stoplight/prism:4 mock -h 0.0.0.0 --cors /tmp/openapi.yaml"
  }
モックサーバーはDockerで用意されているPrismを利用します。
PrismはOSSのモック&プロキシサーバで、OpenAPIドキュメントを使用してモックサーバを起動することができます。
Prismに関しての詳しい解説は下記の記事を参考にしてみてください。
OpenAPIファイルを作成する
OpneAPIファイルの記述内容に関してはこの後の章で詳しく解説するので一旦、結論コードを貼ります。
openapi: "3.0.3"

info:
  title: "Sample API"
  version: "1.0.0"

paths:
  "/api/v1/hello":
    get:
      summary: "hello"
      responses:
        "200":
          description: "成功"
          content:
            application/json:
              schema:
                type: string
                example: "hello"
モックサーバーを起動する
Dockerディスクトップを起動したら、先ほどpackage.jsonに追記した下記のコマンドを実行します。
$ npm run mockapi
するとモックサーバーが立ち上がります。
下記のURLにアクセスするとOpneAPIに記述したデータのレスポンスが返ってくることを確認できます。
http://localhost:3001/api/v1/hello

モックサーバーを使うことで、サーバー側の環境構築をせずとも、OpenAPIがあればデータのやり取りを試すことが容易に行えます。
OpenAPIについて
ここからは具体的にOpenAPIの書き方について解説をしていきます。
OpenAPIのデータフォーマット
先ほども説明したのですが、OpenAPIの記述方法はJSONかYAMLの2パターンがあります。
一般的にはYAML形式が採用されることが多いので、本記事でもYAML形式の記述で解説をしていきます。
OpenAPIのデータの型
OpenAPIでは下記の6パターンの型が用意されています。
| 型 | 説明 |
|---|---|
| integer | 整数 |
| number | 浮動小数点 |
| string | 文字列 |
| boolean | 真偽値 |
| array | 配列 |
| object | オブジェクト |
integer型は下記のフォーマットに分類されます。
| フォーマット | 説明 |
|---|---|
| int32 | 符号付き32ビット整数 |
| int64 | 符号付き64ビット整数 |
number型は下記のフォーマットに分類されます。
| フォーマット | 説明 |
|---|---|
| float | 浮動小数 |
| double | 倍精度浮動小数 |
string型は下記のフォーマットに分類されます。
| フォーマット | 説明 |
|---|---|
| date | RFC3339(例: 2022-11-06) |
| date-time | RFC3339(例: 2022-11-06T19:20:30+01:00) |
| メールアドレス | |
| password | パスワード |
| uuid | uuid |
スキーマの詳細
下記の6つのスキーマについて確認していきます。
- opneapi
- info
- servers
- tags
- paths
- commponents
先に骨格だけ書いておきます。
openapi:

info: {}

paths: {}

servers: {}

tags: {}

paths: {}

components: {}
一つずつ詳しく解説をしていきます。
opneapi
こちらには使用するOpenAPIのバージョンを記述します。
今回はopenapi3.0.3を利用して開発を進めていくので、バージョンを明示します。
openapi: "3.0.3"
info
infoには、API自体のメタデータを定義していきます。
| フィールド | 型 | 説明 |
|---|---|---|
| title | string | APIのタイトル |
| description | string | APIの説明。マークダウンも可能 |
| version | string | APIドキュメントのバージョン |
openapi: "3.0.3"

info:
  title: "サンプルAPI"
  description: "サンプルとして作成したAPIです"
  version: "1.0.0"
servers
serversではAPIを提供しているサーバーを定義します。
開発環境や本番環境のURL情報を記載していきます。
またサーバーは開発環境、本番環境など複数定義する可能性があることからハイフンを利用して配列で表現していきます。
| フィールド | 型 | 説明 |
|---|---|---|
| url | string | APIを提供しているサーバーのURL |
| description | string | 提供しているサーバーの情報 |
openapi: "3.0.3"

info:
  title: "サンプルAPI"
  description: "サンプルとして作成したAPIです"
  version: "1.0.0"

servers:
- url: "http://localhost:3000"
  description: "ローカル環境"
- url: "http://sample.com"
  description: "本番環境"
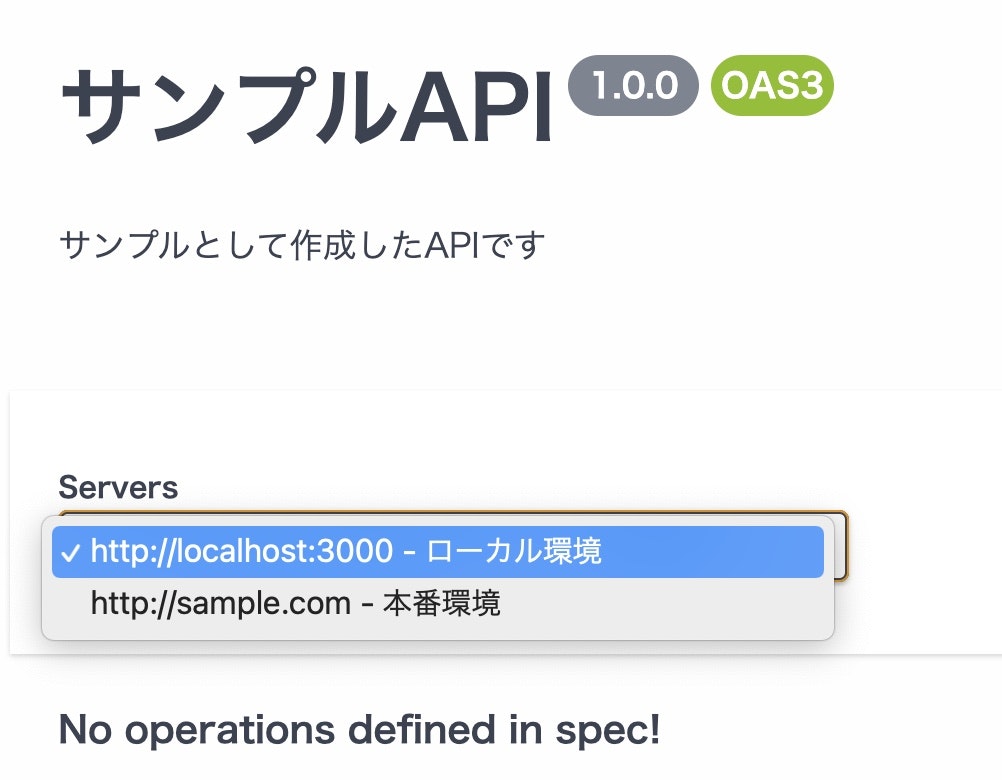
ここでこれまで書いていきたOpenAPIをSwaggerを利用して確認します。
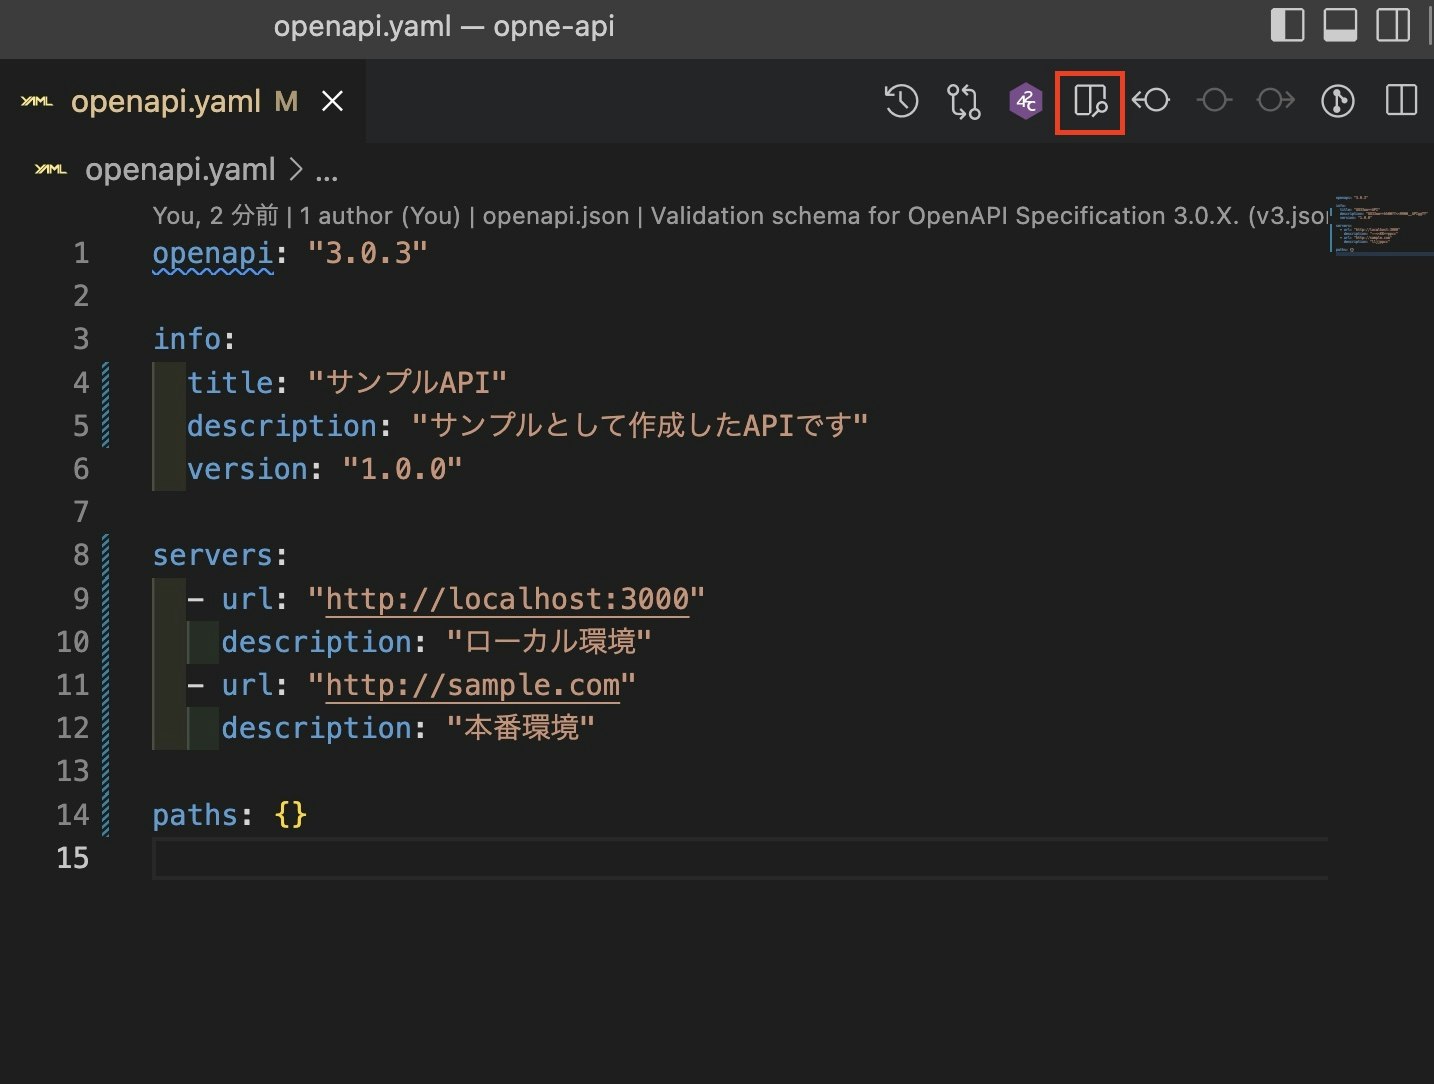
拡張機能の「Swagger Viewer」をVsCodeにインストールします。
インストールが完了したら下記のアイコンをクリックします。
今まで記述してきた内容を確認することができます。
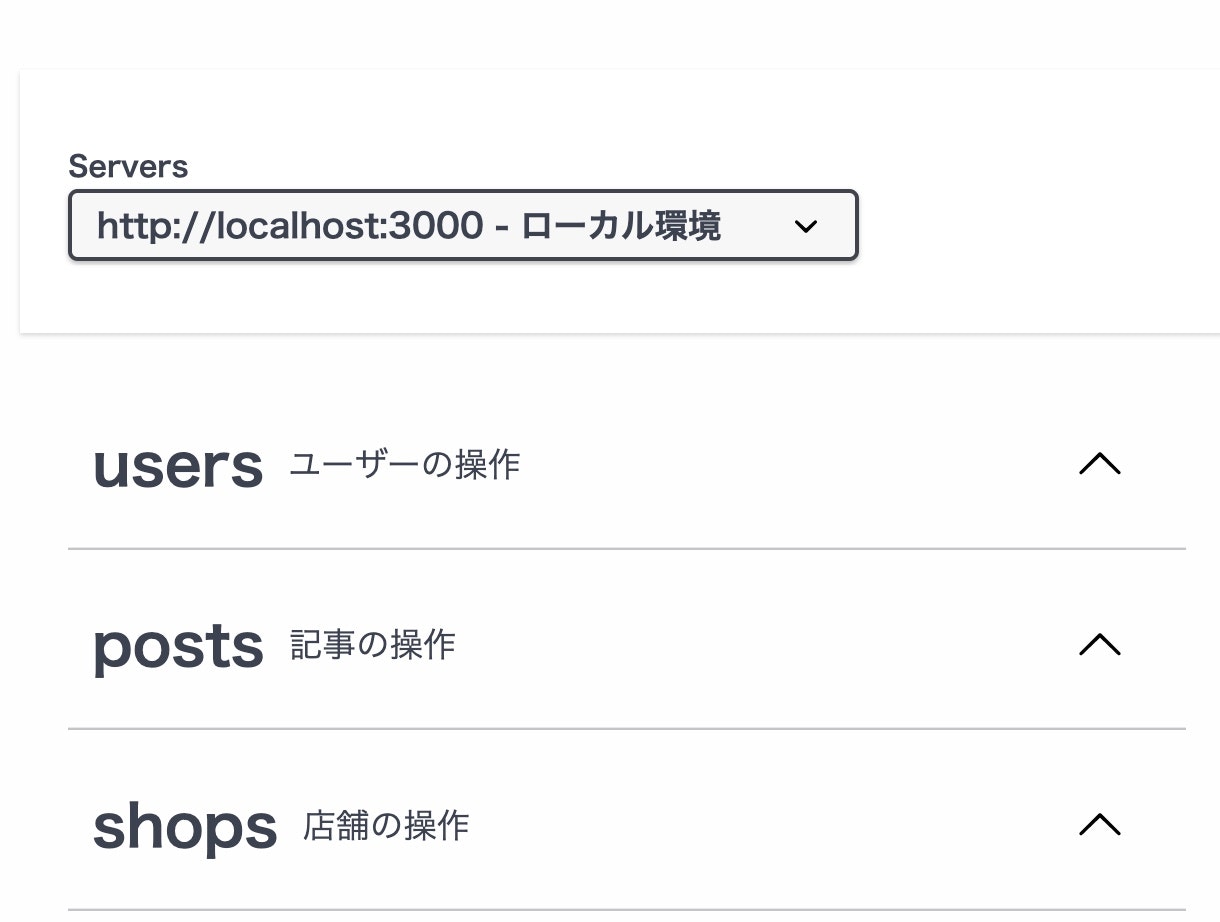
tags
APIを整理するためのタグを配列で定義することができる。
| フィールド | 型 | 説明 |
|---|---|---|
| name | string | タグ名 |
| description | string | タグの説明 |
openapi: "3.0.3"

info:
  title: "サンプルAPI"
  description: "サンプルとして作成したAPIです"
  version: "1.0.0"

servers:
  - url: "http://localhost:3000"
    description: "ローカル環境"
  - url: "http://sample.com"
    description: "本番環境"

tags:
  - name: "users"
    description: "ユーザーの操作"
  - name: "posts"
    description: "記事の操作"
  - name: "shops"
    description: "店舗の操作"

paths: {}
paths
pathsではAPIとして利用できるパスと操作を定義していきます。
pathsは下記の構成で成り立っています。
- メタデータ
- リクエストパラメータ
- リクエストボディー
- レスポンス
pathsの内容を一つずつ確認していきます。
メタデータ
メタデータの構成は下記です。
| フィールド | 型 | 説明 |
|---|---|---|
| summary | string | 操作の概要 |
| description | string | 操作の詳細説明 |
| tags | [string] | タグを付与できる |
| deprecated | boolean | 廃止になったかを定義する |
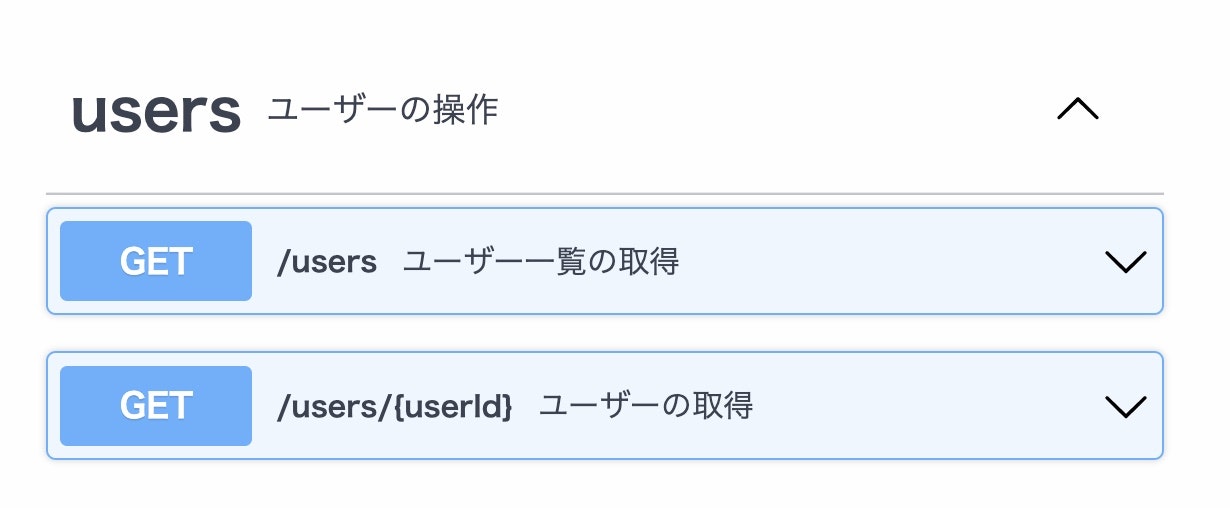
ユーザー情報の一覧取得と詳細取得をするAPIを作りながら具体的に見ていきます。
tags:
  - name: "users"
    description: "ユーザーの操作"

paths:
  "/users":
    get:
      summary: "ユーザー一覧の取得"
      tags: ["users"]
      deprecated: false
  "/users/{userId}":
    get:
      summary: "ユーザーの取得"
      tags: ["users"]
      deprecated: false
レスポンスについては後の章で詳しく解説するのですが、モックサーバーでの確認用に記述を追加します。
  "/users":
    get:
      summary: "ユーザー一覧の取得"
      tags: ["users"]
      deprecated: false
      responses:
        "200":
          description: "成功"
  "/users/{userId}":
    get:
      summary: "ユーザーの取得"
      tags: ["users"]
      deprecated: false
      parameters:
        - name: userId
          in: path
          required: true
          schema: { type: string }
      responses:
        "200":
          description: "成功"
Dockerを起動し先ほど準備をしたモックサーバーを起動します。
$ npm run mockapi
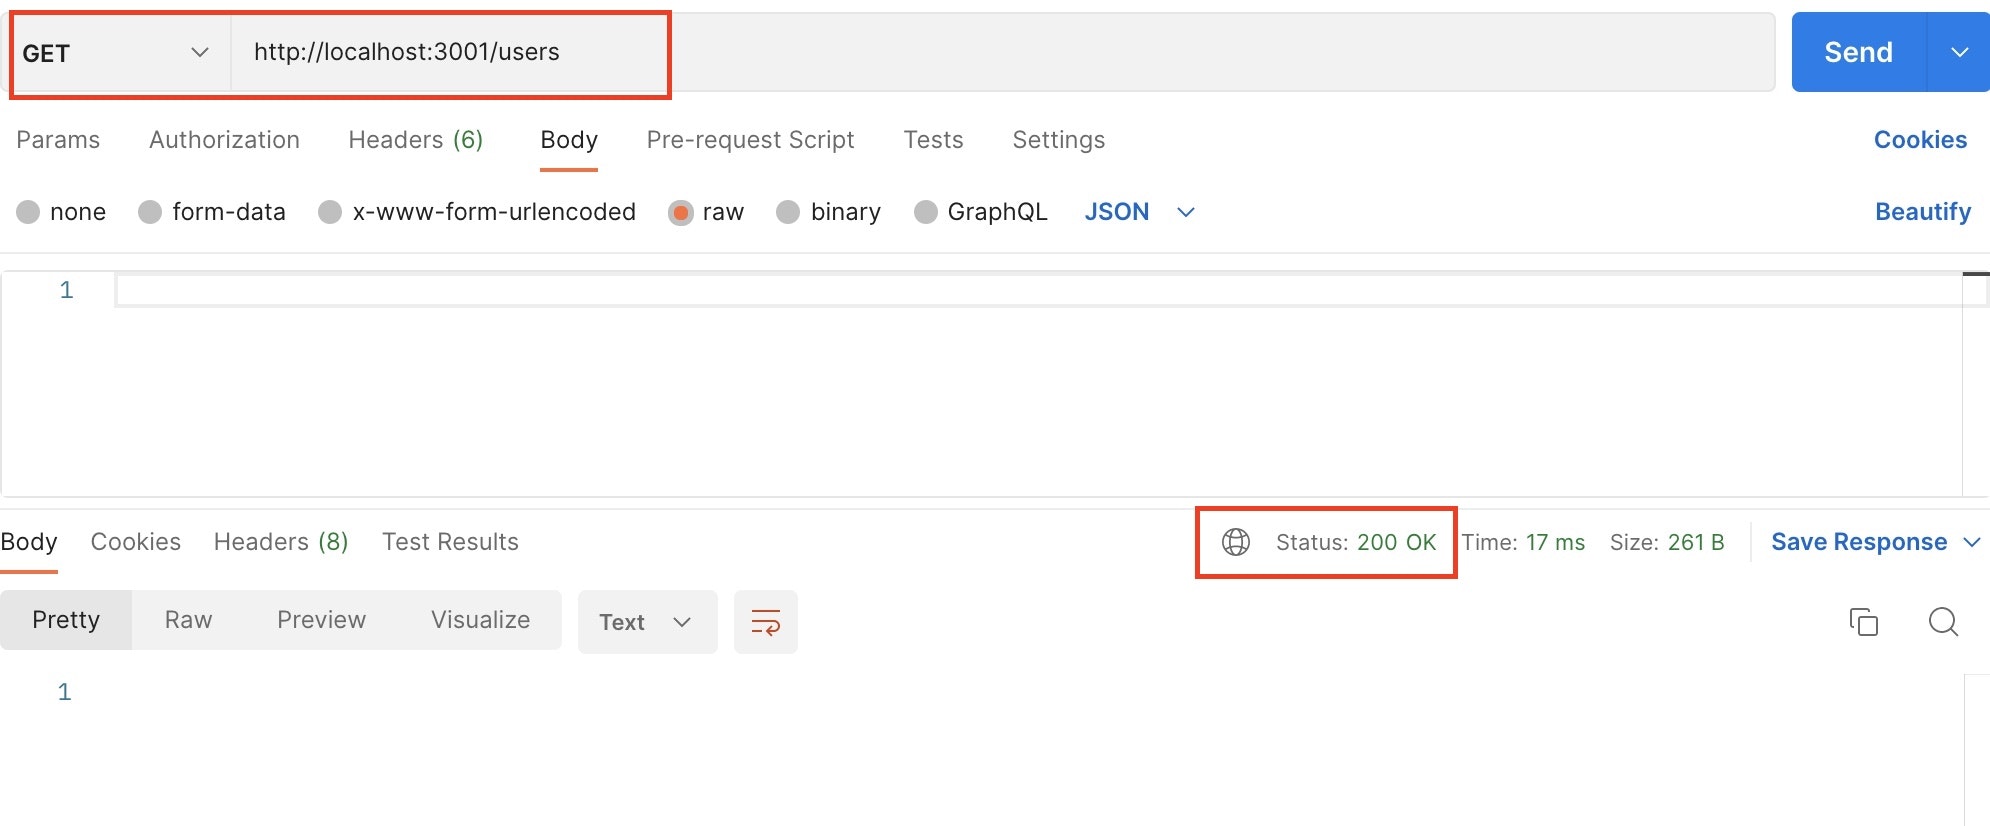
Postmanで/usersのエンドポイントをGETリクエストします。
ステータスコードの200番が返ってきていることが確認できます。
同様にパスパラメータにユーザーIDを格納しリクエストを送ってみてもステータスコード200が返ってきていることが確認できます。
リクエストパラメータ
リクエストパラメータは下記の構成になっています。
| フィールド | 型 | 説明 |
|---|---|---|
| name | string | パラメータ名を指定する |
| in | string | パラメータの場所を指定する(query,header,path,cookie) |
| description | string | パラメータに関する説明を記載する |
| required | boolean | パラメータが必須かを定義する |
| schema | object | パラメータお型定義をする。JSONスキーマを元にした記述 |
| example | サンプルデータを記述 |
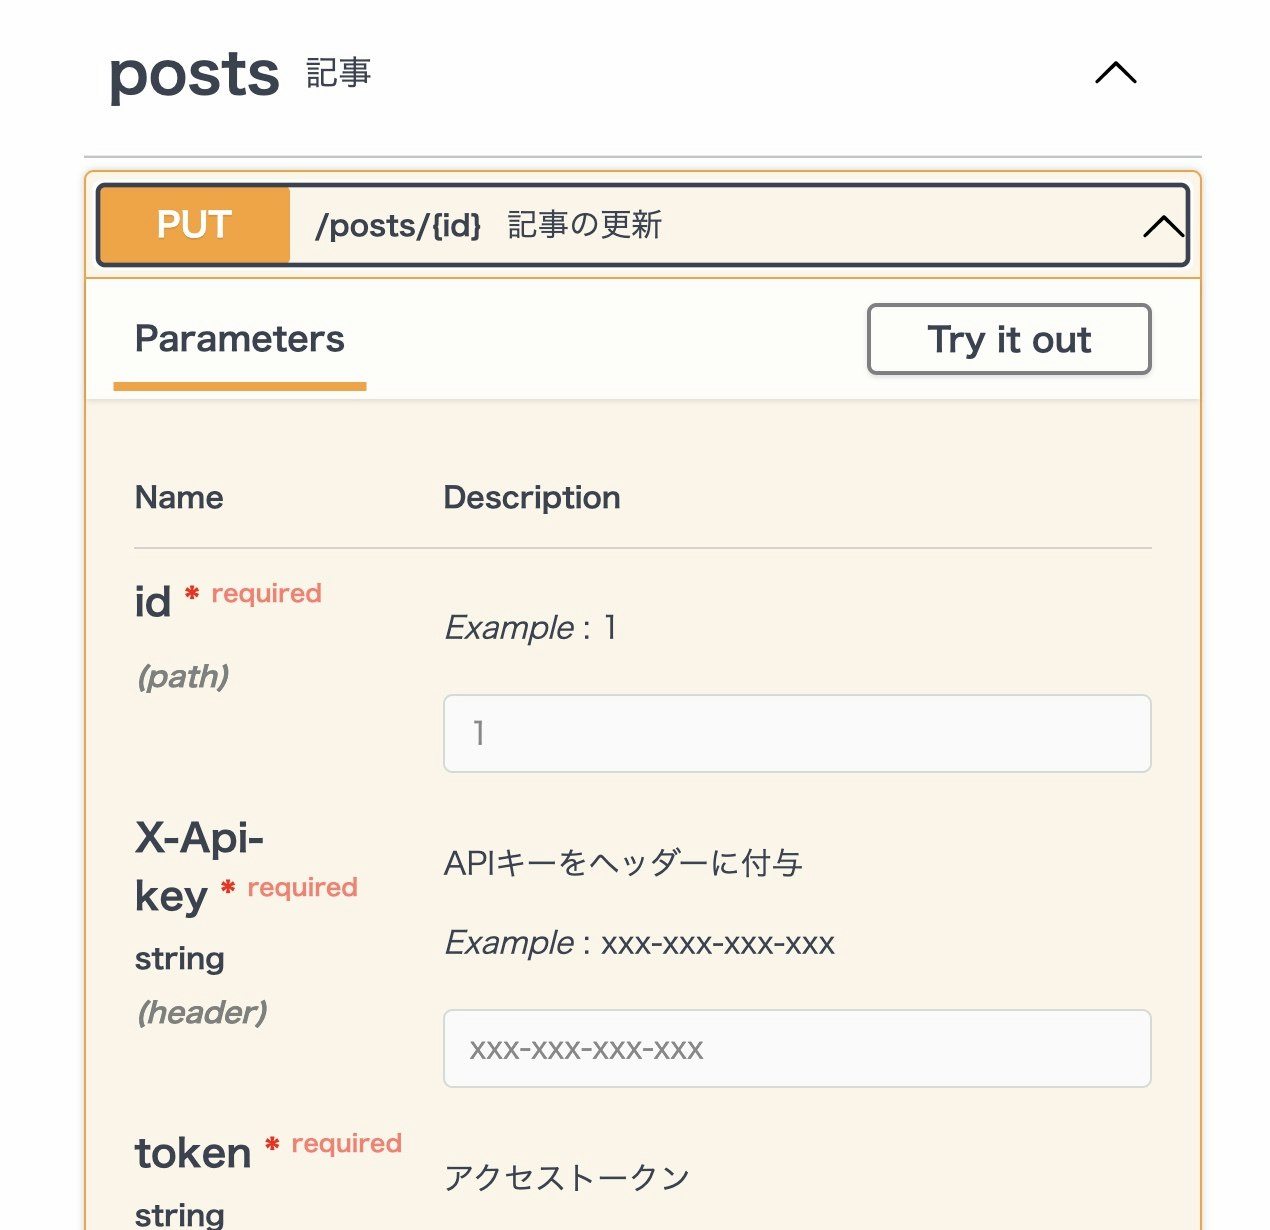
記事を更新するAPIを作成しながら上記を確認していきます。
なお新規投稿する際に、下記の条件を持たせます。
- パスパラメタで更新する記事のIDを指定
- ヘッダーにAPIキーを指定する
- アクセストークンをCookieに要求する
tags:
  - name: "users"
    description: "ユーザー"
  - name: "posts"
    description: "記事"

paths:
  "/posts/{id}":
    put:
      summary: "記事の更新"
      tags: ["posts"]
      deprecated: false
      parameters:
        - name: id
          in: path
          required: true
          schema: { type:string }
          example: "1"
        - name: X-Api-key
          in: header
          required: true
          description: "APIキーをヘッダーに付与"
          schema: { type: string }
          example: "xxx-xxx-xxx-xxx"
        - name: token
          in: cookie
          description: "アクセストークン"
          required: true
          schema: { type: string }
          example: "xxx-xxx-xxx"
      responses:
        "201":
          description: "成功"
リクエストボディ
リクエストボディは下記の構成になっています。
| フィールド | 型 | 説明 |
|---|---|---|
| description | string | リクエストボディの説明 |
| required | boolean | 必須項目の判定 |
| content | object | リクエストボディの内容 |
| content.{media} | object | メディアタイプをキーにレスポンスボディを定義 |
| content.{media}.schema | object | リクエストボディを定義 |
リクエストボディを定義するcontentは下記の構成を持っています。
- メディアタイプ(application/json等)
- schemaで型定義
- exampleでサンプルデータを記述
記事を新規投稿するAPIを作成しながらリクエストボディについて確認していきます。
下記のデータを新規投稿する。
{
   title: "タイトル",
   content: "記事内容"
}
paths:
  "/posts":
    post:
      summary: "記事の新規投稿"
      tags: ["posts"]
      deprecated: false
      requestBody:
        description: "投稿内容"
        required: true
        content:
          application/json:
            schema:
              type: object
              properties:
                title: { type: string, example: "タイトル" }
                content: { type: string, example: "記事本文" }
      responses:
        "201":
          description: "成功"
Dockerを起動しmockサーバーを立てて新規投稿のAPIコールができるかを確認します。
$ npm run mockapi
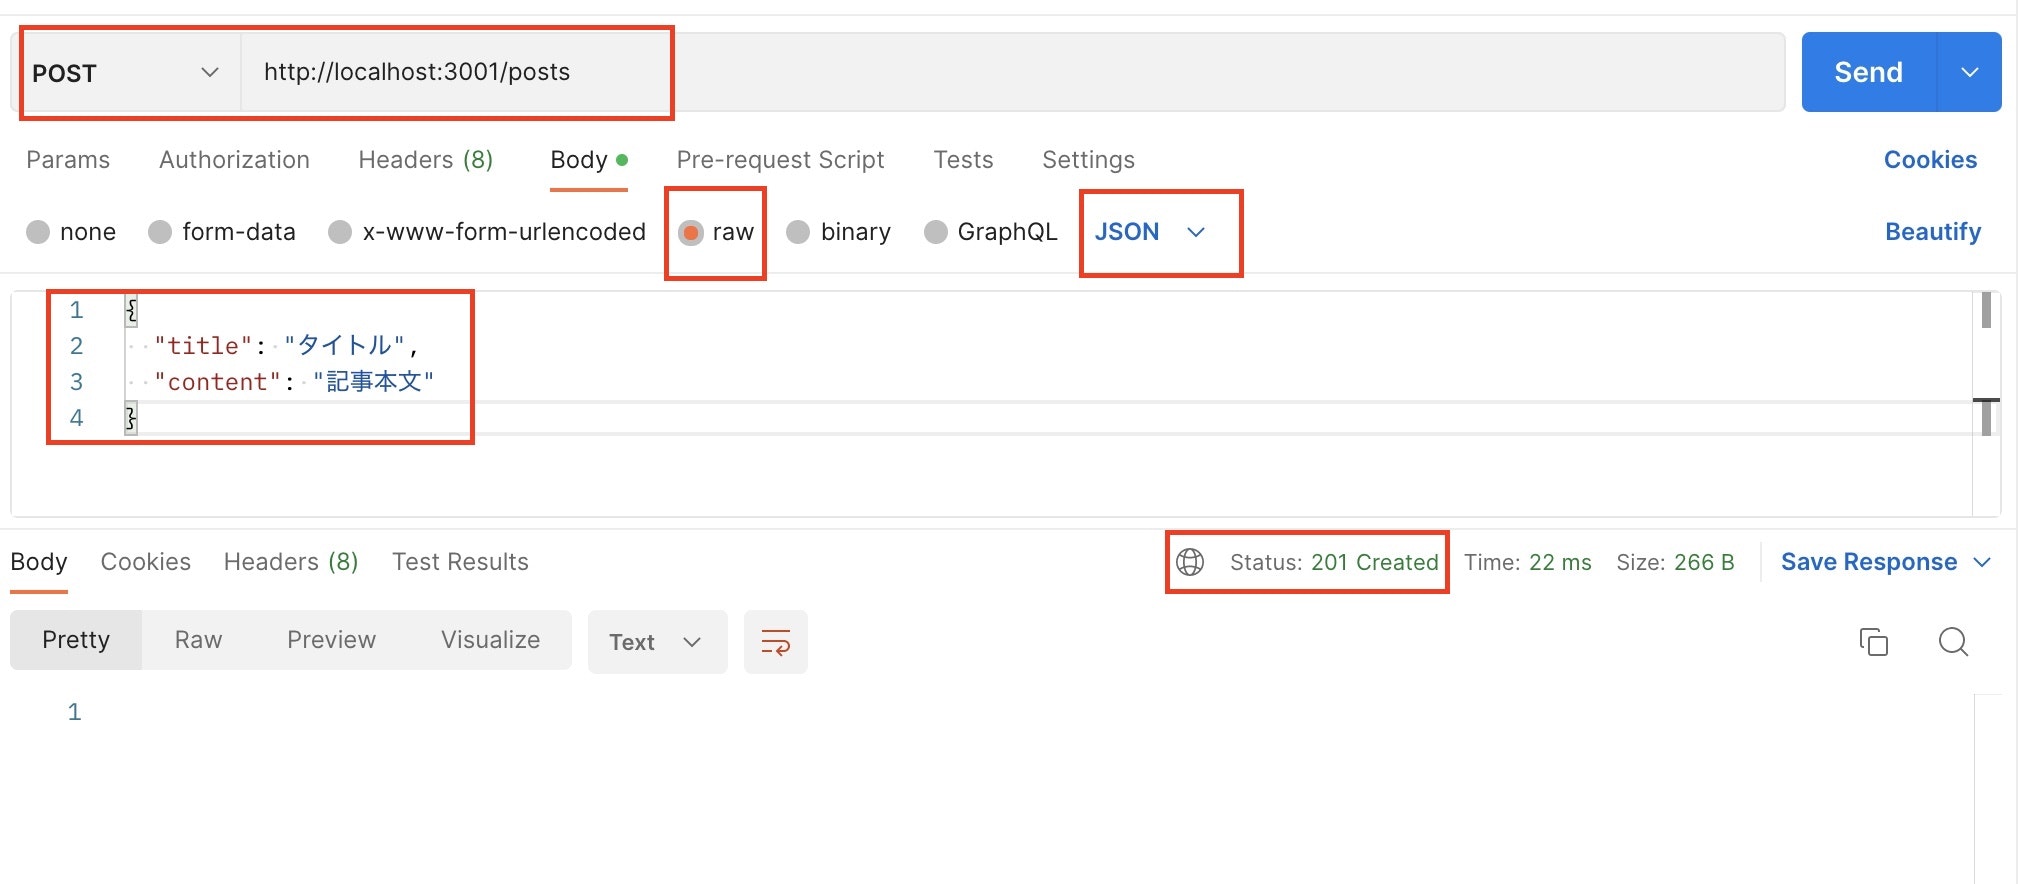
Postmanを開いて先ほど作成した新規投稿のAPIにリクエストを送ります。
リクエストを送ると201のステータスコードが返ってきていることが確認できます。
レスポンス
レスポンスは下記の構成になっています。
レスポンスはステータスコード毎にオブジェクトを作成していく。成功ステータスは最低限入れるようにする。
| フィールド | 型 | 説明 |
|---|---|---|
| description | string | レスポンス内容の説明 |
| headers | string | レスポンスのヘッダー(descriptionとschemaを持つ) |
| content | object | 具体的に返すデータ |
記事の新規投稿で下記のレスポンスを返すOpenAPIを書く。
- 201番で投稿が成功した場合
- 400番でエラーをレスポンスボディに格納
paths:
  "/posts":
    post:
      summary: "記事の新規作成"
      tags: ["posts"]
      requestBody:
        description: "記事内容"
        required: true
        content:
          application/json:
            schema:
              type: object
              properties:
                title: { type: string }
                description: { type: string }
      # 成功レスポンス
      responses:
        "201":
          description: "成功"
        "400":
          description: "Client side error"
          content:
            application/json:
              schema:
                type: object
                properties:
                  code: { type: string }
                  type: { type: string }
                  message: { type: string }
                  errors:
                    type: array
                    items:
                      type: object
                      properties:
                        field: { type: string }
                        code: { type: string }
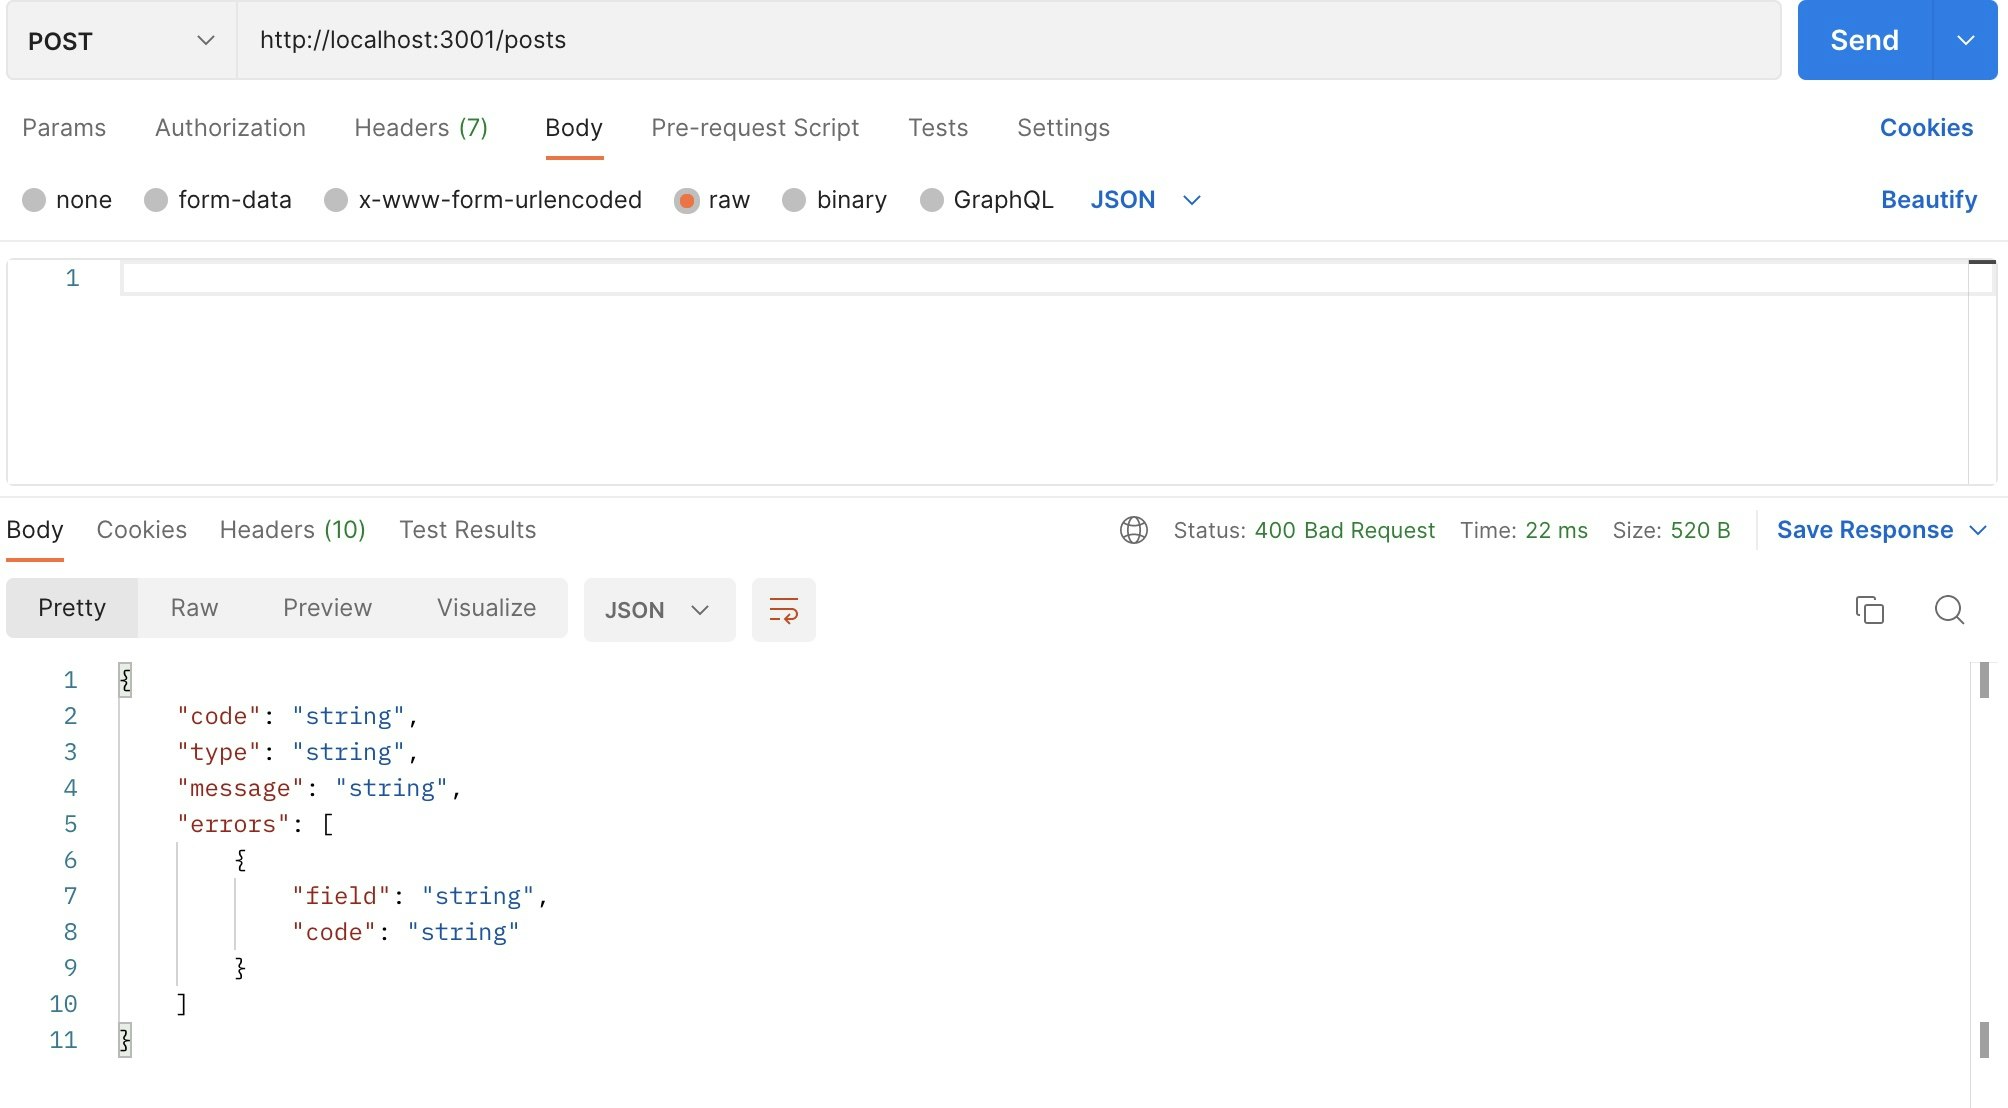
モックサーバーを起動し確認をする。
$ npm run mockapi
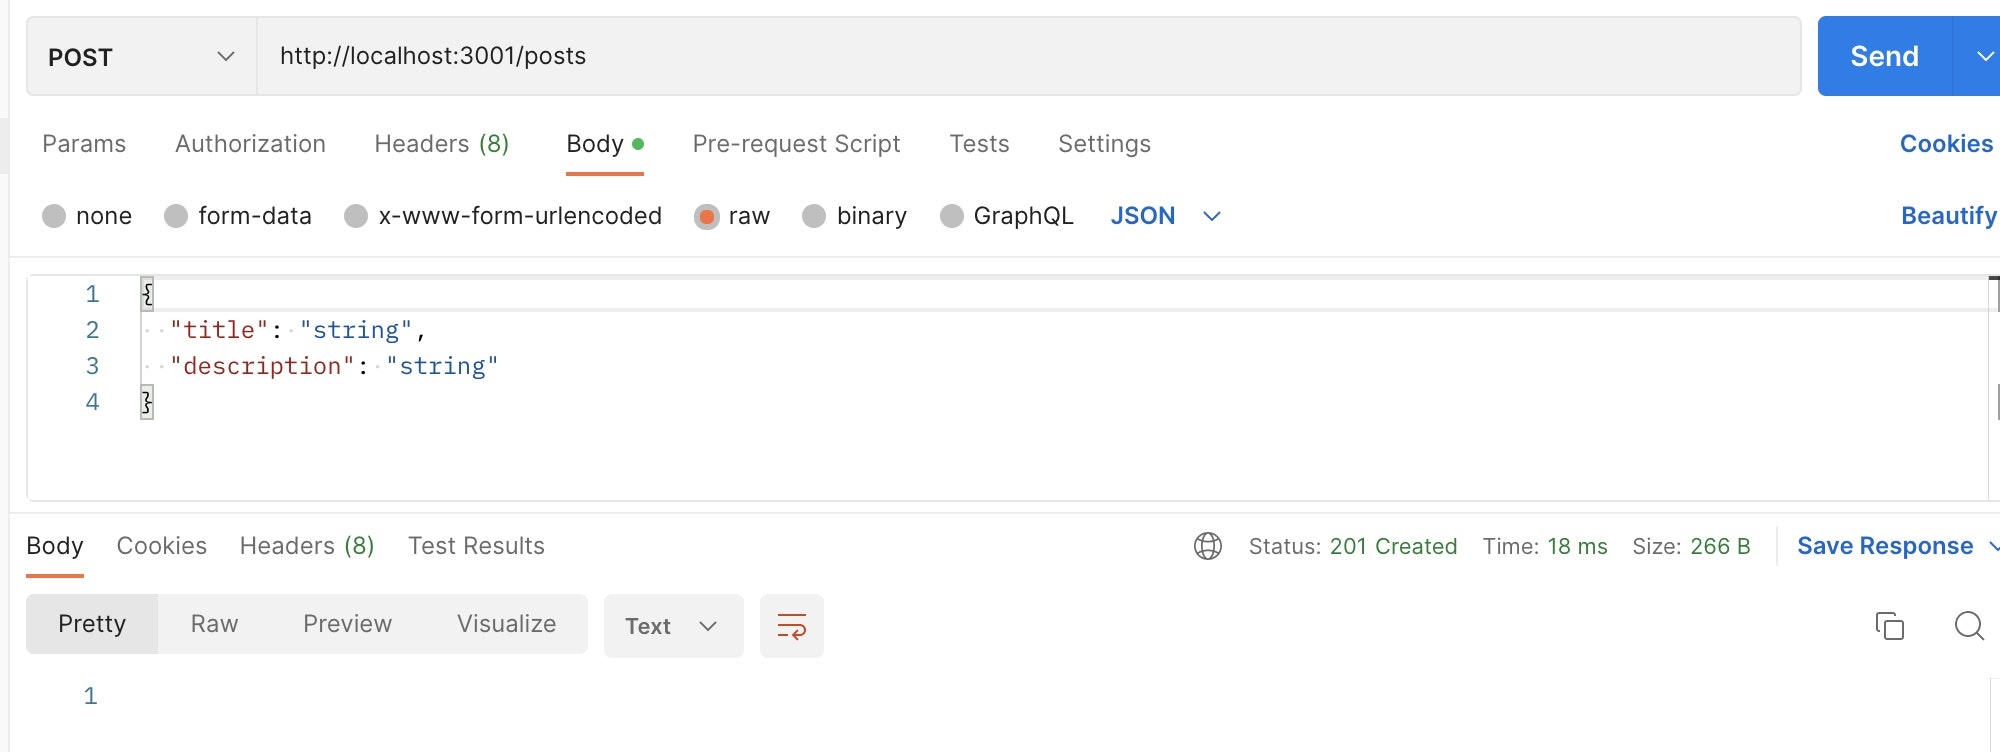
成功の場合
失敗の場合(リクエストパラメタが空の場合)
ユーザー情報をcomponent(後で解説)に定義し、/usersにGETリクエストした際にユーザー情報がレスポンスとして返ってくるように記述を追加してみます。
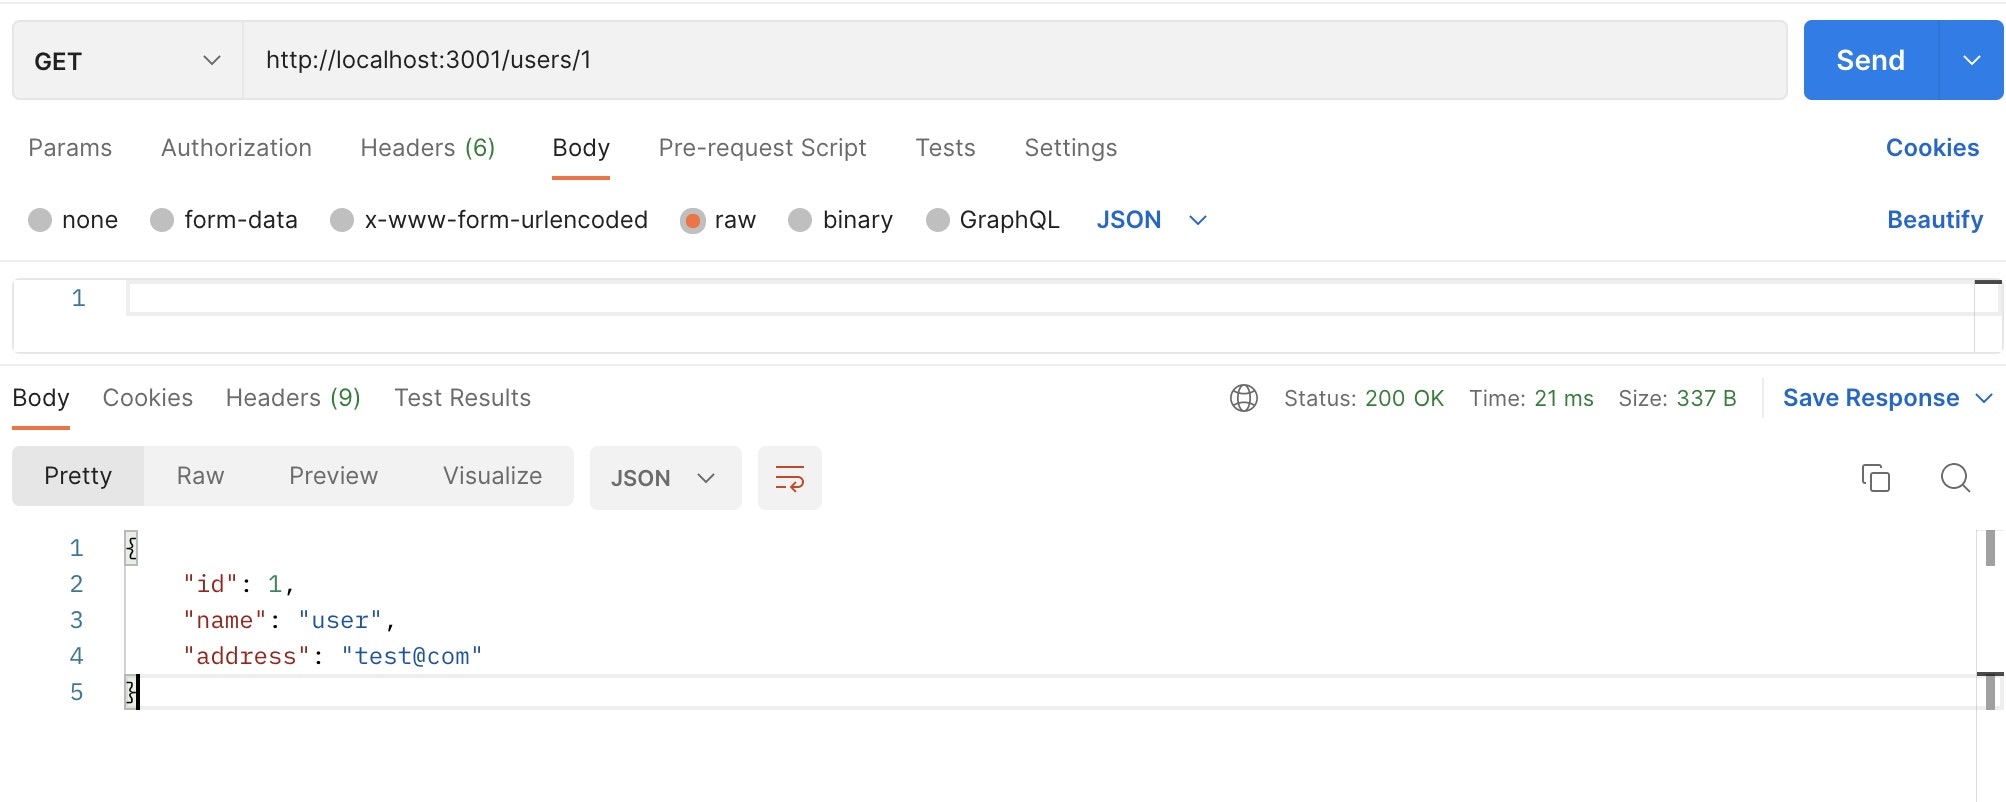
具体的には/users/{id}にリクエストを送ると下記のようなデータが返ってくるようにします。
{
  "id": 1,
  "name": "user",
  "address": "test@com"
}
  "/users":
    get:
      summary: "ユーザー一覧の取得"
      tags: ["users"]
      deprecated: false
      responses:
        "200":
          description: "成功"
  "/users/{userId}":
    get:
      summary: "ユーザーの取得"
      tags: ["users"]
      deprecated: false
      parameters:
        - name: userId
          in: path
          required: true
          schema: { type: string }
      responses:
        "200":
          description: "成功"
          content:
            application/json:
              schema:
                $ref: "#/components/schemas/User"

components:
  schemas:
    User:
      type: object
      properties:
        id: { type: number, example: 1 }
        name: { type: string, example: user }
        address: { type: string, example: test@com }
Postmanで確認するとデータが返ってきていることがわかります。
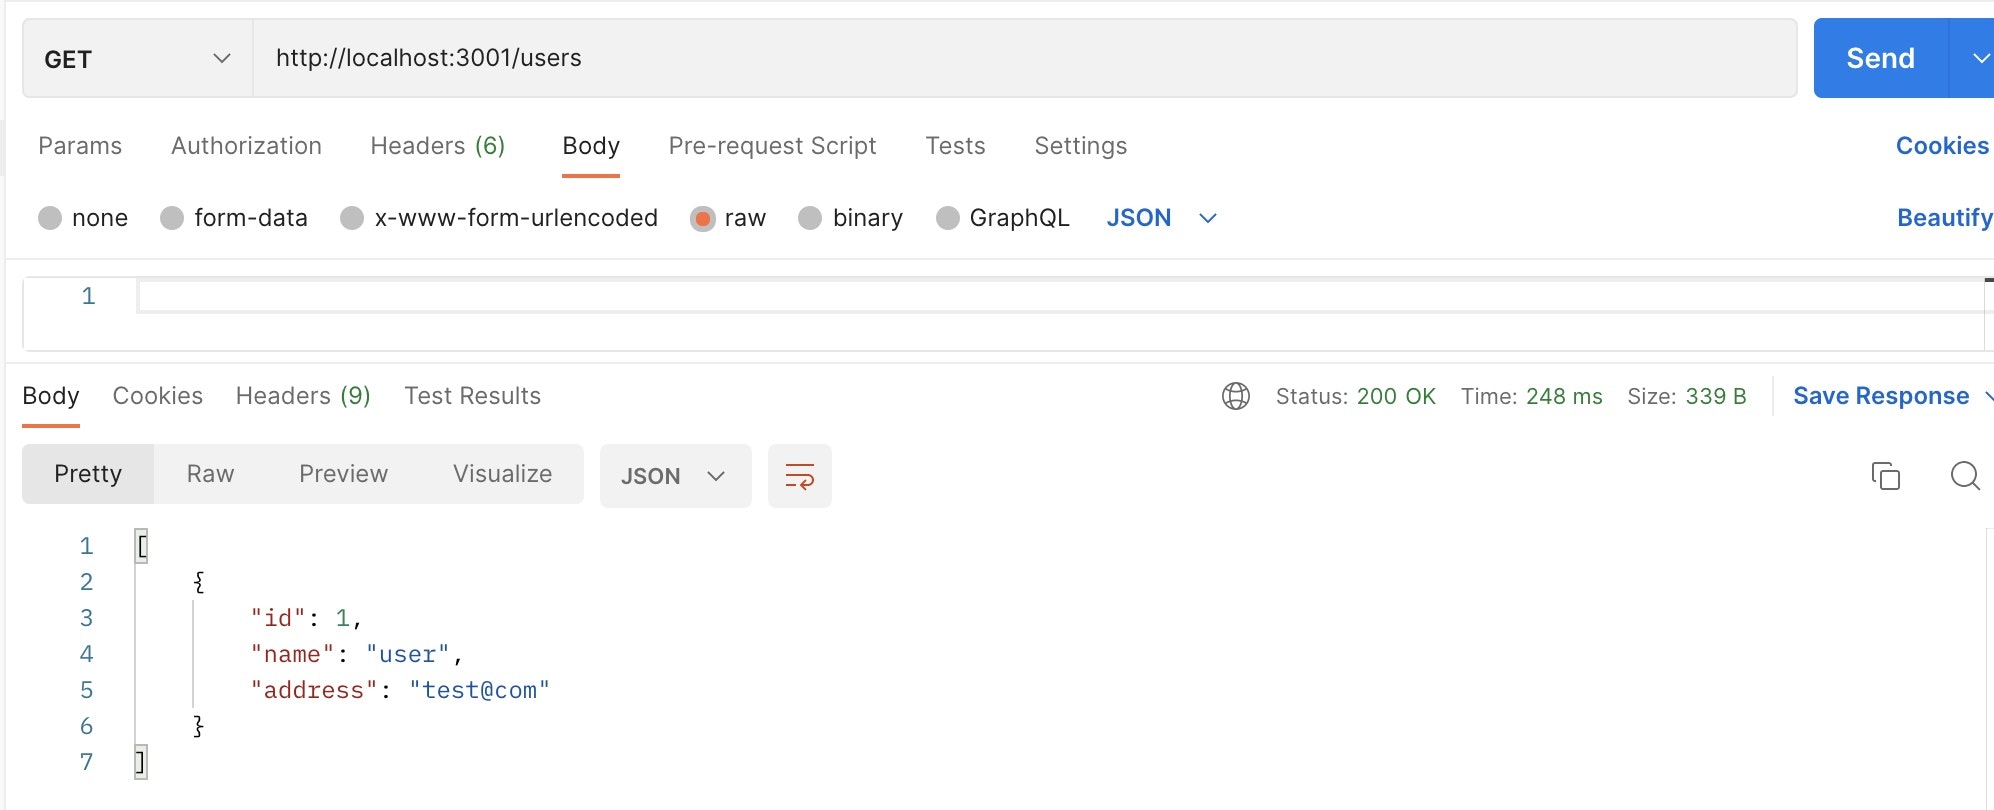
同様にユーザー一覧の情報(オブジェクト配列)が返ってくるように記述を追加します。
  "/users":
    get:
      summary: "ユーザー一覧の取得"
      tags: ["users"]
      deprecated: false
      responses:
        "200":
          description: "成功"
          content:
            application/json:
              schema:
                $ref: "#/components/schemas/Users"
components:
  schemas:
    Users:
      type: array
      items:
        type: object
        properties:
          id: { type: number, example: 1 }
          name: { type: string, example: user }
          address: { type: string, example: test@com }
モックサーバーを立ててPostmanで確認するとオブジェクト配列のデータが返ってきていることが確認できます。
commponents
レスポンスの箇所で使っていたcomponentについて詳しく説明します。
コンポーネントでは下記の6つの要素で成り立っています。
- schemas
- parameters
- requestBodies
- responses
- headers
- SecuritySchemas
componentを参照するときは$refで呼び出します。
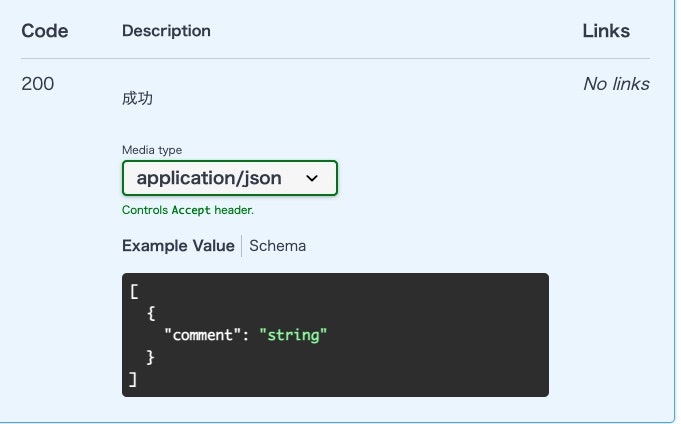
記事に対してのコメントを取得と新規作成するAPIを作成しながら確認していきます。
- GETでオブジェクト配列型のデータが返ってくる
- POSTで投稿したオブジェクトのデータが返ってくる
componentの記述
components:
  schemas:
    Comments:
      type: object
      properties:
        comment: { type: string }
GETとPOSTでの呼び出し。
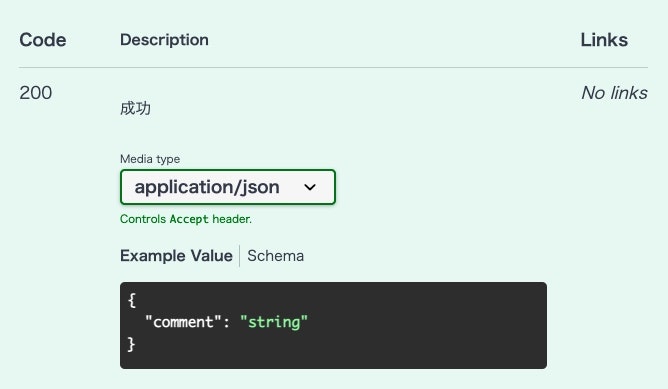
GETの場合はオブジェクト配列でデータが返ってくるのでtypeをarrayに設定し、POSTの場合はオブジェクトでデータが返ってくるのでtypeをobjectに設定している。
  "/posts/{id}/comments":
    get:
      summary: "コメントの一覧取得"
      tags: ["comments"]
      deprecated: false
      parameters:
        - name: id
          in: path
          required: true
          schema: { type:string }
          example: "1"
      responses:
        "200":
          description: "成功"
          content:
            application/json:
              schema:
                type: array
                items:
                  $ref: "#/components/schemas/Comments"
    post:
      summary: "コメントの新規作成"
      tags: ["comments"]
      deprecated: false
      parameters:
        - name: id
          in: path
          required: true
          schema: { type:string }
          example: "1"
      responses:
        "200":
          description: "成功"
          content:
            application/json:
              schema:
                type: object
                $ref: "#/components/schemas/Comments"
パラメーターの箇所も共通なのでコンポーネント化していきます。
components:
  schemas:
    Comments:
      type: object
      properties:
        comment: { type: string }
  parameters:
    CommentId:
      name: id
      in: path
      required: true
      schema: { type:string }
      example: "1"
  "/posts/{id}/comments":
    get:
      summary: "コメントの一覧取得"
      tags: ["comments"]
      deprecated: false
      parameters:
        - $ref: "#/components/parameters/CommentId"
      responses:
        "200":
          description: "成功"
          content:
            application/json:
              schema:
                type: array
                items:
                  $ref: "#/components/schemas/Comments"
    post:
      summary: "コメントの新規作成"
      tags: ["comments"]
      deprecated: false
      parameters:
        - $ref: "#/components/parameters/CommentId"
      responses:
        "200":
          description: "成功"
          content:
            application/json:
              schema:
                type: object
                $ref: "#/components/schemas/Comments"
security
OpenAPIで定義できる認証認可は下記。
| 種別 | 形式 | 説明 |
|---|---|---|
| http | Basic | Basic認証 |
| http | Bearer | JWTを利用した認可 |
| apikey | header | APIkeyを利用した認可 |
| apikey | cookie | ログインセッション |
| oauth2 | - | OAuth2.0 |
セキュリティーはコンポーネントに定義していきます。
- Securityschemes
- セキュリティースキームの名前
- スキームの説明
- 種別
- スキーマの定義
- セキュリティースキームの名前
実際に下記のAPIを作成していきます。
- 記事を新規投稿(POST)する時にAPI keyを要求する
components:
  securitySchemes:
    apikey_auth:
      description: "API key authorization"
      type: apiKey
      in: header
      name: "X-Api-Key"
コメントのPOSTの箇所でコンポーネントに定義したapikey_authを呼び出す。
    post:
      summary: "コメントの新規作成"
      tags: ["comments"]
      deprecated: false
      parameters:
        - $ref: "#/components/parameters/CommentId"
      security:
        - apikey_auth: []
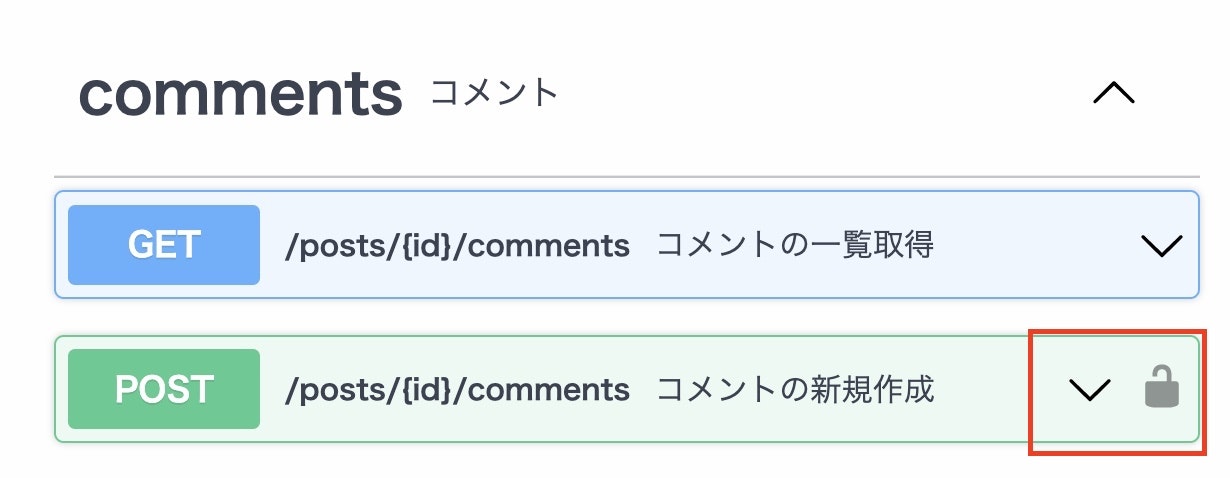
swaggerで確認すると認証がついていることが確認できる。
最後に
いかがだったでしょうか。
今回はOpenAPI×Swaggerについてまとめました。
OpenAPIを利用することでサーバー側の環境構築をせずともフロント側でAPIの結合テストを行うことができます。
他にもいろいろ記事を出しているので読んでいただけると嬉しいです。

