〜この記事の内容〜
Firestoreのバックアップを手動およびGCPのスケジューラーによる定期実行を行う手順を共有します。
公式の説明があるのだが、新しいNode.jsのバージョンだと手順通りに行っても動かないことがあるので、
一人でも多くの方が幸せになれるように、自分が苦戦して判明した問題箇所およびその解決策を共有します。
■公式のExport手順ページ(こちらは問題なくできる)
- 公式_手動実行
- 公式_スケジュール実行(こちらに一部そのままだと動かない箇所がある)
ただし冒頭の通り、こちらはNode.jsのバージョンによってはそのままだと動かない問題がある。
■前提条件
1.Google Cloud Platform プロジェクトに対する課金を有効にします。エクスポートとインポートの機能を使用できるのは、課金が有効になっている GCP プロジェクトのみです。
ここは本記事では完了している前提です。
■GCPコンソールへ移動し、バケットを作成
ここからコンソールへ移動します
Cloud Storage
バケットを作成

○-db-backup
というように設定した。
Multi-Regionを選択し、実際のリージョンは自分のPJと同じリージョンを選択する必要がある
自分の場合はFirebaseプロジェクトをasiaで作成していたため、asiaを選択

Standardを選択

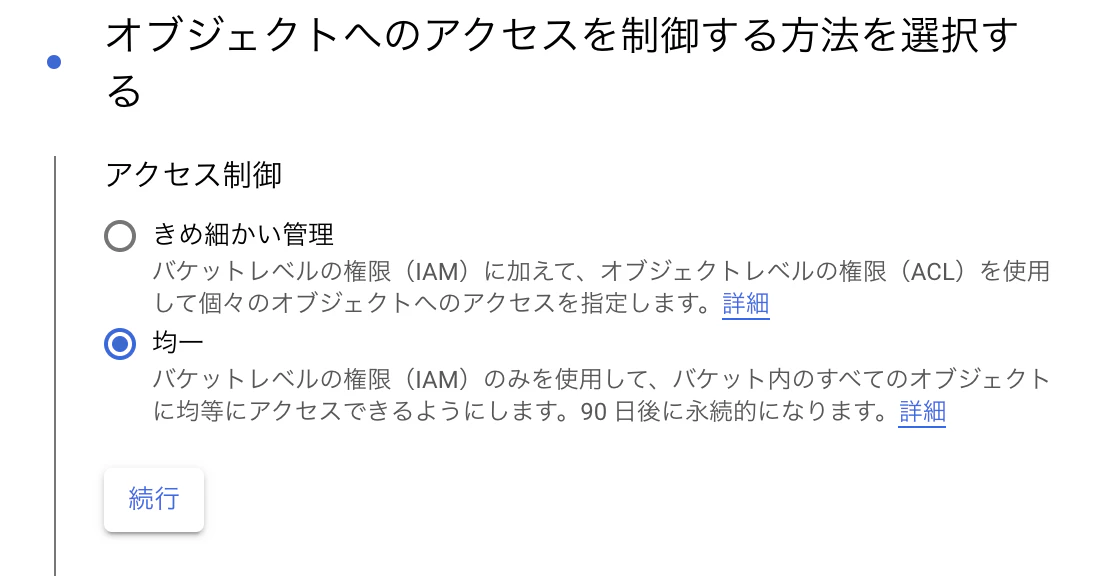
均一を選択
詳細設定はこのままで作成

■手動でExport
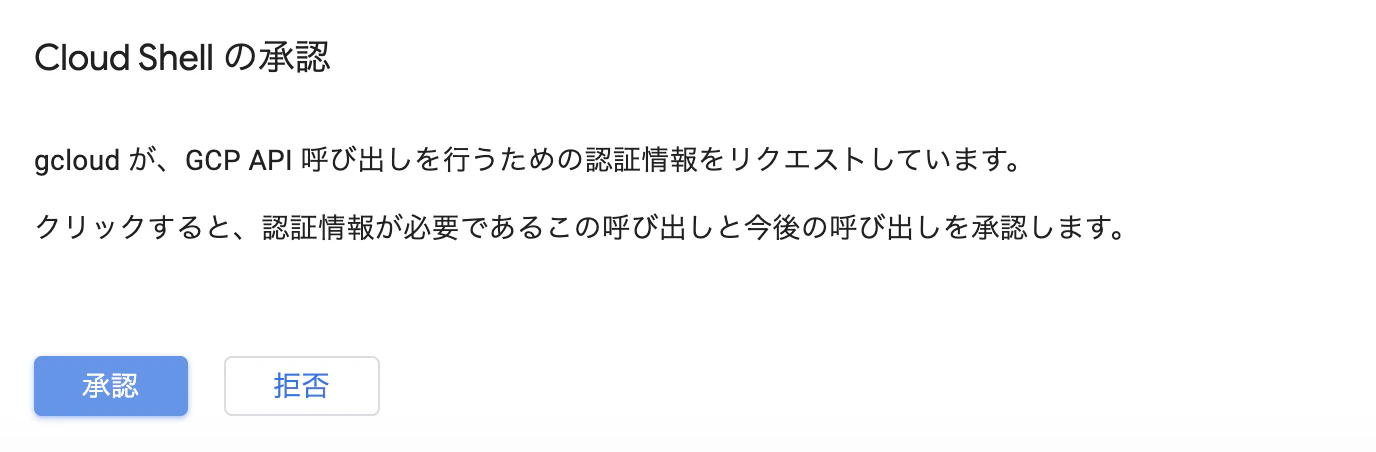
Cloud Shellにて、
gcloud config set project [PROJECT_ID]
->
Updated property [core/project].
gcloud firestore export gs://[BUCKET_NAME]
※もし作成したバケットのリージョンがプロジェクトと異なると以下のようなエラーが出る
ERROR: (gcloud.firestore.export) INVALID_ARGUMENT: Bucket ○ is in location US-WEST4. This project can only operate on buckets spanning location asia-south1 or asia.
成功するとこのように先ほどのバケットへフォルダが作成される

■手動でImport
Cloud Shellにて、
gcloud firestore import gs://[BUCKET_NAME]/[EXPORT_PREFIX]/
[EXPORT_PREFIX]は上記のexportでストレージに保存されたフォルダ名
ex)
gcloud firestore import gs://XXX/2017-05-25T23:54:39_76544/
試しに今あるFirestoreのドキュメントを適当に消して上記のImportコマンドを再度行ってみると、
しっかりデータが復元していた。
これで手動でのバックアップに成功した。
■スケジューラーによる定期的なExport設定
- 公式_スケジュール実行(こちらに一部そのままだと動かない箇所がある)
firebase init functions --project PROJECT_ID
->
- 言語には JavaScript を選択します。
- 必要に応じて、ESLint を有効にします。
- 「y」と入力して依存関係をインストールします。
functions/index.js ファイル内のコードを次のコードで置き換えます
ここからが公式だと動かない可能性があることが分かった箇所。
*Node.jsのバージョンが8.0以下(公式はこちらの方法)
const functions = require('firebase-functions');
const firestore = require('@google-cloud/firestore');
const client = new firestore.v1.FirestoreAdminClient();

// Replace BUCKET_NAME
const bucket = 'gs://BUCKET_NAME';

exports.scheduledFirestoreExport = functions.pubsub
                                            .schedule('every 24 hours')
                                            .onRun((context) => {
  const databaseName =
    client.databasePath(process.env.GCP_PROJECT, '(default)');

  return client.exportDocuments({
    name: databaseName,
    outputUriPrefix: bucket,
    // Leave collectionIds empty to export all collections
    // or set to a list of collection IDs to export,
    // collectionIds: ['users', 'posts']
    collectionIds: []
    })
  .then(responses => {
    const response = responses[0];
    console.log(`Operation Name: ${response['name']}`);
    return response;
  })
  .catch(err => {
    console.error(err);
    throw new Error('Export operation failed');
  });
});
スケジュール設定された関数をデプロイします
firebase deploy --only functions
※BUCKET_NAMEだけ、自分のバケットの名前へ変更する。
これで動けば良かったが、自分のNode.jsのバージョンは12であり、このまま実行するとCloud Functionのログで以下のようにエラーが出た。
TypeError: Cannot read property 'toString' of undefined
at PathTemplate.render (/workspace/node_modules/google-gax/build/src/pathTemplate.js:110:37)
at FirestoreAdminClient.databasePath (/workspace/node_modules/@google-cloud/firestore/build/src/v1/firestore_admin_client.js:962:56)
*Node.jsのバージョンが10.0以上(自分で変更した方法)
コードをこのように変えることで動作するようになる。
(Node.jsの環境の違いによって使い分けられるようにコメントをつけてどちらも残した)
//--- Node.jsのバージョンが10以上の時はこのように書き換える
//   const databaseName = client.databasePath(process.env.GCP_PROJECT, '(default)');
//--- Node.jsのバージョンが10以上の時はこのように書き換える
const projectId = process.env.GCP_PROJECT || process.env.GCLOUD_PROJECT;
const databaseName = client.databasePath(
      projectId,
      '(default)',
    )
おまけで、時間もデフォルトの24hours以外にも定期実行のテスト用に3分おきや、
毎日0:00に行うバージョンも試したので、誰かが使えるようにコードを置いておく。
//==============================================
// Periodical Automatic Backup (made by KASATA)
//==============================================
const functions = require('firebase-functions');
const firestore = require('@google-cloud/firestore');
const client = new firestore.v1.FirestoreAdminClient();

// Replace BUCKET_NAME
const bucket = 'gs://BUCKET_NAME';

//======スケジュール設定値
// const timeSchedule = 'every 24 hours';  //24時間おき
// const timeSchedule = 'every 3 minutes';  //3分おき(デバッグ用)
const timeSchedule = 'every day 00:00';;  //毎日0:00
//======

exports.scheduledFirestoreExport = functions.pubsub
                                            .schedule(timeSchedule)
                                            .onRun((context) => {

//--- Node.jsのバージョンが10以上の時はこのように書き換える
//   const databaseName = client.databasePath(process.env.GCP_PROJECT, '(default)');
//--- Node.jsのバージョンが10以上の時はこのように書き換える
const projectId = process.env.GCP_PROJECT || process.env.GCLOUD_PROJECT;
const databaseName = client.databasePath(
      projectId,
      '(default)',
    )


  return client.exportDocuments({
    name: databaseName,
    outputUriPrefix: bucket,
    // Leave collectionIds empty to export all collections
    // or set to a list of collection IDs to export,
    // collectionIds: ['users', 'posts']
    collectionIds: []
    })
  .then(responses => {
    const response = responses[0];
    console.log(`Operation Name: ${response['name']}`);
    return response;
  })
  .catch(err => {
    console.error(err);
    throw new Error('Export operation failed');
  });
});
あとは公式通り、スケジュール設定された関数をデプロイします
firebase deploy --only functions
■権限の編集
自分のプロジェクトIDに応じて、ユーザーにserviceAccount:PROJECT_ID@appspot.gserviceaccount.comができており、このユーザーの権限をそれぞれ然るべきものへ変更しておく
Cloud Shellにて、
gcloud projects add-iam-policy-binding PROJECT_ID \
    --member serviceAccount:PROJECT_ID@appspot.gserviceaccount.com \
    --role roles/datastore.importExportAdmin
gsutil iam ch serviceAccount:PROJECT_ID@appspot.gserviceaccount.com:admin \
    gs://BUCKET_NAME
■実行ログを見る方法
FirebaseのCloud FunctionsのログでエラーやOK statusなどを見ることができる。
以下は正常に定期バックアップできている状態

■終わりに
公式の通りにやっても動かないことがあり、なかなかハマりポイントなので皆様ご注意を。