はじめに
LaravelにFullCalendarを実装することになり、その記録を残す。
色々調べるも良い記事が出てこず(おそらく見ていた記事が古かった)、試行錯誤しながら最適なものを見つけ導入した。
この記事でわかる・できること
- npmでのFullCalendarの実装
動作環境・使用するツールや言語
- OS バージョン
- Windows11 23H2
- ツール
- 例 VSCode
- フレームワーク
- 例 Laravel8
- カレンダー
- FullCalendar v6.1.15
- Node.js
- v14
前提
-
Laravelのセットアップは完了しているものとする。
-
Node.jsインストール部分↓
Dockerfile
RUN curl -sL https://deb.nodesource.com/setup_14.x | bash - && \
    apt-get install -y nodejs
方法
FullCalendarインストール
まず、npmを使用して下記コマンドでインストール。
 npm install --save \
  @fullcalendar/core \
  @fullcalendar/daygrid \
  @fullcalendar/timegrid \
  @fullcalendar/interaction \
  @fullcalendar/list
成功すると、src\package.jsonに下記が入力されている。
package.json
"dependencies": {
    "@fullcalendar/core": "^6.1.15",
    "@fullcalendar/daygrid": "^6.1.15",
    "@fullcalendar/interaction": "^6.1.15",
    "@fullcalendar/list": "^6.1.15",
    "@fullcalendar/timegrid": "^6.1.15"
}
必要ファイルの設定
次にweb.php、コントローラー、ビューの設定。
web.php
Route::get('/', [CalendarController::class, 'index'])->name('index');
CalendarController.php
public function index()
{
    $events = [
        [
            'title' => 'All Day Event',
            'start' => '2024-07-01',
        ],
        [
            'title' => 'Long Event',
            'start' => '2024-07-07',
            'end' => '2024-07-10',
        ],
        [
            'groupId' => 999,
            'title' => 'Repeating Event',
            'start' => '2024-07-09T16:00:00',
        ],
        [
            'groupId' => 999,
            'title' => 'Repeating Event',
            'start' => '2024-07-16T16:00:00',
        ],
    ];

    return view('index', compact('events'));
}
※後の導入結果の画像と比べてデータ量少なくしています。
views\index.blade.php
<body>
    <div id='calendar' data-events='@json($events)'></div>

    <script src="{{ mix('js/app.js') }}"></script>
</body>
jsのコード
resource\js\calendar.js
import { Calendar } from '@fullcalendar/core';
import interactionPlugin from '@fullcalendar/interaction';
import dayGridPlugin from '@fullcalendar/daygrid';
import timeGridPlugin from '@fullcalendar/timegrid';
import listPlugin from '@fullcalendar/list';

document.addEventListener('DOMContentLoaded', function() {
  const calendarEl = document.getElementById('calendar');

  if (!calendarEl) {
    return;
  }

  const events = JSON.parse(calendarEl.dataset.events);

  const calendar = new Calendar(calendarEl, {
    plugins: [ interactionPlugin, dayGridPlugin, timeGridPlugin, listPlugin ],
    headerToolbar: {
      left: 'prev,next today',
      center: 'title',
      right: 'dayGridMonth,timeGridWeek,timeGridDay,listWeek'
    },
    initialDate: '2024-07-27',
    navLinks: true,
    editable: true,
    dayMaxEvents: true,
    events,
  });

  calendar.render();
});
resource\js\app.js
import './bootstrap';
import './calendar';
途中経過
ここまでいくと後は、ビルドしてサーバーを起動させればカレンダーが表示されるようだが、私の場合うまく表示されず・・・
その時のエラー文 ↓
Mix マニフェストが存在しません。(ビュー: /var/www/resources/views/index.blade.php)
Laravel Mix が生成したマニフェストファイルが見つからないことが原因とのこと。
改善
1.依存関係を再インストール
node_modules が正しくセットアップされていない可能性があるため、下記コマンドを打つ。
docker-compose exec php npm install
2.webpack.mix.jsファイルの修正
webpack.mix.js
const mix = require('laravel-mix');
mix.js('resources/js/app.js', 'public/js')
    .postCss('resources/css/app.css', 'public/css');
上記二点後、ビルド
docker-compose exec php npm run dev
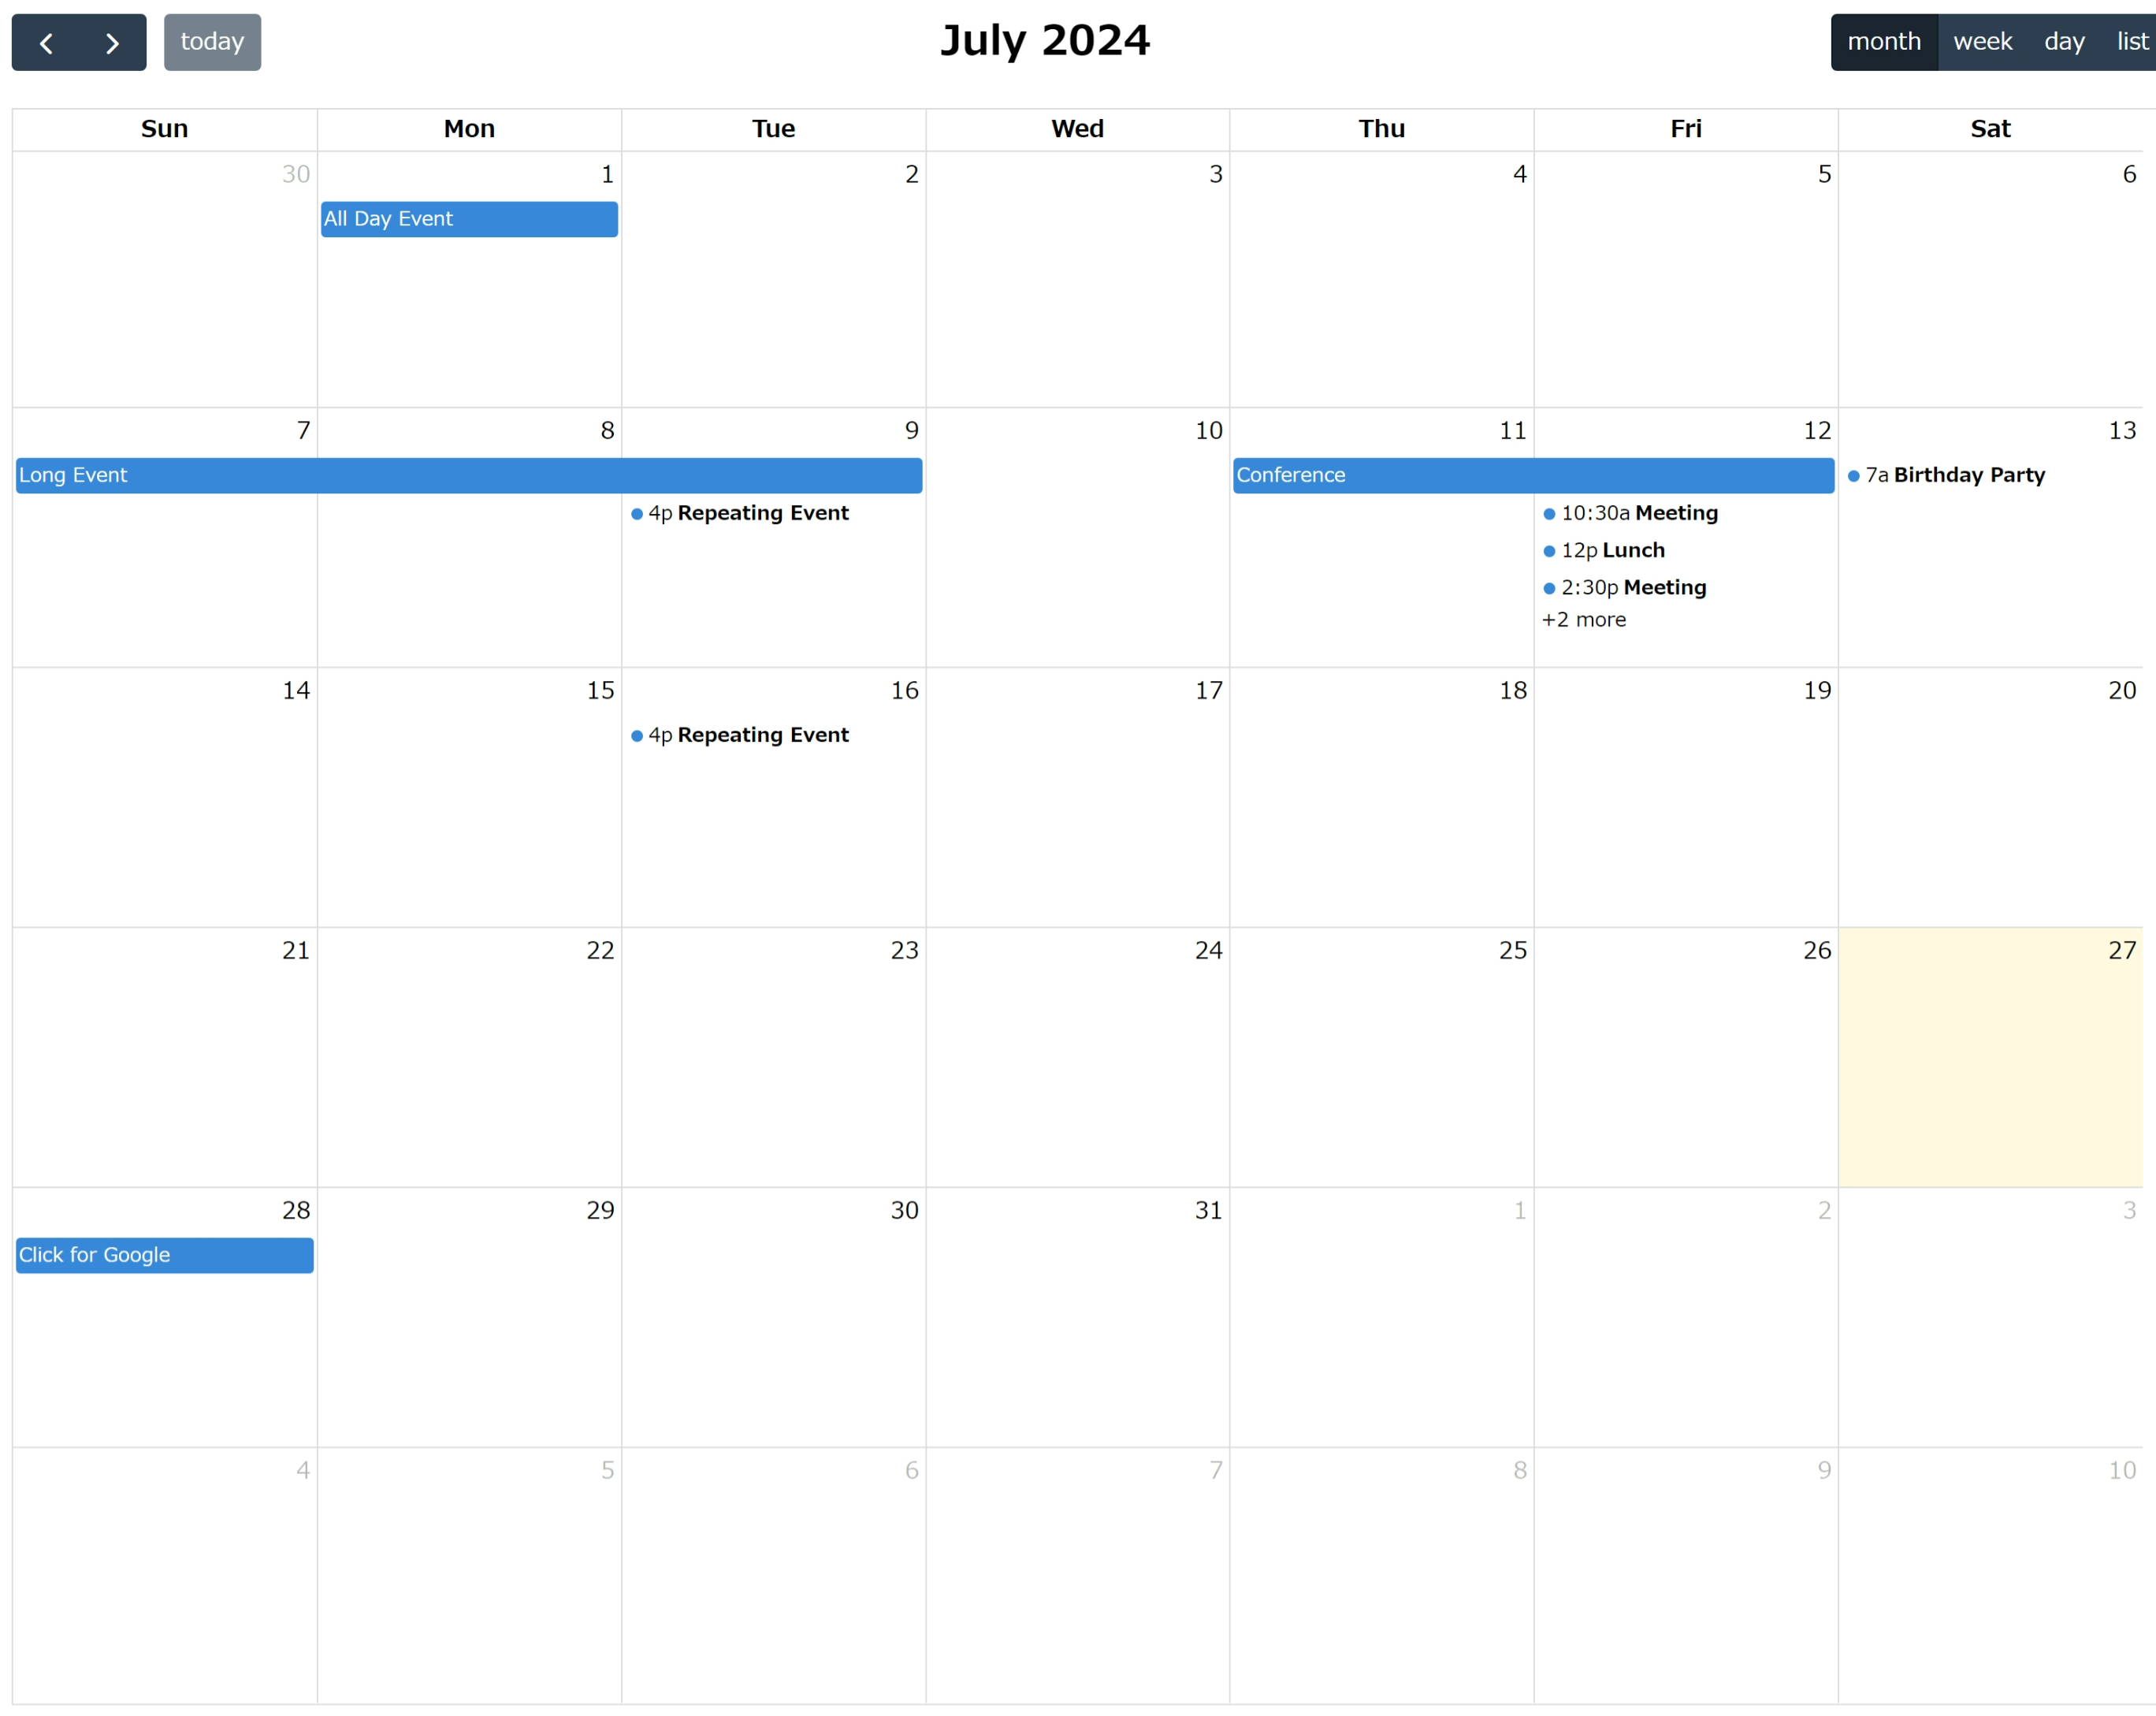
結果
私の場合はこれで導入できました!!
(色々いじっていたので、足りないところや余分なところあったら申し訳ない)
参考資料