AWS Cloud9
AWS Cloud9は、AWSが提供するクラウドベースの統合開発環境(IDE)サービスです。開発者やチームは、アプリケーションの開発、デバッグ、テスト、およびコラボレーションを効率的に行うためのツールが提供されます。
AWS Cloud9の公式ウェブサイト
https://docs.aws.amazon.com/ja_jp/cloud9/latest/user-guide/welcome.html
AWS Cloud9の詳細な利用方法については、以下の記事をご参照ください。
AWS Cloud9のディスク拡張について
Cloud9を構築する際には、インスタンスタイプを選択することができますが、ディスクのサイズは選択することができません。初期のディスク容量は10GBです。
もしディスク容量が不足する場合、Cloud9のディスクサイズを増やす方法について紹介します。
以下は、公式ページを参考にしています。
まず、1つのCloud9を構築します。
AWS Cloud9の詳細な利用方法については、以下の記事をご参照ください。
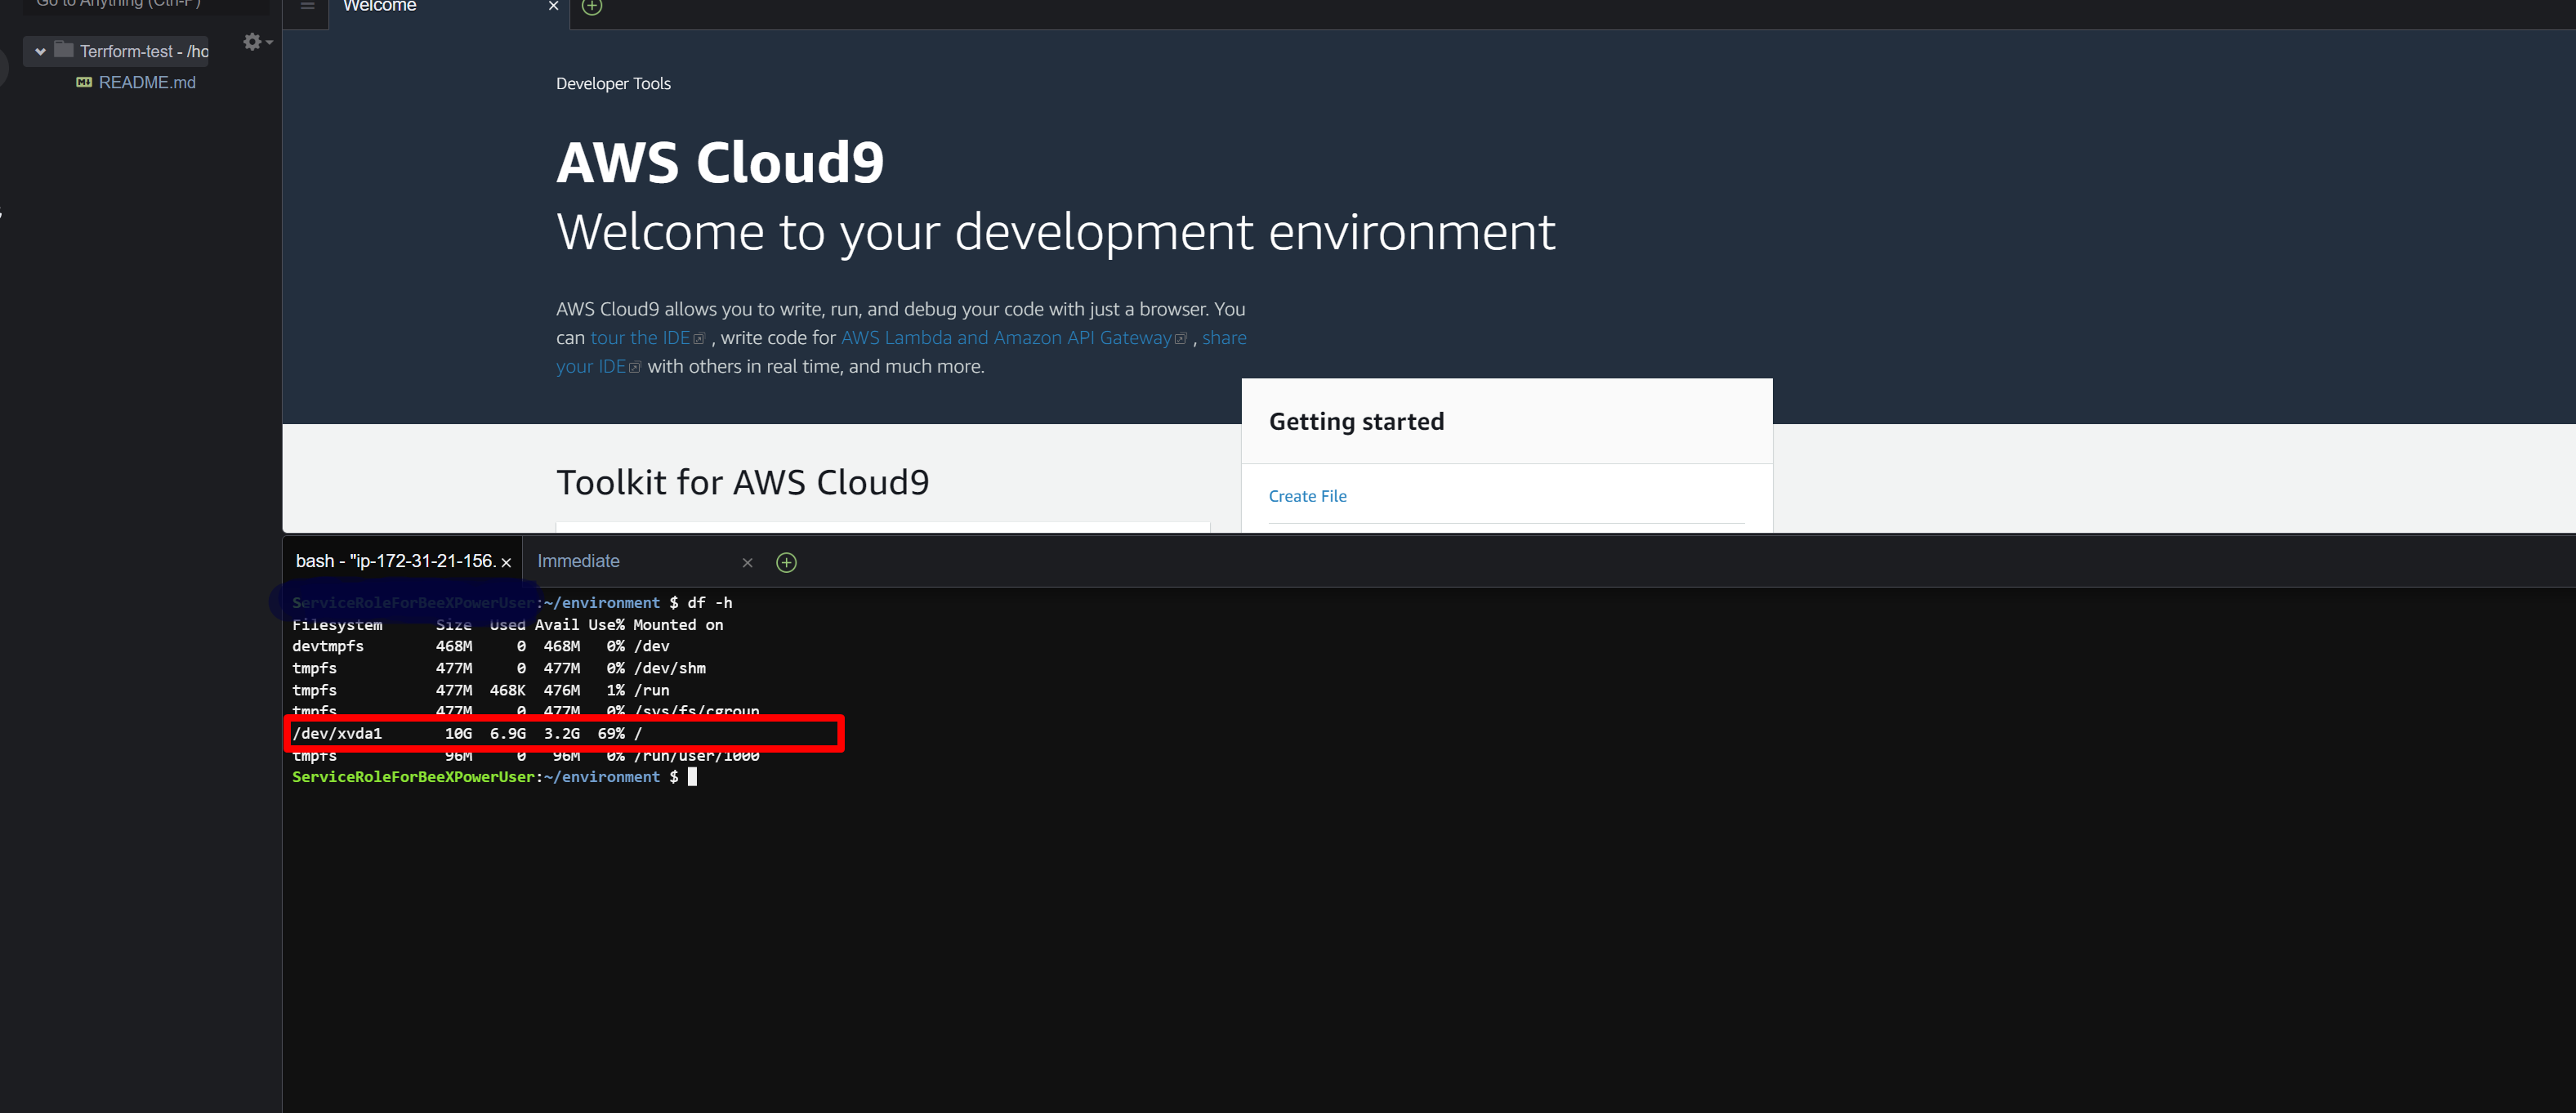
まず、Cloud9のディスクサイズを確認してみます。サイズは10Gで6.8G使用しています。
AWSCloud9のディスクサイズを拡張する
まず、シェルスクリプトファイルを作成します。ファイル名は「resize.sh」にします。
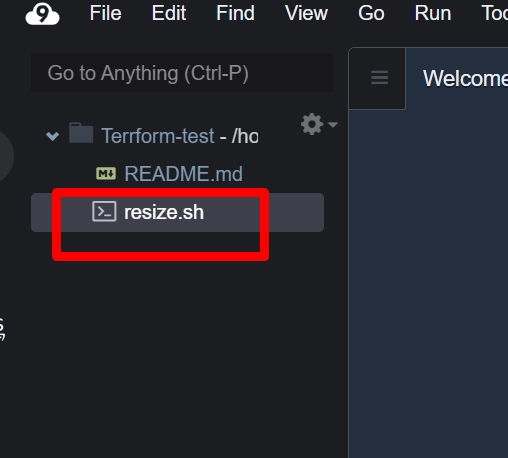
ファイルの内容は以下の通りです。
#!/bin/bash

# Specify the desired volume size in GiB as a command line argument. If not specified, default to 20 GiB.
SIZE=${1:-20}

# Get the ID of the environment host Amazon EC2 instance.
TOKEN=$(curl -s -X PUT "http://169.254.169.254/latest/api/token" -H "X-aws-ec2-metadata-token-ttl-seconds: 60")
INSTANCEID=$(curl -s -H "X-aws-ec2-metadata-token: $TOKEN" -v http://169.254.169.254/latest/meta-data/instance-id 2> /dev/null)
REGION=$(curl -s -H "X-aws-ec2-metadata-token: $TOKEN" -v http://169.254.169.254/latest/meta-data/placement/region 2> /dev/null)

# Get the ID of the Amazon EBS volume associated with the instance.
VOLUMEID=$(aws ec2 describe-instances \
  --instance-id $INSTANCEID \
  --query "Reservations[0].Instances[0].BlockDeviceMappings[0].Ebs.VolumeId" \
  --output text \
  --region $REGION)

# Resize the EBS volume.
aws ec2 modify-volume --volume-id $VOLUMEID --size $SIZE

# Wait for the resize to finish.
while [ \
  "$(aws ec2 describe-volumes-modifications \
    --volume-id $VOLUMEID \
    --filters Name=modification-state,Values="optimizing","completed" \
    --query "length(VolumesModifications)"\
    --output text)" != "1" ]; do
sleep 1
done

# Check if we're on an NVMe filesystem
if [[ -e "/dev/xvda" && $(readlink -f /dev/xvda) = "/dev/xvda" ]]
then
# Rewrite the partition table so that the partition takes up all the space that it can.
  sudo growpart /dev/xvda 1
# Expand the size of the file system.
# Check if we're on AL2
  STR=$(cat /etc/os-release)
  SUB="VERSION_ID=\"2\""
  if [[ "$STR" == *"$SUB"* ]]
  then
    sudo xfs_growfs -d /
  else
    sudo resize2fs /dev/xvda1
  fi

else
# Rewrite the partition table so that the partition takes up all the space that it can.
  sudo growpart /dev/nvme0n1 1

# Expand the size of the file system.
# Check if we're on AL2
  STR=$(cat /etc/os-release)
  SUB="VERSION_ID=\"2\""
  if [[ "$STR" == *"$SUB"* ]]
  then
    sudo xfs_growfs -d /
  else
    sudo resize2fs /dev/nvme0n1p1
  fi
fi
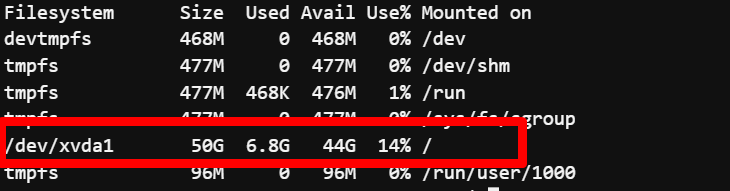
以下のコマンドを実行します。 実行時に、何GBまで増やすかを指定します。今回は50GBまで増やしてみます。
sh resize.sh 50
実施した後、現在のディスクサイズを確認してみると、ディスクサイズが50GBに増えていることがわかります。