最近、災害復旧(Disaster Recovery: ディザスタリカバリ)の準備の一環として、AWSインスタンスを素早く構築する方法について考えています。その中で、Terraformを使用したサーバーのプロビジョニングが一つの有望な方法です。
Terraform紹介
Terraformは、インフラストラクチャをコードで管理するためのオープンソースのインフラストラクチャ自動化ツールです。このツールは、AWS、Azure、Google Cloudなどのクラウドプロバイダー、およびオンプレミスのリソースを統一的に扱い、インフラストラクチャのプロビジョニングと管理を効率的かつシンプルに行うために使用されます。
Terraformの公式ウェブサイト:https://www.terraform.io/
Terraformのインストール
Terraformのバージョンやオペレーティングシステムに応じて詳細が異なる場合があります。以下公式ページで各OSのインストール手順が記入されています。
https://developer.hashicorp.com/terraform/downloads
今回はAWS Cloud9の環境を使用してTerraformを活用します。
AWS Cloud9
AWS Cloud9は、AWSが提供するクラウドベースの統合開発環境(IDE)サービスです。開発者やチームは、アプリケーションの開発、デバッグ、テスト、およびコラボレーションを効率的に行うためのツールが提供されます。
AWS Cloud9の公式ウェブサイト
https://docs.aws.amazon.com/ja_jp/cloud9/latest/user-guide/welcome.html
Cloud9の環境設定
STEP1
AWSのマネジメントコンソールで「Cloud9」で検索し、「環境を作成」をクリックします。
STEP2
名前を入れて、他はすべてデフォルトです。(今回はテストの為に、インスタンスタイプt2.microを選択する)

STEP3
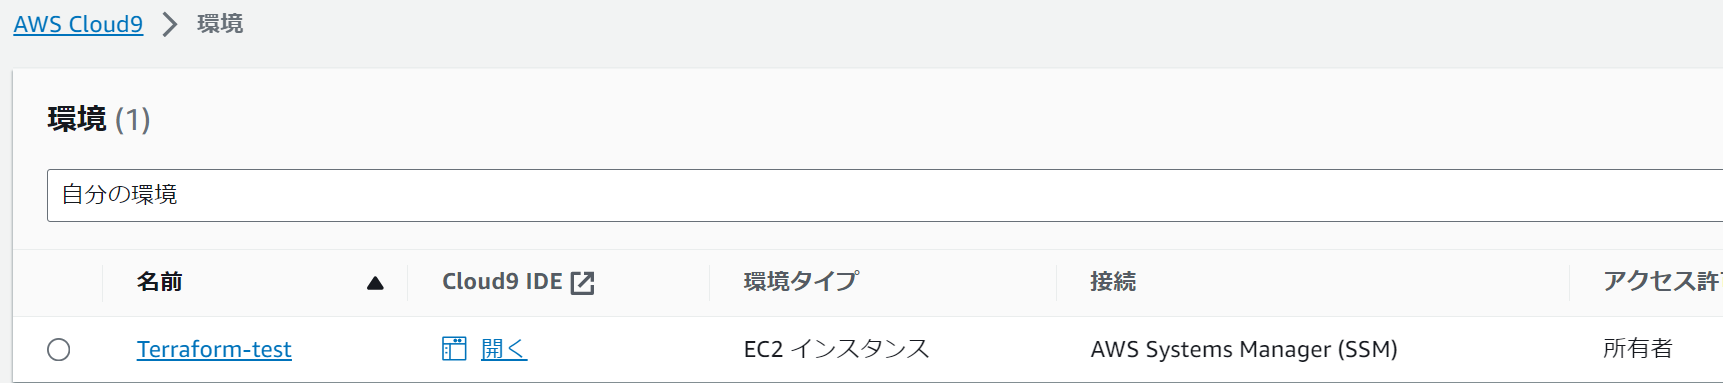
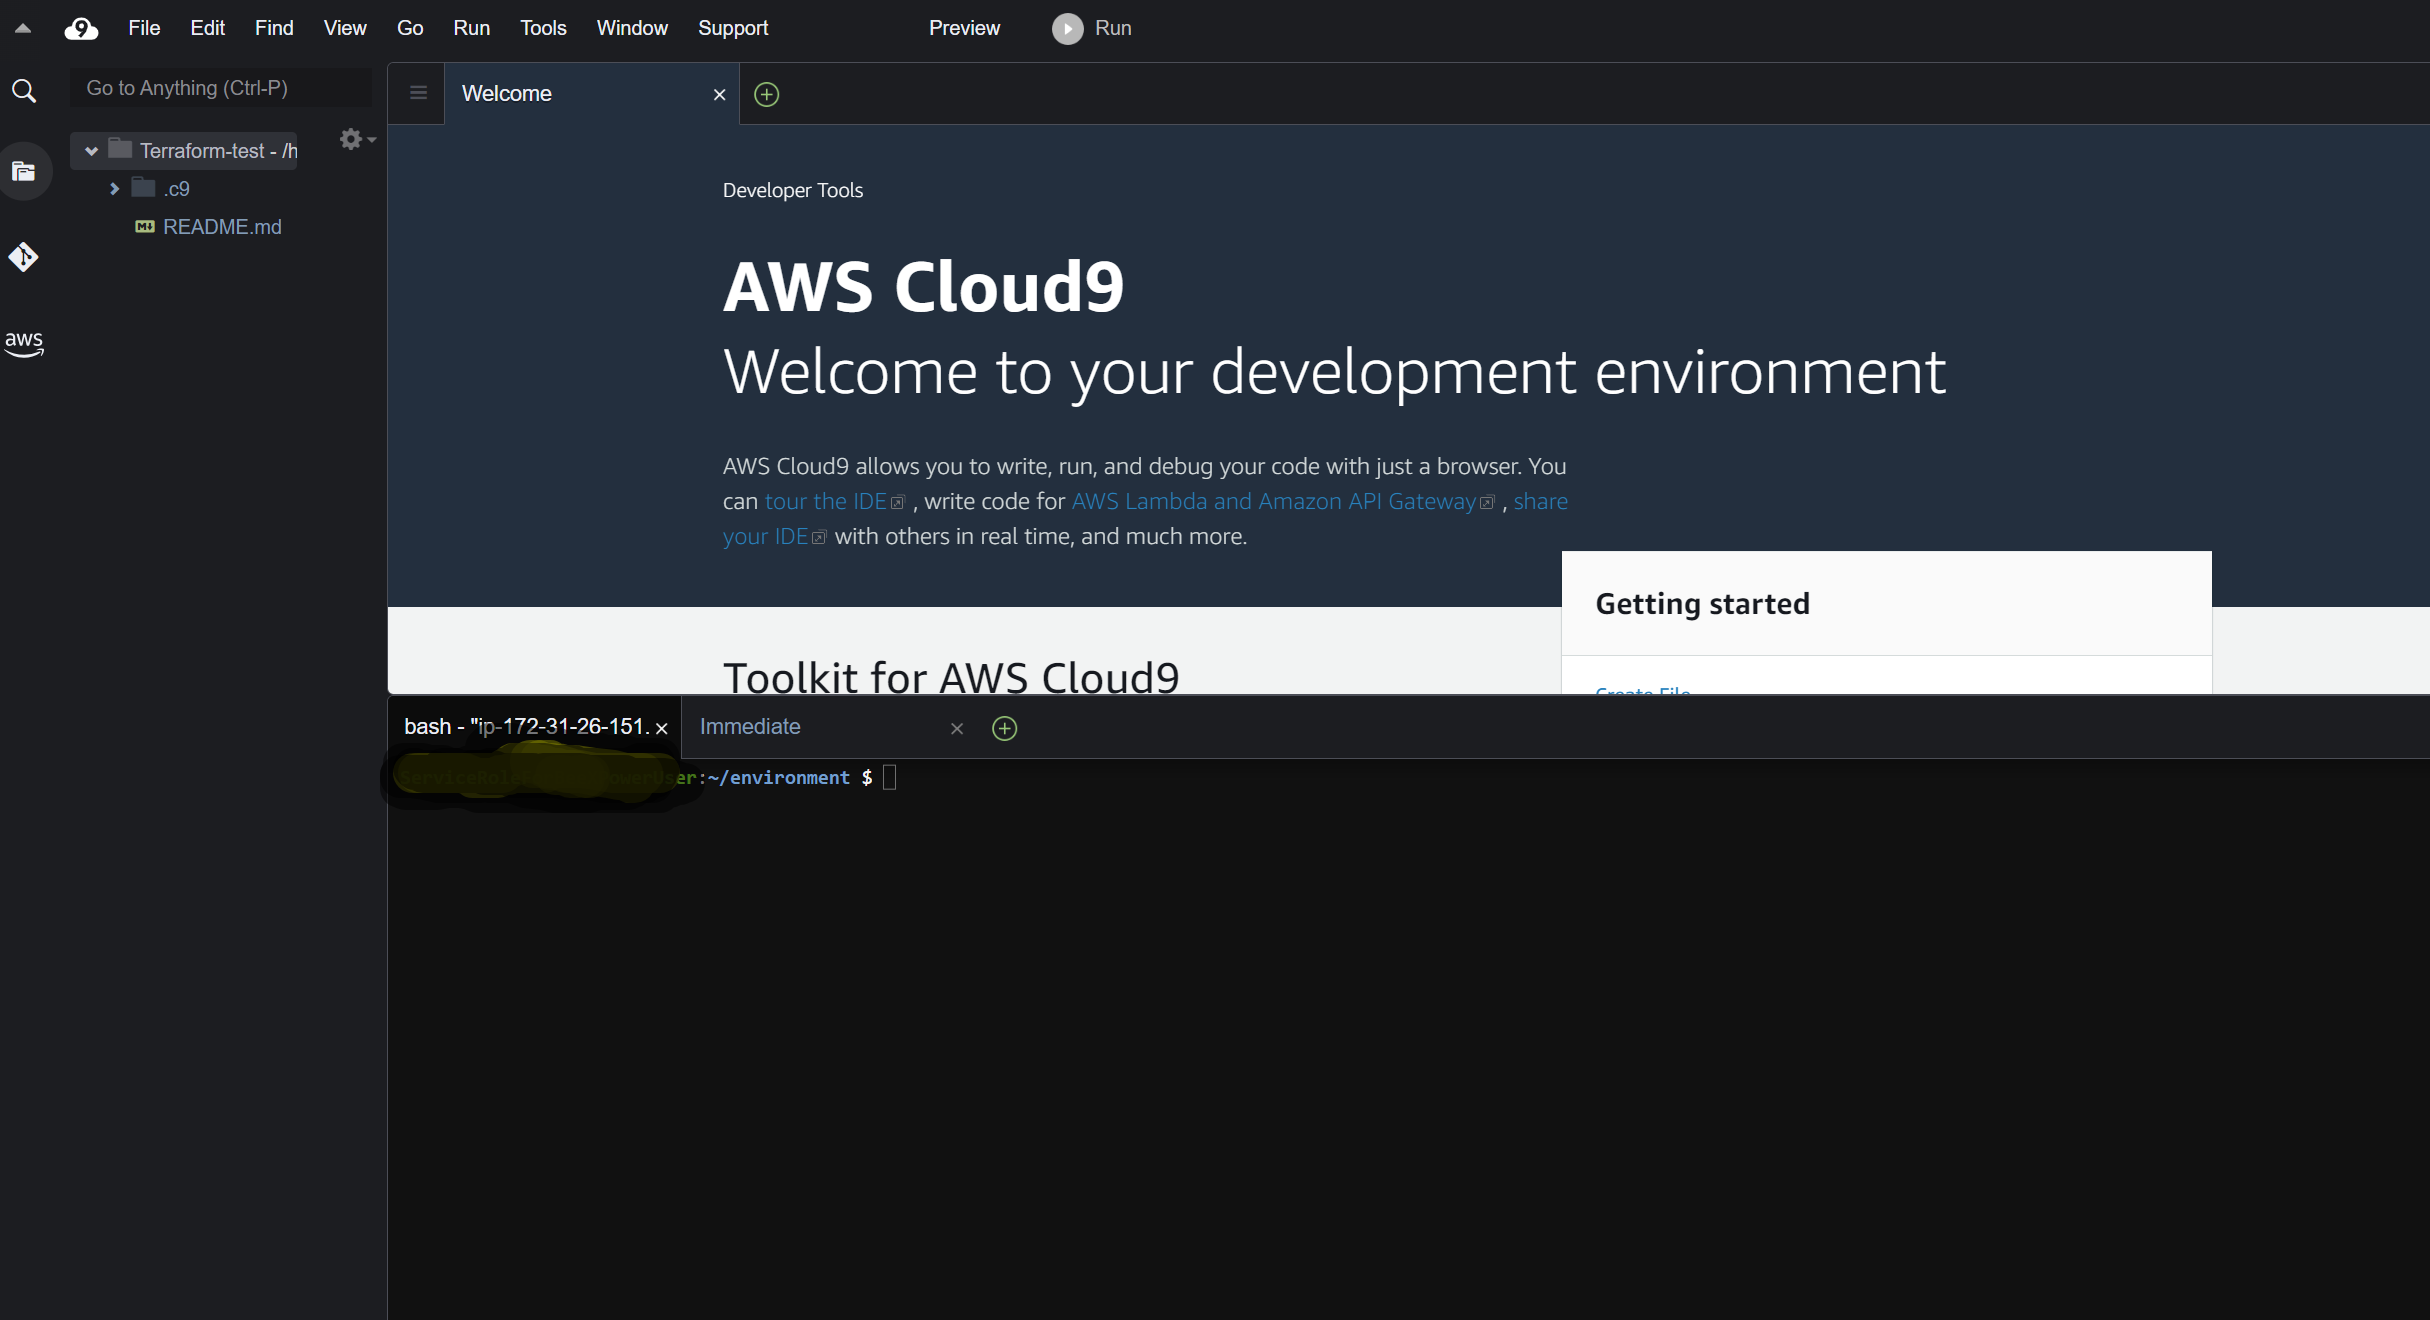
環境構築が終わりましたら、Cloud9 IDEを開いてください。
STEP4
#AWS CLIのバージョン確認
$ aws --version
aws-cli/2.13.26 Python/3.11.6 Linux/5.10.197-186.748.amzn2.x86_64 exe/x86_64.amzn.2 prompt/off

#terraformのバージョン確認
$ terraform -v
Terraform v1.6.2
on linux_amd64

#gitのバージョン確認
$ git -v
git version 2.40.1

#tfenvのインストール(Terraformのバージョン管理用)
$ git clone https://github.com/tfutils/tfenv.git ~/.tfenv

#パスを通す
$ sudo ln -s ~/.tfenv/bin/* /usr/local/bin

#tfenvのバージョン確認
$ tfenv -v
tfenv 3.0.0-18-g1ccfddb
コードの実装
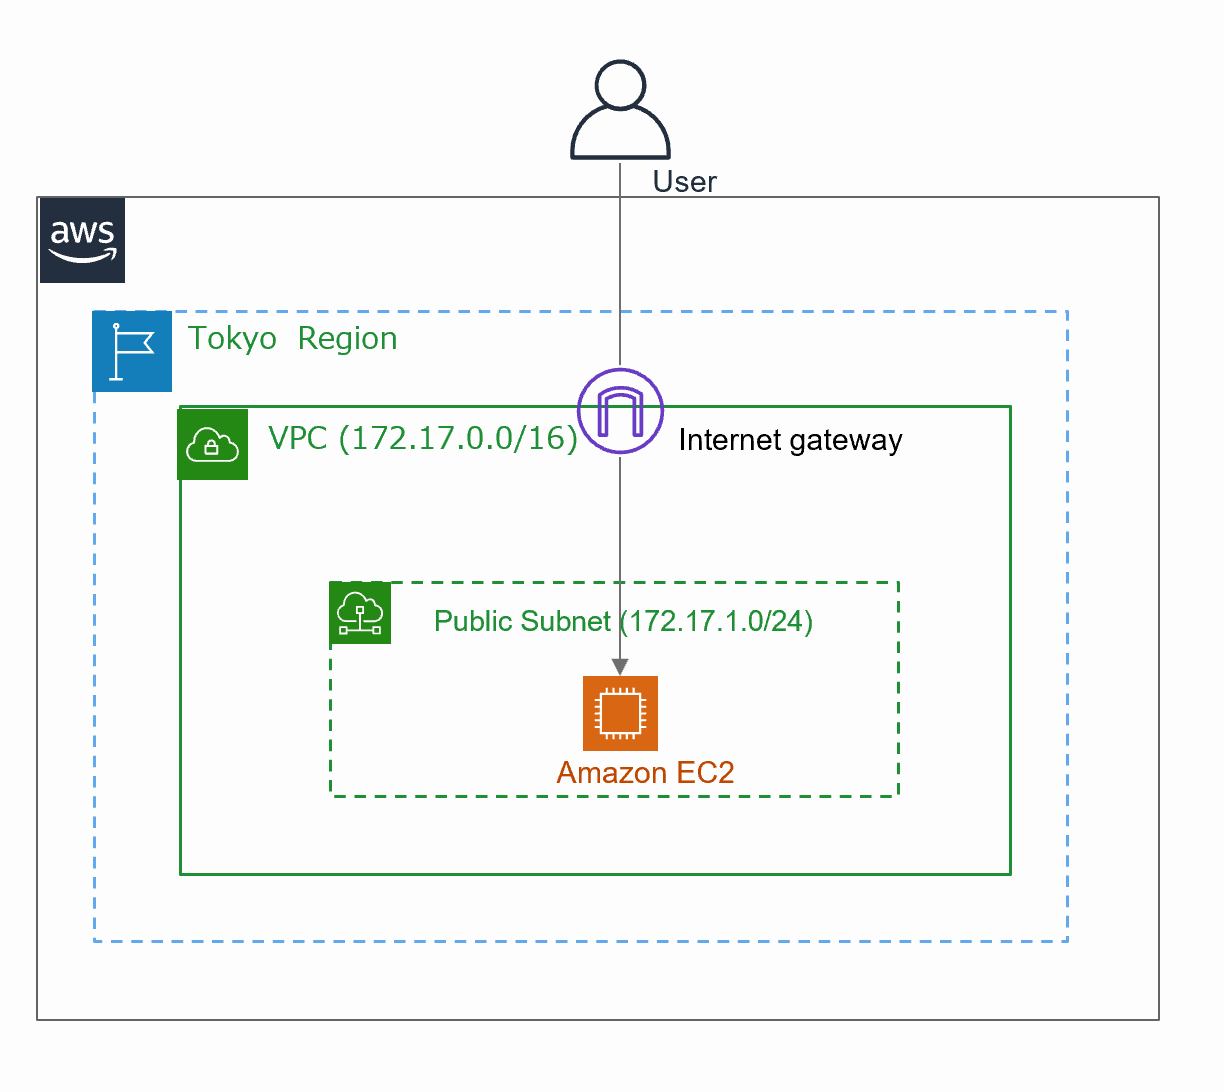
今回は以下の構成を作成します。
まず、フォルダを作成して移動します。
$ mkdir terraform-test && cd terraform-test
#以下3つのファイルを作成
$ touch provider.tf
$ touch aws_network.tf
$ touch aws_ec2.tf
provider.tfファイルの内容です。
provider "aws" {
  region = "ap-northeast-1"
}
provider.tfファイルには、構築するリソースのプロバイダー情報を記述します。今回は"aws"を定義しています。regionには、リソースを構築するためのAWSリージョンを指定します。今回は、東京リージョン(ap-northeast-1)を指定しています。
※他のTerraformで対応しているプロバイダーは以下の公式ドキュメントをご確認ください。
https://registry.terraform.io/browse/providers
Terraformコードの構文について簡単に説明します。
Terraformのコードは、HCL(HashiCorp Configuration Language)という言語で記述されています。 HCLの構文は非常にシンプルで、初心者にも理解しやすい言語です。
例えば、
resource "リソースの種別" "リソース名" {
    項目1 = 項目のオプション
    項目2 = 項目のオプション
    項目3 = 項目のオプション
}
「リソースの種類」⇒例えば、aws_instance、aws_vpc
※リソースの種類の公式ページ:https://registry.terraform.io/providers/hashicorp/aws/latest/docs
「リソース名」⇒任意の文字列を記載することがOK
aws_network.tf
# VPCの作成
resource "aws_vpc" "terraform_vpc" {
  cidr_block           = "172.17.0.0/16"
  enable_dns_hostnames = true
}

# Publicサブネット作成
resource "aws_subnet" "terraform_publicSubnet" {
  vpc_id                  = aws_vpc.terraform_vpc.id
  cidr_block              = "172.17.1.0/24"
  availability_zone       = "ap-northeast-1a"
  map_public_ip_on_launch = true
}

# インターネットゲートウェイ作成

resource "aws_internet_gateway" "terraform_igw" {
  vpc_id = aws_vpc.terraform_vpc.id
}

# Publicルートテーブルの作成

resource "aws_route_table" "terraform_public_rtb" {
  vpc_id = aws_vpc.terraform_vpc.id
  route {
    cidr_block = "0.0.0.0/0"
    gateway_id = aws_internet_gateway.terraform_igw.id
  }
}

# Publicサブネットにルートテーブルを紐づけ

resource "aws_route_table_association" "terraform_public_rtable_assoc" {
  subnet_id      = aws_subnet.terraform_publicSubnet.id
  route_table_id = aws_route_table.terraform_public_rtb.id
}


# セキュリティグループの作成
resource "aws_security_group" "terraform_sg" {
  name   = "terraform-security01"
  vpc_id = aws_vpc.terraform_vpc.id
  ingress {
    from_port   = 80
    to_port     = 80
    protocol    = "tcp"
    cidr_blocks = ["0.0.0.0/0"]
  }
  egress {
    from_port   = 0
    to_port     = 0
    protocol    = "-1"
    cidr_blocks = ["0.0.0.0/0"]
  }
}
aws_ec2.tf
# EC2インスタンスの作成
resource "aws_instance" "terraform_server" {
  ami                    = "ami-04f0680f68f076681" # Amazon Linux 2
  instance_type          = "t2.micro"
  subnet_id              = aws_subnet.terraform_publicSubnet.id
  vpc_security_group_ids = [aws_security_group.terraform_sg.id]
  user_data = <<EOF
#!/bin/bash
# サーバーの設定変更
sudo yum install -y httpd
sudo systemctl start httpd
sudo systemctl enable httpd
EOF
}
AWS環境上にリソース構築
#terraform初期化、AWS操作に必要なバイナリファイルをダウンロードします。
$ terraform init

#terraformのコードフォーマットする
$ terraform fmt

# 実施内容の確認
$ terraform plan

# 実環境への反映します。
# Enter a valueと表示されると、問題がなければ、「Yes」を入力しましょう。
$ terraform apply
結果確認
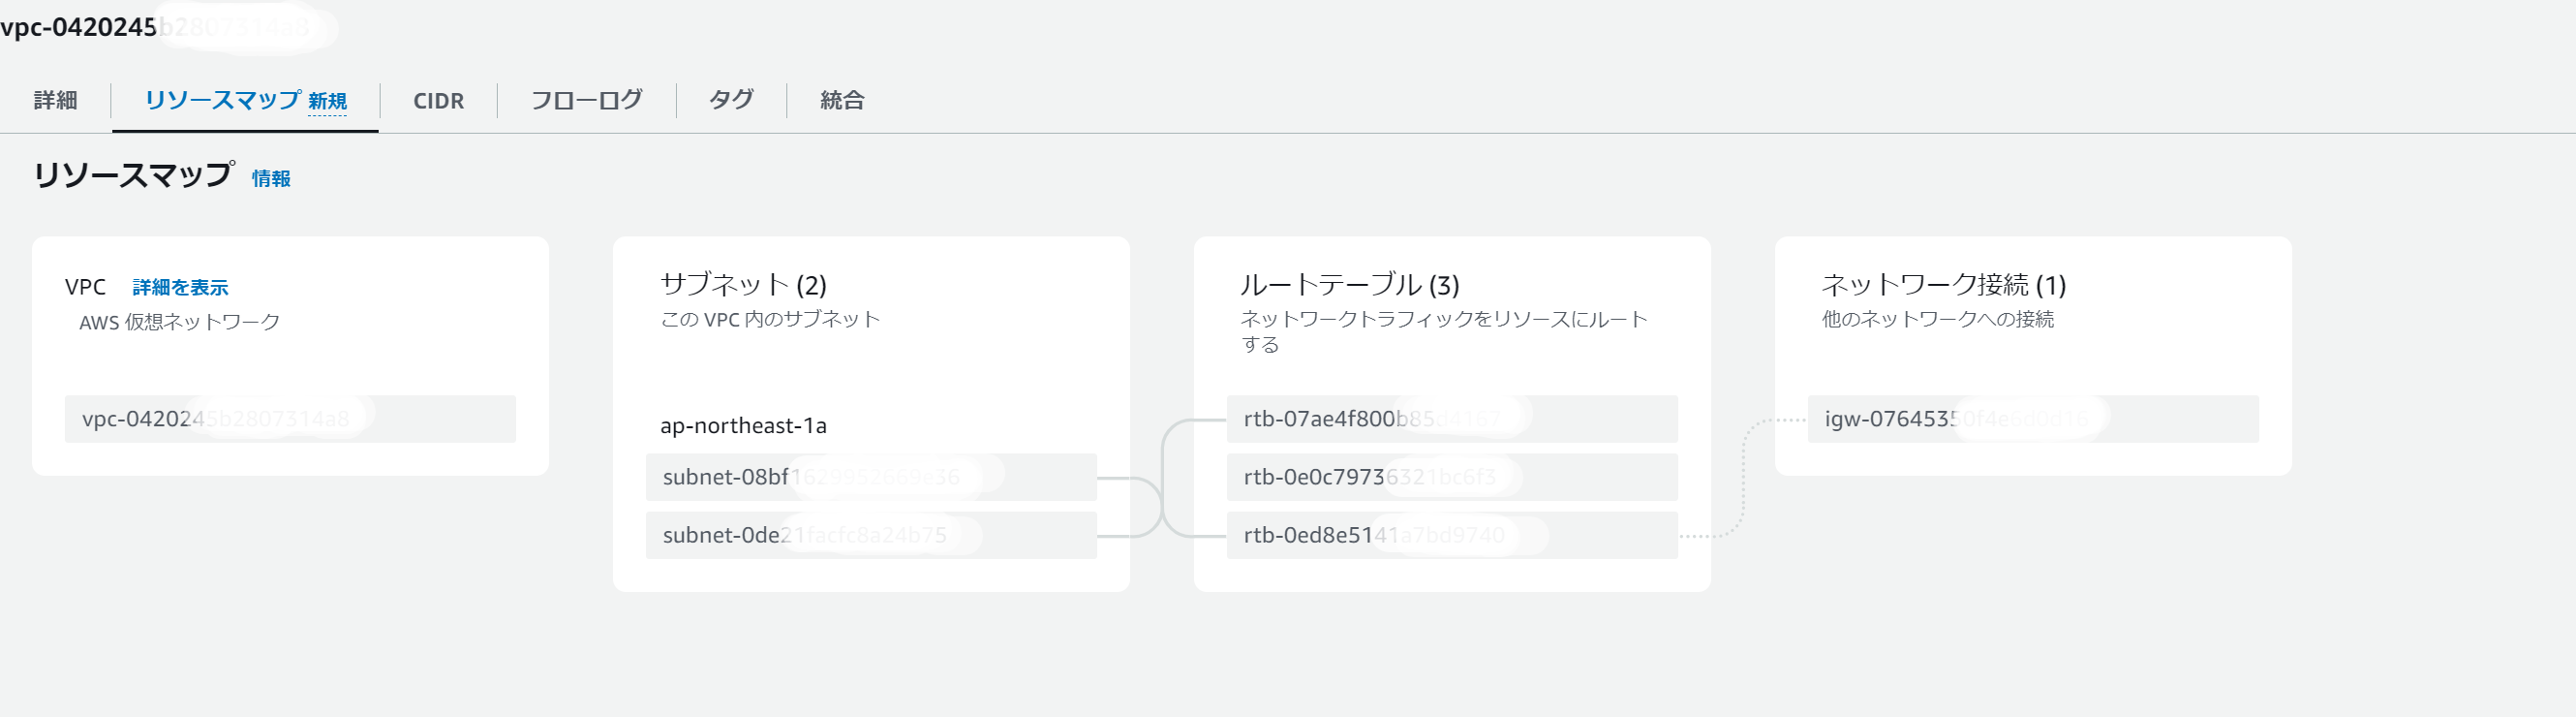
インスタンス作成できています。


VPC,Subnet, internet gateway,rounttableも作成しました。
最後にクリーンアップ
$ terraform destroy