はじめに
今回も AWS 公式ブログから、気になる記事を見つけてきたのでご紹介します。
ビジネスや個人向けに、デジタルなテキストドキュメントをコピー&ペーストして、希望の言語に翻訳できるツールが複数存在します。(分量に限度があり)
しかし頻繁に行うとなれば、退屈で時間だけがかかる作業になります。
そこで、2 つのソリューションについて解説していきます。
1. 収集したドキュメントに、非同期のバッチ翻訳を行うシンプルな翻訳
2. AWS Lambda と Amazon のリアルタイム翻訳を使い、ドキュメントを入手する度に同期的に翻訳を行う、より進んだ手法
Amazon Translateとは
- 低コストで迅速かつ高品質な翻訳を実現する、ニューラル機械翻訳サービス
- ニューラル機械翻訳、深層学習モデルを応用した、自動翻訳の一形態
- 従来の統計学や規則をベースにした翻訳アルゴリズムと比べて、正確かつ自然
- 多様なコンテンツに適格に対応
- 異なるユースケースやドメイン間での、多様な文章を使ってトレーニングされている
- 大量に集積したテキストや HTML ドキュメントの翻訳に使える、非同期のバッチ翻訳機能
- 1 回の API 呼び出しのみで、ドキュメント一式を言語翻訳できる
非同期バッチ翻訳を使うことで、ドキュメントやチュートリアル素材、あるいはブログなどを、日ごとに希望の言語に翻訳することが可能です。
バッチ翻訳ジョブの進行状況をモニタリングしたり、指定した出力フォルダーから翻訳結果を取得することもできます。
同期バッチ翻訳を使うシンプルなアプローチ
Amazon Translate のバッチ翻訳を試すために、 3 つのテキストファイルを使用します。
# テキストファイル1
Amazon Translate is a neural machine translation service that delivers fast, high-quality, and affordable language translation.

# テキストファイル2
Neural machine translation is a form of language translation automation that uses deep learning models to deliver more accurate and more natural sounding translation than traditional statistical and rule-based translation algorithms.

# テキストファイル3
`Amazon Translate allows you to localize content - such as websites and applications - for international users, and to easily translate large volumes of text efficiently.
ステップ1 S3バケットを作成
us-east-1 に S3 バケットを作成し、一意の名前を付けます。
このバケット内に、「raw」という名前のフォルダーを作成します。
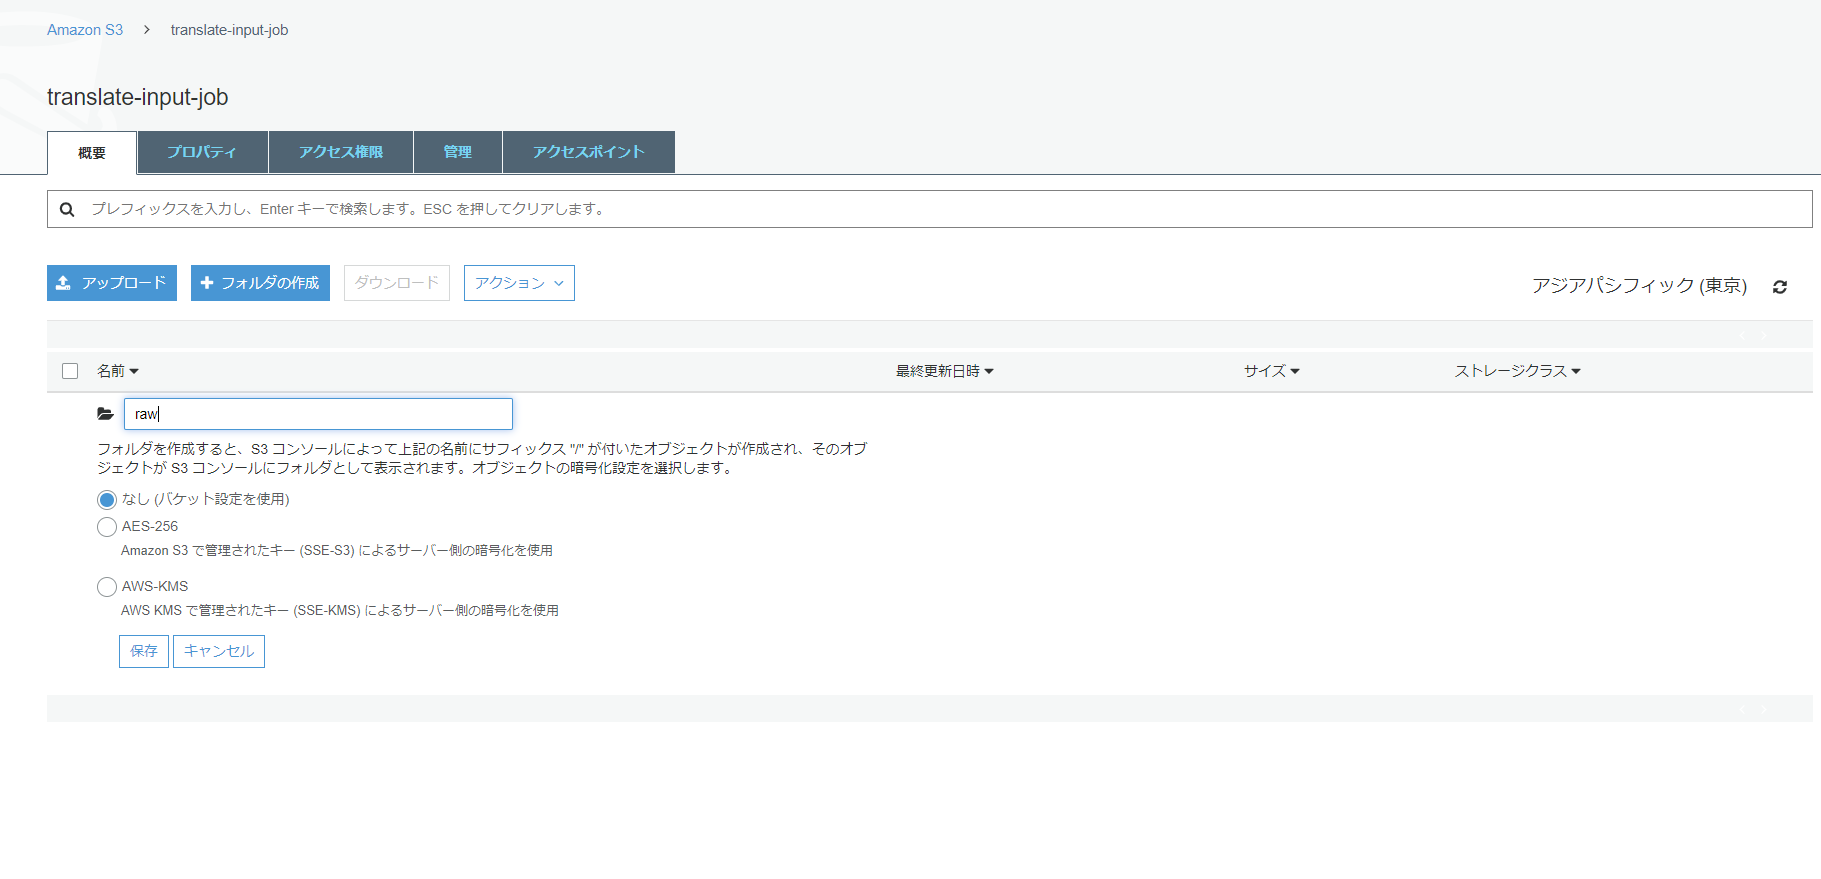
フォルダー 「s3://作ったバケット名/raw/」 に、翻訳対象のテキストファイルをアップロードします。
このバケットが、バッチ翻訳の入力を保持することになります。
一意の名前で、保存先として、もう 1 つの S3 バケットを us-east-1 に作成します。
このバケット内に、「output」という名前のフォルダーを作成します。
バッチ翻訳からの出力は、「s3://2つ目のバケット名/output/」 の中に保存されます。
ステップ2 Amazon Translateでバッチ翻訳
Amazon Translate コンソールで、[Batch Translation] をクリックします。(バージニア北部を選択)
[Create job] をクリックします。
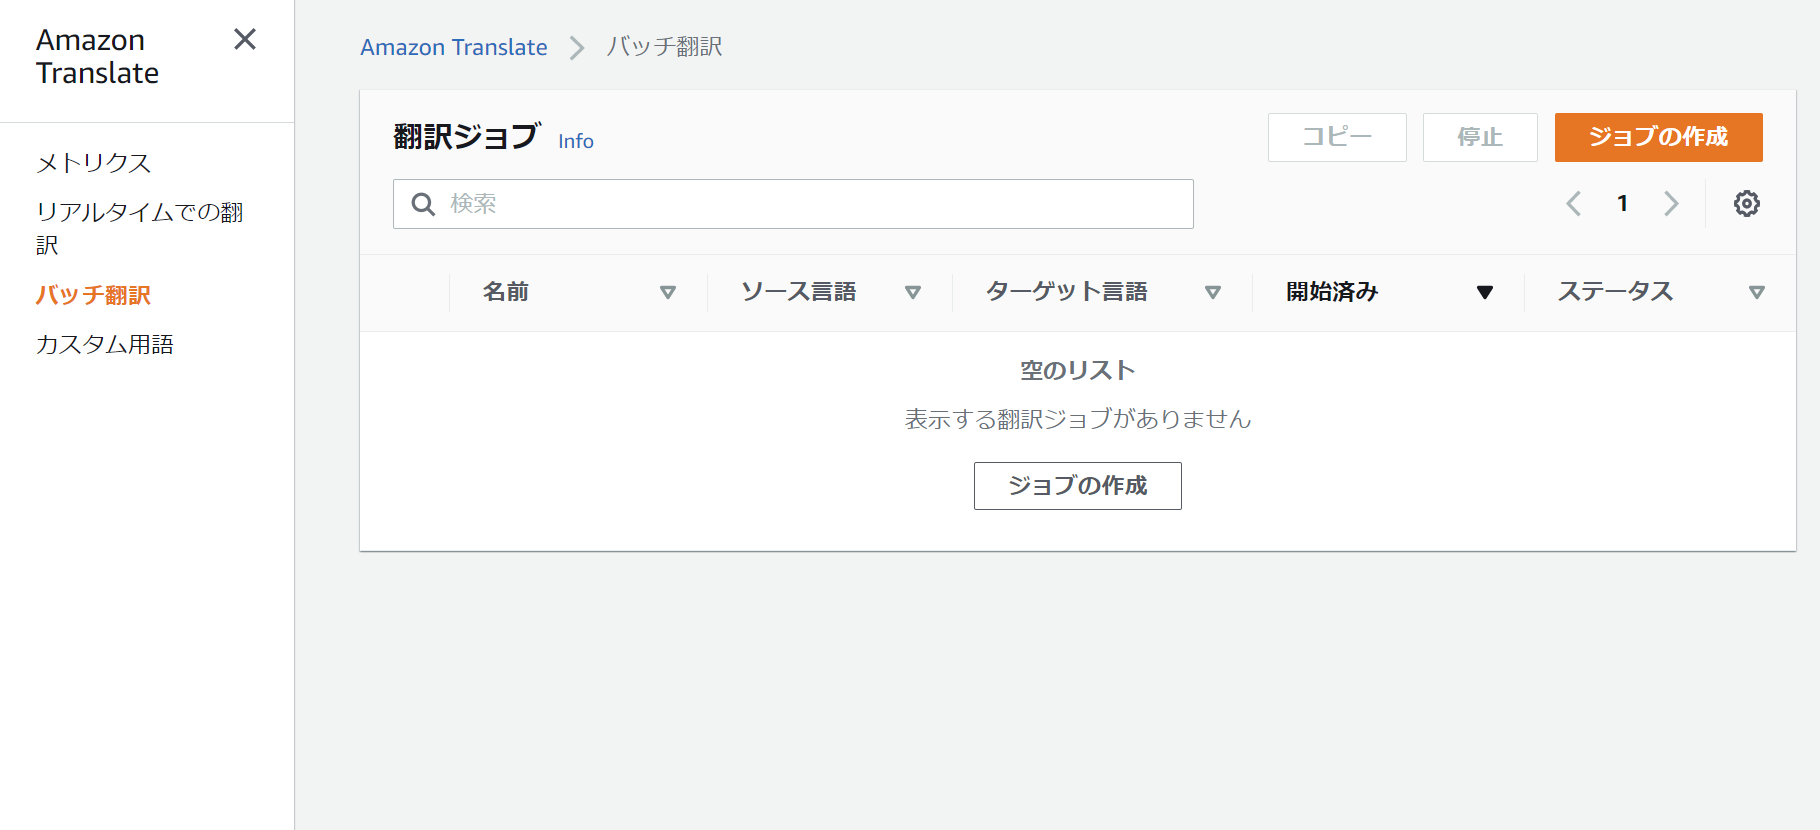
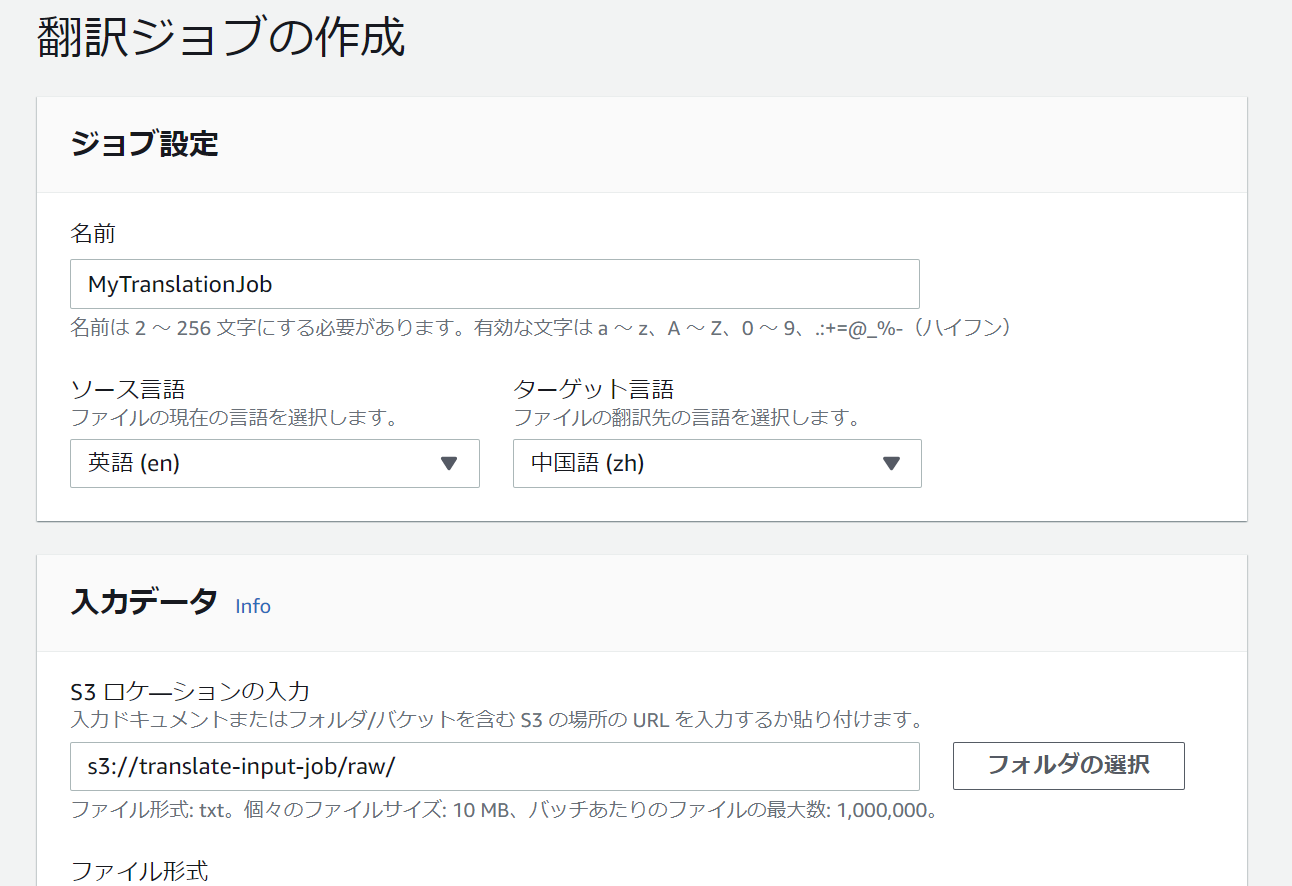
[Name] に、「 MyTranslationJob 」と入力します。
[Source language] で、[English] を選択します。
[Target language] では、日本語を選択します。
[Input S3 location] に、s3://ファイルを入れたバケットの名前/raw/ と入力します。
[File Format] で、[txt] を選択します。
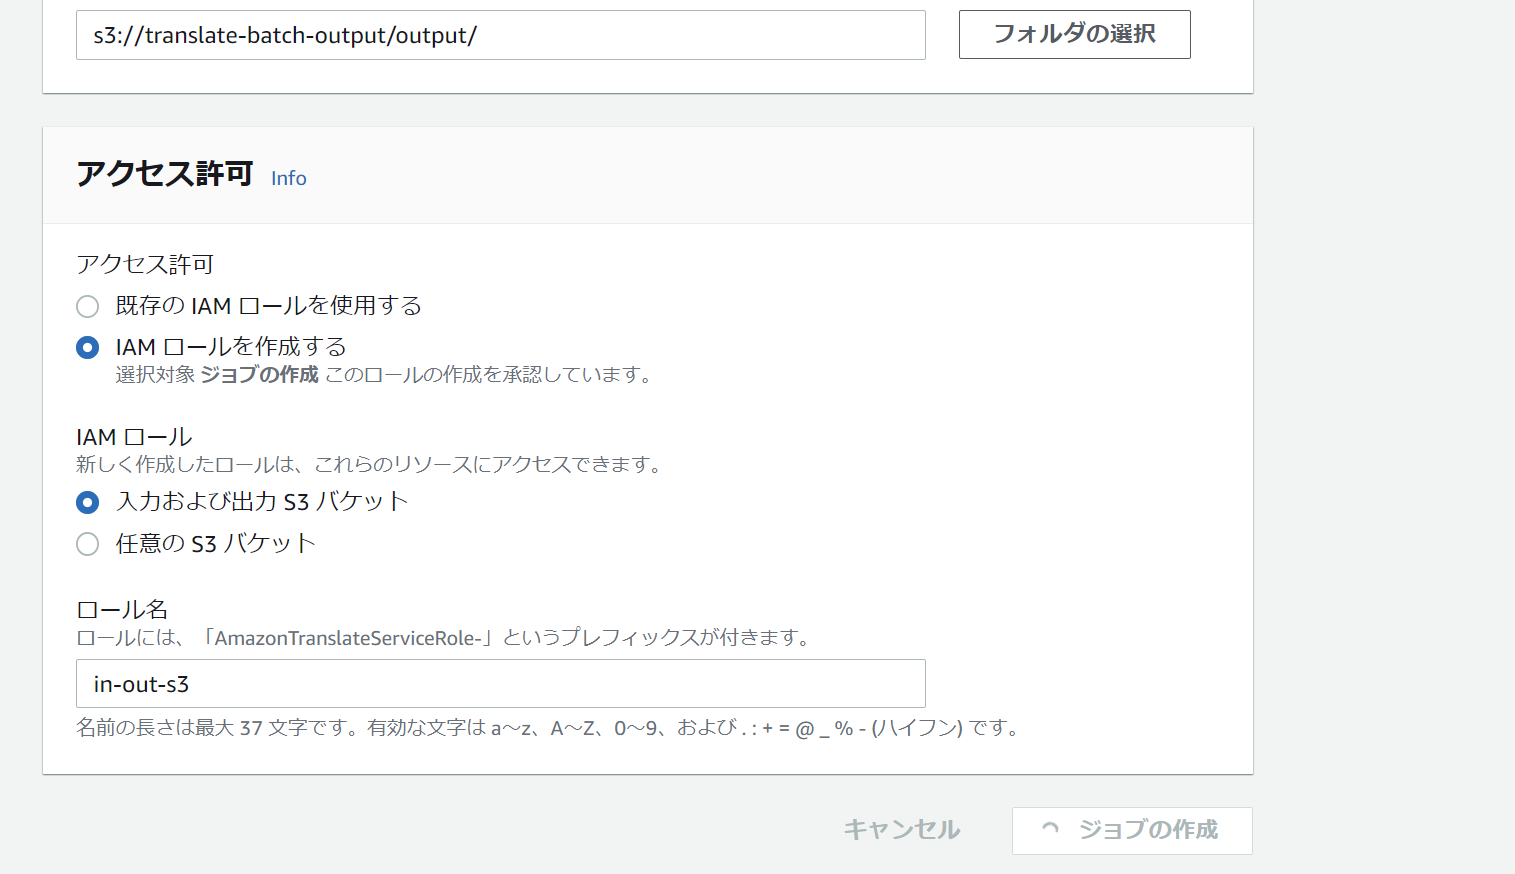
[Output S3 location] に、s3://保存先のバケット名/output/ と入力します。
[Access permissions] では、[Create an IAM role] を選択します。
[IAM role] では、[Input and output S3 buckets] を選択します。
[Role name] に、translate-batch-role と入力します。
[Create job] をクリックします。
ジョブの作成が完了すると、 Amazon Translate コンソール上で、その進行状況が確認できるようになります。
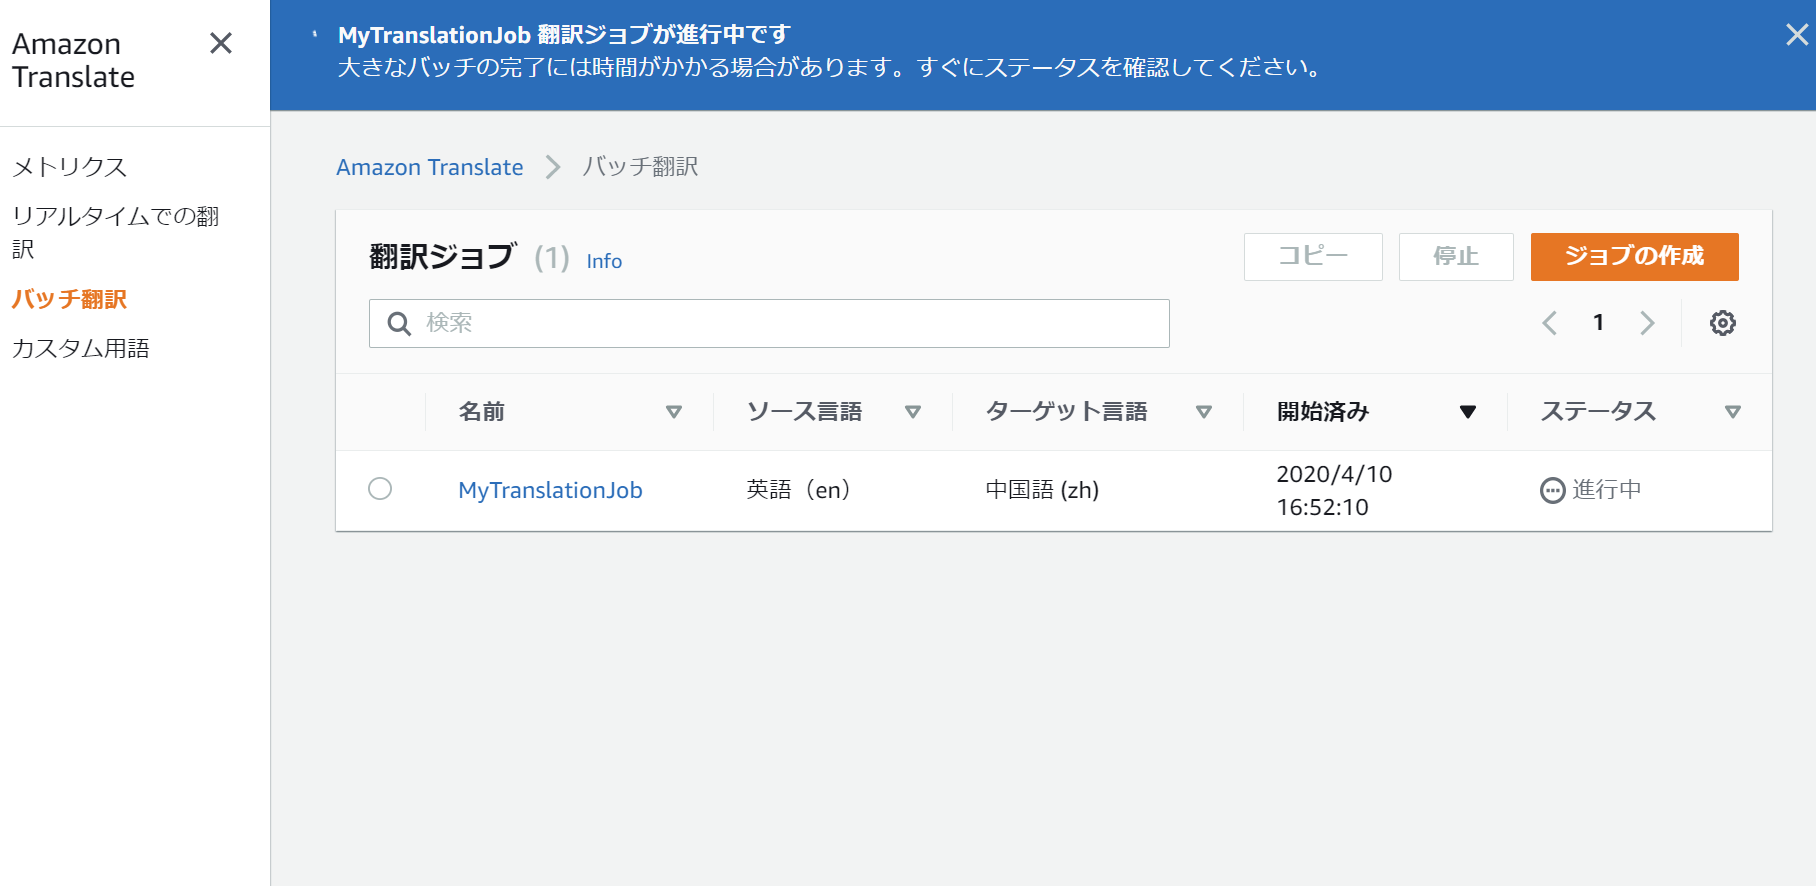
ジョブが完了すると、上記の status が Completed に変わり、翻訳済みのドキュメントが出力用の S3 バケットに保存されます。
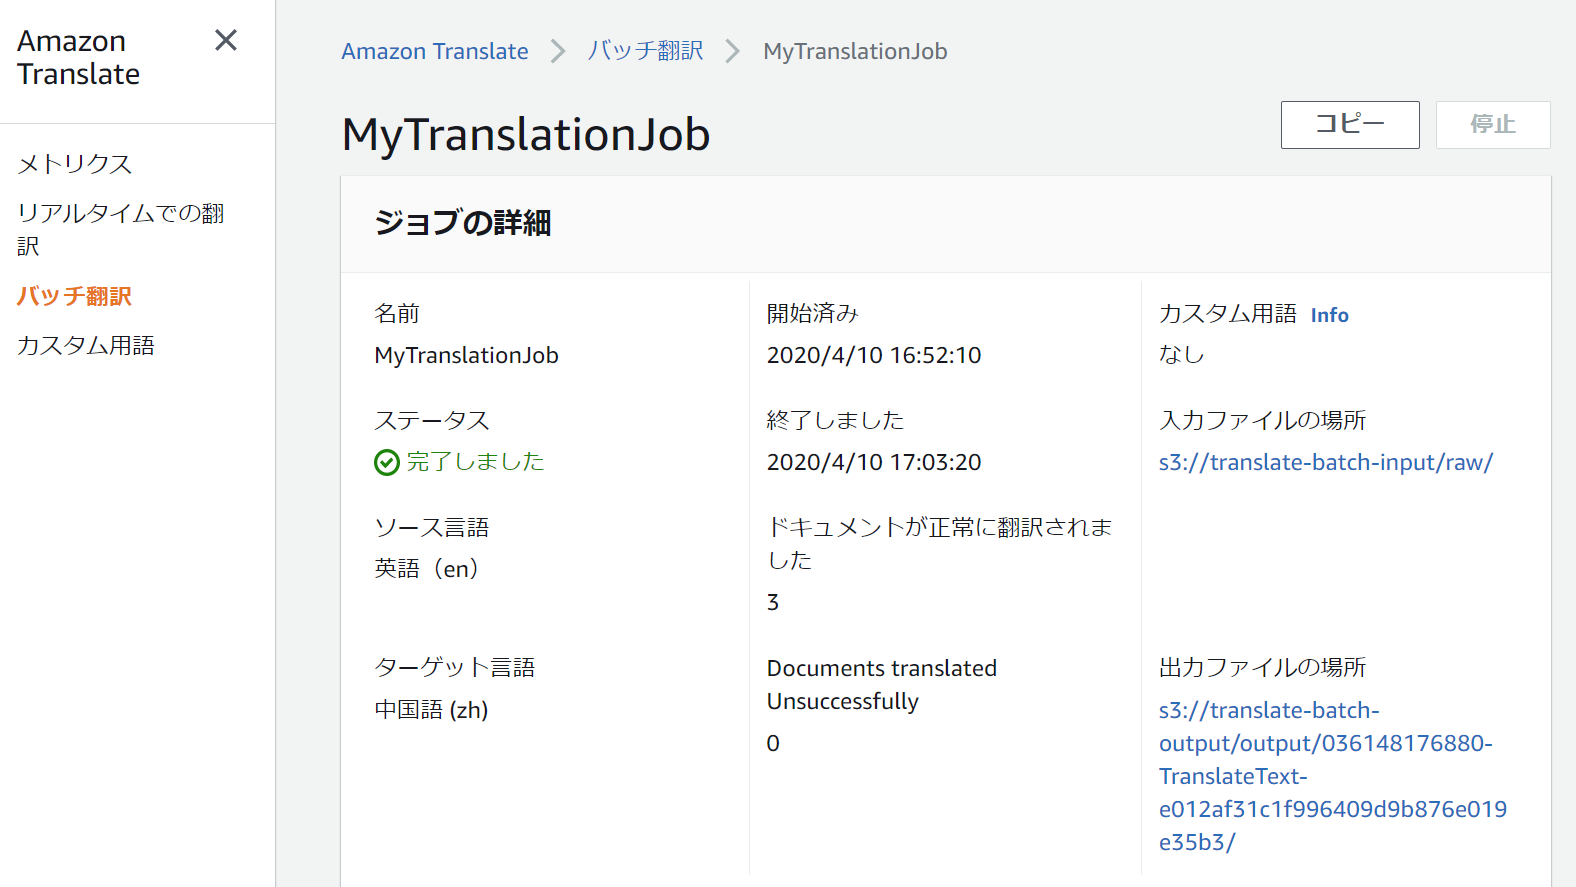
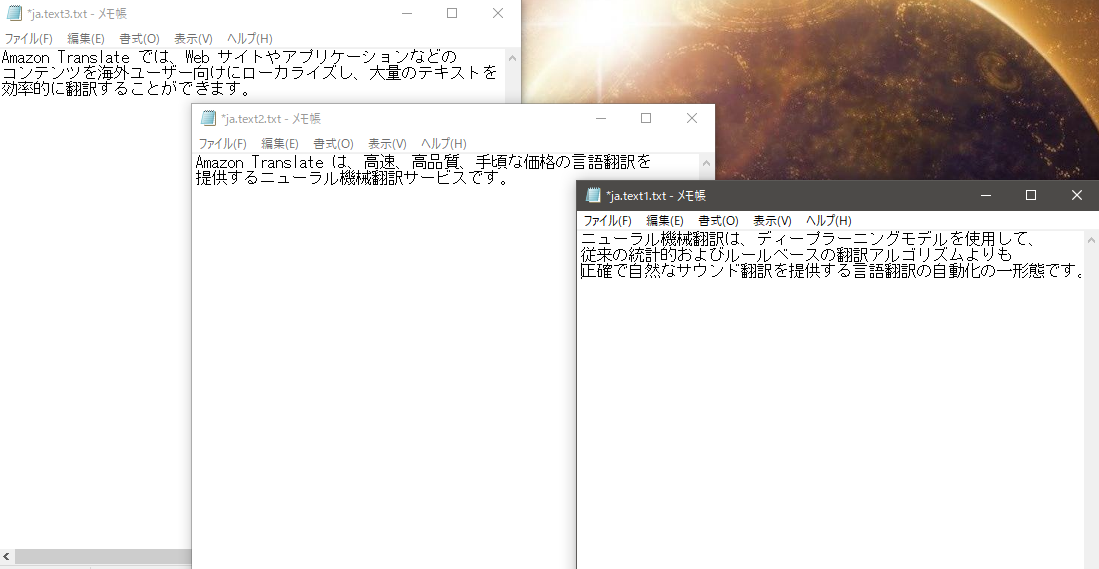
翻訳した結果
保存されたファイルをチェックしてみました。違和感の無い綺麗な日本語になりました!
後編に続きます!