この記事はソニックガーデン 若手プログラマ Advent Calendar 2024の8日目の記事です。
はじめに
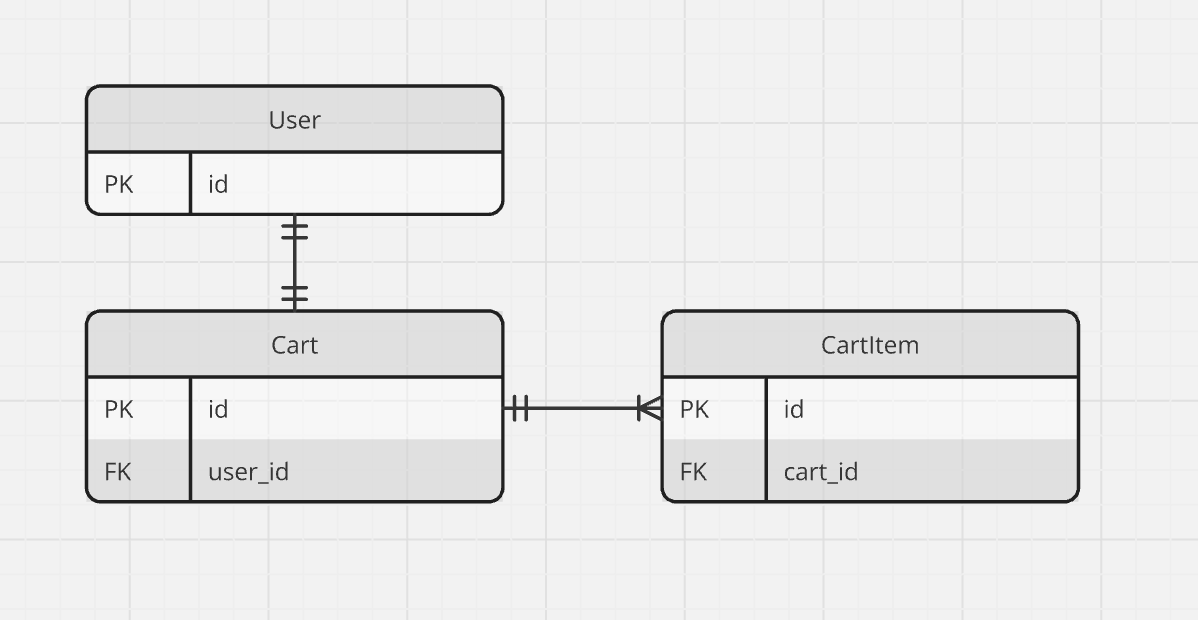
以前、Ruby on Railsを使ってECサイトを模倣したwebアプリケーションを作成しました。
とはいえ、ECサイトとしては何か物足りない…と思っていたため、Stripeでオンライン決済機能を組み込んでみました。ここでは学んだことを備忘録として残しつつ、皆さんに共有したいと思います。
そもそもStripeって何?
Stripeはオンライン決済を簡単かつ安全に導入できる決済サービスです。
個人的にはドキュメントや関連資料など情報豊富な点がかなり強いと思います。Stripeの公式ドキュメントはかなり読みやすいので、開発前に一読することをお勧めします!
Stripeの仕組みはどうなっているの?
まず、Stripeを使用した決済の仕組みを大まかに把握しましょう。
StripeにはStripe Checkoutというサービスがすでに用意されており、これを使ってオンライン決済を実装すると便利です。
以下の説明および概要図は、こちらを参照しています。詳細はそちらを確認してください。
- ユーザーがアプリケーション上の「決済ボタン」をクリックする
- クライアントからアプリケーションサーバーに向けて支払い情報が送信される
- アプリケーションサーバーからStripe APIに向けてcheckoutセッションが作成される
- このcheckoutセッションは、ユーザーがアプリケーション上からStripeが用意する決済画面にリダイレクトする際必要なURLを提供する
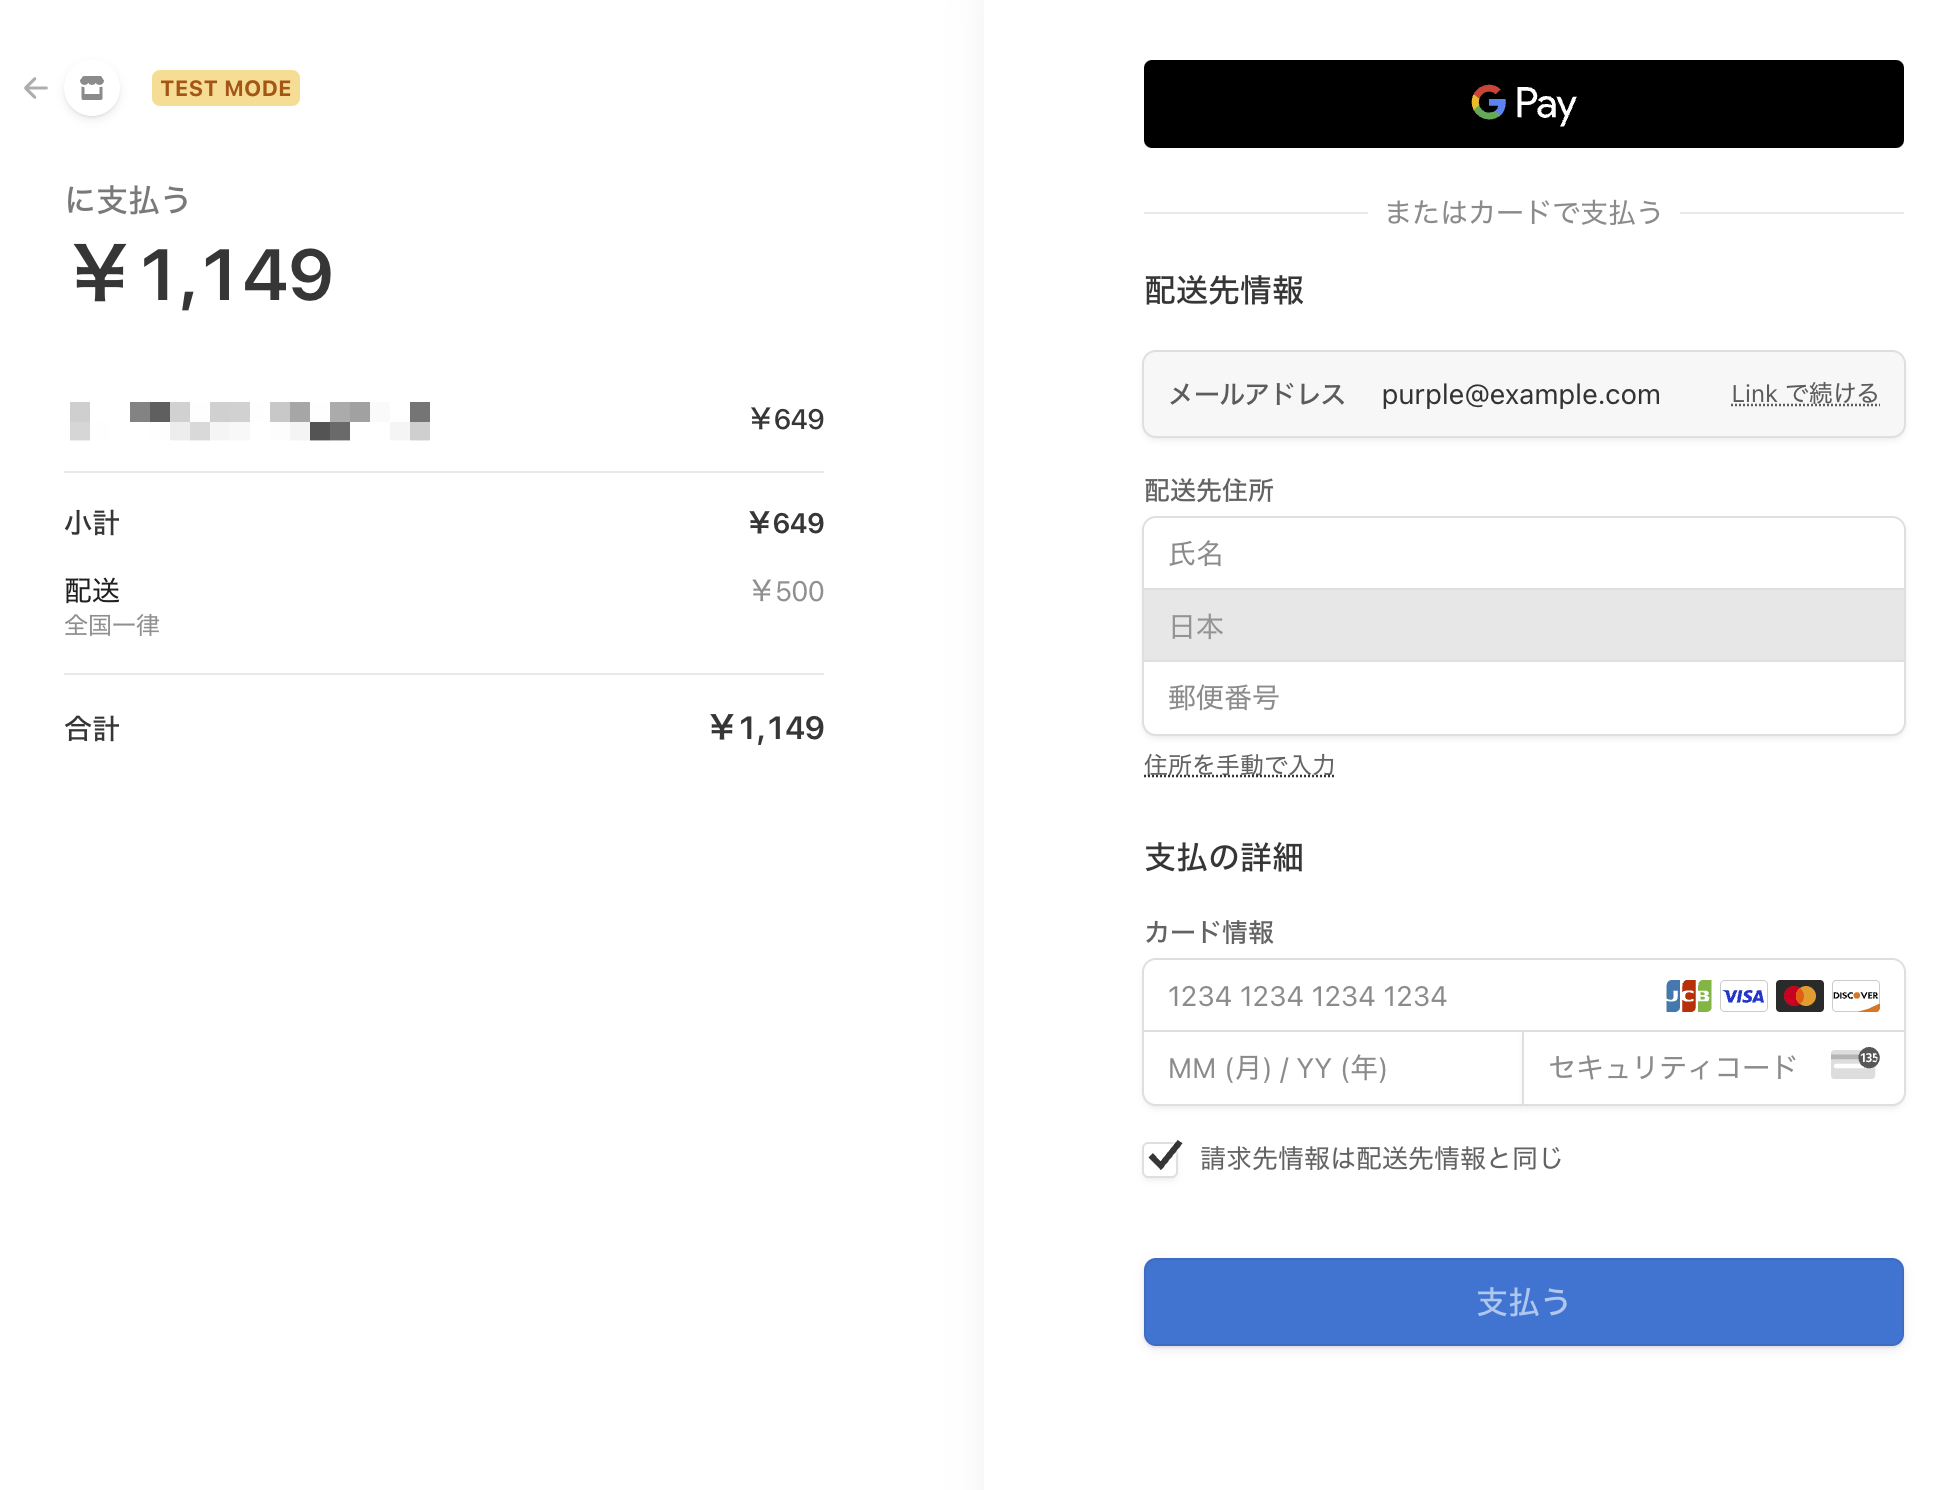
- リダイレクト先の決済画面で、必要情報を入力し送信する
- 4を持って取引が完了し、ユーザーはアプリケーション画面に遷移する
複雑なことは一切なくシンプルな仕組みです。
どうやって実装するの?
すでにサービスの注文機能まで実装完了している状態から進めていきます。
コード中にcurrent_cart, current_userという変数が登場しますが、current_cart = カート内商品を含むカート情報、current_user = 現在ログイン中のユーザーのことを指しています。
まずはStripeのAPIを利用する準備をします。
-
StripeのAPIキーを取得する
- Stripeに新規登録
a. https://dashboard.stripe.com/register - 新規登録できたらダッシュボードにアクセス
a. 公開可能キーとシークレットキーを取得する
- Stripeに新規登録
-
credentialsにキーを登録する
EDITOR="vi" bin/rails credentials:edit -e development -
config/initializersにStripe.rbを作成する
Stripe.api_key = Rails.application.credentials.dig(:Stripe, :secret_key) Stripe.api_version = '2024-10-28.acacia' #ここはドキュメントを読み最新のバージョンにしてください -
サーバーを再起動する
次に決済処理の実装です。
-
gem をインストールする
a. https://github.com/Stripe/Stripe-rubygem install stripe -
checkouts_controller.rbを作成rails g controller checkouts -
routesの設定
resources :checkouts, only: %i[create] -
checkouts_controller.rbの中身を作成class CheckoutsController < ApplicationController def create line_items = current_cart.line_items_checkouts session = create_session(line_items) redirect_to session.url, allow_other_host: true end private def create_session(line_items) Stripe::Checkout::Session.create( client_reference_id: current_user.id, customer_email: current_user.email, mode: 'payment', payment_method_types: ['card'], line_items:, shipping_address_collection: { allowed_countries: ['JP'], }, shipping_options: [ { shipping_rate_data: { type: 'fixed_amount', fixed_amount: { amount: 500, currency: 'jpy', }, display_name: '全国一律', } } ], success_url: root_url, cancel_url: "#{root_url}cart" ) end enda.
createアクションで、checkoutセッションを作成しています。
b.create_sessionでは、必要なparameterを渡しています。詳細はこちらをご覧ください -
app/models/cart.rbに、商品情報を返すメソッドを記述class Cart < ApplicationRecord belongs_to :user has_many :cart_items, dependent: :destroy has_many :books, through: :cart_items def line_items_checkouts cart_items.map do |cart_item| { quantity: 1, price_data: { currency: 'jpy', unit_amount: cart_item.book.price, product_data: { name: cart_item.book.title, metadata: { product_id: cart_item.book_id, }, }, }, } end end end -
viewに決済ボタンを配置
button_to '注文する', checkouts_path, method: :post, class: 'btn btn-outline-danger', data: { turbo: false, turbo_confirm: '決済を進めますか?' } -
ここまで実装できたら、ボタンをクリックして画面遷移するか確かめてみましょう。
決済までテストするためにはこのドキュメントが参考になります。
テスト環境で使えるカード情報としては以下が指定されています。
カード番号:4242 4242 4242 4242 有効期限:今より未来の年月 セキュリティーコード:任意の三桁https://dashboard.Stripe.com/test/paymentsから、支払いデータが作成されていたら、無事に決済完了しています。
おわりに
以上が、Stripeを使ったオンライン決済機能の実装内容でした。
Stripeにはこれ以外にも使えるAPIがたくさんあるため、ぜひ色々試してみたいと思います。最後までお読みいただきありがとうございました。
ソニックガーデン 若手プログラマ Advent Calendar 2024の9日目は@ryusei1212 です。お楽しみに!


