本記事でできること
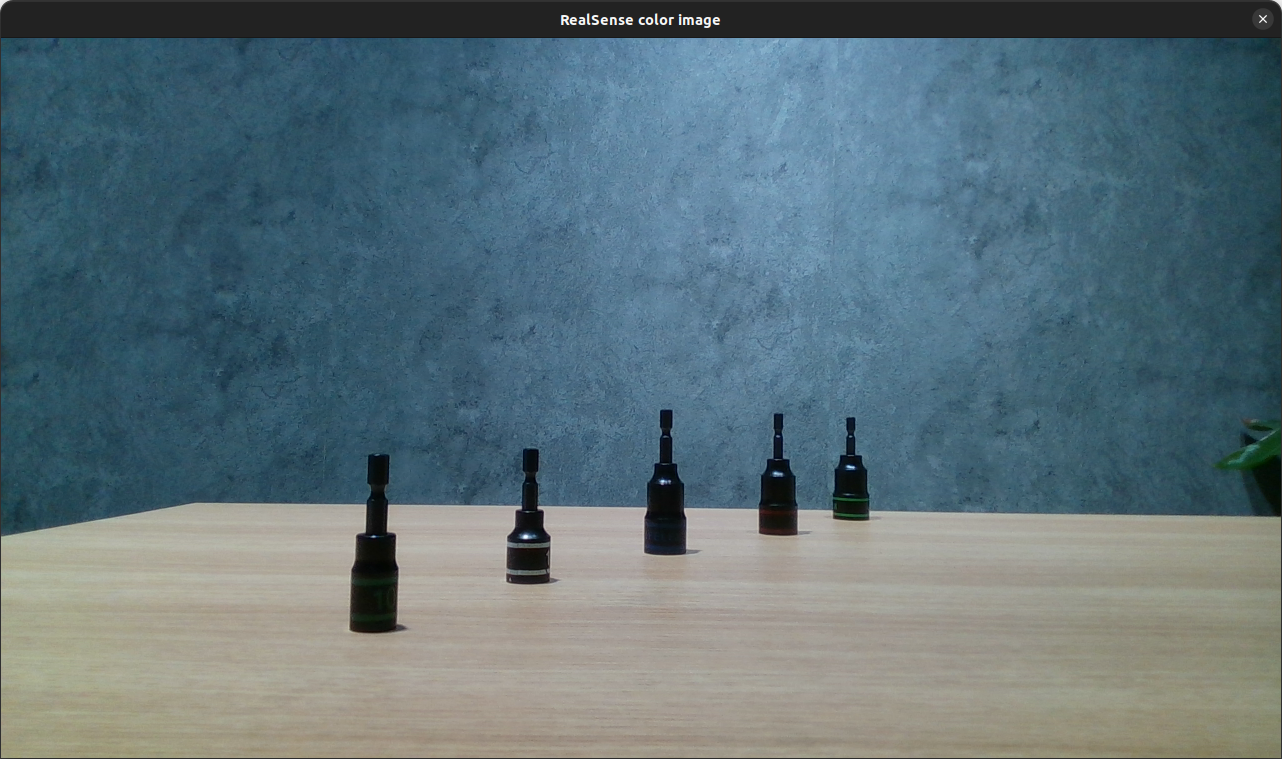
カラー画像
深度画像から特定距離の背景を除去した画像1(設定深度領域:350mm〜450mm)

深度画像から特定距離の背景を除去した画像2(設定深度領域:350mm〜550mm)

想定シーン
ロボットをビジュアルフィードバック制御する
カメラを使ったロボットアームの制御方法を、ビジュアルフィードバック制御といいます。ここでは、ビジュアルフィードバック制御を使った自動化システムを開発する際に必要となる画像認識プログラムをまとめています。
デプスセンサ・3Dカメラで特定距離の背景を除去する
画像認識プログラムを制作しているときに、背景情報が画像処理フィルターの邪魔になることがあります。たとえば、認識対象物より後ろにある壁紙の色や、置いてある棚、次に認識を予定している対象物体の予備などです。こうしたシーンでは、デプスセンサ・3Dカメラで特定距離以遠の画像情報を、奥行き距離情報に基づいて除去してやることで、手前にある物体の画像だけを取り出して、背景除去に使用することができます。本記事では、Intel社製Realsenseを使用して、特定距離の背景を除去するプログラムを掲載します。
実行環境
- OS:Ubuntu 22.04 LTS
- 言語:C++
- クルーボ:v5.1.0
クルーボについて
ロボットアプリケーション開発には、株式会社チトセロボティクスのロボット制御ソフトウェア「クルーボ」を使用します。本記事のプログラムは、クルーボがインストールされた制御コンピュータ上で動作します。
- クルーボの製品サイト:https://chitose-robotics.com/
プログラム抜粋
cv::Mat crop_depth_image_by_depth_value(const cv::Mat& depth_image, const float far_value, const float near_value) {
    cv::Mat result_depth_image = depth_image.clone();
    for (int i = 0; i < depth_image.cols; i++) {
        for (int j = 0; j < depth_image.rows; j++) {
            const double distance = static_cast<double>(depth_image.at<float>(cv::Point(i, j)));
            if (distance > far_value || distance < near_value) {
                result_depth_image.at<float>(cv::Point(i, j)) = 0.f;
            }
        }
    }
    return result_depth_image;
}
全体プログラム
#include "crewbo/crewbo.h"
#include "project_lib/vision_assistant.h"

#include <spdlog/spdlog.h>
#include <iostream>

cv::Mat crop_depth_image_by_depth_value(const cv::Mat& depth_image, const float far_value, const float near_value) {
    cv::Mat result_depth_image = depth_image.clone();
    for (int i = 0; i < depth_image.cols; i++) {
        for (int j = 0; j < depth_image.rows; j++) {
            const double distance = static_cast<double>(depth_image.at<float>(cv::Point(i, j)));
            if (distance > far_value || distance < near_value) {
                result_depth_image.at<float>(cv::Point(i, j)) = 0.f;
            }
        }
    }
    return result_depth_image;
}

int main(void) {
    crewbo::camera::RealSense camera;

    SPDLOG_INFO("色と距離の情報から背景を除去します。'q'キーで終了します。");
    while (cv::waitKey(1) != 'q') {
        const cv::Mat depth_image = camera.fetchDepthFrame_();
        const float depth_near_value = 600.f;
        const float depth_far_value = 1600.f;
        const cv::Mat cropped_depth_image =
                crop_depth_image_by_depth_value(depth_image, depth_far_value, depth_near_value);
        const cv::Mat colorized_image = crewbo::camera::RealSense::colorizeDepthImage_(cropped_depth_image);
        cv::imshow("RealSense depth image", colorized_image);
    }
}
おわりに
人手作業をロボットアームで自動化するために、カメラを使ったロボット制御=ビジュアルフィードバック制御が大切です。
ロボット制御用の画像認識でも中身のひとつひとつはシンプルなので、要素に分解して解説していきたいと思います。