今回は、 Amazon で購入した中華製の LED 照明を Python でコントロールしてみました。
使用した LED 照明は下記のものになります。
環境
今回の環境は下記のとおりです。
開発端末
- OS: Windows 11 Pro
- CPU: Intel Core i7-9750H
- メモリ: 64GB
- GPU: NVIDIA GeForce RTX 2070 Max-Q
Python 環境
- Python: 3.11.0
- 仮想環境: Poetry
Poetry について
Poetry の詳細は、下記の記事を参考にしてください。
https://qiita.com/IoriGunji/items/290db948c11fdc81046a
アカウントの作成
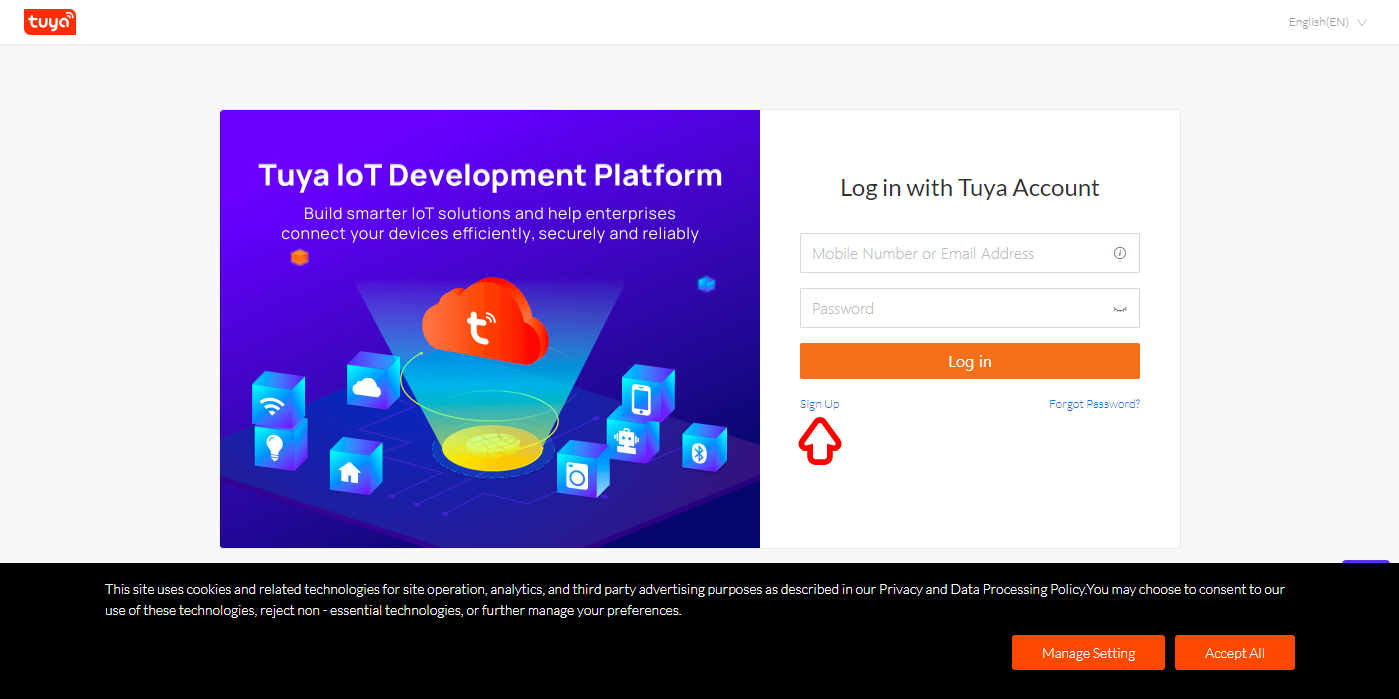
下記のサイトから Sign Up を行います。
プロジェクトの作成とデバイスの取得
プロジェクトを作成し、デバイスの取得を行います。
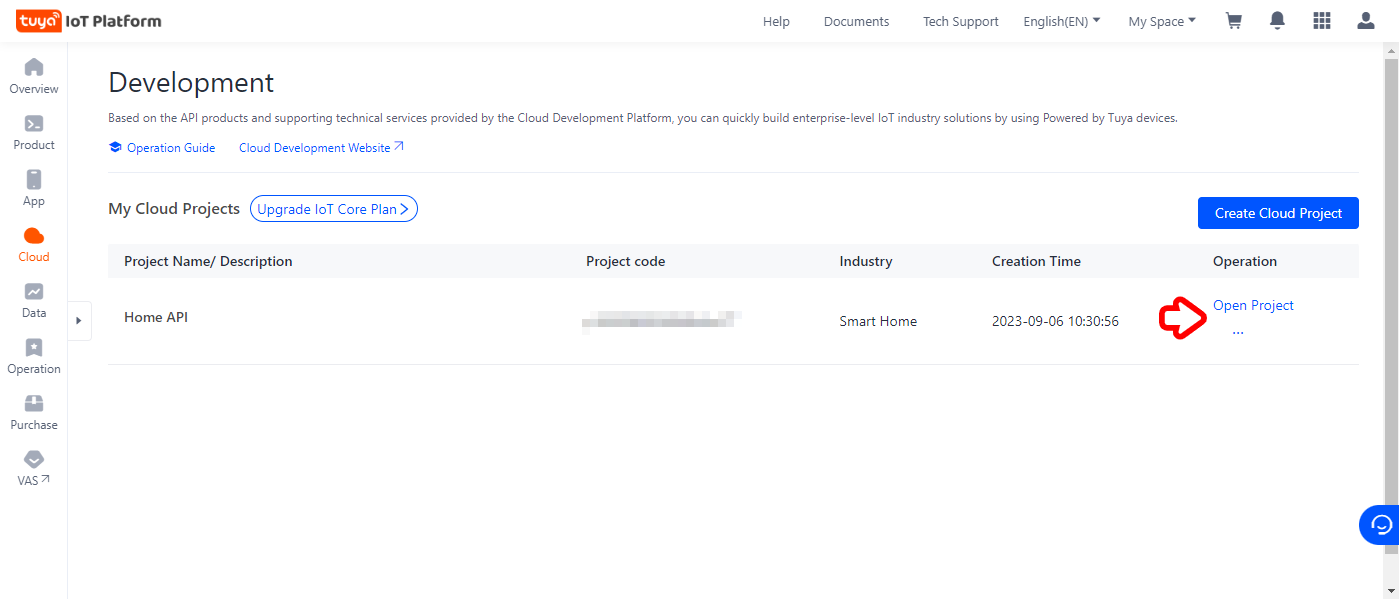
Create Cloud Project をクリックします。

下記の項目を入力して、 Create をクリックします。
- Project Name: 任意のプロジェクト名
- Industry: Smart Home
- Development Method: Smart Home
- Data Center: Western America Data Center
プロジェクトが作成されたら、 Open Project をクリックして、プロジェクトを開きます。

デバイスの取得
Link Tuya App Account をクリックします。

QRコードをスマートフォンの Smart Life アプリで読み取ります。

スマートフォンで Smart Life アプリを開き、 + ボタンをタップします。

認証情報の確認
API を叩く際に必要となる認証情報を事前に確認しておきます。
下記のいずれかの方法で確認ができます。
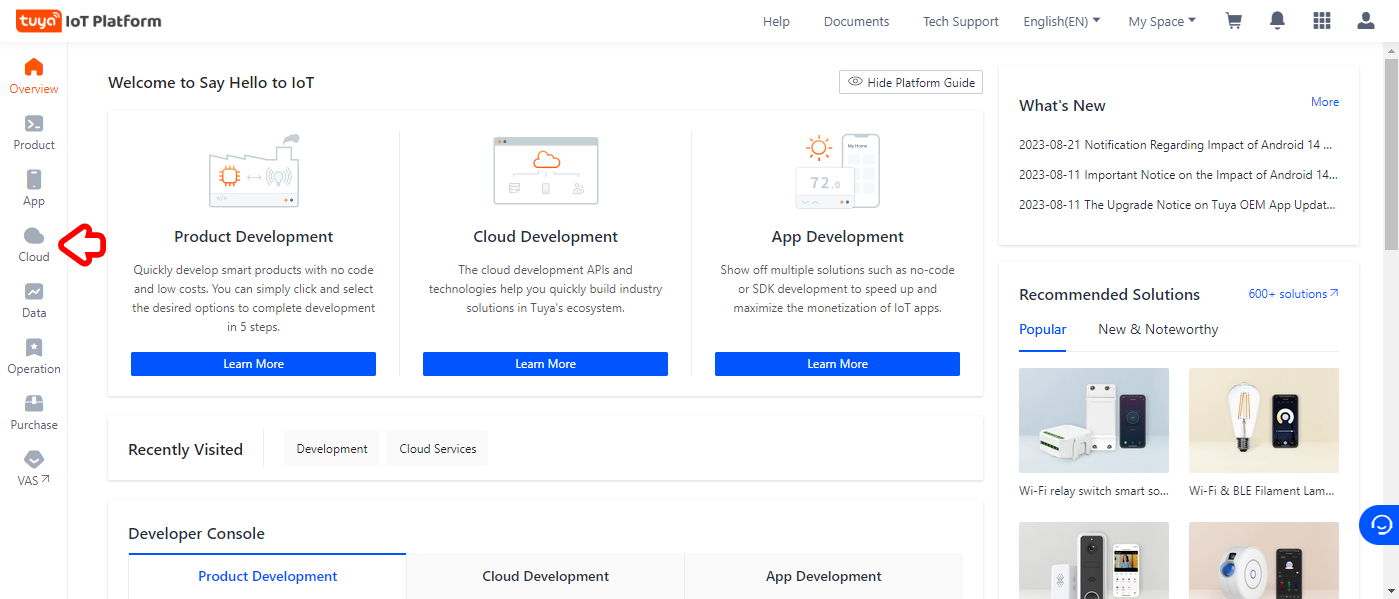
Overview をクリックし、 Access ID/Client ID と Access Secret/Client Secret を控えておきます。

Authorization をクリックし、 Cloud Authorization から Access ID/Client ID と Access Secret/Client Secret を控えておきます。

IoT Core の確認
Service API を開き、 IoT Core が含まれていることを確認します。
含まれていない場合は、 Go to Authorize をクリックし、 IoT Core の Free Trial をクリックし、 IoT Core を追加します。

デバイス ID の確認
制御したいデバイスの Device ID を確認します。
Devices をクリックし、 All Devices の中から制御したいデバイスの Device ID を確認します。

Python コードの作成
インストール
Poetry の場合
poetry add tinytuya
pip の場合
pip install tinytuya
ウィザードの実行
ウィザードを実行してデバイス情報を取得します。
Poetry の場合
poetry run python -m tinytuya wizard
pip の場合
python -m tinytuya wizard
メッセージに沿って、確認した認証情報や Device ID をそれぞれ入力していきます。
Region はプロジェクトの作成時に選択した Data Center のことです。
Enter API Key from tuya.com: [Access ID/Client ID]
Enter API Secret from tuya.com: [Access Secret/Client Secret]
Enter any Device ID currently registered in Tuya App (used to pull full list) or 'scan' to scan for one: [Device ID]
Enter Your Region (Options: cn, us, us-e, eu, eu-w, or in): [Data Center]
Download DP Name mappings? (Y/n): y
Poll local devices? (Y/n): y
Download DP Name mappings? (Y/n): y
[
    {
        "name": "\u30c7\u30b9\u30af\u30e9\u30a4\u30c8\xxxxx\xxxxx\xxxxx",
        "id": "xxxxxxxxxxxxxxxxxxxx",
        "key": "xxxxxxxxxxxxxxxx",
        "mac": "xx:xx:xx:xx:xx:xx",
        "uuid": "xxxxxxxxxxxxxxxxxxxx",
        "sn": "xxxxxxxxxxxxxx",
        "category": "dj",
        "product_name": "CabiSmart CW",
        "product_id": "soy18v1bwdidkell",
        "biz_type": 18,
        "model": "",
        "sub": false,
        "icon": "https://images.tuyaus.com/smart/icon/ay1502415387164HkSHB/b60d503b6bb18ab229722fc4e5a669b6.jpg",
        "mapping": {},
        "ip": "192.168.0.201",
        "version": "3.3"
    },
    {
        "name": "\u30c7\u30b9\u30af\u30e9\u30a4\u30c8\yyyyy\yyyyy",
        "id": "yyyyyyyyyyyyyyyyyyyy",
        "key": "yyyyyyyyyyyyyyyy",
        "mac": "yy:yy:yy:yy:yy:yy",
        "uuid": "yyyyyyyyyyyyyyyyyyyy",
        "sn": "yyyyyyyyyyyyyy",
        "category": "dj",
        "product_name": "CabiSmart CW",
        "product_id": "soy18v1bwdidkell",
        "biz_type": 18,
        "model": "",
        "sub": false,
        "icon": "https://images.tuyaus.com/smart/icon/ay1502415387164HkSHB/b60d503b6bb18ab229722fc4e5a669b6.jpg",
        "mapping": {},
        "ip": "",
        "version": ""
    }
]
Poll local devices? (Y/n): y
[デスクライト??] Error: No IP found
[デスクライト???] 192.168.0.201      - [On]  - DPS: {'20': True, '21': 'white', '22': 454, '23': 1000, '25': '030d0d0000000000000003e803e8', '26': 0}
ステータスコードの見方は Github から確認できます。
今回使用しているデバイスは LED 照明のため、下記の表が該当しそうです。

Python コード
今回は LED 照明を制御するための Python コードを紹介します。
LED 照明のため、インスタンスの作成に用いる関数は tinytuya.BulbDevice() になります。
また、各パラメータは下記のとおりです。
-
dev_id:Download DP Name mappings?で表示されたidです。 -
address:Download DP Name mappings?で表示されたipです。 -
local_key:Download DP Name mappings?で表示されたkeyです。
デバイスのステータスの確認
デバイスのステータスを確認するには下記のコードを実行します。
import tinytuya

device = tinytuya.BulbDevice(
    dev_id = 'デバイスID'
    , address = 'デバイスのIPアドレス'
    , local_key = 'デバイスのローカルキー'
    , version = 3.3
)

data = device.status()
print('set_status() result %r' % data)
電源 ON
LED 照明の電源を入れるには下記のコードを実行します。
import tinytuya

device = tinytuya.BulbDevice(
    dev_id = 'デバイスID'
    , address = 'デバイスのIPアドレス'
    , local_key = 'デバイスのローカルキー'
    , version = 3.3
)

device.turn_on()
電源 OFF
LED 照明の電源を切るには下記のコードを実行します。
import tinytuya

device = tinytuya.BulbDevice(
    dev_id = 'デバイスID'
    , address = 'デバイスのIPアドレス'
    , local_key = 'デバイスのローカルキー'
    , version = 3.3
)

device.turn_off()
調光
LED 照明の明るさを変更するには下記のコードを実行します。
import tinytuya

device = tinytuya.BulbDevice(
    dev_id = 'デバイスID'
    , address = 'デバイスのIPアドレス'
    , local_key = 'デバイスのローカルキー'
    , version = 3.3
)

# device.set_brightness(10) # 10-1000
device.set_brightness_percentage(0) # 0-100
set_brightness 関数について
下記の2種類の関数が利用できます。
- set_brightness() : 10 ~ 1000 の間の整数で指定します。
- set_brightness_percentage() : 0 ~ 100 の間の整数でしています。
調色
LED 照明の色温度を変更するには下記のコードを実行します。
import tinytuya

device = tinytuya.BulbDevice(
    dev_id = 'デバイスID'
    , address = 'デバイスのIPアドレス'
    , local_key = 'デバイスのローカルキー'
    , version = 3.3
)

# device.set_colourtemp(1000) # 0-1000
device.set_colourtemp_percentage(100) # 0-100
set_brightness 関数について
下記の2種類の関数が利用できます。
- set_colourtemp() : 0 ~ 1000 の間の整数で指定します。
- set_colourtemp_percentage() : 0 ~ 100 の間の整数でしています。
参考文献
下記のサイトを参考にさせて頂きました。


