Raspberry Pi 400 に HyperPixel 4 高解像度タッチディスプレイを取り付けて、使えるようにしてみました。
環境
作業PC
- Windows11
Raspberry Pi
- Raspberry Pi 400
- microSD(64GB)
拡張パーツ
- HyperPixel 4.0 - Raspberry Pi用高解像度タッチディスプレイ
- Adafruit Raspberry Pi 400用 CYBERDECK HAT
Raspberry Pi 400 のセットアップ
Raspberry Pi 400 のセットアップは、下記の記事を参考にしてください。
HyperPixel 4 高解像度タッチディスプレイ
HyperPixel 4 高解像度タッチディスプレイの設定や取り付けを行っていきます。
ディスプレイ設定
最新の Raspberry Pi OS の場合は、インストールなどは不要で、設定を変更するだけで利用できます。
設定方法は2種類あります。
都合の良い方で作業してください。
方法1:SDカードを直接編集(オススメ)
Raspberry Pi Imager で Raspberry Pi OS の書き込みが終わったら、ファイルエクスプローラーで config.txt を探して任意のテキストエディタで開きます。
Raspberry Pi Imager の設定で変わりますが、 Raspberry Pi OS の書き込みが終わると、自動的にSDカードがアンマウントされる場合があります。
その際は、SDカードを PC に刺し直してください。
HyperPixel 4 用の設定を一番下の行に追加し、保存します。
# HyperPixel 4 touch display
dtoverlay=vc4-kms-dpi-hyperpixel4
dtparam=rotate=270,touchscreen-swapped-x-y,touchscreen-inverted-x
方法2:ターミナルなどでアクセスして編集
config.txt をテキストエディタで開きます。
sudo nano /boot/config.txt
HyperPixel 4 用の設定を一番下の行に追加し、保存します。
# HyperPixel 4 touch display
dtoverlay=vc4-kms-dpi-hyperpixel4
dtparam=rotate=270,touchscreen-swapped-x-y,touchscreen-inverted-x
電源を切ります。
sudo shutdown -h now
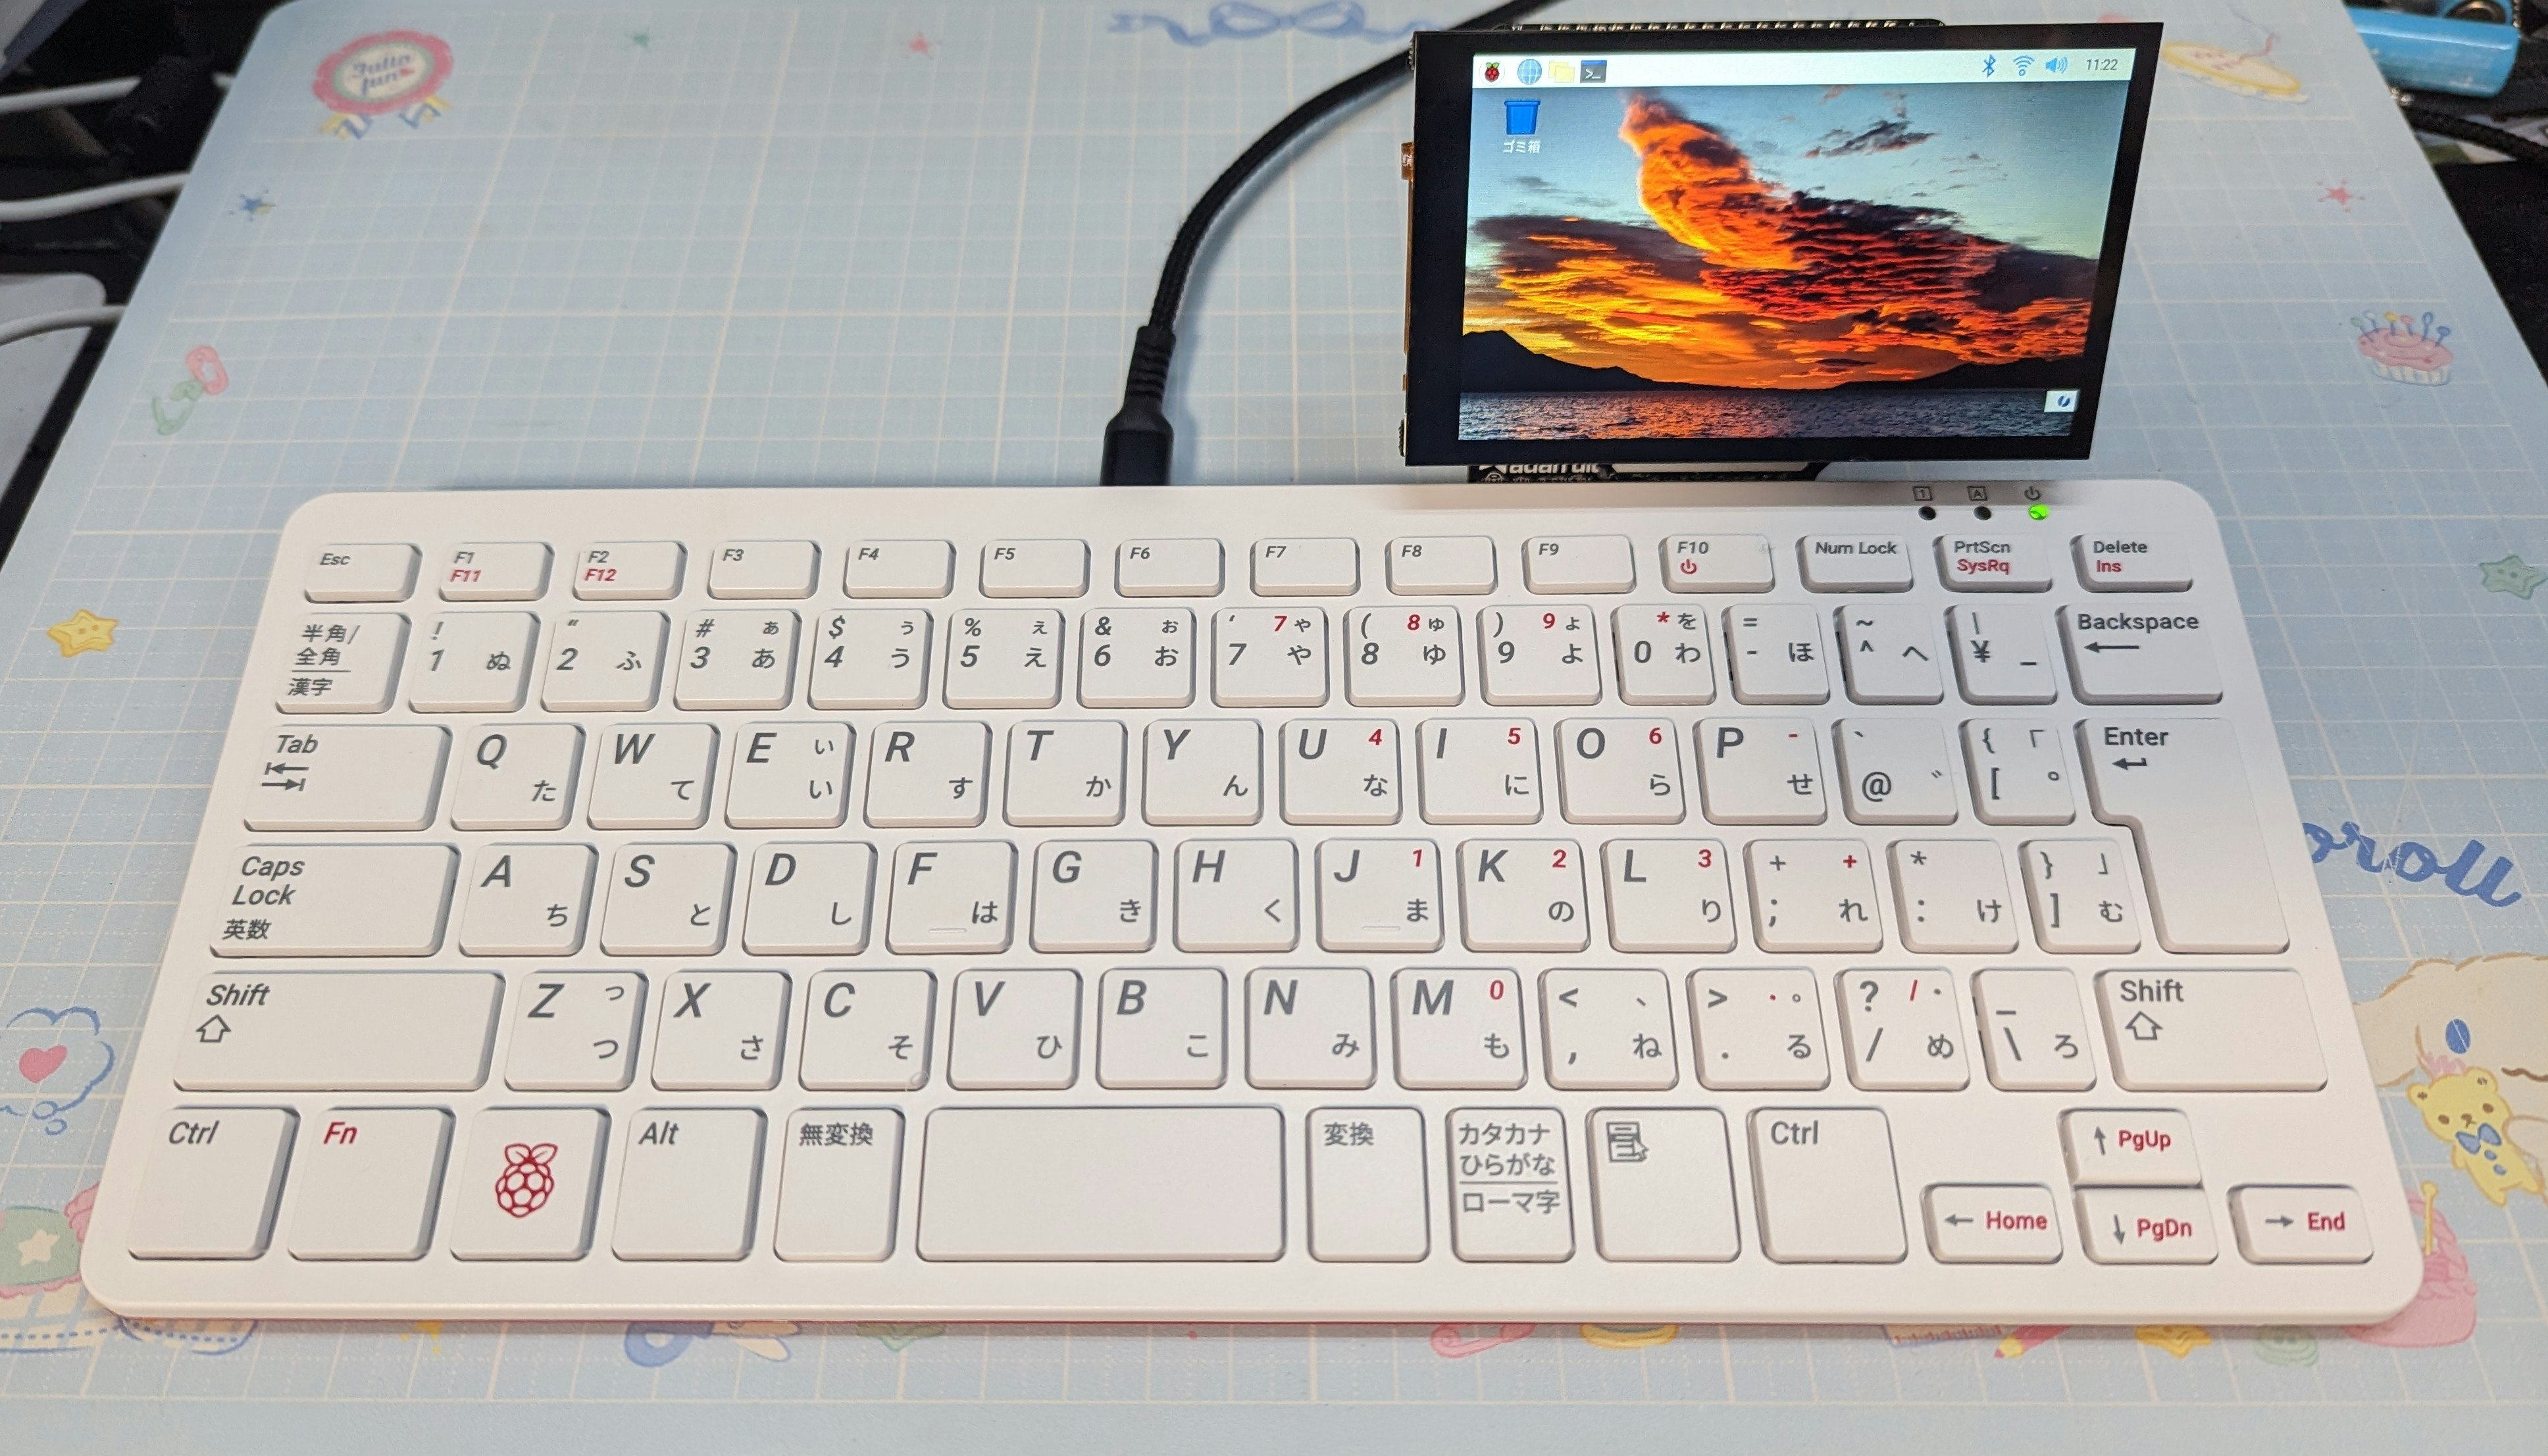
ディスプレイの取り付け
ディスプレイを組み立てて、Raspberry Pi 400 に取り付けます。

起動
Fn と F10 を同時押しで起動します。
画面が映れば成功です。