概要
この記事では、オープンソースのローコード開発プラットフォーム「Pleasanter」をVisual Studioでデバッグする際の手順を記載しています。
事前準備
下記の手順に従いWindowsにプリザンターをインストールして起動するのを確認します。
https://pleasanter.org/manual/getting-started-pleasanter-windows

Visual Studio Community 2019のインストール
下記よりVisual Studio Community 2019をダウンロードしてインストールします。
https://visualstudio.microsoft.com/ja/vs/community/
ソースコードのクローン
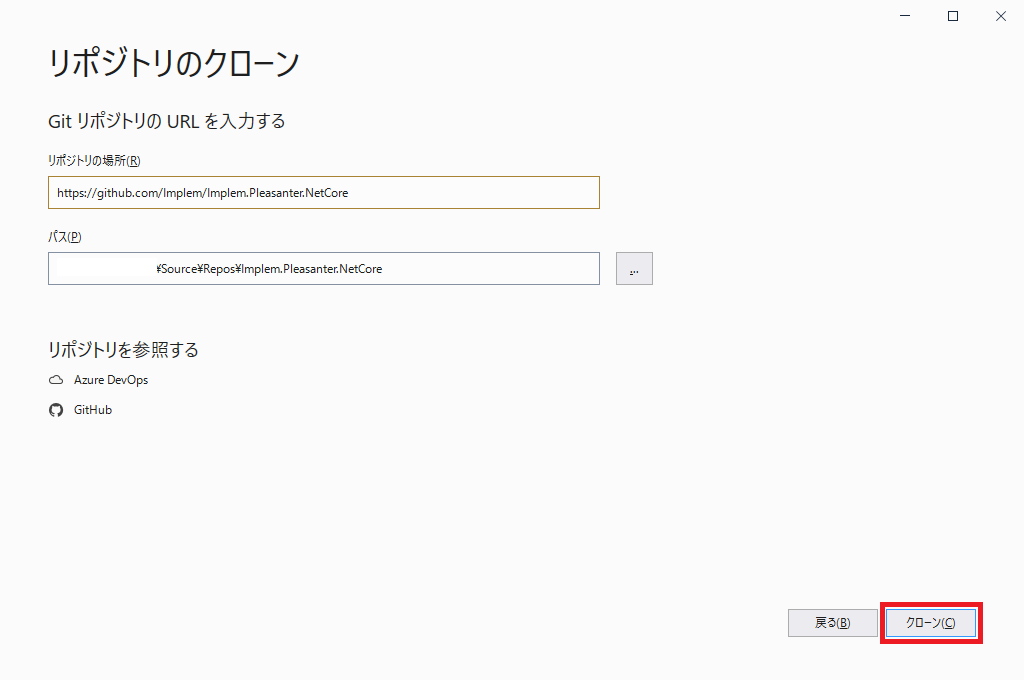
Visual Studioを起動しリポジトリのクローンをクリックします。

リポジトリの場所に下記のURLを入力しクローンボタンをクリックします。
https://github.com/Implem/Implem.Pleasanter

下図のようにプロジェクトファイルの一覧が表示されればOKです。

データベース接続の設定
事前準備でインストールしたRds.jsonをコピーしてクローンしたディレクトリのRds.jsonを上書きコピーします。コピー元のファイルは標準では下記のフォルダに存在します。
C:\web\pleasanter\Implem.Pleasanter\App_Data\Parameters\Rds.json
下図のようにVisual Studio上で下記変わっていることを確認します。

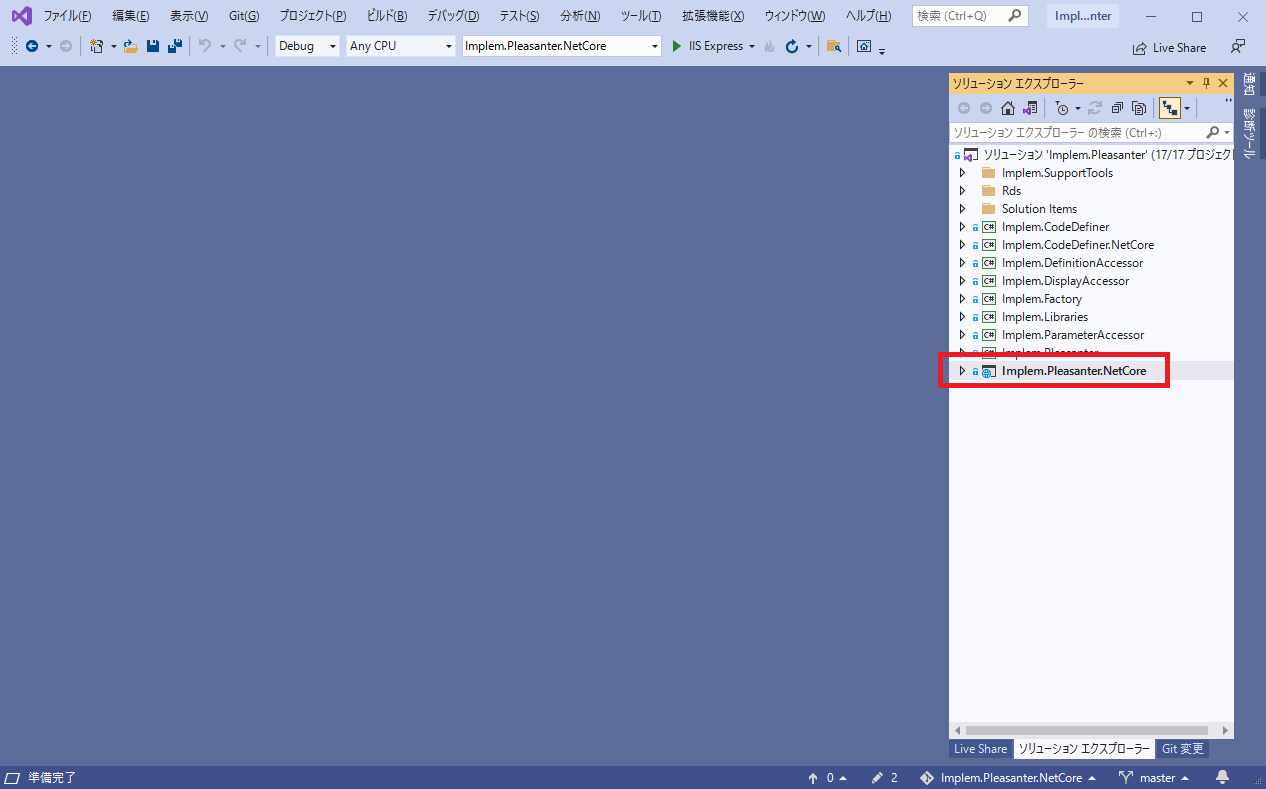
スタートアッププロジェクトの設定
ソリューションエクスプローラーで「Implem.Pleasanter.NetCore」を右クリックして「スタートアッププロジェクトに設定」をクリックします。下図のように「Implem.Pleasanter.NetCore」が太字になればOKです。

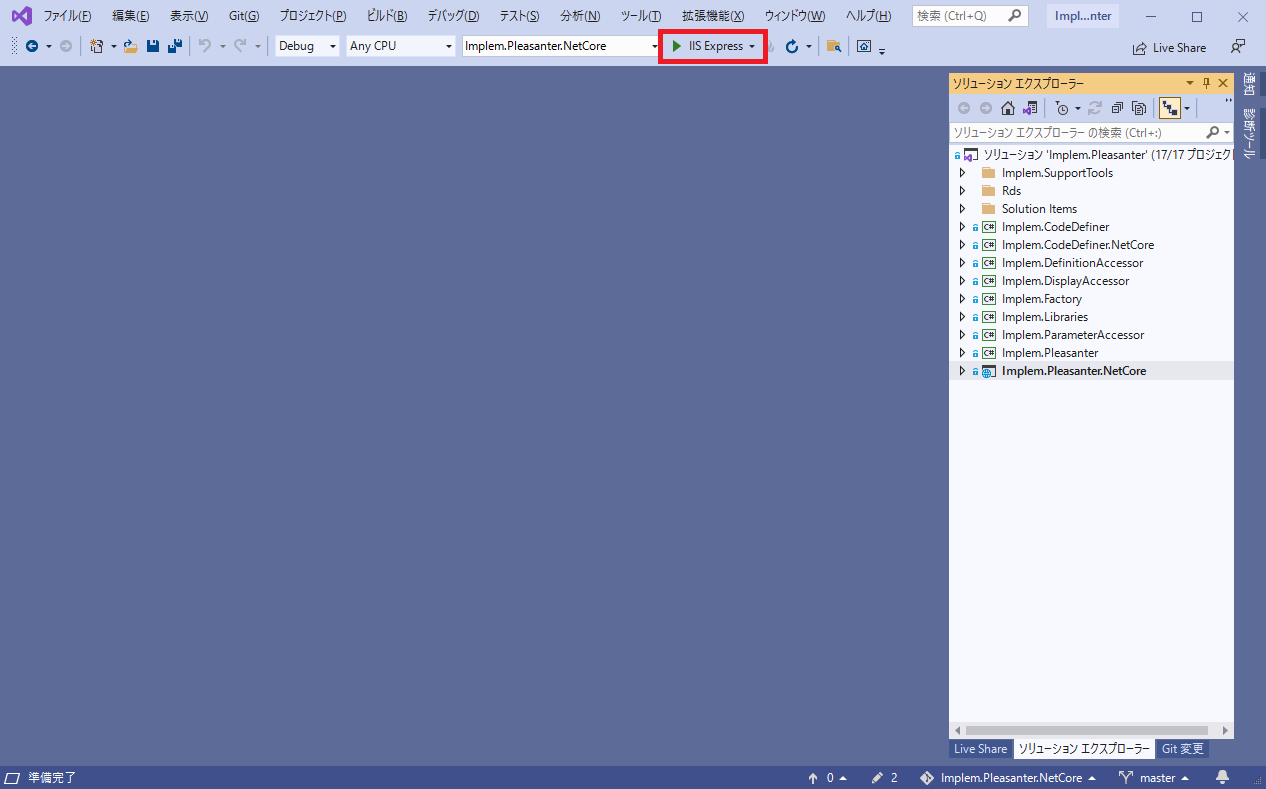
デバッグ実行
下図のようにデバッグモードでプリザンターが起動します。事前準備でインストールしたプリザンターのデータベースに接続しています。

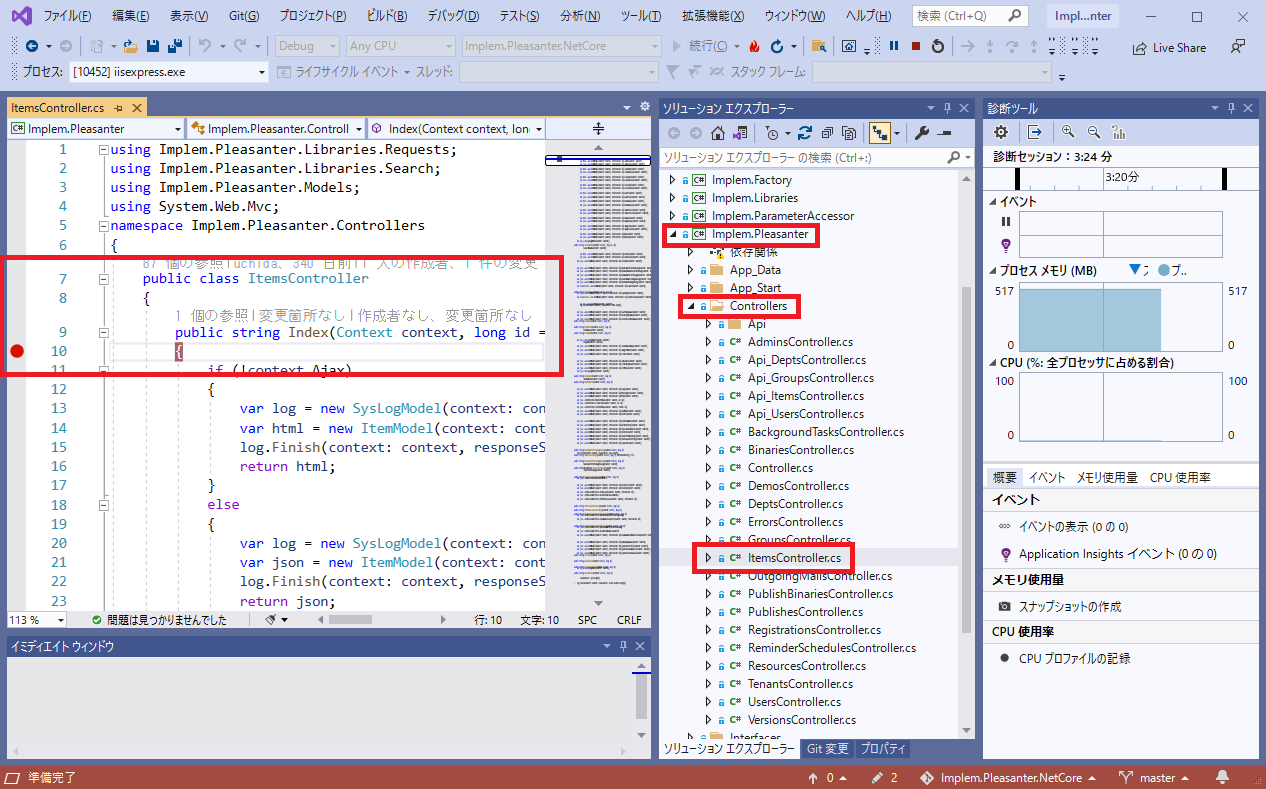
下記のようにItemsController.csを開いてIndexメソッドにブレークポイントを設置し、デバッグモードで起動したブラウザでログイン操作を行います。

下図のようにブレークポイントで停止し、変数の中身などが確認できるようになりました。エラーが発生した際の原因調査や、独自機能のカスタマイズなど様々な用途に活用できます。


