思い出の写真は、昔、フィルムカメラの頃にあった、日付入りの写真が作れたら便利ですよね?
この記事では、PythonとPillowだけを使って、JPEG画像の右下に撮影日付を7セグ表示風に焼き込む方法をご紹介します。
jpegファイルのExif情報を取得したかったため、OpenCVではなく、Pillowを用いました。
こんなことができます
- JPEG画像のExifから「撮影日付」を取得
- フリーの7セグ風フォントで日付を描画
- フチで見やすく仕上げる
完成イメージ
処理後の画像はこんな感じになります👇
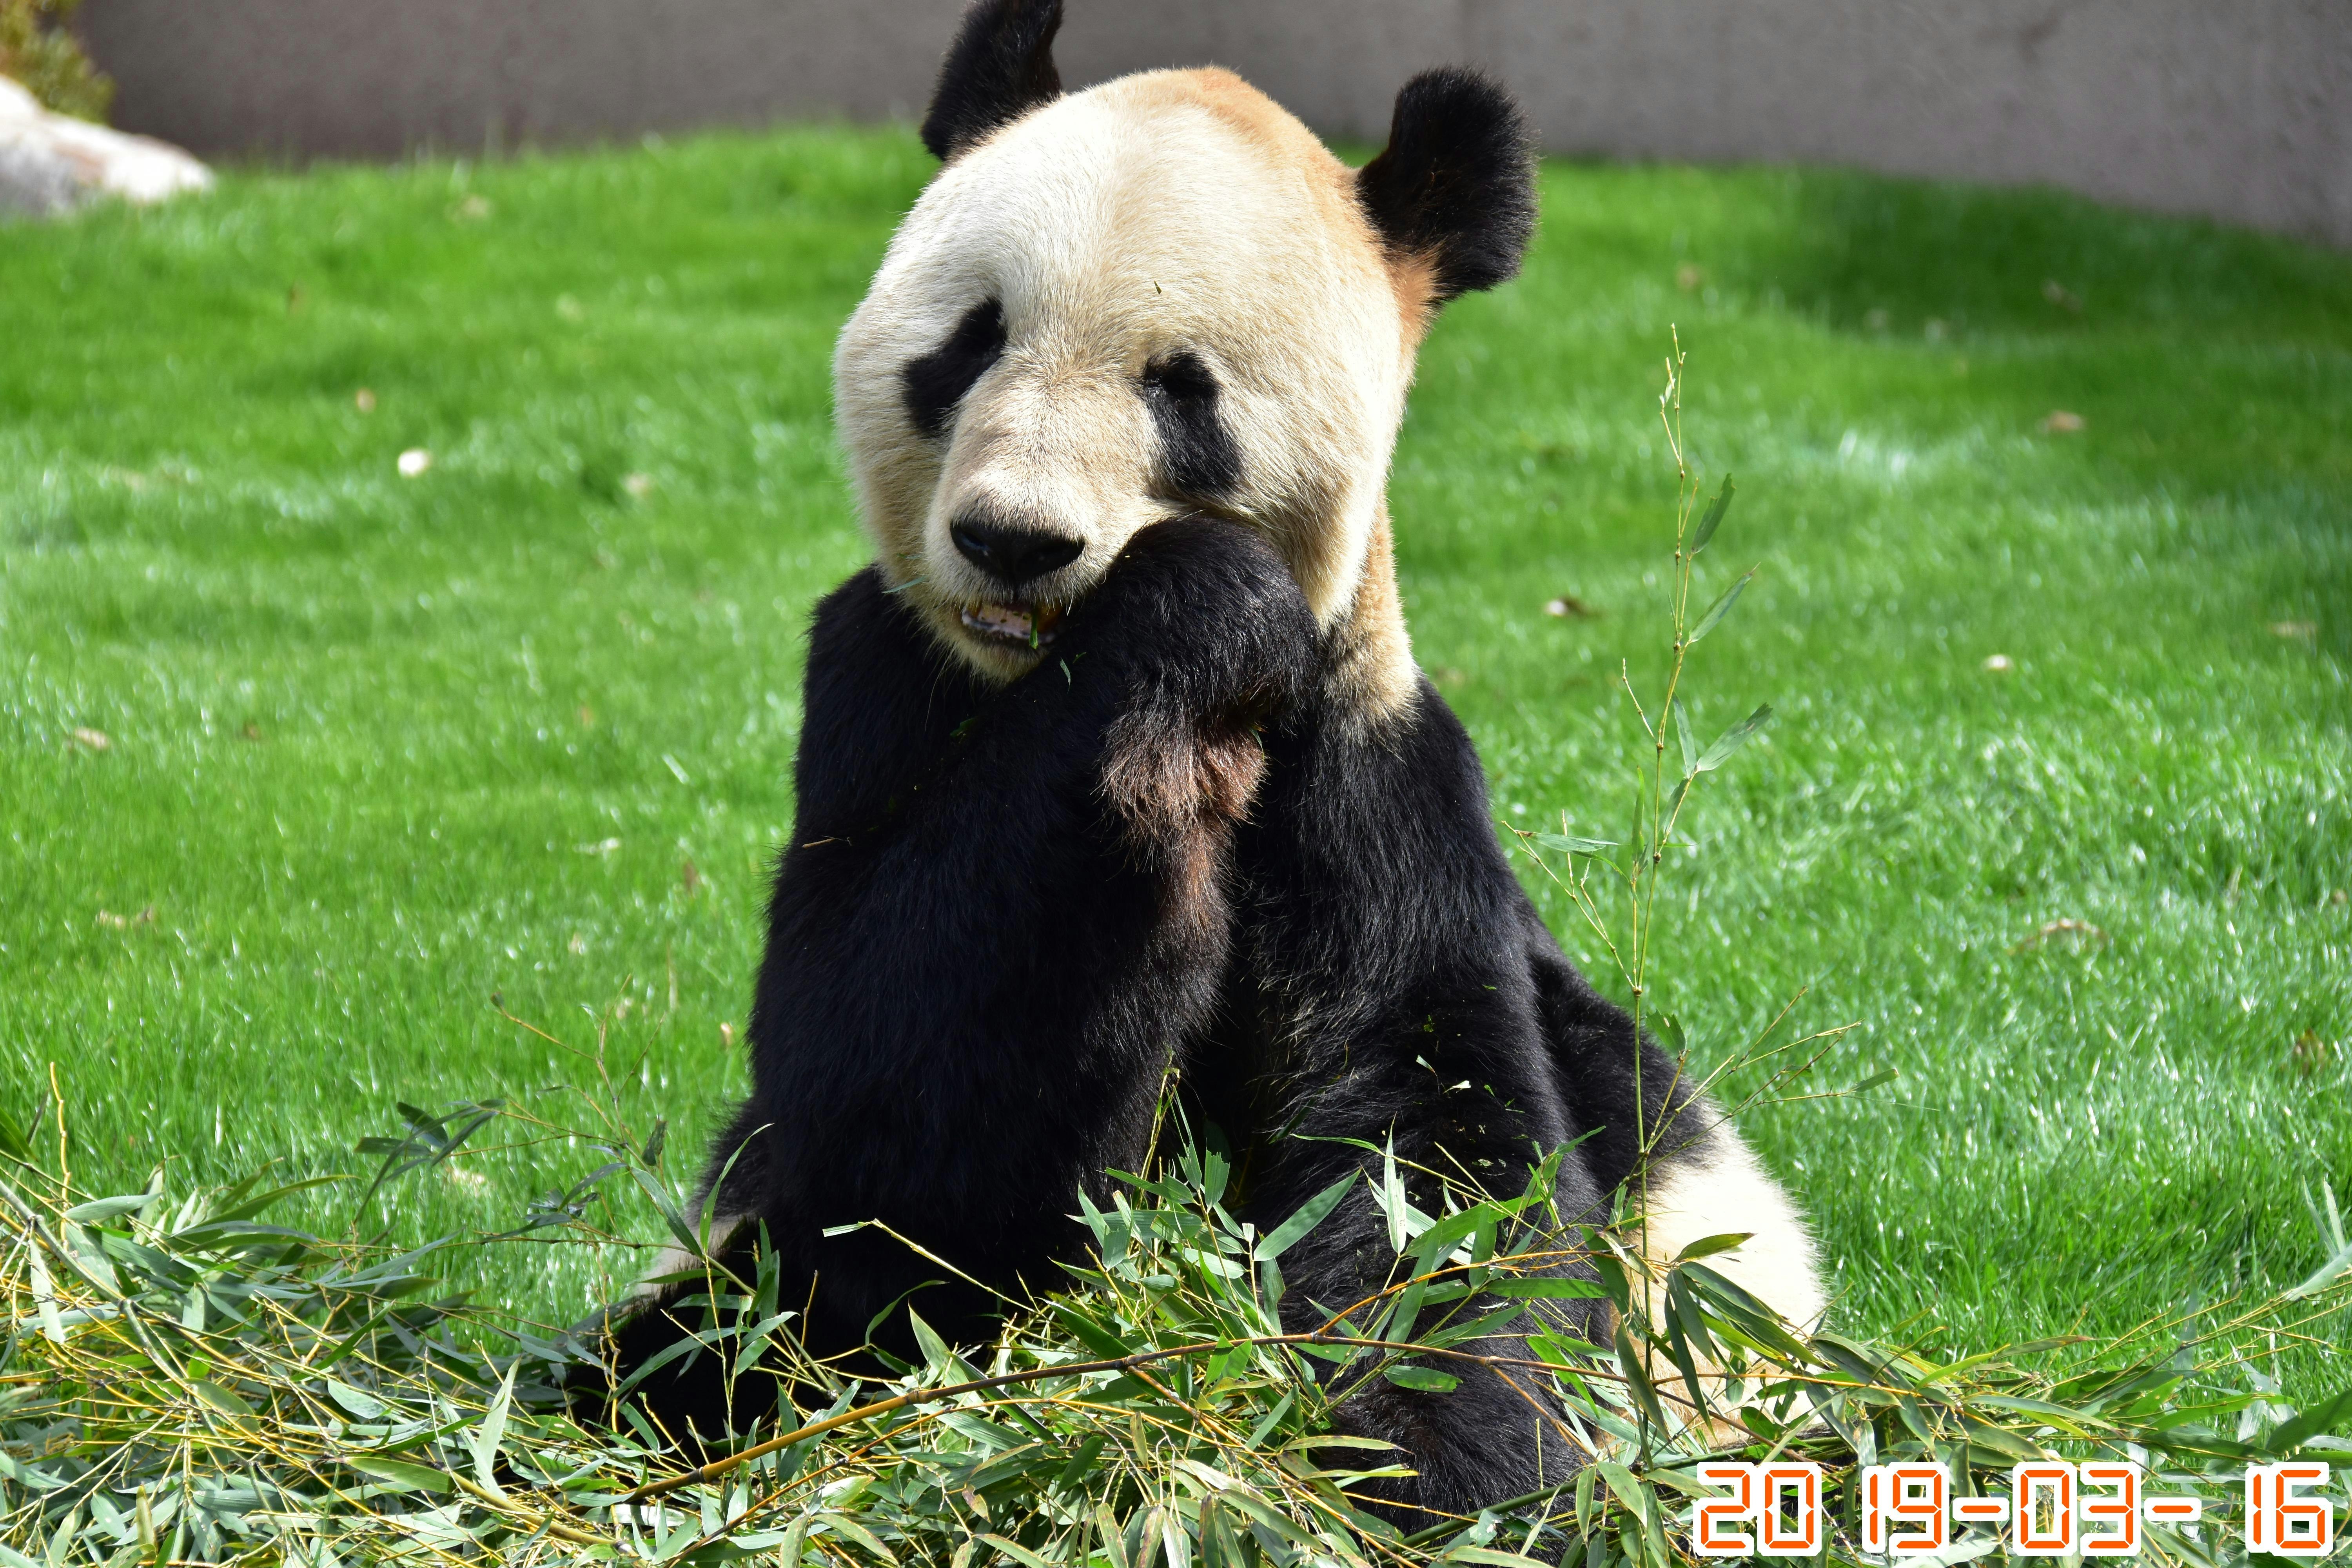
右下に 2019-03-16 のような日付が表示されます。
※写真はアドベンチャーワールドのパンダの写真です
必要な準備
1. Pillowのインストール
pip install pillow
2. フォントのダウンロード
フォント(ttfファイル)は、任意のものを使用できますが、今回は7セグ風のフォントを使用しました。
以下のサイトから DSEG7Classic-Regular.ttf をダウンロードして、スクリプトと同じフォルダに置きます:
スクリプト全文(1枚の画像に処理)
from PIL import Image, ImageDraw, ImageFont, ExifTags
from datetime import datetime

def get_datetime_original(img):
    '''Exifから日付を取得(datetime型)'''
    exif = img.getexif()
    for tag_id, value in exif.items():
        tag = ExifTags.TAGS.get(tag_id, tag_id)
        if tag == "DateTime" or tag == "DateTimeOriginal" or tag == "DateTimeDigitized":
            return datetime.strptime(value, "%Y:%m:%d %H:%M:%S")
    return None

def draw_text_with_outline(draw, position, text, font, fill, outline_fill, outline_width):
    '''フチ付き文字を描画'''
    x, y = position
    for dx in range(-outline_width, outline_width + 1):
        for dy in range(-outline_width, outline_width + 1):
            if dx != 0 or dy != 0:
                draw.text((x + dx, y + dy), text, font=font, fill=outline_fill)
    draw.text((x, y), text, font=font, fill=fill)

def create_dated_image(input_path, output_path, font_path, font_size, font_color, font_outline, outline_width=10, margin=50):
    '''画像に撮影日時をフチ付きで描画して保存'''
    img = Image.open(input_path).convert("RGB")
    dt = get_datetime_original(img)

    if dt is None:
        print("撮影日時が見つかりません。")
        return

    date_str = dt.strftime("%Y-%m-%d")
    font = ImageFont.truetype(font_path, font_size)
    draw = ImageDraw.Draw(img)

    # 描画位置を右下に計算
    bbox = draw.textbbox((0, 0), date_str, font=font)
    text_width = bbox[2] - bbox[0]
    text_height = bbox[3] - bbox[1]

    x = img.width - text_width - margin
    y = img.height - text_height - margin

    # フチ付きで日付を描画
    draw_text_with_outline(
        draw,
        position=(x, y),
        text=date_str,
        font=font,
        fill=font_color,
        outline_fill=font_outline,
        outline_width=outline_width
    )

    # 画像を保存
    img.save(output_path)
    # 画像を表示
    img.show()

# --------------------------------------------------------------
# 日付入り写真の作成
create_dated_image(
    "panda.jpg",        # 入力画像ファイル名
    "panda_output.jpg", # 出力画像ファイル名
    font_path="DSEG7Classic-Regular.ttf", # フォントファイル名
    font_size=200,      # フォントサイズ
    font_color=(255, 90, 0),  # フォントの色(R, G, B)
    font_outline=(255, 255, 255), # フォントのフチの色(R, G, B)
    outline_width=20,   # フチの幅
    margin=50           # マージン(画像の右下からの余白)
)
よくあるエラーと対処法
| エラー内容 | 原因と対処法 |
|---|---|
OSError: cannot open resource |
フォントパスが間違っている(FONT_PATHを確認) |
撮影日時が見つかりません。 |
ExifにDateTimeOriginalが入っていない画像です(スマホの編集アプリで削除されることも) |
応用アイデア
- 複数画像の一括処理
- 撮影「時刻」まで含めた表示(
%Y-%m-%d %H:%M) - 画像左上に描画する
- 日付背景に半透明の黒帯を追加する
まとめ
PythonとPillowを使えば、画像に文字を描画する処理がとても簡単に実現できます。
今回のように「日付焼き込み処理」は、アルバム作成やプリント用途にも便利です。
ぜひ自分の写真でも試してみてください!