目次
- 環境
- はじめに
- 証明書の取得①
- Amazon Route53の設定
- 証明書の取得②
- 証明書の設定(docker)
- トラブルシューティング ← エラーが出たらココをみてね!
- 参考URL
- 今後の展望
環境
- docker-compose
- Ansible
- nginx
- AmazonLinux
- ELB
- route53
はじめに
2018年3月に、無料でSSL証明書を利用できることで有名なLet's Encryptが、ワイルドカードに対応しました。今までは、サブドメイン毎に証明書の対応をしなければいけなかったので、非常に嬉しいニュースです!
証明書の取得①
ssh接続する
$ ssh -p 22 hoge@example.jp
certbotをcloneする(新しいバージョンを取得する必要がある)
$ git clone https://github.com/certbot/certbot.git
$ cd certbot
TXTレコードを取得する
# certbot certonly --manual \
--server https://acme-v02.api.letsencrypt.org/directory \
--preferred-challenges dns-01 \
-d *.example.jp \
-m hoge@example.jp \
--agree-tos \
--manual-public-ip-logging-ok \
--debug

-------------------------------------------------------------------------------
Please deploy a DNS TXT record under the name
_acme-challenge.example.jp with the following value:

biweececewiniewcewUUcwceewK422nwenednewdeDW ← これがTXTレコード

Before continuing, verify the record is deployed.
-------------------------------------------------------------------------------
Press Enter to Continue ← Enterはまだ押さない!!
--server https://acme-v02.api.letsencrypt.org/directory
→ ACMEv2 のエンドポイントを指定
--preferred-challenges dns-01
→ dns-01チャレンジタイプを指定
-d *.example.jp
→ 対象ドメインを指定
-m hoge@example.jp
→ 証明書の更新に関するお知らせメールを受信したいメールアドレスを指定
--agree-tos
→ Let's Encryptの利用規約に同意
--manual-public-ip-logging-ok
→ サーバーの IPアドレスがログに記録され公開されることを許可
--debug
→ Amazon Linuxの場合に必要
Amazon Route53の設定(AWSコンソール上)
サブドメインを作成する
_acme-challenge.example.jp
取得したTXTレコードを追記する
biweececewiniewcewUUcwceewK422nwenednewdeDW
証明書の取得②
TXTレコードの更新を確認する(新規でタブを開く)
$ dig -t txt example.jp
$ nslookup -type=TXT example.jp
Enterを押す
-------------------------------------------------------------------------------
Please deploy a DNS TXT record under the name
_acme-challenge.example.jp with the following value:

biweececewiniewcewUUcwceewK422nwenednewdeDW

Before continuing, verify the record is deployed.
-------------------------------------------------------------------------------
Press Enter to Continue
Waiting for verification...
Cleaning up challenges

IMPORTANT NOTES:
 - Congratulations! Your certificate and chain have been saved at:
   /etc/letsencrypt/live/example.jp/fullchain.pem
   Your key file has been saved at:
   /etc/letsencrypt/live/example.jp/privkey.pem
   Your cert will expire on 2018-06-27. To obtain a new or tweaked
   version of this certificate in the future, simply run certbot
   again. To non-interactively renew *all* of your certificates, run
   "certbot renew"
 - If you like Certbot, please consider supporting our work by:

   Donating to ISRG / Let's Encrypt:   https://letsencrypt.org/donate
   Donating to EFF:                    https://eff.org/donate-le
証明書を確認する。シンボリックリンクが作成される。証明書を更新するたびにシンボリックリンクのリンク先を、新しい証明書に変更してくれる。
$ cd /etc/letsencrypt/live/example.jp
$ ls -l
total 4
lrwxrwxrwx 1 root root  43 Mar 29 14:22 cert.pem -> ../../archive/example.jp/cert1.pem
lrwxrwxrwx 1 root root  44 Mar 29 14:22 chain.pem -> ../../archive/example.jp/chain1.pem
lrwxrwxrwx 1 root root  48 Mar 29 14:22 fullchain.pem -> ../../archive/example.jp/fullchain1.pem
lrwxrwxrwx 1 root root  46 Mar 29 14:22 privkey.pem -> ../../archive/example.jp/privkey1.pem
-rw-r--r-- 1 root root 543 Mar 29 14:22 README
今回利用するもの
- fullchain.pem:証明書+中間CA証明書
- privkey.pem:秘密鍵
今回利用しないもの
- chain.pem:中間CA証明書
- cert.pem:証明書
証明書の設定(docker)
コンテナを起動して、ssh接続する
$ docker-compose up -d
$ docker exec -it elb bash
fullchain.pem(証明書+中間CA証明書)を登録する
$ cd /etc/pki/tls/certs/
$ vi wild.example.jp.crt
privkey.pem(秘密鍵)を登録する
$ cd /etc/pki/tls/private/
$ vi wild.example.jp.key
nginxを再起動する
$ nginx -s reload
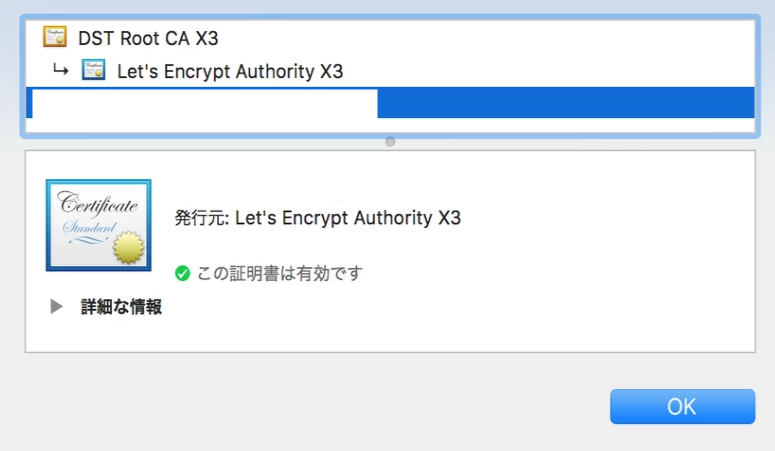
証明書が変わっていることを確認する
Chromeの場合、URLの横の 保護された通信 をクリック!
トラブルシューティング
Q. certbotをダウンロードする際に、pythonのパッケージをインストールされるように指示されましたが、インストールして良いですか?
A. はい、インストール(Y)してください。
install python27-devel
install python27-pip
install python27-tools
install python27-virtualenv
Q.下記の警告が出ました、どうすれば良いですか?
FATAL: Amazon Linux support is very experimental at present...
if you would like to work on improving it, please ensure you have backups
and then run this script again with the --debug flag!
Alternatively, you can install OS dependencies yourself and run this script
again with --no-bootstrap.
A. --debugをつけてください。Amazon Linuxでは必要です。
Q. 下記のエラーメッセージが出ました、どうすれば良いですか?
ImportError: No module named cryptography.hazmat.bindings.openssl.binding
A. Pythonが2.7以上にアップデートしてください。もしくは2.7がインストールされていても、認識されていないのかもしれません。その後、下記コマンドを実行してください
$ pip install cryptography
$ pip install --upgrade certbot
Q. アクセス権がないと言われました。
rootユーザーになって、取り組んでみてください。
$ sudo su -
参考URL
今後の展望
3ヶ月に1度更新する必要があるが、今のところワイルドカードは手動更新しかできないので、自動化させたい。Enterの対話式部分を無くして、Route53に登録して認識されるまで待つことが課題。
(追記)以下リンクを参考にcron回せば自動更新できます!
[AWS][Route53][Let’s Encrypt]ワイルドカード証明書更新時にはcertbot-dns-route53プラグインで自動化!!