概要
- SwiftUIからAppKitのViewの利用、また逆にAppKitからSwiftUIのViewの利用方法の実装方法です。
- Viewの表示に加えて、呼び出し元から値を渡して、相手先のViewを更新するようにしています。
SwiftUIからAppKitの使用

SwiftUIからの呼び出し
import SwiftUI

struct ContentView: View {

    @State private var count = 0

    var body: some View {
        VStack {
            Text("AppKit View: \(count)")
            Button("Increment") {
                count += 1
            }
            MyRepresentedCustomView(count: $count)
        }
        .padding()
    }
}

struct ContentView_Previews: PreviewProvider {
    static var previews: some View {
        ContentView()
    }
}
AppKitのViewの作成
-
NSViewRepresentableを使ってAppKitのViewをSwiftUIのViewとして利用できるようにする。
struct MyRepresentedCustomView: NSViewRepresentable {

    @Binding var count: Int

    func makeNSView(context: Context) -> NSTextField {
        let view = NSTextField()
        view.isEditable = false
        return view
    }

    func updateNSView(_ view: NSTextField, context: Context) {
        view.stringValue = "SwiftUI View: \(count)"
    }

}
AppKitからSwiftUIの使用
概要
参考
- AppKit側のデータ変更で、SwiftUI側の表示を更新するには
@ObservableObjectを使用する -
NSHostingViewをカスタムする方法
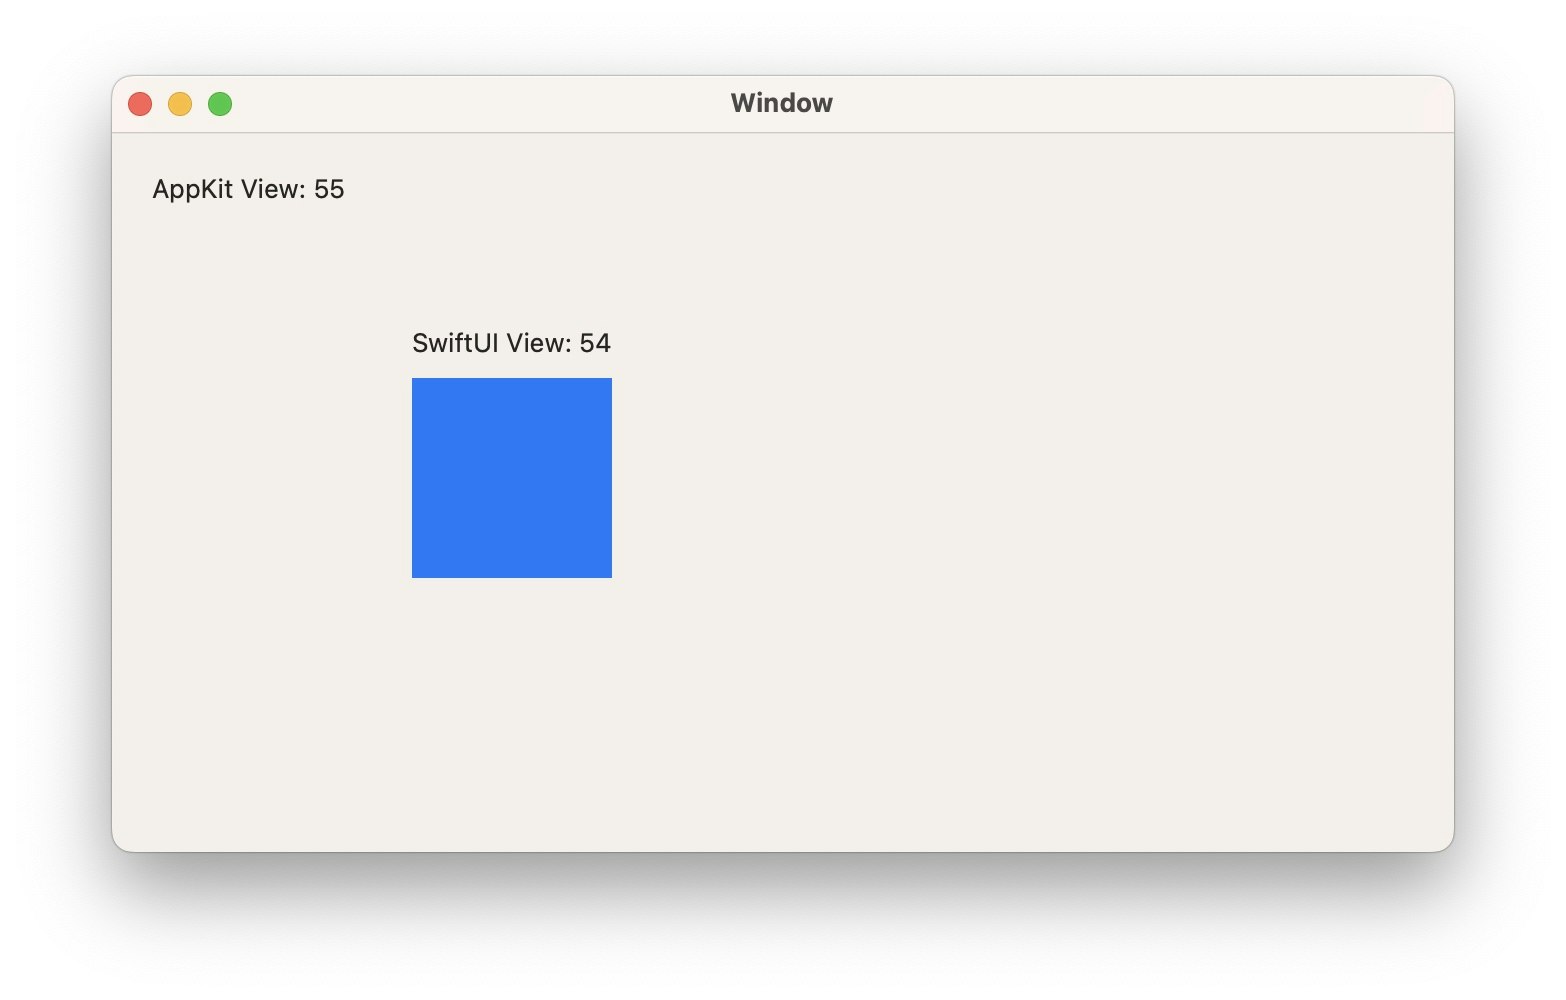
AppKitからの呼び出し
-
NSHostingViewを使ってSwiftUIのViewをAppKitのViewとして利用する。
import Cocoa
import SwiftUI

class ViewController: NSViewController {

    @IBOutlet weak var countLabel: NSTextField!

    private var hogeView: NSHostingView<HogeView>!
    @State private var hogeViewModel = HogeViewModel(count: 0)  // AppKit側からデータを操作することを考える

    override func viewDidLoad() {
        super.viewDidLoad()

        hogeView = NSHostingView(rootView: HogeView(viewModel: hogeViewModel))
        self.view.addSubview(hogeView)
        hogeView.frame = .init(origin: .init(x: 100, y: 100), size: .init(width: 200, height: 200))

        Timer.scheduledTimer(withTimeInterval: 0.1, repeats: true) { _ in
            self.hogeViewModel.count += 1
            self.countLabel.stringValue = "AppKit View: \(self.hogeViewModel.count)"
        }
    }

    override var representedObject: Any? {
        didSet {
        // Update the view, if already loaded.
        }
    }

}
SwiftUIのViewの作成
- SwiftUIのViewは通常通り作成する。
import SwiftUI

struct HogeView: View {

    @ObservedObject var viewModel: HogeViewModel

    var body: some View {
        VStack {
            Text("SwiftUI View: \(viewModel.count)")
            Rectangle()
                .foregroundColor(.blue)
                .frame(width: 100, height: 100)
        }
    }
}

struct HogeView_Previews: PreviewProvider {
    static var previews: some View {
        HogeView(viewModel: HogeViewModel(count: 0))
    }
}
class HogeViewModel: ObservableObject {

    @Published var count: Int

    init(count: Int) {
        self.count = count
    }
}