プログラミング体験会向けの環境構築手順。
Pythonを体験するための基本的な環境。
前提
OS: Windows10
環境
- Python 3.9.0
- Atom 1.52.0
Python
ダウンロード

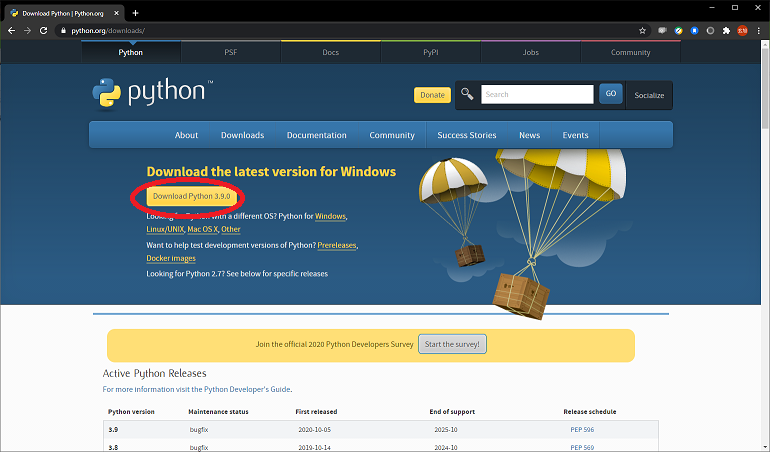
インストール
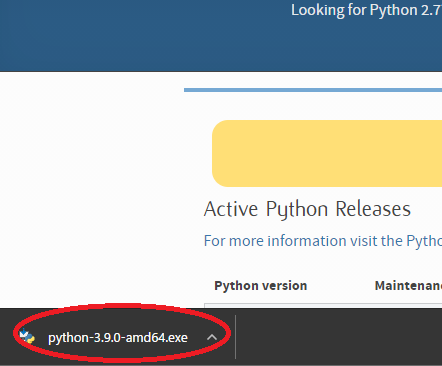
ダウンロードしたファイルを実行してインストールを開始してください。
下の方にある「Add Python 3.9 to PATH」の部分に必ずチェックを入れてください。
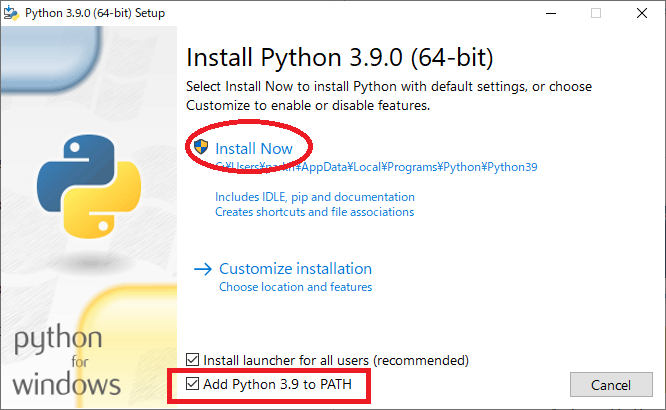
こんなふうにインストールが進みます。

この画面が出たらインストール成功です。

インストールできたか確認
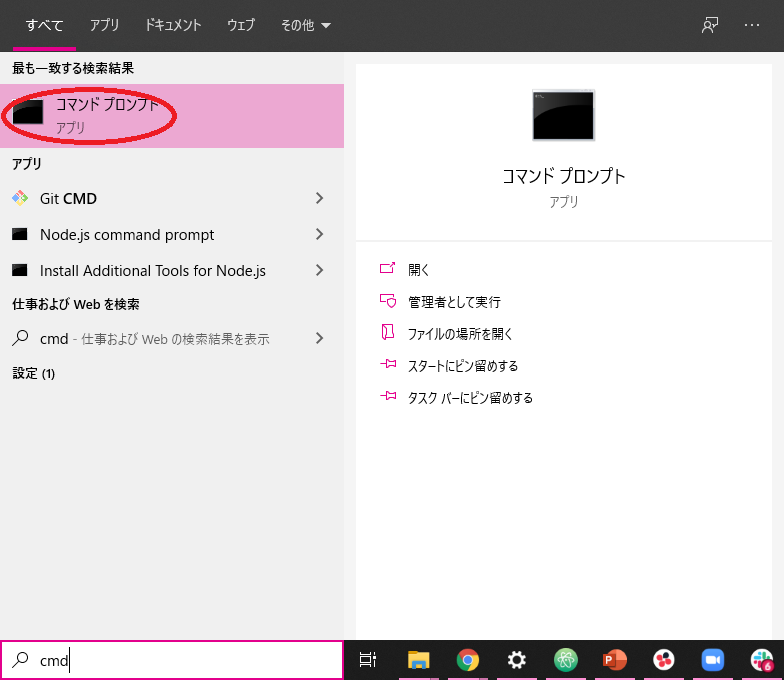
Windowsの左下にある「ここに入力して検索」の部分にcmdと入力してください。

表示された「コマンドプロンプト」を選択してください。
コマンドプロンプトでpython --versionを入力してEnterキーを押してください。以下のように出たら成功です。
Python 3.9.0

Atom(テキストエディタ)
ダウンロード

インストール
ダウンロードしたファイルを実行してインストールを開始してください。

こんな絵が出てきます。ちょっと時間かかります。

成功したらこんな画面が表示されます。

「Alt」キーを押すとメニューが出るので、「Add Project Folder」を選択しましょう。

任意の場所にフォルダを作って「フォルダの選択」を押してください。

こんな感じになりましたか?

Python Helloworld
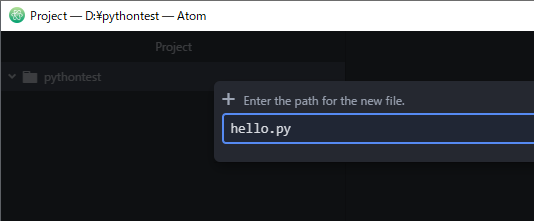
フォルダアイコンのうえで右クリックをして「New File」を選択してください。

プログラムのファイル(ソースコード)の名前を入力したら、Enterキーを押してください。
プログラムを書いてみましょう。
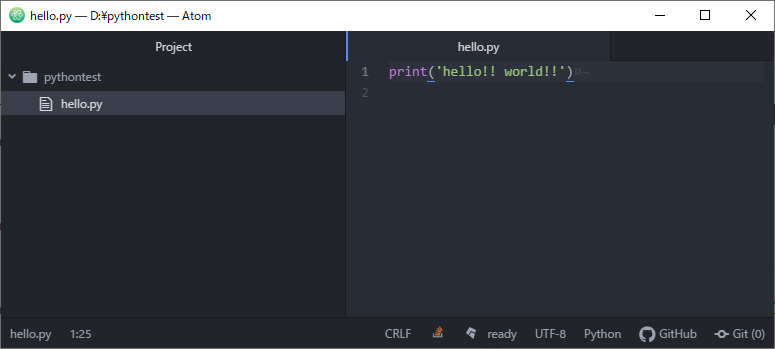
print('hello!! world!!')
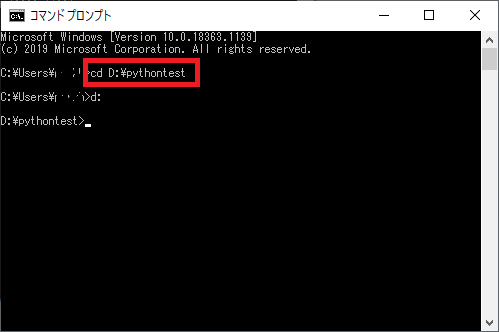
プログラムのファイルがある場所(パス)をコピーします。

コマンドプロンプトにcd パスの形式で貼り付けてEnterキーを押してください。cdとパスの間は半角スペースを空けてください。
※異なるドライブの場合は移動しない場合があるのでドライブを:と一緒に書いてEnterキーを押してください。
プログラムを実行してみましょう。
python hello.py
