やってることを3行で
- GCPのVisionAPIを使って物体検出する方法をまとめてるよ
- Datalab上でGCSにある画像の検出結果を受け取ってjsonとして出力するよ
- 毛筆で書かれている文字でも検出できるよ(完璧じゃないけどね)
VisonAPIで物体検出する
VisionAPIは、GoogleがGCPのサービスとして展開している画像認識に関する機械学習・人工知能系のサービスの一つ
今回はそれを利用して物体検出をする。そして、VisionAPIは直接APIをいじらなくても利用できるけど、プロダクトやサービスに組み込むのを前提にAPIでの実行の仕方をまとめておく
1.GCSに画像を置く
自身のGCP環境にアクセスして、Storage(GCS)サービスに移動して任意のバケットを作成する
StorageはAWSのS3みたいなやつ
こんな感じ
今回は、gcppde_2019というバケットに画像を入れている前提で話を進める
GCSのバケットの作成方法は以下を参照
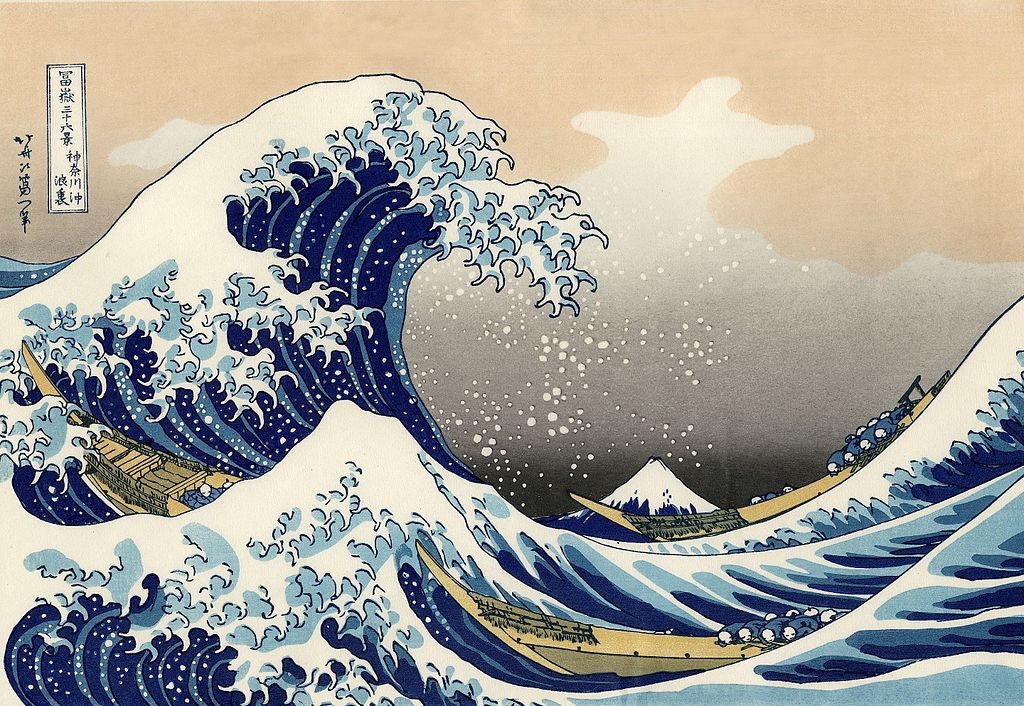
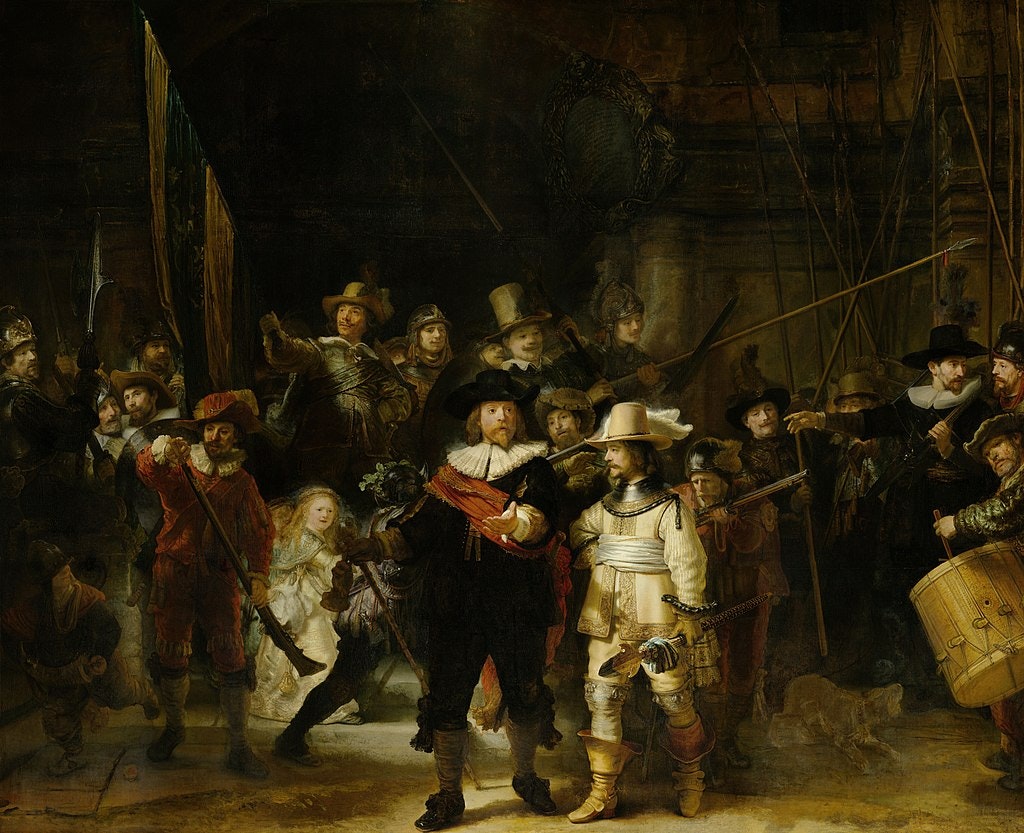
今回は以下の2つの画像を題材にVisionAPIを用いる
1.神奈川沖浪裏 『葛飾北斎(1831-33)』

2.Datalabを立ち上げる
APIをPython経由でやりとりしたいので、Datalabでインタラクティブに実行する環境を整える
Datalabの起動方法の詳細は以前作成したページもしくは公式リファレンスを参照
3. VisionAPIを有効にする(その他の認証も通す)
Datalabを立ち上げて画像をGCS上に用意しただけではまだVisionAPIは使えない
サービスを利用するにあたり、諸々認証を通しておく必要があるらしい
丁寧にフローチャートで手順を紹介してくれていたcodelab developerページを参考にcloud shell上で認証を設定
*cloud shellはGCPのホーム画面にあるターミナルアイコンをクリックすると起動する奴
# 自身のPROJECT_IDをconfigに書き込み
gcloud config set project <PROJECT_ID>

# visionAPIの機能を有効化
gcloud services enable vision.googleapis.com

# 先ほど設定したPROJECT_IDと同じものを環境変数として設定
export GOOGLE_CLOUD_PROJECT="<PROJECT_ID>"

# VisionAPI用のIAMの作成
gcloud iam service-accounts create my-vision-sa --display-name "my vision service account"

# 上記で作成したサービスアカウントのクレデンシャル情報を生成
gcloud iam service-accounts keys create ~/visionapi_key.json --iam-account my-vision-sa@${GOOGLE_CLOUD_PROJECT}.iam.gserviceaccount.com

# クレデンシャル情報を環境変数に登録
export GOOGLE_APPLICATION_CREDENTIALS="/home/${USER}/visionapi_key.json"
4.DatalabでAPIを利用する
DatalabでVisionAPIを利用するにあたり、google-cloud-visionのライブラリを入れる必要があるので、先にpip installしておく
神奈川沖浪裏の特徴をラベルとして検出する
神奈川沖浪裏の画像のラベルを検出する
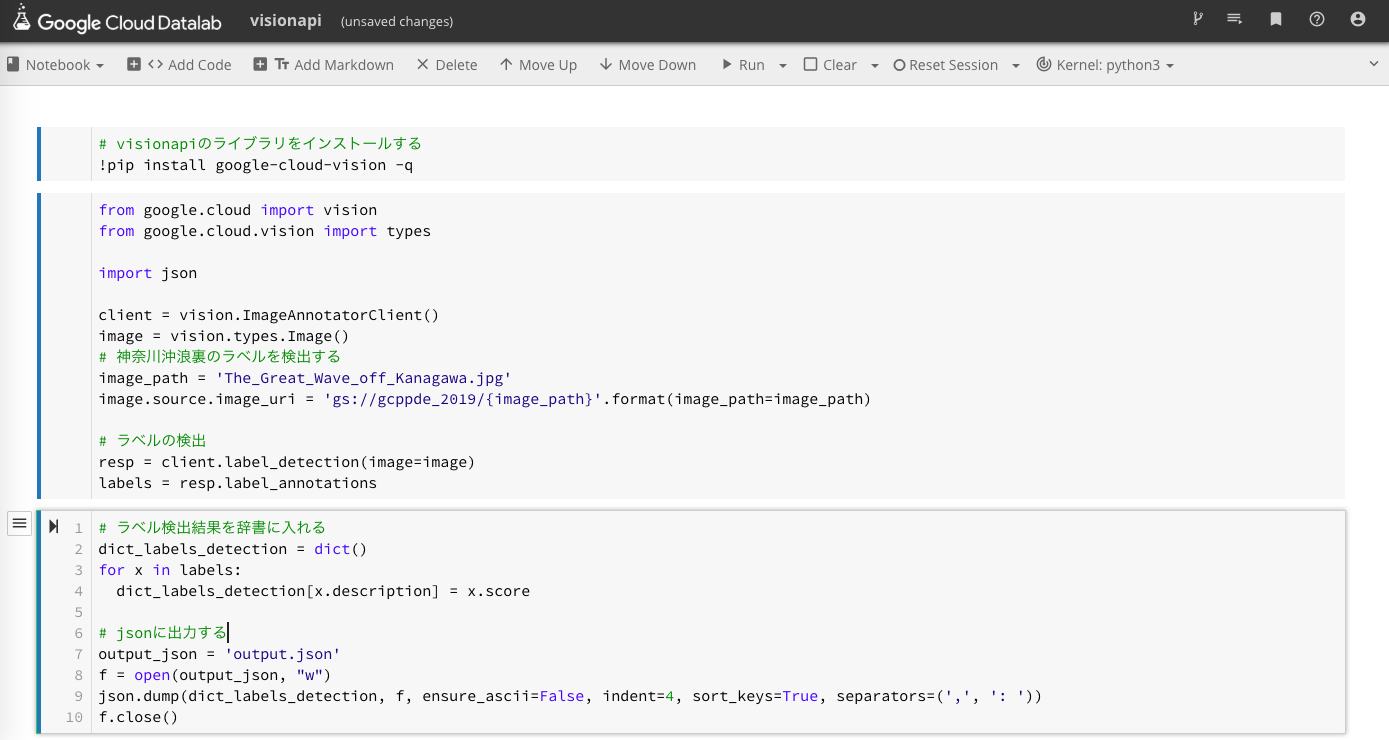
*実際にはDatalab上でAPIを実行している
# visionapiのライブラリをインストールする
!pip install google-cloud-vision -q

from google.cloud import vision
from google.cloud.vision import types

import json

client = vision.ImageAnnotatorClient()
image = vision.types.Image()

# 神奈川沖浪裏をラベル検出する
image_path = 'The_Great_Wave_off_Kanagawa.jpg'
image.source.image_uri = 'gs://gcppde_2019/{image_path}'.format(image_path=image_path)

# ラベルの検出
resp = client.label_detection(image=image)
labels = resp.label_annotations

# ラベル検出結果を辞書に入れる
dict_labels_detection = dict()
for x in labels:
  dict_labels_detection[x.description] = x.score

# jsonに出力する
output_json = 'output.json'
f = open(output_json, "w")
json.dump(dict_labels_detection, f, ensure_ascii=False, indent=4, sort_keys=True, separators=(',', ': '))
f.close()
jsonで出力した中身は以下のように出力される
{
    "Art": 0.6772549152374268,
    "Graphic design": 0.7239609956741333,
    "Graphics": 0.6353771090507507,
    "Illustration": 0.8577896952629089,
    "Mountain": 0.7596312165260315,
    "Sky": 0.7326111197471619,
    "Water": 0.9684016108512878,
    "Water resources": 0.846031904220581,
    "Wave": 0.9043536186218262,
    "Wind wave": 0.8947387933731079
}
WaterやWaveがスコア上位に上がってきているので、この画像の構図のメイン部分は確実に押さえている
Mountainもあることから富士山も検知していることがわかる
神奈川沖浪裏の署名をテキスト検出する
次に文字検出のAPIを使ってみる
葛飾北斎の署名はかなり崩した書体で北斎としてしか書かれていないが、どの程度テキスト検出できるだろうか?
タイトルの方は比較的読み取りやすく書かれており、少なくとも現代人でも「富嶽三十六景 神奈川沖浪裏」は読める
APIを使うと
# 文字検出
resp_text = client.text_detection(image=image)
texts = resp_text.text_annotations
[text.description for text in texts]

# 結果
['ˊ袃\nつVy\n冨嶽114-六景禁川(+\n浪喪\n',
 'ˊ',
 '袃',
 'つ',
 'Vy',
 '冨',
 '嶽',
 '114-',
 '六',
 '景',
 '禁',
 '川',
 '(',
 '+',
 '浪',
 '喪']
冨嶽はイケるのか。。。
旧字体でちゃんと読み取ってるのに三十六景はうまくいってない
神奈川沖浪裏も微妙だな。。。
物体検出で位置情報を取得する
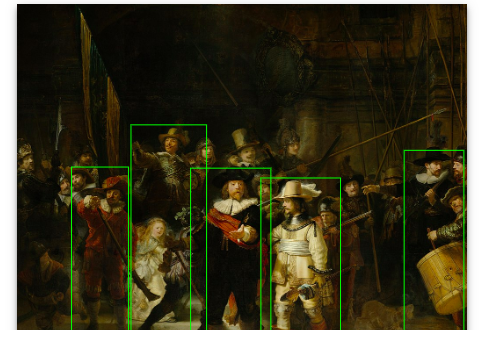
最後に夜警の人間を人間と識別できるか、どの位置に存在するかを識別できるかをAPIを使って検出する
目検で見る限り顔だけしか書かれていない人も含めて20人絵画に描かれている(はず)
# 物体位置検出

image = vision.types.Image()
# 夜警の人物の位置を検出する
image_path = 'The_Nightwatch.jpg'
image.source.image_uri = 'gs://gcppde_2019/{image_path}'.format(image_path=image_path)

resp_locale = client.object_localization(image=image)
obj_location = resp_locale.localized_object_annotations
obj_location

# 結果
# nameで物体を人間と識別し、その検出範囲の四隅をx,yで表現している
[mid: "/m/01g317"
name: "Person"
score: 0.9664505124092102
bounding_poly {
  normalized_vertices {
    x: 0.5419900417327881
    y: 0.475355863571167
  }
  normalized_vertices {
    x: 0.7189512252807617
    y: 0.475355863571167
  }
  normalized_vertices {
    x: 0.7189512252807617
    y: 0.9799382090568542
  }
  normalized_vertices {
    x: 0.5419900417327881
    y: 0.9799382090568542
  }
}
人物を何人検出しているか調べる
resp_locale = client.object_localization(image=image)
obj_location = resp_locale.localized_object_annotations

# 人物を何人検出しているかを調べる
cnt = 0
for objct in obj_location:
  if objct.name == 'Person':
    cnt+=1

print(cnt)

>> 5
実際の結果からPersonと識別しているものを数え上げると全部で5人を検出している
主に手前にいる人達(体全体が描かれている人達)が検出されている

おわりに
ということで、GCS、Datalab、VisionAPIを使って画像を識別することが出来た
GCPの起動から実際にAPIを利用するまで30分くらいで全て完結したので、個人的には満足
おしまい


