はじめに
これまでTableViewControllerを雰囲気で扱ってきたので自分用にまとめます。
手順に飛躍がないよう心がけています。
Storyboradから作成(直感的でわかりやすい)


ほとんど画像の通りです。
これで実行すると、画面いっぱいにセルが広がっているのではないでしょうか。
UItableViewをOutlet接続します。
Outlet接続は右クリックとかControlボタンを押しながらドラッグ&ドロップでできます。
IBAction接続と間違えないようにしましょう。
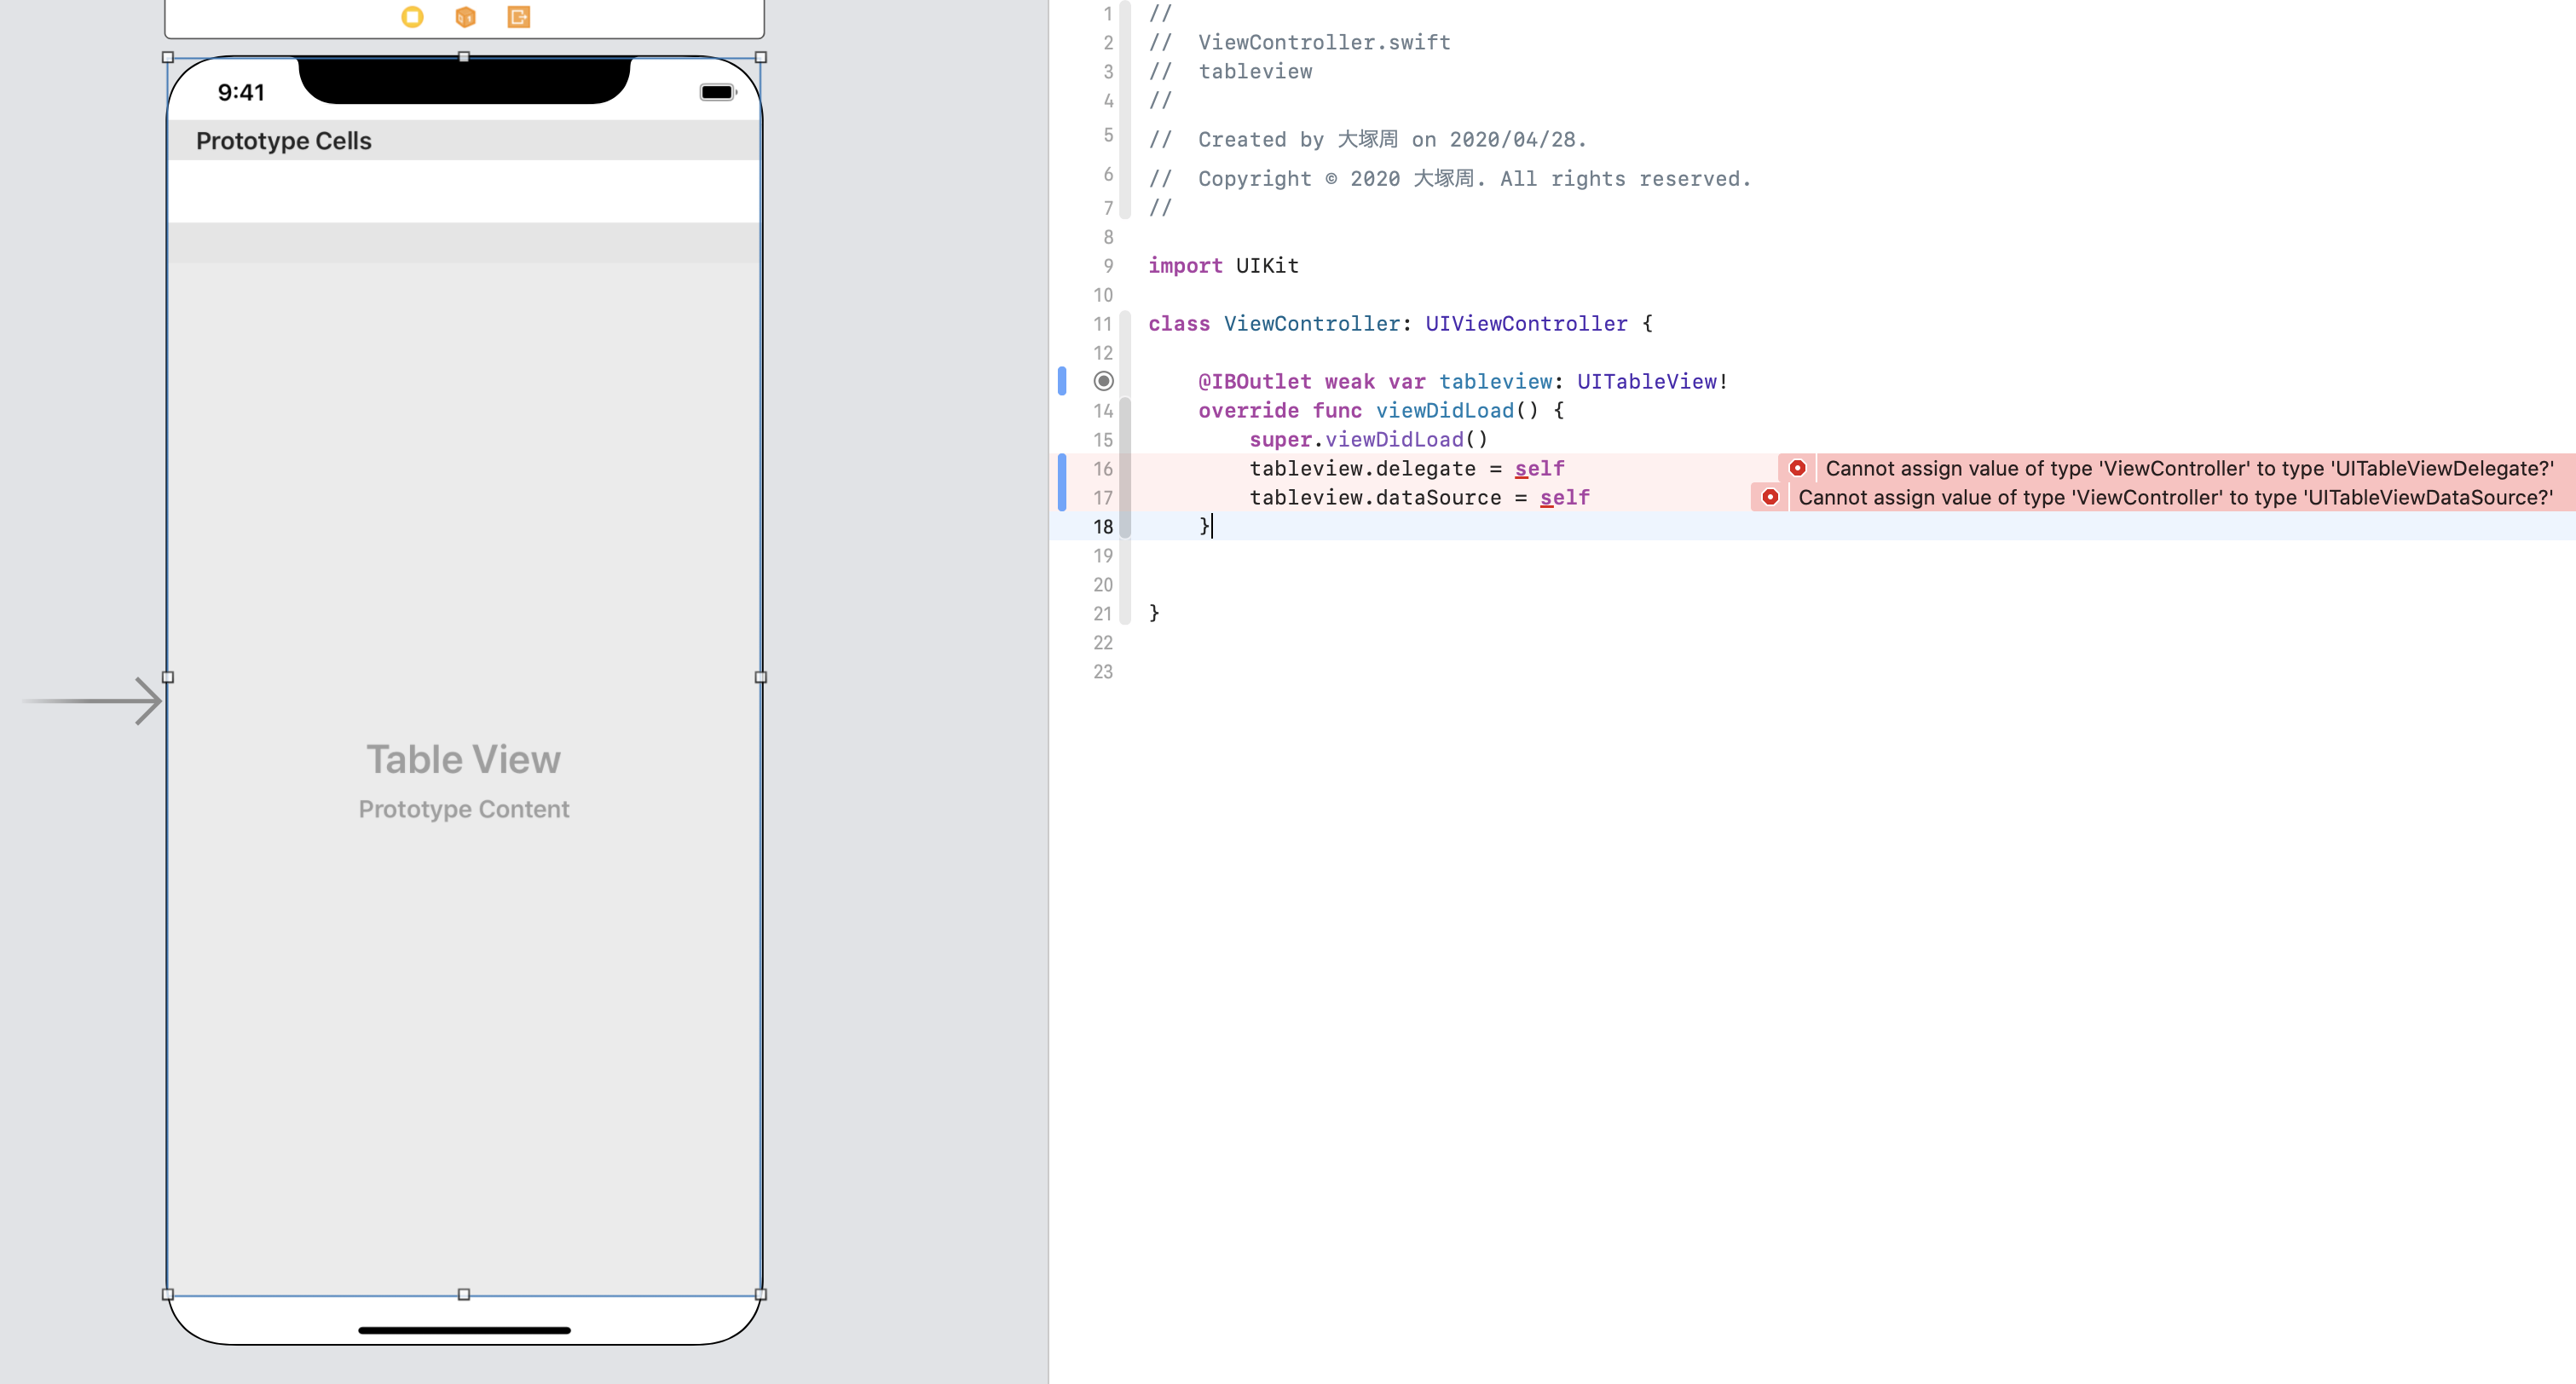
override func viewDidLoad() {
        super.viewDidLoad()
        tableview.delegate = self
        tableview.dataSource = self
    }
上のコードを書くと、エラーが出るので素直にFixしましょう。

Fixするとまた新たなエラーが出るので、またまた素直にFixしましょう。
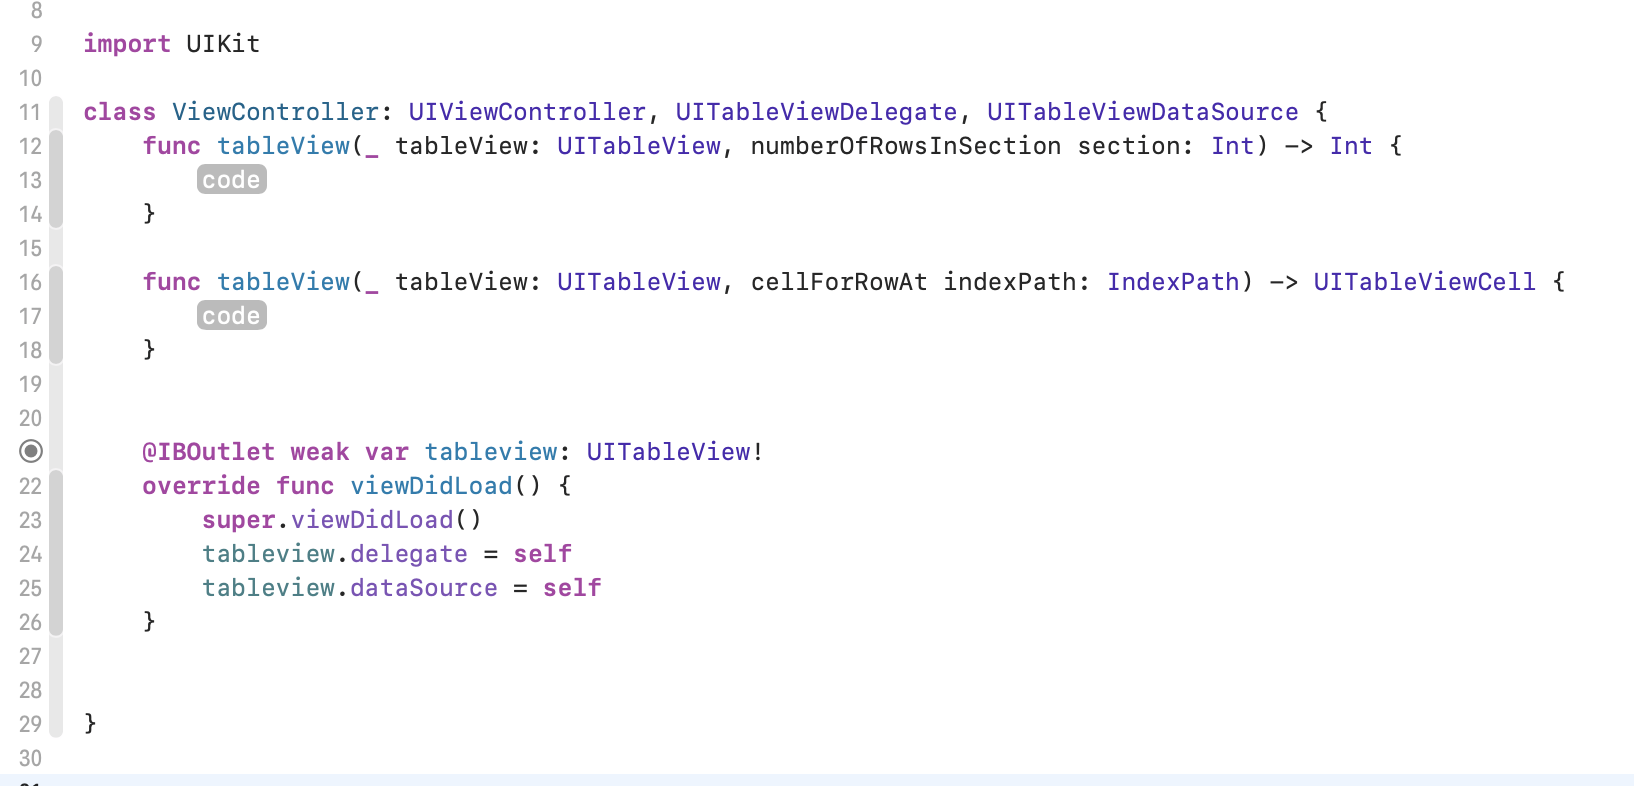
そうすると画像のような関数(いわゆるプロトコル)が勝手に追加されます。
ここからの内容はTableViewControllerに何を書くかによって変わってきます。下以降はあくまで一例。
func tableView(_ tableView: UITableView, numberOfRowsInSection section: Int) -> Int {
        return 10
    }

    func tableView(_ tableView: UITableView, cellForRowAt indexPath: IndexPath) -> UITableViewCell {
        let cell = tableView.dequeueReusableCell(withIdentifier: "cell", for: indexPath)
        cell.textLabel!.text = "これは第\(indexPath.row)行目です"
        return cell
    }
上のコードを書くと

みたいになります。
意味としてはセルの数は10個だよ。
セルのラベルはInt型のindexPath.rowにするよ。
という感じです。目的に応じて変えましょう。
コードから作成(慣れると複雑なことまで設定できる)
import UIKit

class ViewController: UIViewController,UITableViewDataSource,UITableViewDelegate {

    var tableView: UITableView?
    override func viewDidLoad() {
        super.viewDidLoad()
        self.tableView = {
            let tableView = UITableView(frame: self.view.bounds)
            self.view.addSubview(tableView)
            tableView.delegate = self
            tableView.dataSource = self
            return tableView
        }()
    }
    func tableView(_ tableView: UITableView, numberOfRowsInSection section: Int) -> Int {
           return 10
       }

       func tableView(_ tableView: UITableView, cellForRowAt indexPath: IndexPath) -> UITableViewCell {
        let cell = UITableViewCell(style: .default, reuseIdentifier: "cell")
        cell.textLabel?.text = "第\(indexPath.row)行目です"
        return cell
    }
}
先にコードを貼りました。Storyboradで行ったことはコードだけでも行うことができます。
delegateやDatasourceの設定はほとんど同じです。
viewDidLoad()でUITableVieを定義し、addSubViewしましょう。